
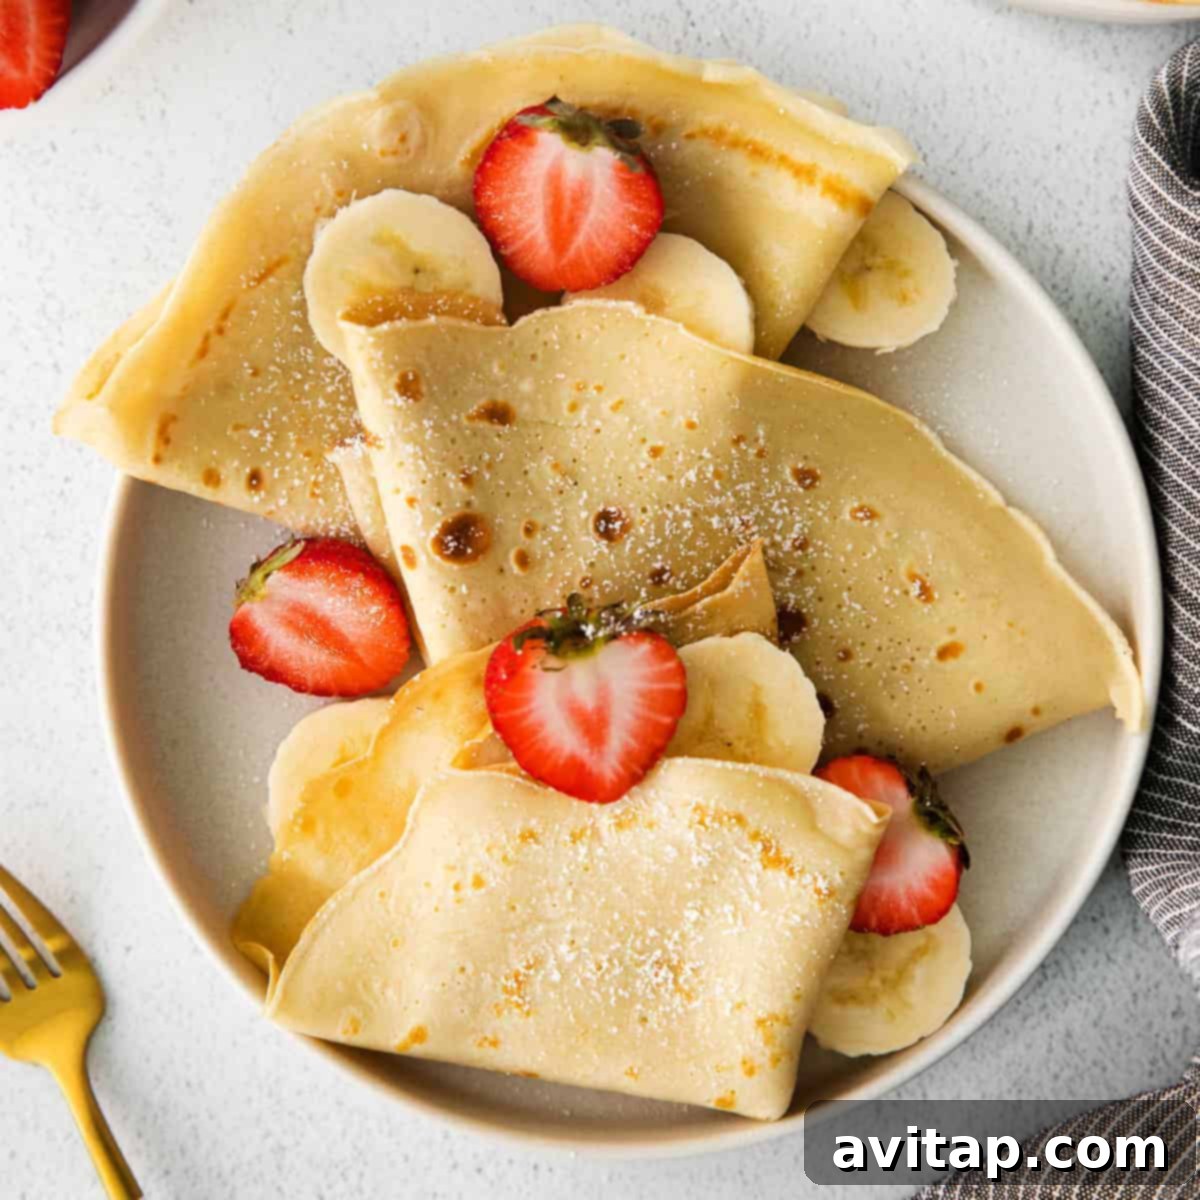
Embark on a delightful culinary journey to master the art of crepe making. This comprehensive, step-by-step guide will show you how to create light, delicate, and utterly delicious crepes at home, perfect for any meal. Whether you crave a sweet breakfast indulgence or a savory dinner treat, you’ll be whipping up impressive crepes in less than 20 minutes with just a handful of everyday ingredients. Get ready to impress your family and friends with these versatile French-inspired delights!
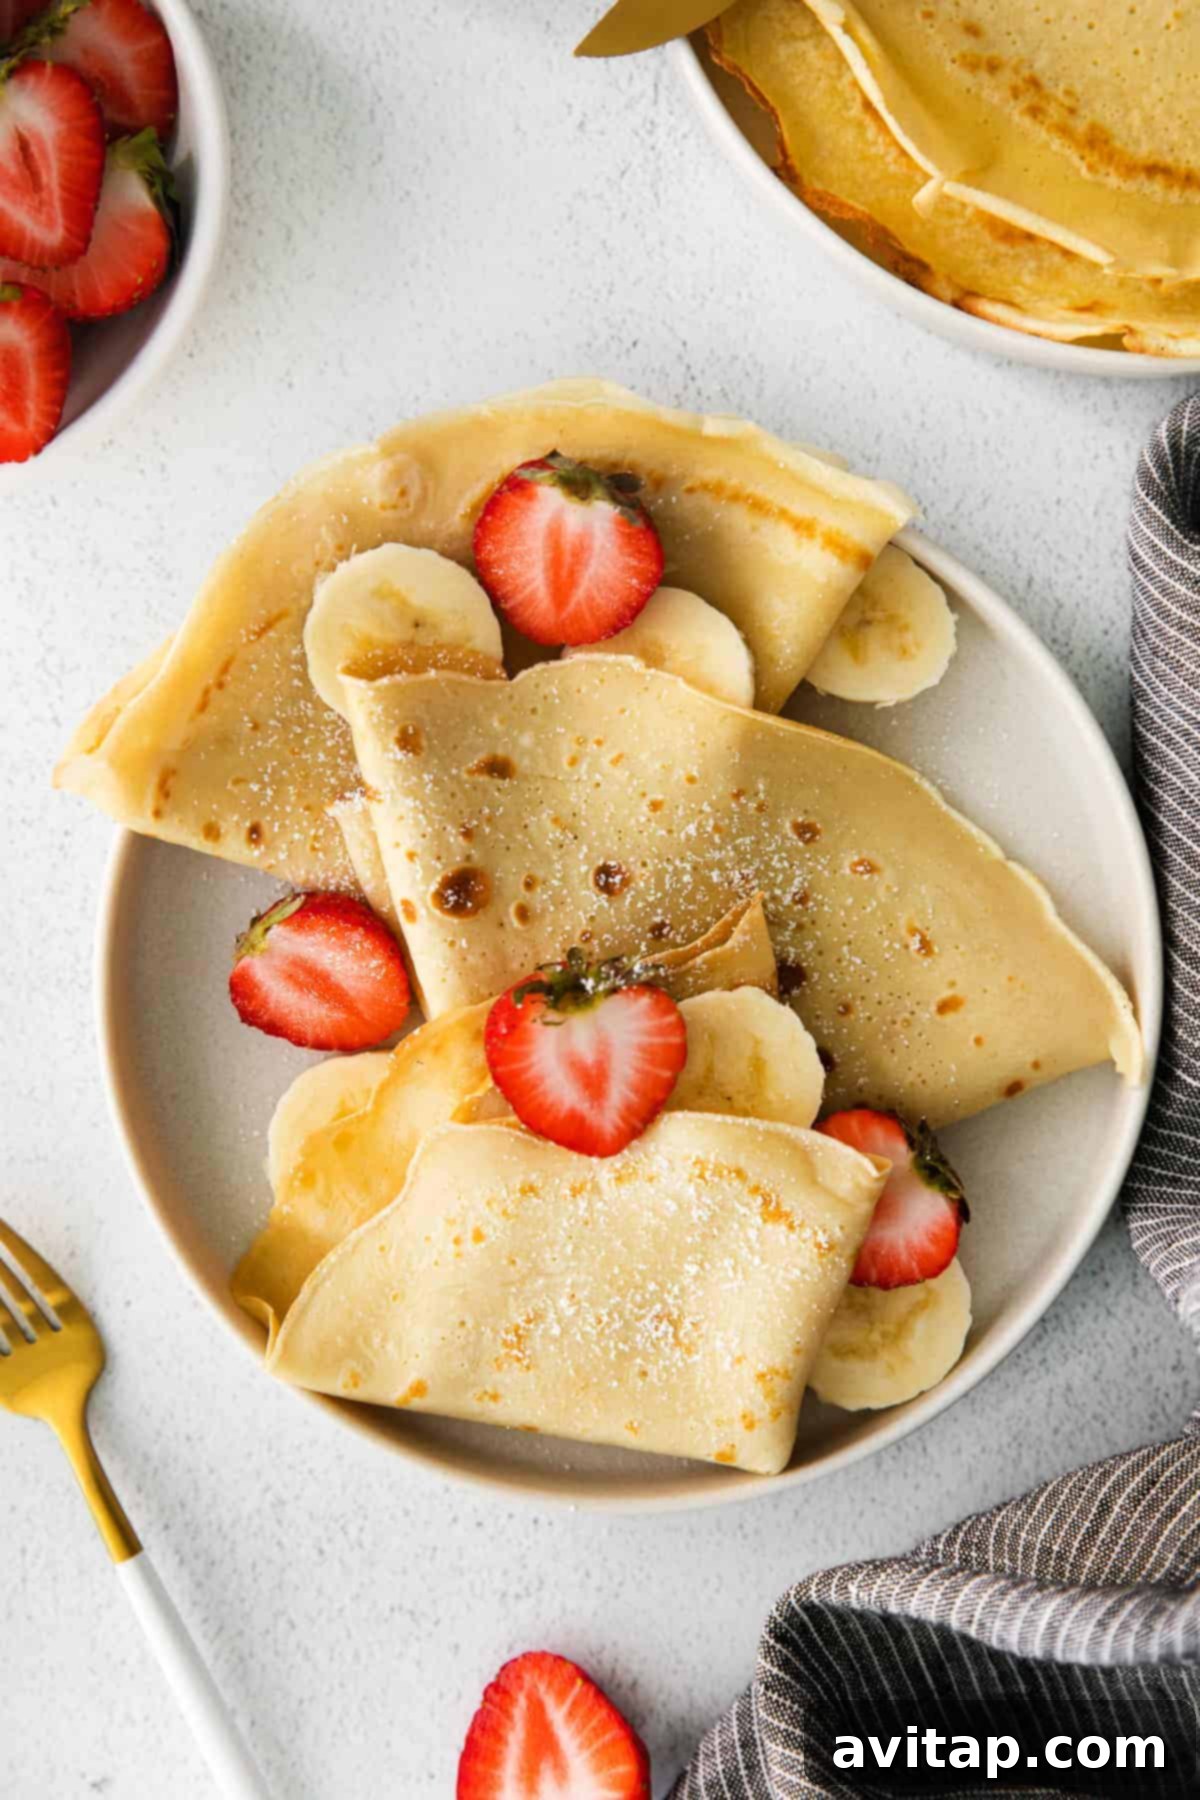
Mastering the Art of Crepe Making: Your Ultimate Guide
Don’t let the elegant appearance of crepes intimidate you! While they might evoke images of Parisian bakeries and intricate culinary skills, the truth is, anyone can master the technique of making perfect crepes right in their own kitchen. This recipe simplifies the process, transforming what seems like a gourmet dish into an accessible and quick meal. Get ready to elevate your breakfast, brunch, or even dinner routine with these thin, pliable pancakes that are as delightful to make as they are to eat.
Why You’ll Love This Easy Crepe Recipe
There are countless reasons to fall in love with homemade crepes. This particular recipe stands out for its simplicity and fantastic results:
- Effortlessly Elegant: Crepes are like the sophisticated cousins of traditional pancakes. They instantly add a touch of fancy to any meal, making them perfect for entertaining guests or simply treating yourself to something special.
- Unleash Your Creativity: The beauty of crepes lies in their incredible versatility. This base recipe is your canvas, ready to be transformed into either a sweet dream or a savory sensation, catering to any craving at any time of day.
- Lightning Fast: In a world where time is precious, this recipe shines. From mixing the batter to flipping the last crepe, you can have a batch of these delicate treats ready to serve in under 20 minutes. Minimal effort, maximum reward!
- Simple Ingredients: You won’t need to hunt for exotic items. This recipe relies on just 5 common pantry staples, proving that extraordinary flavor doesn’t require an extensive shopping list.
Essential Ingredients for Perfect Crepes
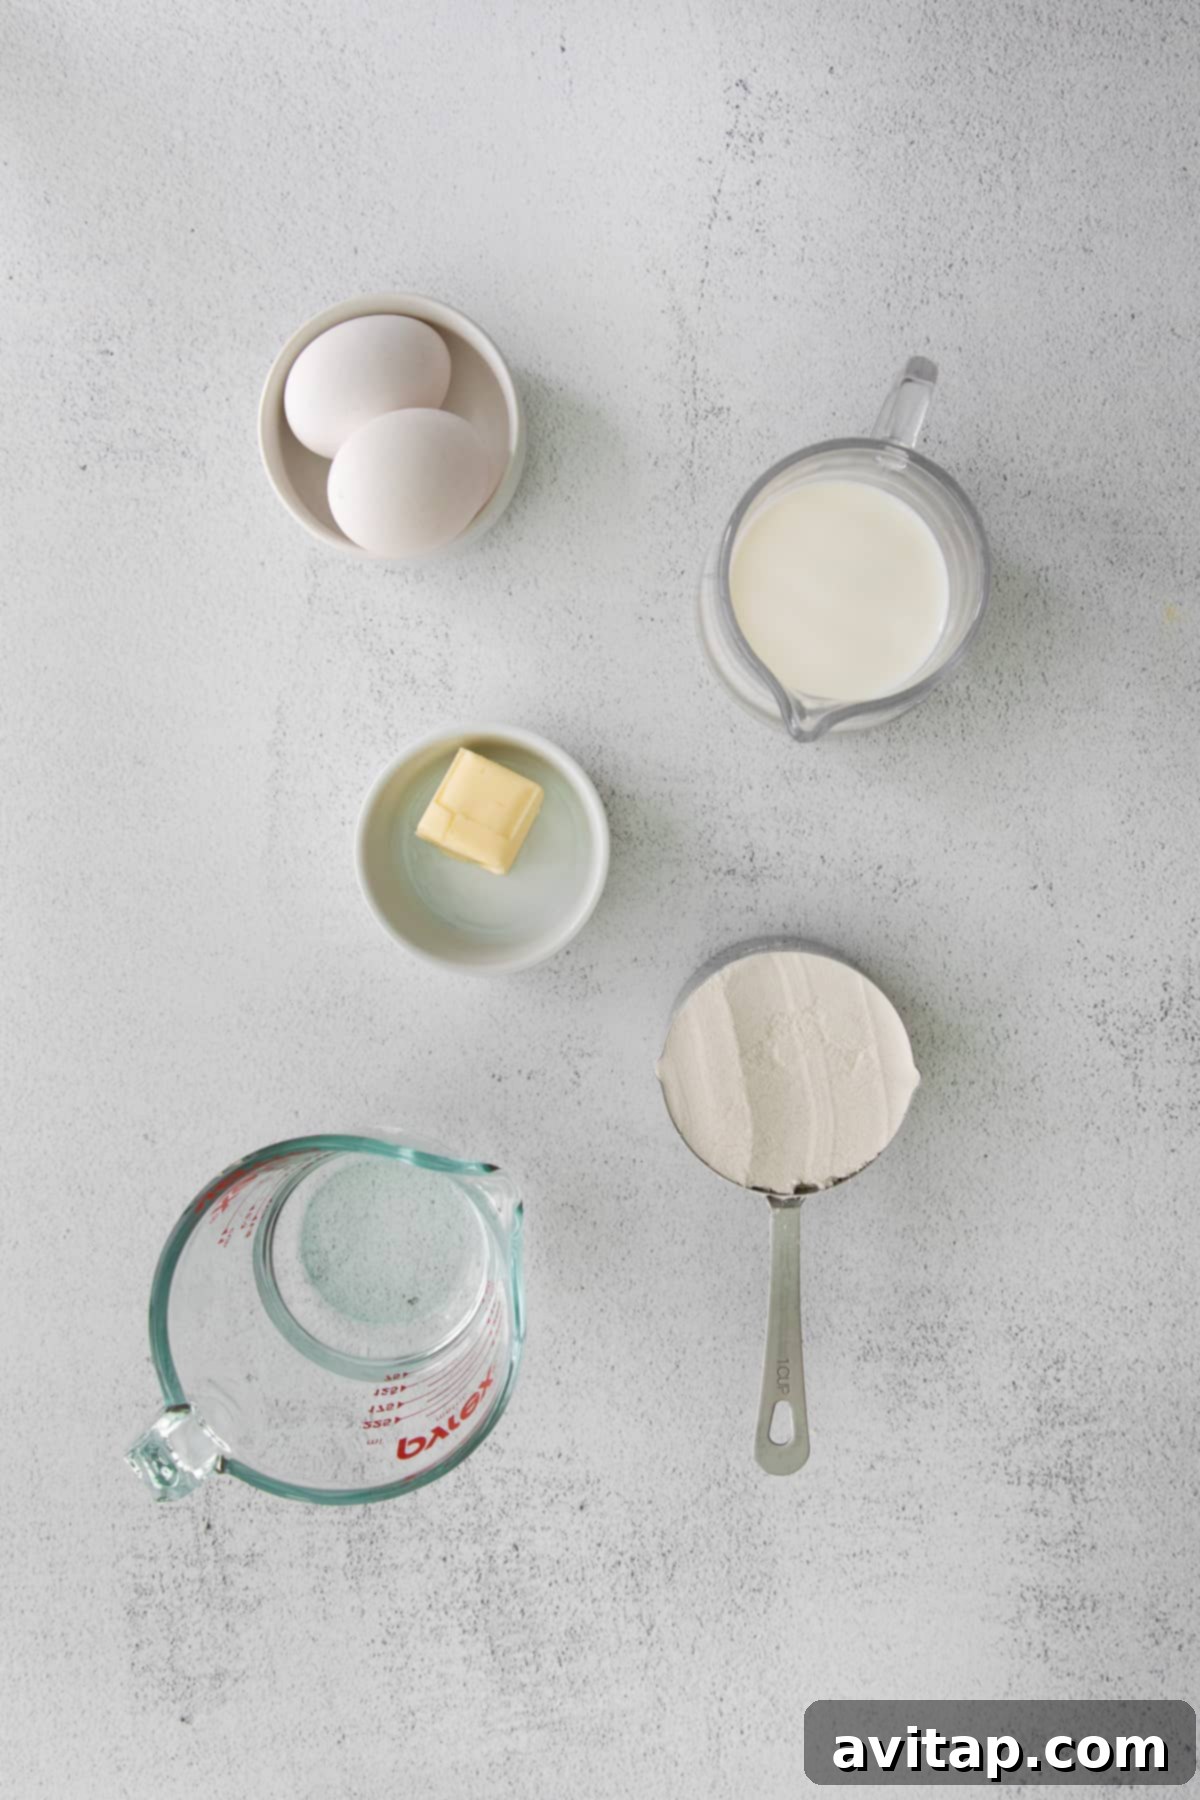
Crafting these delicious crepes requires only a handful of everyday ingredients, proving that culinary magic can happen with simplicity. Each component plays a crucial role in achieving that signature delicate texture and rich flavor. Here’s what you’ll need, along with some helpful tips and substitution notes:
- Whole Milk: For the most tender and flavorful crepes, whole milk is highly recommended. Its fat content contributes to a richer taste and a softer texture. If whole milk isn’t available, you can use 2% milk. While heavy cream could work, you would need to adjust the water content to prevent the batter from becoming too thick. Dairy-free alternatives like almond milk or soy milk can also be used, though the final texture might be slightly less rich.
- Water: This is a vital ingredient for achieving the characteristic thinness of crepe batter. Unlike pancake batter, which is thick, crepe batter should be noticeably runny. Water helps to lighten the milk, ensuring your crepes are delicate and easy to swirl in the pan.
- Large Eggs: Eggs are the binding agents that hold your crepes together, providing structure and richness. Using large eggs is important for consistency in this recipe; medium eggs might make the batter too thick, while extra-large eggs could make it too runny. Ensure your eggs are fresh for the best results.
- Butter: We prefer using salted butter for a subtle flavor enhancement, but unsalted butter works perfectly fine too. If using unsalted, you might add a tiny pinch of salt to the batter to balance the flavors. Butter adds a wonderful richness and helps create those slightly crispy edges that are so irresistible. Ensure your butter is melted before adding it to the batter for smooth incorporation.
- All-Purpose Flour: This is the ideal choice for crepes, providing the right balance of gluten to give the crepes structure without making them tough. For those following a gluten-free diet, a 1:1 gluten-free all-purpose flour blend can be used. Be aware that gluten-free batters can sometimes be stickier or require slight adjustments in liquid to reach the perfect consistency. Always measure your flour using the spoon and level method to avoid adding too much, which can result in dry, dense crepes.
Key Tips for Flawless Crepe Batter
Before you even fire up the stove, understanding a few fundamental principles about crepe batter can make all the difference between good crepes and truly great ones. Keep these essential tips in mind for a smooth and successful crepe-making experience:
- Optimal Liquid Balance: The magic combination of milk and water is what creates the perfectly soft, rich, and delicate texture of a classic crepe. While not strictly necessary, having both liquids at room temperature can lead to an even softer crepe, as it allows for better integration with the other ingredients.
- The Role of Eggs: Eggs are the unsung heroes of crepe batter. They act as a crucial binder, holding all the ingredients together and providing the necessary structure so your crepes don’t fall apart when flipped. They also contribute to the batter’s overall richness and golden color.
- Butter for Flavor and Texture: Melted butter doesn’t just add a delicious, subtle richness to your crepes; it also helps prevent sticking and contributes to that desirable golden-brown finish. It’s a small addition with a significant impact on both taste and texture.
- Measuring Flour Accurately: Flour provides the main structure for your crepes. It’s imperative to measure it correctly using the spoon and level method (spoon flour into the measuring cup and then level off with a straight edge). Adding too much flour is a common mistake that can result in dense, dry, and chewy crepes – far from the light and airy texture you’re aiming for.
- Thin Batter is Key: Remember, crepe batter is intentionally much thinner than traditional pancake batter. It should have the consistency of heavy cream. If, after mixing, you find your batter isn’t spreading easily to the edges of the pan, don’t hesitate to thin it out with an additional tablespoon of water or milk until it reaches the desired runny consistency.
- Preheat Your Pan Properly: A hot pan is crucial for preventing crepes from sticking and for achieving an even, golden cook. Ensure your non-stick pan is adequately heated over medium heat before pouring in the first ladle of batter. A slightly sizzling sound when the batter hits the pan is a good indicator.
- Embrace Natural Color Variations: The color of your eggs, particularly the yolk, can sometimes subtly influence the hue of your crepe batter. Don’t worry if your batter looks a bit lighter or darker than expected; it’s perfectly normal and won’t affect the taste or texture of your delicious crepes.
- Let the Batter Rest (Optional but Recommended): While this recipe is designed for speed, allowing the batter to rest for 15-30 minutes at room temperature (or even longer in the fridge) can further improve the texture. Resting allows the flour to fully hydrate and the gluten to relax, resulting in even more tender and less “rubbery” crepes.
Our Favorite
Blender
Looking to upgrade your kitchen arsenal? Check out our favorite Vitamix Blender. It’s a powerful, high-speed appliance perfect not only for crepe batter but also for making silky-smooth smoothies, creamy soups, and homemade nut butters.
How to Make Crepes – A Detailed Step-by-Step Guide
Making crepes is an incredibly rewarding experience, and with this detailed guide, you’ll be swirling and flipping like a pro in no time. The key to an even smoother process is to have all your ingredients measured and ready before you begin. This ‘mise en place’ approach minimizes stress and ensures a seamless cooking flow!
Step 1: Combine Wet Ingredients in the Blender
For the smoothest batter, begin by adding all your liquid ingredients to the blender first. This includes the whole milk, water, large eggs, and melted butter. This sequence helps the ingredients combine thoroughly without creating lumps. Blend these wet ingredients on a low to medium speed for about 30 seconds, just until they are well incorporated. It’s important not to over-blend the eggs at this stage, as excessive aeration can sometimes lead to tougher crepes.
Don’t have a blender? No problem! You can easily mix your crepe batter by hand. Simply whisk the wet ingredients together in a large bowl until smooth. Alternatively, a hand mixer on low speed will also do the trick, providing a lump-free batter.
Step 2: Add Dry Ingredients and Mix
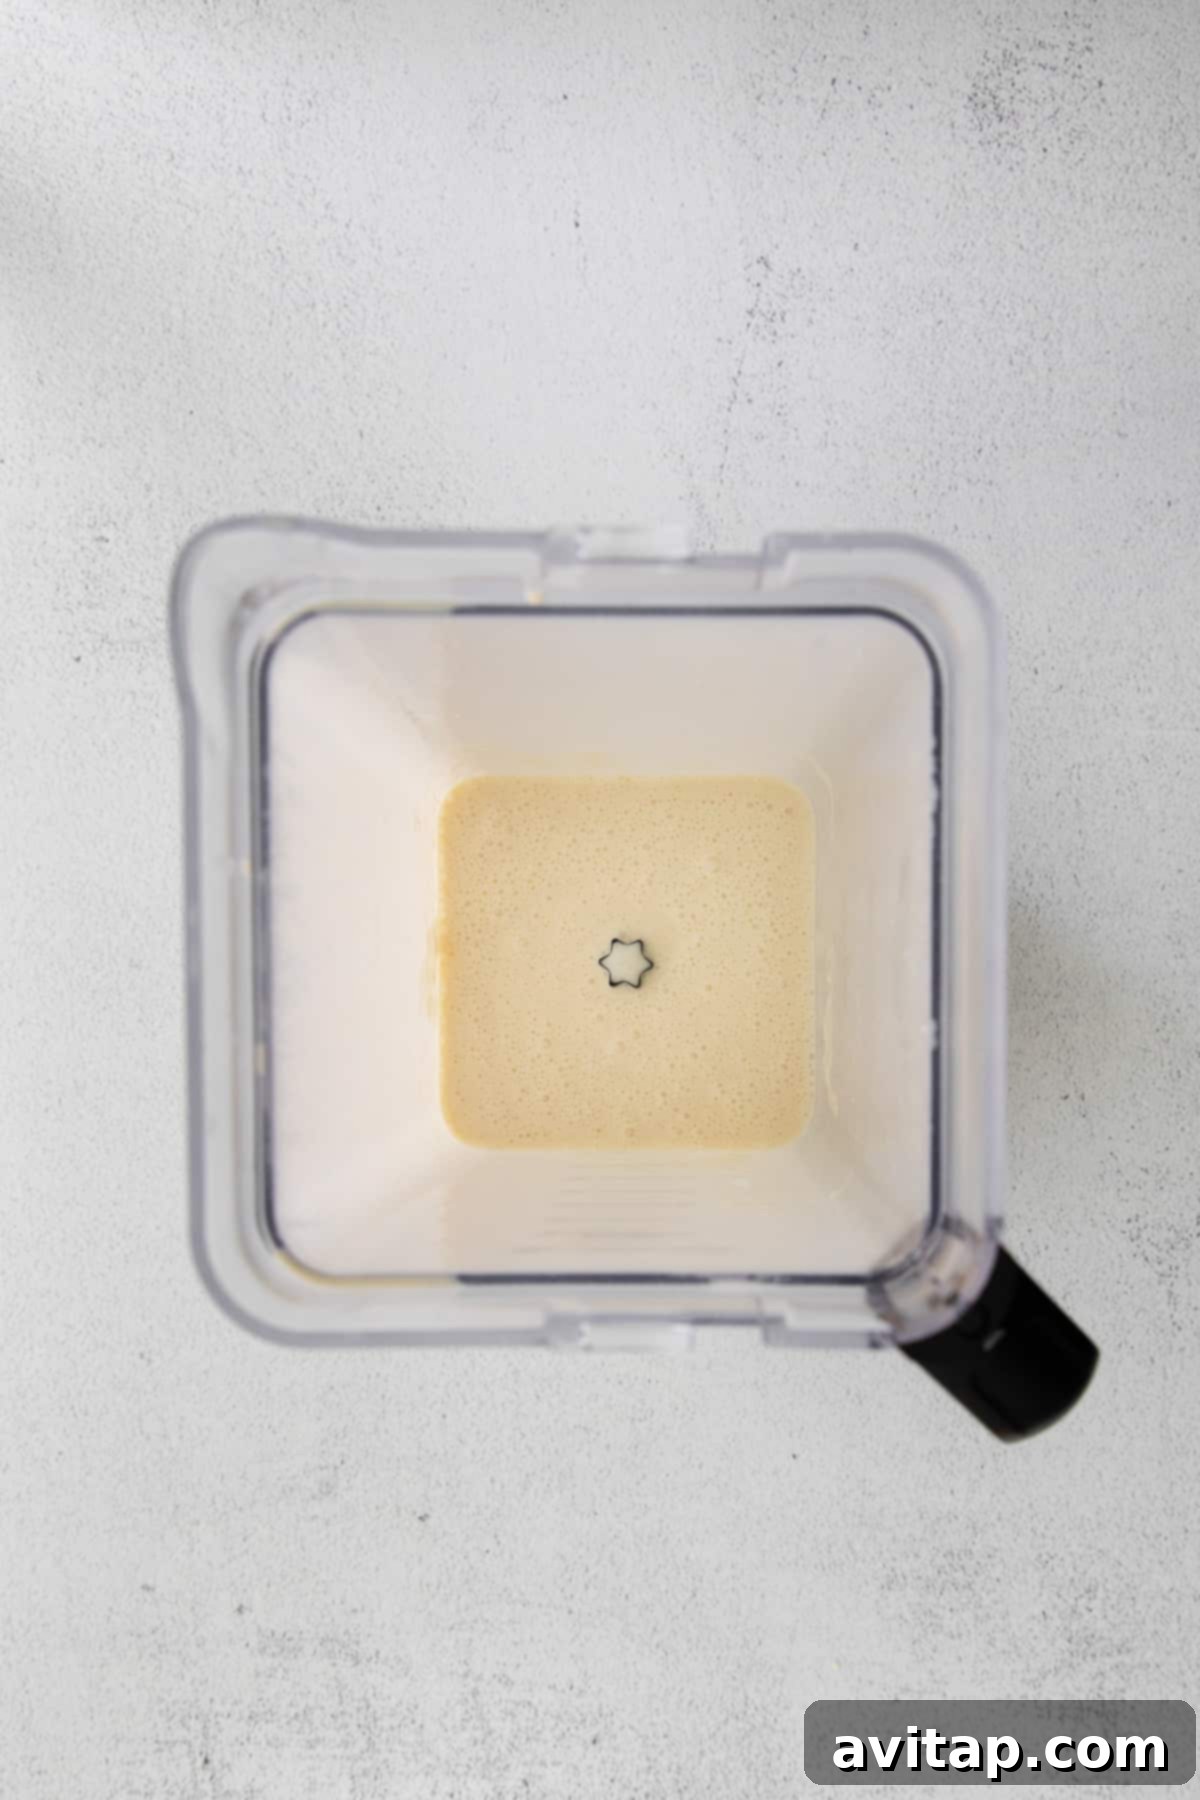
Once your wet ingredients are beautifully combined, pause the blender. Use a rubber spatula to scrape down any residue from the sides of the blender jar, ensuring everything gets incorporated. Now, carefully add the all-purpose flour to the blender. Resume blending on a low speed, just until the flour is fully combined with the wet ingredients and no dry streaks remain. This usually takes another 15-30 seconds.
Don’t fret if your batter seems very thin! This is exactly how crepe batter should be. It will have a much runnier consistency compared to traditional pancake batter, which is essential for achieving those delicate, paper-thin crepes. If it’s too thick, it won’t spread properly.
Step 3: Customize Your Crepes: Sweet or Savory
This is where your crepe journey takes a delicious turn! Decide whether you’re in the mood for a sweet indulgence or a savory sensation. This base batter is incredibly adaptable:
- For Sweet Crepes: Add 2 tablespoons of granulated sugar to the blender. For an extra layer of flavor, consider incorporating 1 teaspoon of pure vanilla extract or a few drops of almond extract if you’re feeling adventurous. These additions will infuse your crepes with a beautiful aroma and taste, perfect for fruit and cream fillings.
- For Savory Crepes: Introduce a pinch of kosher salt (about ½ teaspoon) and ¼ teaspoon of garlic powder to the batter. These simple seasonings will create a fantastic base for savory fillings like cheese, meats, or vegetables. You could also experiment with a dash of black pepper or a sprinkle of dried herbs like chives.
Once you’ve made your choice and added your preferred flavorings, pulse the ingredients together for just a few seconds until they are fully combined into the batter.
Step 4: Heat the Pan to Perfection
The success of your crepes largely depends on a properly heated pan. Place a 12-inch nonstick skillet (preferably one with low sides for easy flipping) over medium heat. Allow it to heat for 1-2 minutes until it’s consistently warm. Add a small knob of butter (about ½ teaspoon) or a light spray of non-stick cooking spray to grease the pan. Swirl the butter to coat the surface evenly, then let it melt completely and get slightly fragrant.
It is absolutely crucial to heat the pan thoroughly before adding any crepe batter. A cold or insufficiently heated pan will result in crepes that stick, cook unevenly, or turn out pale and rubbery.
Step 5: The Art of the Swirl and Flip
This is the fun part where you truly become a crepe artist!
- Using a ¼ cup measuring scoop, pour the crepe batter directly into the center of your hot, buttered nonstick pan.
- Immediately lift the pan a few inches off the stovetop. With a swift, gentle, circular motion, carefully swirl the batter. Tilt the pan in all directions to allow the batter to spread thinly and evenly across the entire bottom surface, reaching the very edges. The goal is a perfectly round, paper-thin disc.
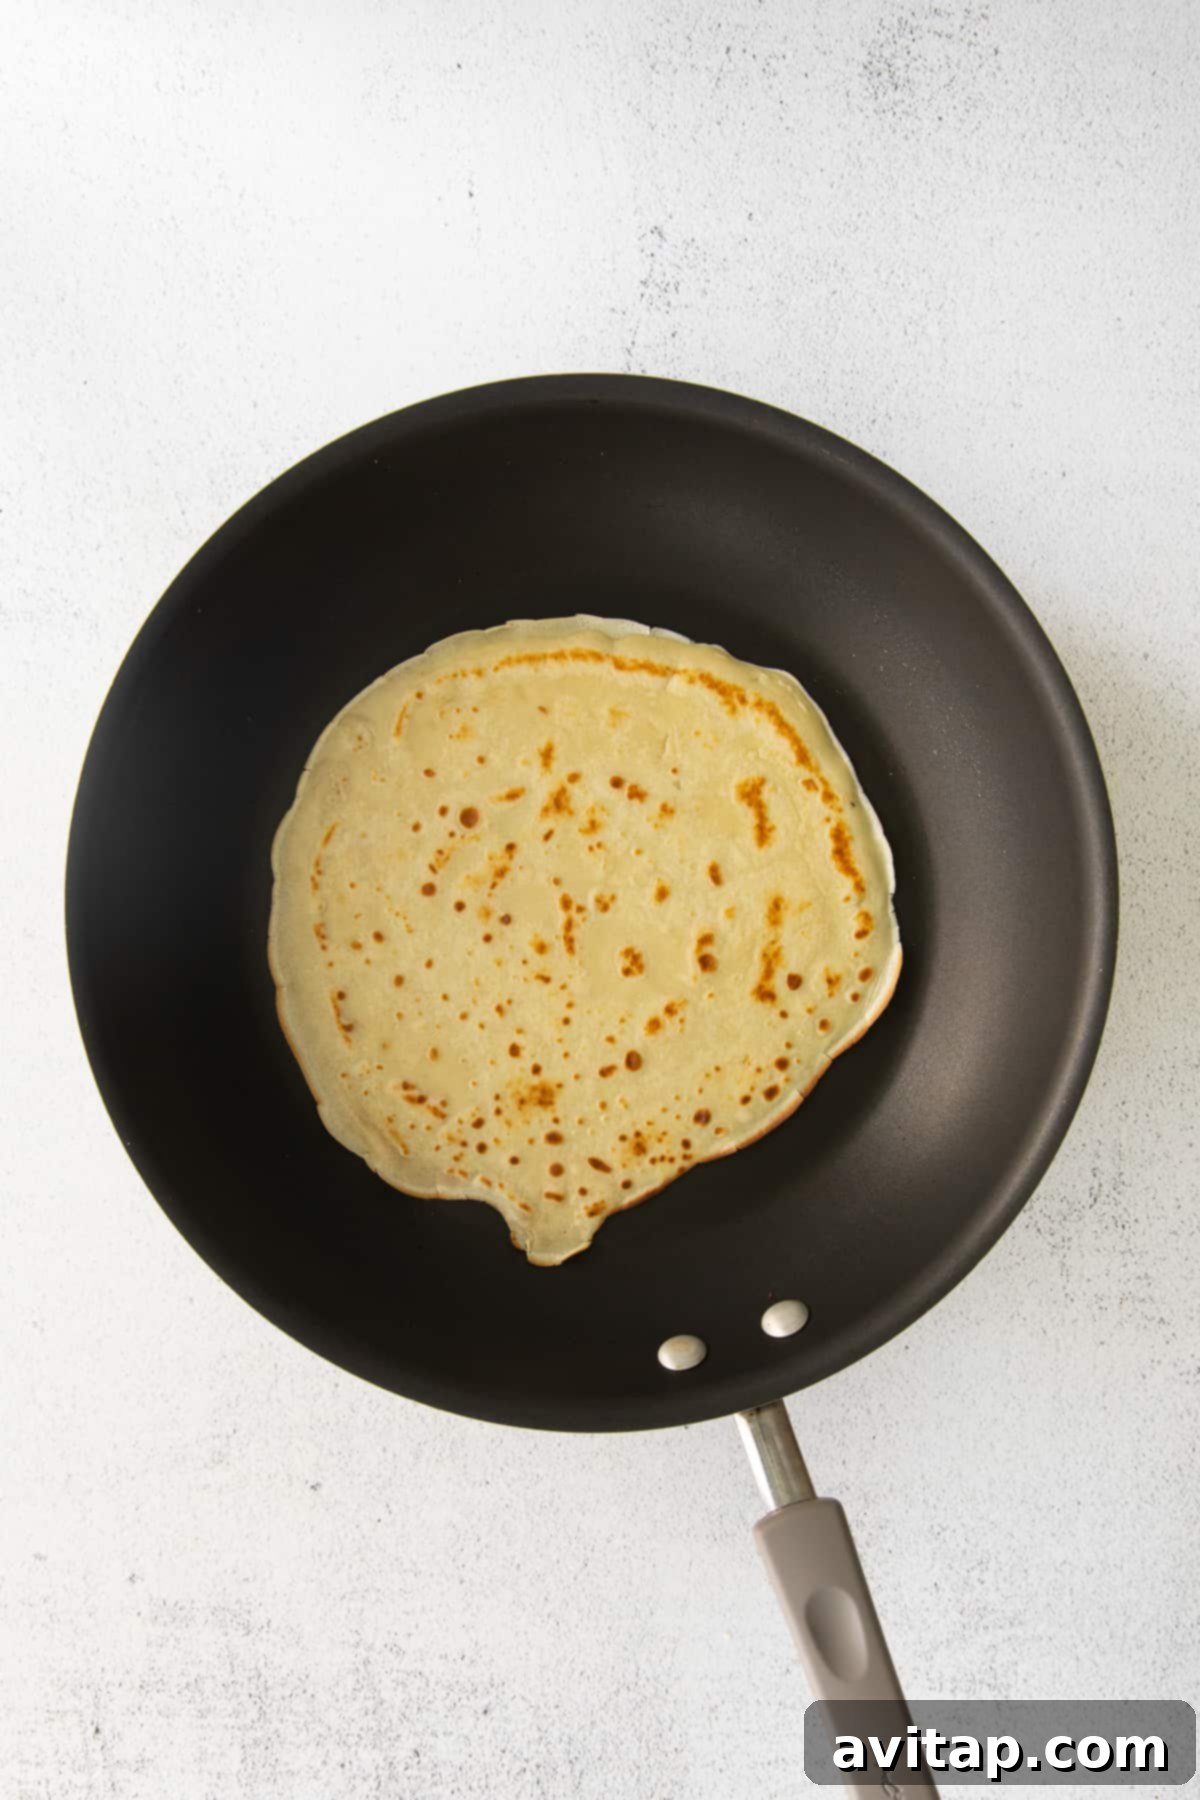
- Place the pan back on the medium heat. Let the crepe cook for approximately 1.5 to 2 minutes on the first side. You’ll know it’s ready when the edges appear slightly crispy and pull away from the pan, and the surface looks set and may have small bubbles. The underside should be a beautiful golden-brown color.
- Using a thin spatula, gently slide it under the crepe and confidently flip it over. Cook the second side for an additional 1 to 1.5 minutes, just until it’s also golden and cooked through.
- Carefully remove the cooked crepe from the pan and transfer it to a plate. You can stack them on top of each other; their thinness prevents them from sticking.
- Repeat this process with the remaining batter, greasing the pan lightly with butter or spray between each crepe if necessary, especially if you notice any sticking. You’ll quickly get into a rhythm!
Try it!
Always Pan
For consistently perfect crepes and all your cooking needs, we highly recommend the Always Pan. It’s an incredibly versatile nonstick pan, ideal for sautéing, steaming, frying, and simmering, making it a valuable addition to any kitchen.
Creative Crepe Filling & Topping Ideas
Now that you’ve mastered the basic crepe, it’s time for the most exciting part: customization! Crepes are wonderfully adaptable, serving as a perfect canvas for an endless array of fillings and toppings. Let your imagination run wild, but here are some of our absolute favorite flavor combinations to get you started. Don’t forget to share your own delicious ideas in the comments!
Delightful Sweet Crepe Fillings
Perfect for breakfast, brunch, or a decadent dessert, sweet crepes offer a comforting and satisfying experience. The possibilities are truly boundless:
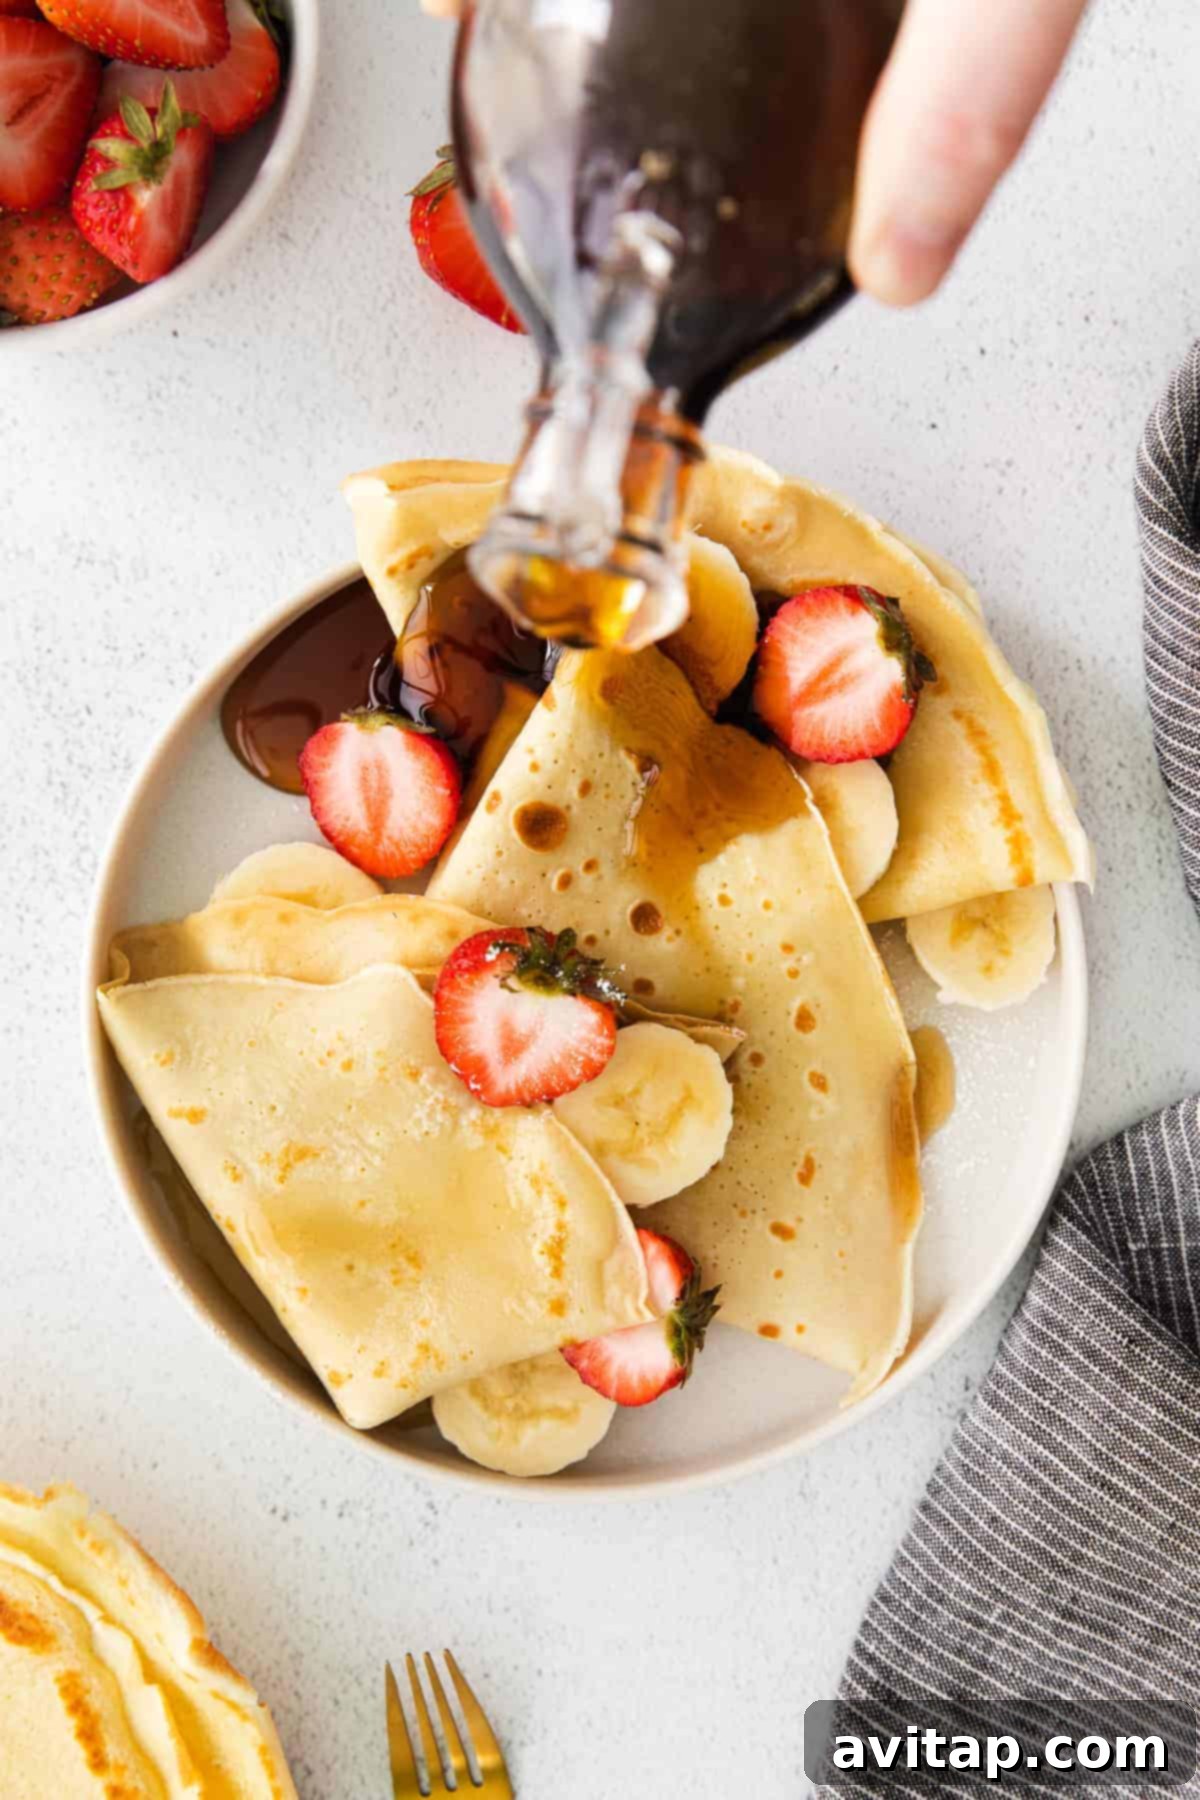
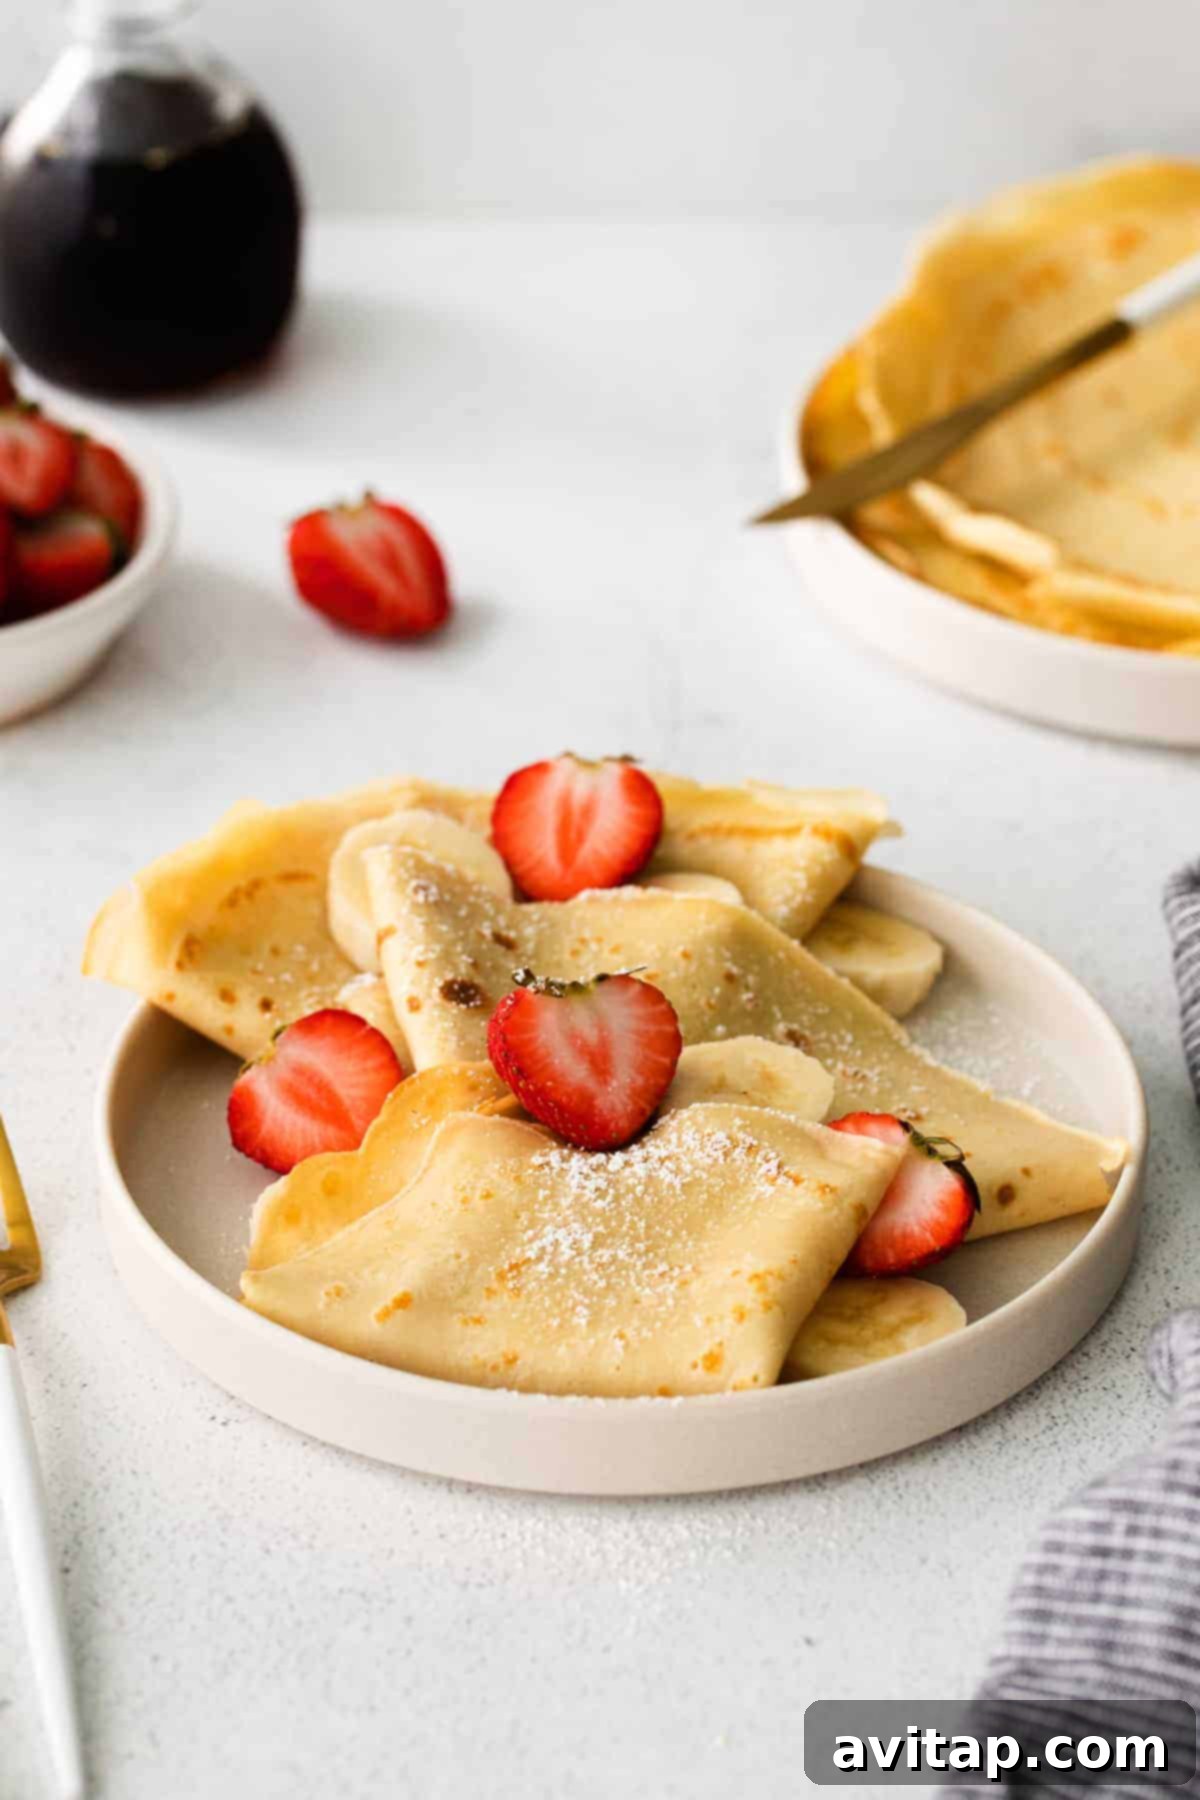
- Classic Nutella & Banana: A timeless combination. Spread a generous layer of Nutella (or any chocolate hazelnut spread) and top with sliced fresh bananas.
- Fresh Strawberries & Whipped Cream: Simple elegance. Fill with fresh sliced strawberries and a dollop of homemade whipped cream for a light, fruity treat.
- Butter & Jam/Preserves: A humble yet satisfying choice. A smear of butter and your favorite fruit jam (raspberry, apricot, or blueberry are excellent) makes for a quick and delicious crepe.
- Maple Syrup & Candied Pecans: Indulgent and crunchy. Drizzle with warm maple syrup and sprinkle with homemade candied pecans for added texture and sweetness.
- Yogurt & Granola: For a healthier option, fill with creamy Greek yogurt and your favorite crunchy granola. Add a drizzle of honey for extra sweetness.
- Lemon Curd & Blueberries: Bright and zesty. A spoonful of tangy lemon curd paired with fresh blueberries is a burst of refreshing flavor.
- Cinnamon Apple Pie: Sautéed apples with cinnamon, a dash of sugar, and a scoop of vanilla ice cream—like pie in a crepe!
Satisfying Savory Crepe Fillings
Crepes aren’t just for sweet cravings! They make a fantastic, light, and customizable meal for lunch or dinner. Think of them as delicate wrappers for your favorite savory ingredients:
- Lox & Cream Cheese with Capers: A gourmet brunch classic. Spread cream cheese, lay thinly sliced smoked salmon (lox), and sprinkle with capers and fresh dill.
- Goat Cheese & Caramelized Onions: Sophisticated and incredibly flavorful. Creamy goat cheese paired with sweet, slow-cooked caramelized onions is a match made in heaven.
- Bacon, Eggs & Cheese: The ultimate breakfast-for-dinner crepe. Scrambled eggs, crispy bacon bits, and shredded cheddar cheese rolled inside.
- Mediterranean Inspired: Kalamata olives, crumbled feta cheese, and diced fresh tomatoes with a drizzle of olive oil. Add some spinach for extra greens.
- Caprese Style: Fresh mozzarella, sliced ripe tomatoes, and basil leaves, drizzled with balsamic glaze. A fresh and vibrant choice.
- Ham & Gruyere: A classic French combination. Thinly sliced ham and melted Gruyere cheese, perhaps with a touch of Dijon mustard.
- Mushroom & Spinach with Swiss: Sautéed mushrooms and spinach, folded into a crepe with melted Swiss cheese. Earthy and comforting.
How to Make
Cold Brew Coffee
Pair your delicious crepes with a refreshing homemade beverage! Check out this super simple tutorial on how to make your own cold brew coffee at home with just two ingredients. It’s perfect for meal prepping a big batch for the week!
Storage and Reheating Your Homemade Crepes
One of the great advantages of making crepes is that they can be prepared in advance and stored for later enjoyment. This makes them perfect for quick breakfasts or desserts throughout the week.
- Storing Cooked Crepes: Once your crepes have cooled completely to room temperature, stack them with a piece of parchment paper or wax paper between each crepe to prevent sticking. Place the stack in an airtight container or a large resealable bag. They will stay fresh in the refrigerator for up to 3 days.
- Freezing Crepes: For longer storage, crepes freeze beautifully! Stack cooled crepes with parchment paper between each, then wrap the stack tightly in plastic wrap and place in a freezer-safe bag or container. They can be frozen for up to 2 months. Thaw them overnight in the refrigerator before reheating.
- Reheating Instructions:
- Oven Method: For best results and to maintain a tender texture, preheat your oven to 325ºF (160ºC). Arrange the crepes in a single layer (or in a foil-wrapped stack) on a baking sheet. Heat for 5-10 minutes, or until they are gently warmed through.
- Microwave Method: For a quick reheat, place one or two crepes on a microwave-safe plate and heat for 10-20 seconds, or until warm. Be careful not to overheat, as they can become tough.
- Skillet Method: You can also quickly warm crepes in a lightly greased nonstick skillet over low-medium heat for about 30 seconds per side.
Frequently Asked Questions About Crepes
Q: Why are my crepes tearing when I try to flip them?
A: Tearing often indicates the crepe hasn’t cooked long enough on the first side, or your pan isn’t hot enough. Ensure the edges are slightly crispy and pull away from the pan before attempting to flip. Also, use a thin, flexible spatula for easier lifting.
Q: Can I make crepe batter ahead of time?
A: Absolutely! Crepe batter can be made up to 24 hours in advance. Store it in an airtight container in the refrigerator. In fact, resting the batter allows the flour to fully hydrate and the gluten to relax, often resulting in even more tender crepes. Give it a quick whisk before cooking, as it may thicken slightly.
Q: What is the best pan for making crepes?
A: A good quality 10-inch or 12-inch nonstick skillet with low sides is ideal. The nonstick surface prevents sticking, and the low sides make it much easier to swirl the batter and flip the crepes.
Q: My crepes are too thick. What went wrong?
A: This could be due to too much flour in your batter (ensure accurate measuring) or not enough liquid. Crepe batter should be very thin, like heavy cream. If your batter is too thick, simply whisk in an additional tablespoon of water or milk at a time until you reach the desired consistency.
Q: Can I make gluten-free crepes?
A: Yes, you can! Substitute the all-purpose flour with a 1:1 gluten-free all-purpose flour blend. Be aware that gluten-free batters might be a bit stickier or require slight adjustments to the liquid content. You might also want to let the batter rest a bit longer for optimal hydration.
More of our Favorite…
Delightful Sweet Breakfast Recipes
If you’ve enjoyed making these crepes, you might also love exploring other delicious sweet breakfast options from our collection:
- Healthy Lemon Ricotta Pancakes
- Cinnamon Roll Waffles
- Healthy Strawberry Pancakes
- Perfect French Toast
Easy Homemade Crepes Recipe
Learn how to make classic crepes in just 20 minutes with this incredibly simple and versatile recipe. You’ll only need 5 basic ingredients to create these delicate, flavorful treats that are perfect for any meal!
By: Emily Richter
Prep Time: 5 mins
Cook Time: 15 mins
Total Time: 20 mins
Servings: 4 (yields approximately 8 crepes)
Ingredients
- ½ cup whole milk
- ½ cup water
- 2 large eggs
- 2 tablespoons butter, melted
- 1 cup all-purpose flour
Instructions
- Add the milk, water, eggs, and melted butter to a blender. Blend on low to medium speed for 30 seconds until well combined.
- Next, add the all-purpose flour (and any chosen flavorings for sweet or savory crepes, see notes below) to the blender. Blend on low speed for 15 seconds. Scrape down the sides of the blender with a spatula if needed, then blend for an additional 15 seconds until the batter is smooth and no dry flour remains. The batter will be thin.
- Heat a large 12-inch nonstick skillet over medium heat until warm. Lightly grease the pan with a small amount of butter or non-stick cooking spray.
- Pour about 3 tablespoons of batter into the center of the hot pan. Immediately lift the pan and swirl the batter in a circular motion until it spreads thinly and evenly to the edges of the pan.
- Cook the crepe for about 1.5 to 2 minutes on the first side, until the edges are crispy and the surface is set and golden brown. Using a thin spatula, gently flip the crepe and cook for an additional 1 to 1.5 minutes on the second side.
- Remove the cooked crepe to a plate. Repeat with the remaining batter, lightly greasing the pan between crepes as needed.
- Fill the warm crepes with your favorite sweet or savory garnishes and enjoy immediately.
- Store any leftover, unfilled crepes in an airtight container in the refrigerator for up to 3 days.
Tips & Notes
- This recipe yields approximately 8 delicate crepes.
Variations
- For Sweet Crepes: In step 2, add 2 tablespoons of granulated sugar, 1 teaspoon of pure vanilla extract, and ¼ teaspoon of ground cinnamon to the batter along with the flour.
- For Savory Crepes: In step 2, add ½ teaspoon of kosher salt and ¼ teaspoon of garlic powder to the batter along with the flour.
Filling Options
- Sweet Fillings: Fresh fruits (bananas, berries, peaches, apples), jams, fruit spreads, lemon curd, Nutella, whipped cream, maple syrup, candied nuts, yogurt, or granola.
- Savory Fillings: Cheeses (brie, goat cheese, Swiss, cheddar), cured meats (ham, lox, bacon), sautéed vegetables (mushrooms, spinach, caramelized onions), scrambled eggs, capers, or fresh herbs.
Nutrition Information (per serving, approximate)
- Calories: 215 kcal
- Carbohydrates: 24 g
- Protein: 7 g
- Fat: 10 g
- Fiber: 1 g
- Sugar: 1 g
Nutrition information is automatically calculated and should only be used as an approximation.
Loved this recipe? Share your thoughts!
We love hearing from you! If you tried this easy crepe recipe and enjoyed it, please consider leaving a comment below. Your feedback helps us grow and inspires others to get cooking!
Don’t forget to tag your beautiful crepe creations on social media with the hashtag #fitfoodiefinds – we’d absolutely love to see what you’re up to and how you’ve customized your crepes!