
Yosemite National Park truly captured our hearts. On a recent, albeit brief, visit, my partner Mark and I embarked on an unforgettable adventure through its majestic landscapes. This comprehensive guide details our incredible journey, offering insights into where we stayed, what we ate, and the breathtaking hikes we conquered. Join us as Mark, an avid outdoorsman, shares his detailed account of our explorations, providing an insider’s perspective on maximizing a short trip to this iconic destination. Prepare to be inspired – apparently, he enjoys writing about nature’s wonders even more than I do!
Planning Your Yosemite Adventure: From Last-Minute Decisions to Wildfire Watch
Yosemite National Park was the second unforgettable stop on our “Tour de California,” and honestly, we never wanted to leave. If you missed it, our first stop was the vibrant Hermosa Beach, a stark contrast to Yosemite’s raw natural beauty. Our decision to visit Yosemite was quite last-minute, almost jeopardized by unforeseen circumstances. We had allocated about three days between Hermosa Beach and San Francisco for another adventure, and after extensive research and seeking recommendations from friends and family, Yosemite emerged as the clear, undisputed choice.
However, just days before our departure for California, a significant wildfire ignited in Mariposa, CA, bordering Yosemite to the west. This unsettling development cast a shadow of uncertainty over the initial part of our trip. We diligently monitored smoke levels through Twitter updates and the official National Park website. Despite the anxiety, our resolve to experience Yosemite remained firm. We decided to proceed, and thankfully, the smoke largely cleared, affecting our experience primarily on the first day. This experience served as a crucial reminder to always check park conditions, especially during peak seasons or fire-prone periods, to ensure a safe and enjoyable visit.
WHERE WE STAYED: Half Dome Village – Glamping in the Heart of Yosemite Valley
Thanks to incredible recommendations from our readers, Mark and I managed to secure a last-minute cancellation at Half Dome Village. This popular accommodation typically books up rapidly, but we suspect the active wildfire outside the park prompted some visitors to cancel their reservations, creating a fortunate opening for us. We certainly weren’t complaining about this stroke of luck!
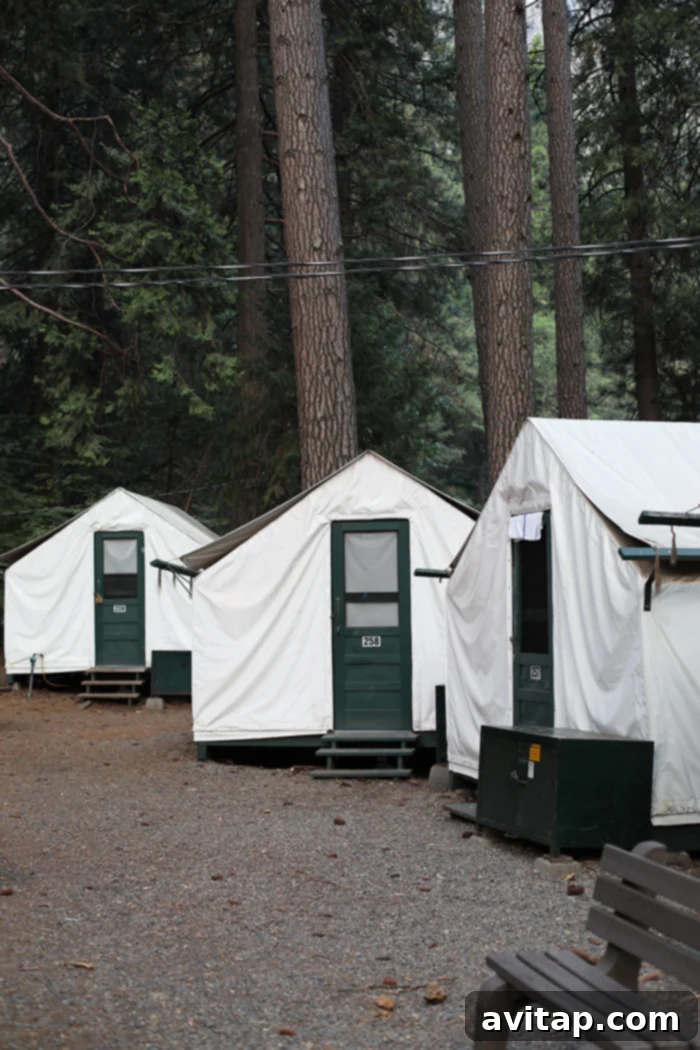
Half Dome Village, often described as the epitome of “glamping” in Yosemite, truly exceeded our expectations. It offers an exceptional experience for a multitude of reasons. Firstly, guests have diverse lodging options, from comfortable canvas tent cabins (like the one we rented) to more traditional hotel-style rooms, catering to various preferences and budgets. Secondly, its prime location within Yosemite Valley is unparalleled. It places you mere moments away from many of the park’s most iconic attractions, minimizing travel time and maximizing your exploration. Thirdly, the convenience factor is immense; you don’t need to worry about meal planning as the property boasts a variety of dining options, including a spacious dining hall, a popular pizza restaurant, and a well-stocked convenience store. Everything you need is right at your fingertips.
Our canvas tent cabin, or “yurt” as we affectionately called it, was surprisingly spacious, designed to comfortably sleep four people with two single beds and one double. While we didn’t require that much room, it was the only option available due to its last-minute nature. Since our California tour wasn’t solely focused on hiking and camping, we hadn’t packed extensive camping gear. This made the tent cabin absolutely perfect; it came fully equipped with fresh bed linens, soft towels, and essential electricity for charging devices. We utilized the shared bathroom facilities, which, despite their campground-esque feel, were clean and perfectly suited our needs.
One item we were incredibly grateful to have brought was our white noise machine. Mark had given it to me for Christmas, and now I can’t sleep without it! Sharing a campground with thousands of other eager visitors, not to mention the resident wildlife, meant there was a constant hum of activity. The white noise machine proved invaluable, ensuring restful nights amidst the bustling atmosphere.
FUELING YOUR YOSEMITE EXPLORATION: Dining Options and Essentials
As highlighted earlier, Half Dome Village offers remarkable convenience when it comes to food, largely eliminating the stress of planning major meals. With multiple on-site options, visitors are well-catered for. However, it’s worth noting that the prices for these conveniences are somewhat steeper, a common reality given the park’s isolated location where external dining choices are hours away. Recognizing this situation beforehand, we made a strategic stop at a grocery store before entering the park to stock up on crucial hiking essentials. Our carefully curated list included:
- PB&J’s for quick energy on the trails
- Nutrient-rich trail mix
- Delicious beef jerky, especially Lorissa’s Kitchen (a definite must-have!)
- A variety of energy bars: RX Bars, Perfect Bars, and Clif Bars
- Convenient mini bottles of wine for evening relaxation
- Hydrating Gatorade to replenish electrolytes during strenuous hikes
Beyond our packed provisions, we thoroughly explored the dining options available within Half Dome Village. The main dining hall effectively served its purpose, offering a mix of hit-or-miss dishes, but generally surpassing our expectations for park food. The pizza restaurant, however, was a standout! We were particularly impressed by their selection of local craft beers on tap, which provided a perfect, refreshing end to a day of hiking. If you find yourself staying at Half Dome, I highly recommend grabbing a local brew or two—it’s a delightful experience. Unfortunately, our brief stay didn’t allow us to explore all the culinary offerings, but we look forward to sampling more on our next visit!
CONQUERING YOSEMITE’S WONDERS: Our Unforgettable Hikes and Experiences
What’s up, TEAM FIT FOODIE! Mark (@dafunkshow) here, making my first official appearance on FFF, and what better subject to debut with than the grandeur of Yosemite National Park? For those curious about my long-standing connection to Fit Foodie, here’s a quick, amusing recap:
- 2008-2015: Firmly entrenched in the friend zone.
- 2016: Elevated to the blog title of “Man Candy” (flattering, yet not my favorite moniker!).
- 2017: Finally achieved the esteemed first-name status of “Mark.” Success!
Navigating Yosemite: Scenic Drives and Crowd-Avoiding Strategies
After an exhilarating six-hour drive from Los Angeles, we were eager to stretch our legs and immerse ourselves in Yosemite’s awe-inspiring scenery. Our entry point was the park’s east side, through the iconic Tioga Pass entrance, which had only just reopened in the final week of June due to record-breaking snowfall that year. If your visit coincides with the opening of Tioga Pass, make it an absolute priority to drive this route, either from the east into the valley or vice versa. It’s a narrow, two-lane road that ascends to nearly 10,000 feet in the High Sierras, then gracefully winds its way down to the valley floor. This 1.5-hour journey offers utterly unbelievable panoramic views at every turn. I admit, Lee had to remind me about half a dozen times to keep my eyes on the winding road ahead instead of continuously gazing at the majestic landscapes outside. Fair enough! We decided on Tenaya Lake for our first quick hike, conveniently located just off Tioga Pass Road, a few miles past Tuolumne Meadows.
A quick but crucial sidebar on how to navigate the crowds in Yosemite: drawing over 4 million visitors annually, it’s rarely deserted. However, we discovered some highly effective strategies to find moments of solitude amidst the splendor:
- Embark on Longer Hikes: The vast majority of tourists tend to stick to easily accessible viewpoints or very short trails. By committing to longer, more challenging hikes, you significantly increase your chances of finding tranquil spots away from the main tourist hubs. Lace up those hiking boots and venture further!
- Wake Up Early: This tip is beneficial for multiple reasons. Not only do you beat the rush at popular trailheads and viewpoints, but you also avoid the hottest part of the day and any afternoon thunderstorms that can quickly roll in, especially in the High Sierras. An early start often rewards you with serene beauty and incredible photo opportunities in soft morning light.
- Explore Beyond the Valley: Yosemite Valley, with its iconic features like Half Dome, El Capitan, and numerous magnificent waterfalls, understandably draws the largest crowds. These sites are absolute must-sees and should not be skipped. However, if your itinerary allows, venture into the High Sierra. Areas like Tuolumne Meadows and the surrounding peaks offer equally stunning, yet distinctly different, natural beauty, providing a profound sense of immersion in nature rather than amidst throngs of people.
Tenaya Lake: A Serene High Sierra Escape
Distance: 3.4 miles out and back
Elevation Gain: 259 feet (trail starts at approximately 8,100 ft)
Difficulty: Easy
Time: 2 hours
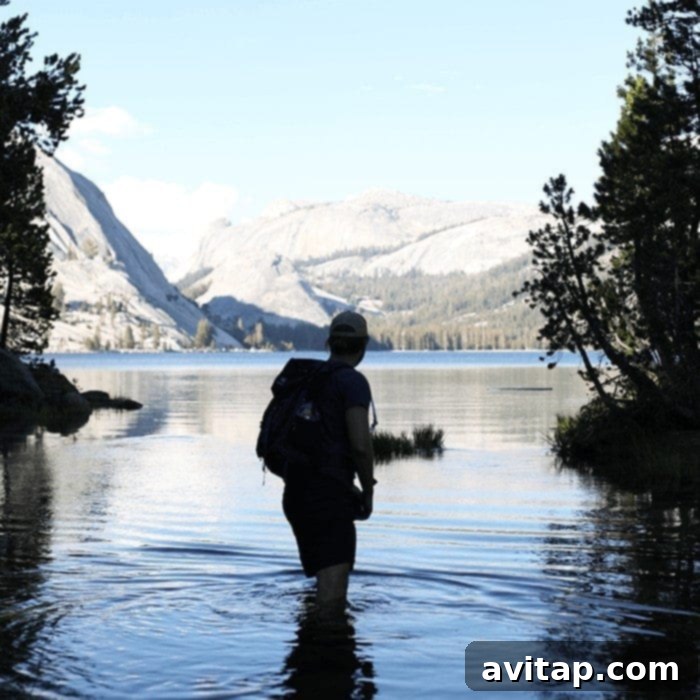
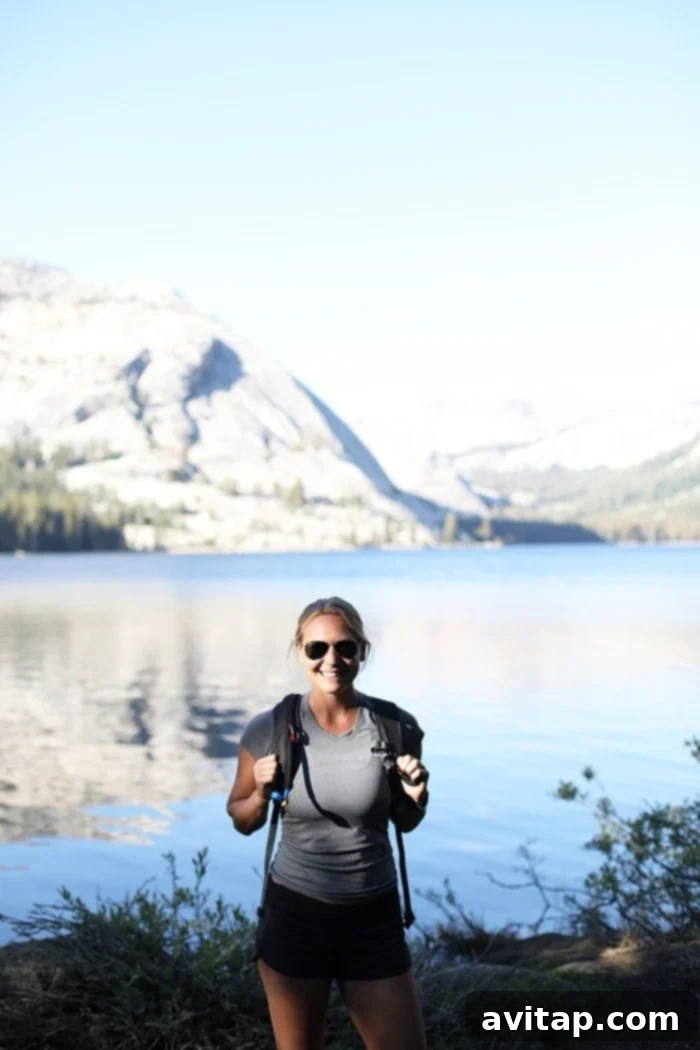
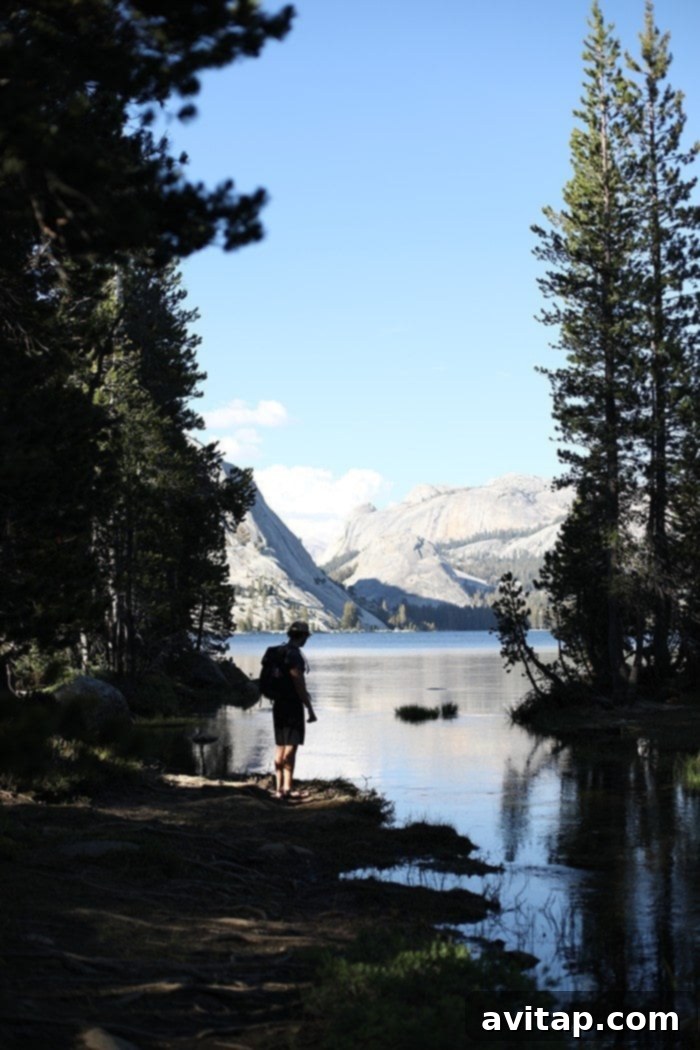
While technically an out-and-back trail, my adventurous spirit (or perhaps stubbornness) led us to transform it into an impromptu 4.5-mile loop. My plan to easily cross through some woods to a visible trail from the beach proved… not so easy. Remember that record-breaking snowfall I mentioned earlier? When over 200 inches of snowpack finally melts, it unleashes powerful, fast-moving streams, elevated water levels, and gushing waterfalls. Our first encounter with this phenomenon was as we approached the Tenaya trail, confronted by a 20-foot wide, mid-thigh deep stream blocking our path. Despite Lee’s sensible pleas to turn back, I insisted we wade through. After all, we were already wearing our amphibious shoes, and we were in Yosemite-freaking-National Park—why not embrace a little adventure?
We successfully crossed, rewarded instantly with breathtaking views across a pristine glacial lake, framed by dramatic granite cliffs. (Sidebar/told-you-so moment: Lee also captured what became the cover photo for this very post of me wading through that water. So, you’re welcome for my stubbornness, Lee! 😉) The remainder of the trail was relatively flat, and we only encountered one more creek crossing as we completed our full loop around the lake. The entire hike took us about two hours. Afterward, we hopped back in the car and made our way to our new home for the next two days in Half Dome Village. We both agreed that Tenaya Lake would have been an ideal spot for a packed lunch or dinner, given its numerous serene beaches and convenient campsites.
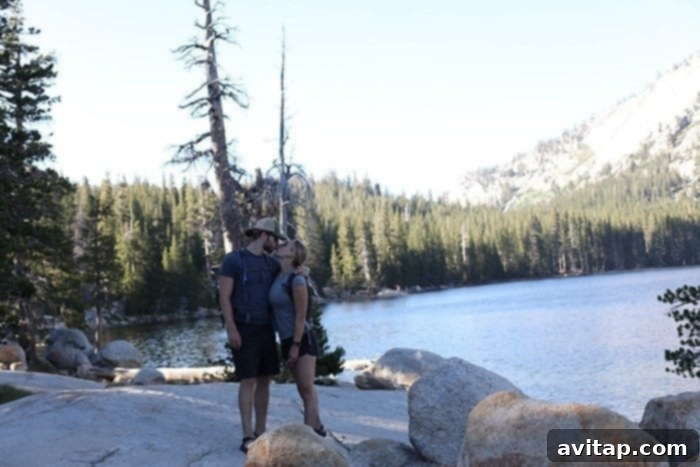
The Epic 4-Mile and Panorama Trail Loop: A Full Day of Breathtaking Vistas
Distance: 4.6 miles point to point (4-Mile Trail)
Elevation Gain: 3389 feet
Difficulty: Strenuous
Time: 3 hours (4-Mile Trail only, one way)
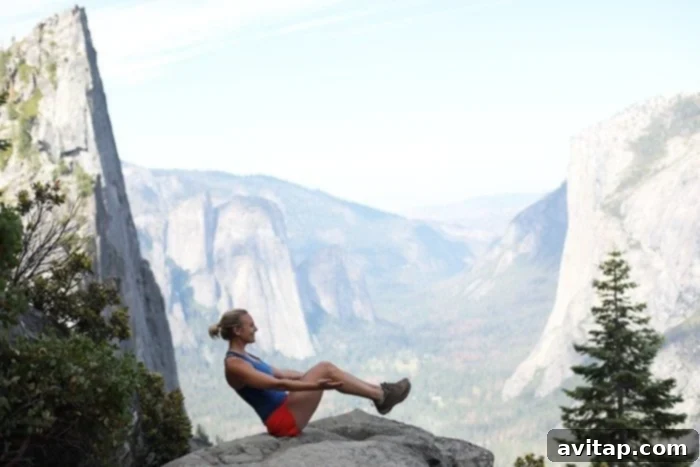
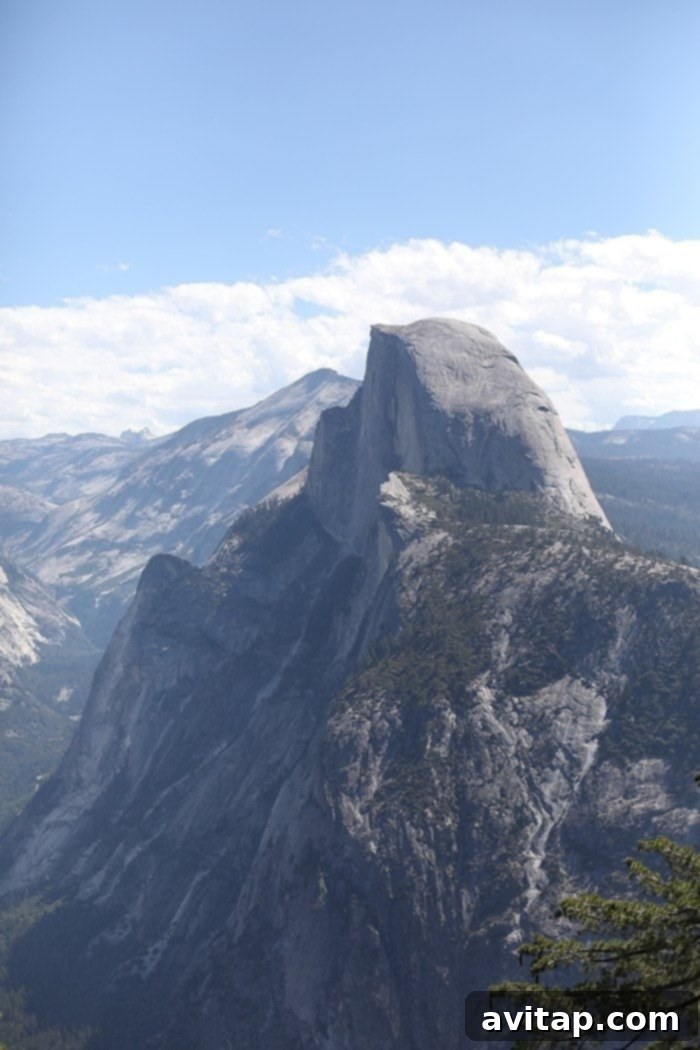
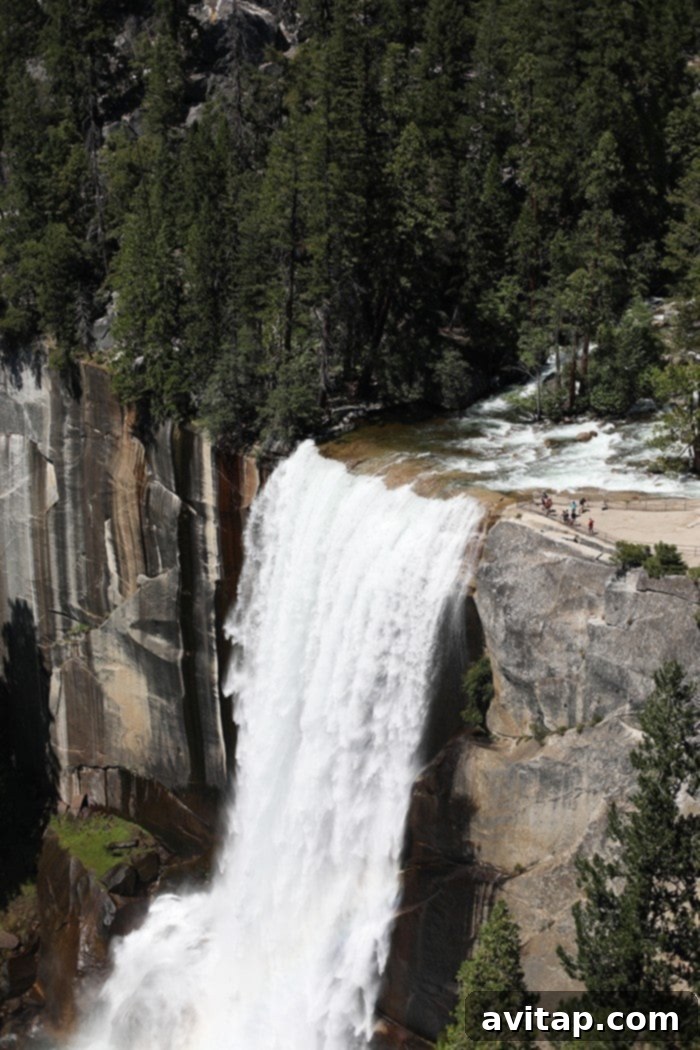
I am a steadfast believer that combining the 4-Mile Trail with the Panorama Trail offers the absolute best way to experience all the majestic highlights Yosemite Valley has to offer in a single day. This route makes for a long, demanding day of hiking—approximately 14 miles and 8-10 hours, depending on your pace and how often you pause to refuel and absorb the incredible scenery—but the reward is immeasurable. Along this journey, you are treated to unparalleled views of iconic landmarks such as Half Dome, El Capitan, Sentinel Rock, and the Cathedral Rocks. Additionally, you’ll witness the grandeur of no less than four spectacular waterfalls: Yosemite Falls, Illilouette Falls, Nevada Falls, and Vernal Falls! It’s a waterfall enthusiast’s dream. For those with less time or who prefer a shorter challenge, both the 4-Mile and Panorama Trails are exceptional five-star hikes in their own right.
Ascending the 4-Mile Trail
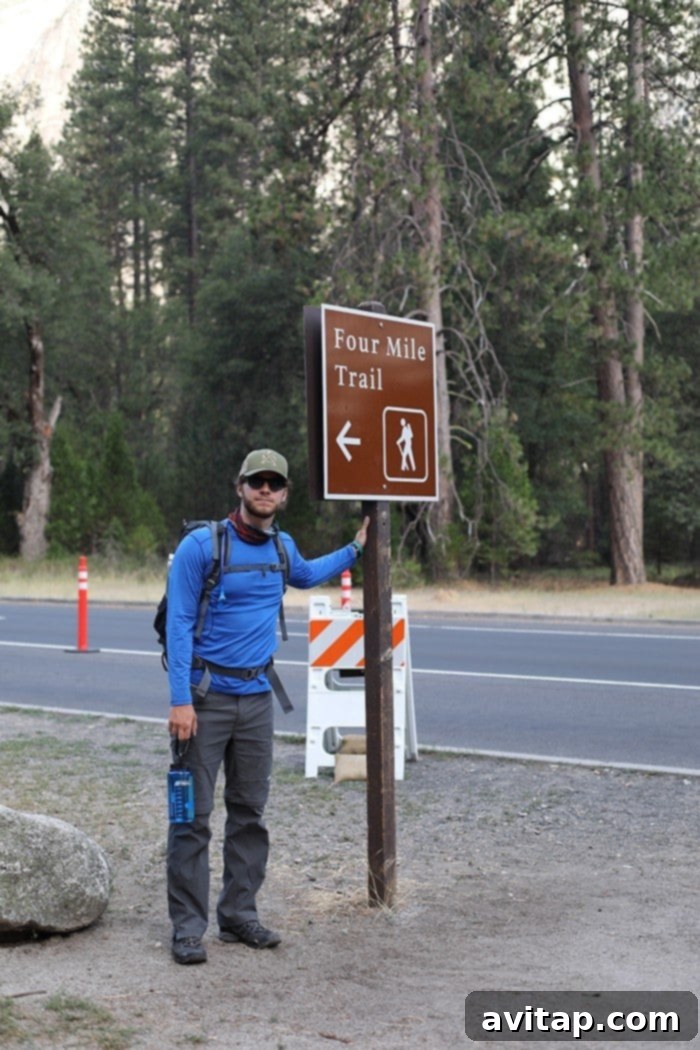
The 4-Mile Trailhead is conveniently located about 1.5 miles from Half Dome Village. We rose with the sun, enjoyed a hearty breakfast and coffee, and set out. To facilitate our planned loop, we parked our car at Camp 4 and walked the short half-mile to the trailhead. Our strategy involved taking the efficient Yosemite Valley shuttle bus from the end of the Panorama Trail back to Camp 4, as the two trails don’t form a perfect loop. The bus system in Yosemite Valley is incredibly convenient, running every 15 minutes, making navigation effortless.
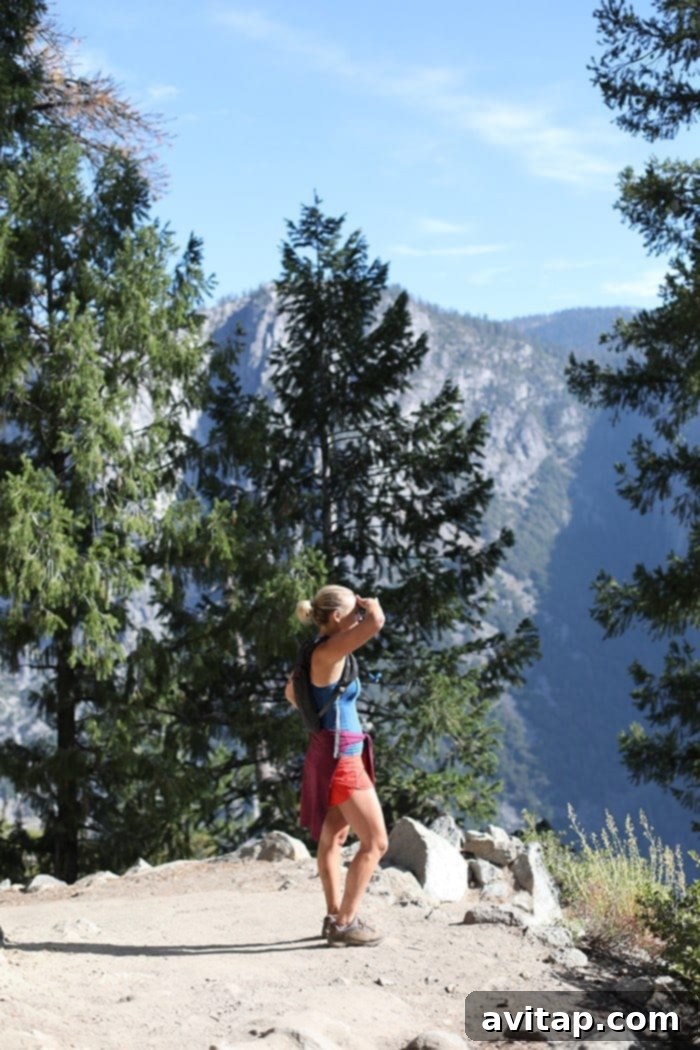
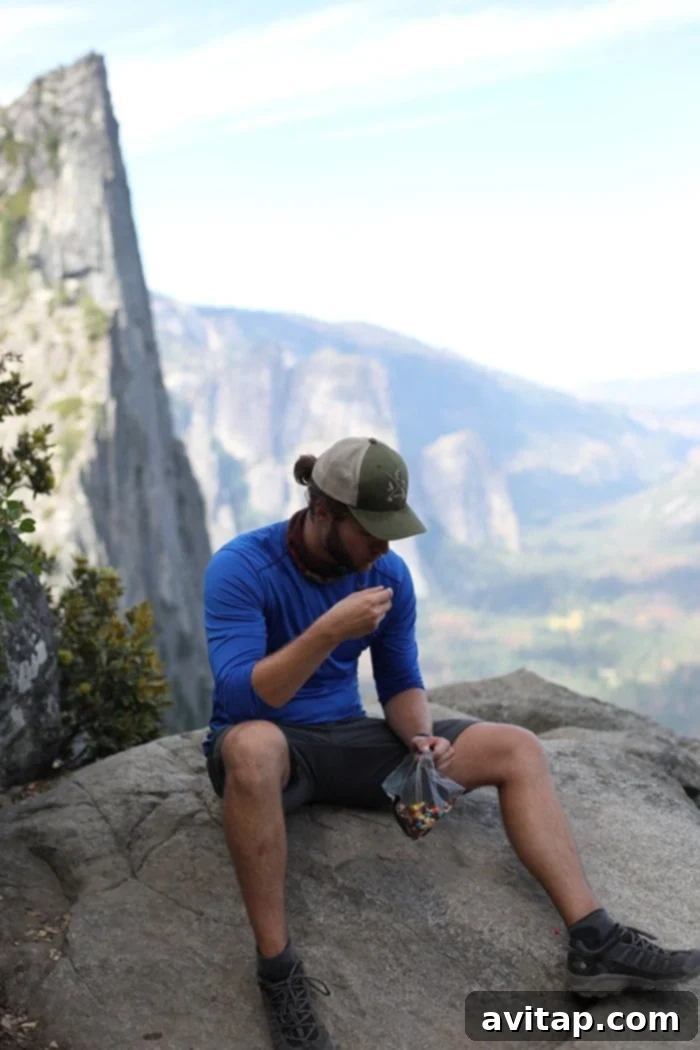
The 4-Mile Trail is essentially a relentless 4.6-mile ascent directly uphill. Mostly wooded, the path periodically opens up, offering tantalizing glimpses through the trees. With every half-mile gained, the views become increasingly spectacular, culminating in the world-renowned Glacier Point. This iconic viewpoint offers dramatic, sweeping vistas of Yosemite Valley and the unmistakable Half Dome, making it arguably the most Instagrammed spot in the entire park. The trail itself was remarkably quiet, with almost no one else hiking, a stark contrast to the hundreds of people we suddenly encountered at Glacier Point. While it was a bit frustrating to see buses of tourists being dropped off at the summit, there’s an undeniable sense of accomplishment and reward in earning that magnificent view through your own effort. (Note: If you wish to only hike the 4-Mile Trail one-way, you can take a bus up or down, parking your car at either end, though the bus ride typically costs around $25.) Interestingly, I found my personal favorite view about halfway up the trail, looking in the opposite direction of Half Dome, where El Capitan and Sentinel Rock perfectly framed the Merced River winding through the valley below.
By the end of this strenuous climb, you will undoubtedly feel exhausted. Adequate hydration is paramount. We carried and consumed 5 liters of water between the two of us on the ascent, refilled at Glacier Point, and then drank another 5 liters on our descent via the Panorama Trail.
Descending the Panorama Trail: Waterfalls and Hidden Gems
Distance: 9.5 miles point to point
Elevation Loss: 3200 feet
Difficulty: Strenuous
Time: 5 hours
From Glacier Point, simply follow the clear signs leading to the Panorama Trailhead. Almost immediately upon starting this descent, you’ll leave the crowds behind, re-entering a serene wilderness where human encounters are limited to an occasional friendly “Hello!” from fellow hikers. Lee and I make it a point to greet every person we pass – a little touch of that Midwestern hospitality, even in the heart of California!
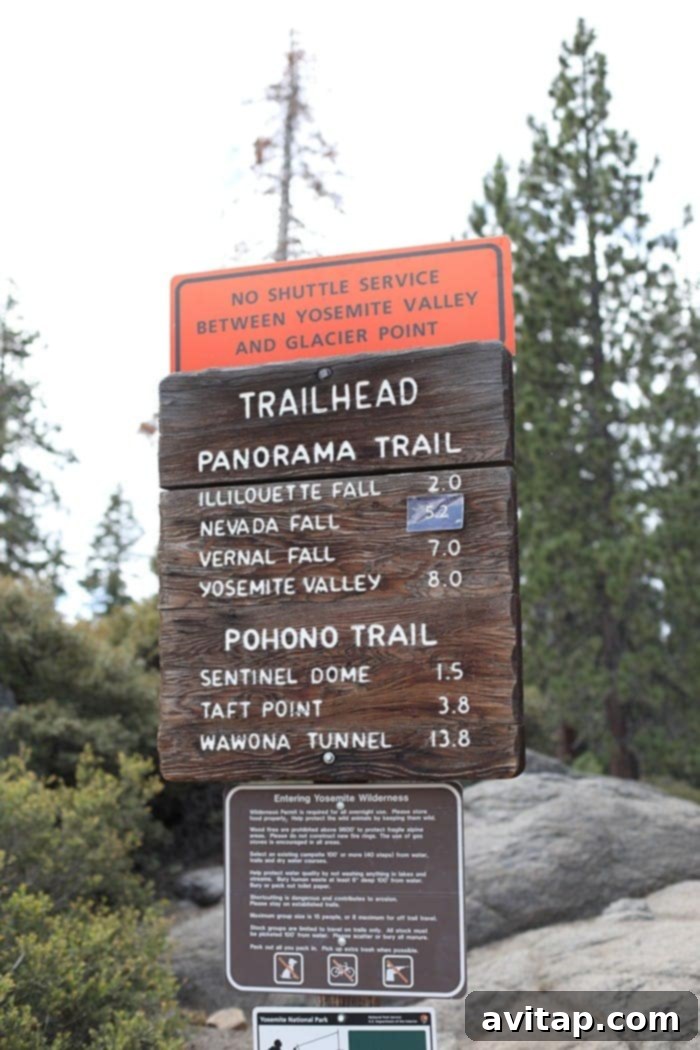
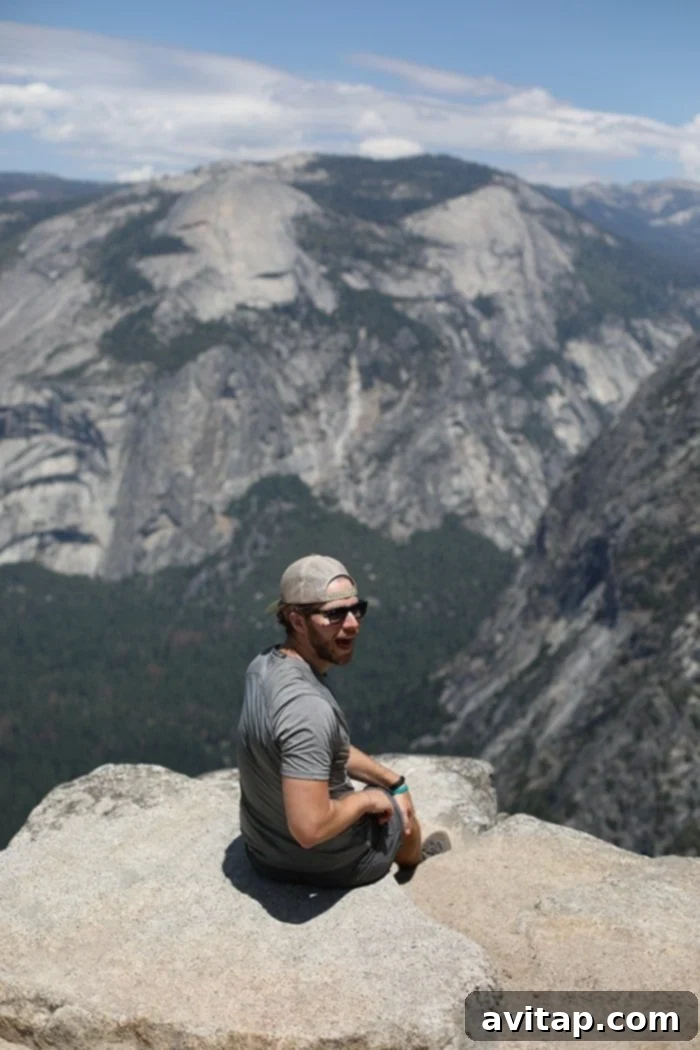
The Panorama Trail lives up to its name, offering truly spectacular, expansive views of the park. It’s a continuous “wow” moment, with vistas unfolding around every bend. The trail begins by heading downhill from Glacier Point towards the beautiful Illilouette Falls. Here’s an incredible tip I discovered online, which I feel compelled to share: about half a mile past Illilouette Falls, there’s an unmarked path veering left a couple of hundred feet. This path, though narrow and leading through some prickly bushes, eventually opens up to a magical spot known as Panorama Point. This became my favorite part of the entire hike, though it’s not for those with a fear of heights. As you emerge from the brush and approach the point, you’re greeted by a refreshing gust of wind and an absolutely breathtaking, unobstructed view of the valley, dramatically framed from *behind* Half Dome. Exercise caution, however, as there are no guard rails here – just raw, untamed beauty.
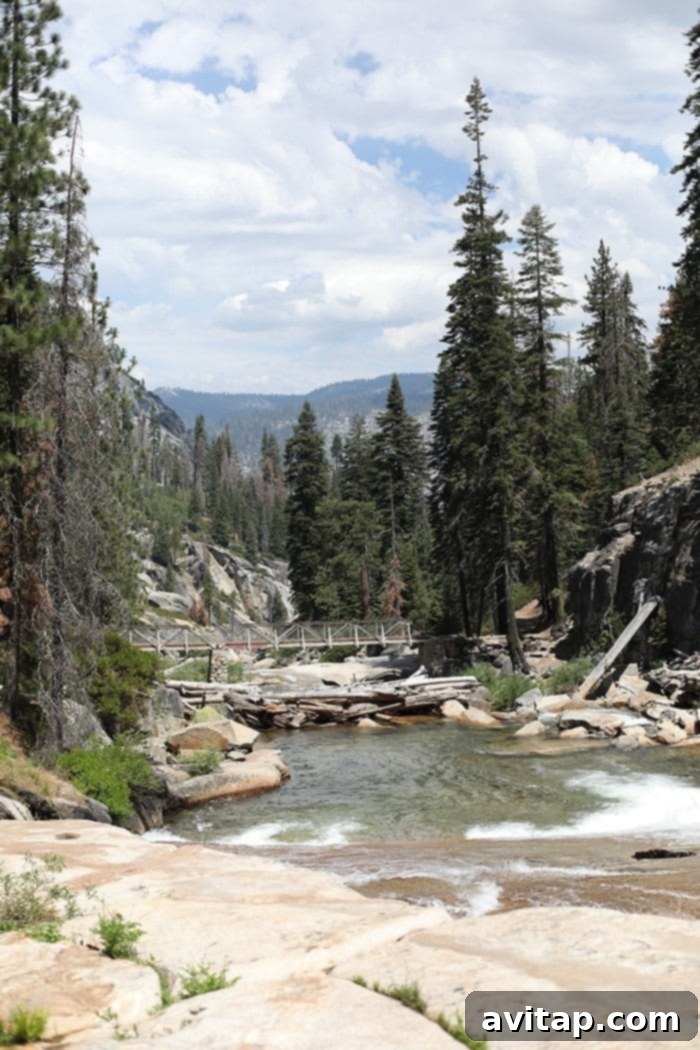
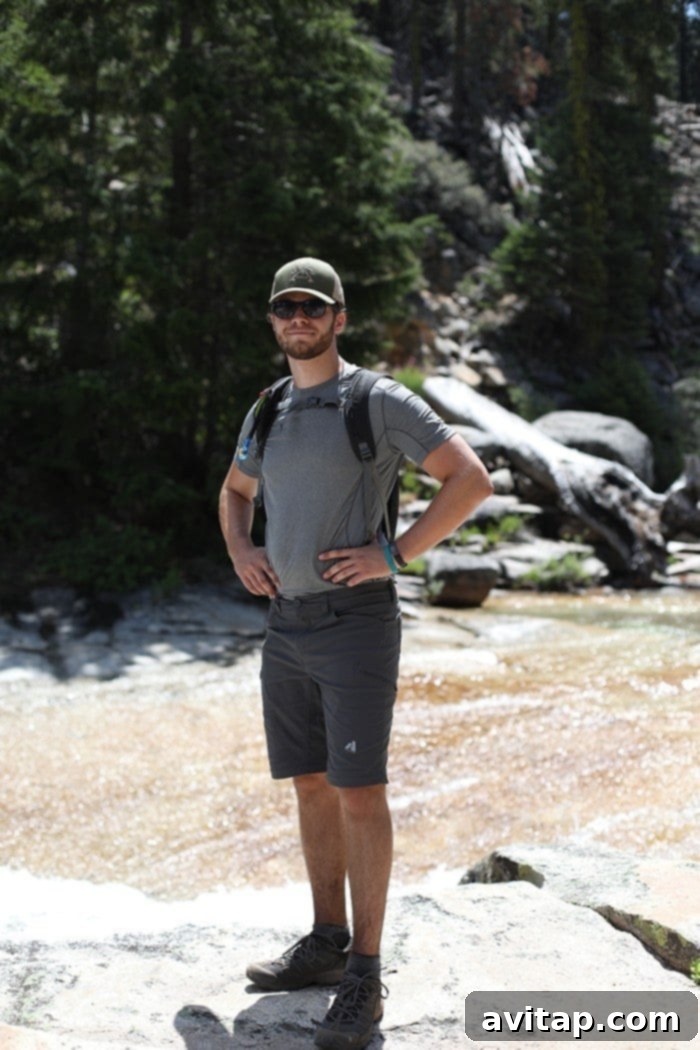
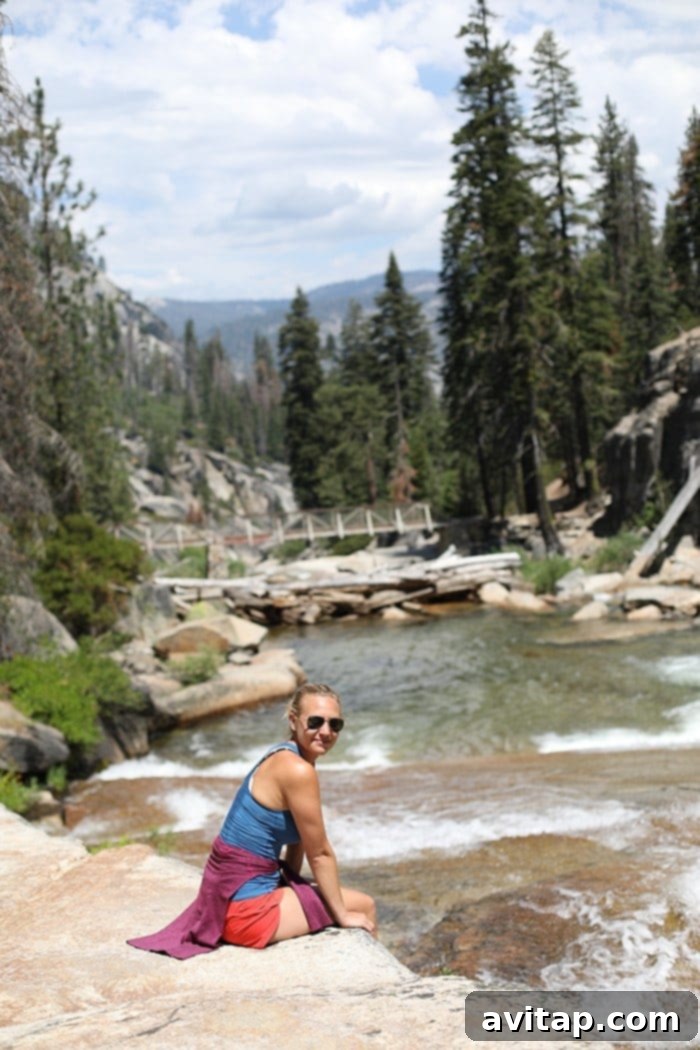
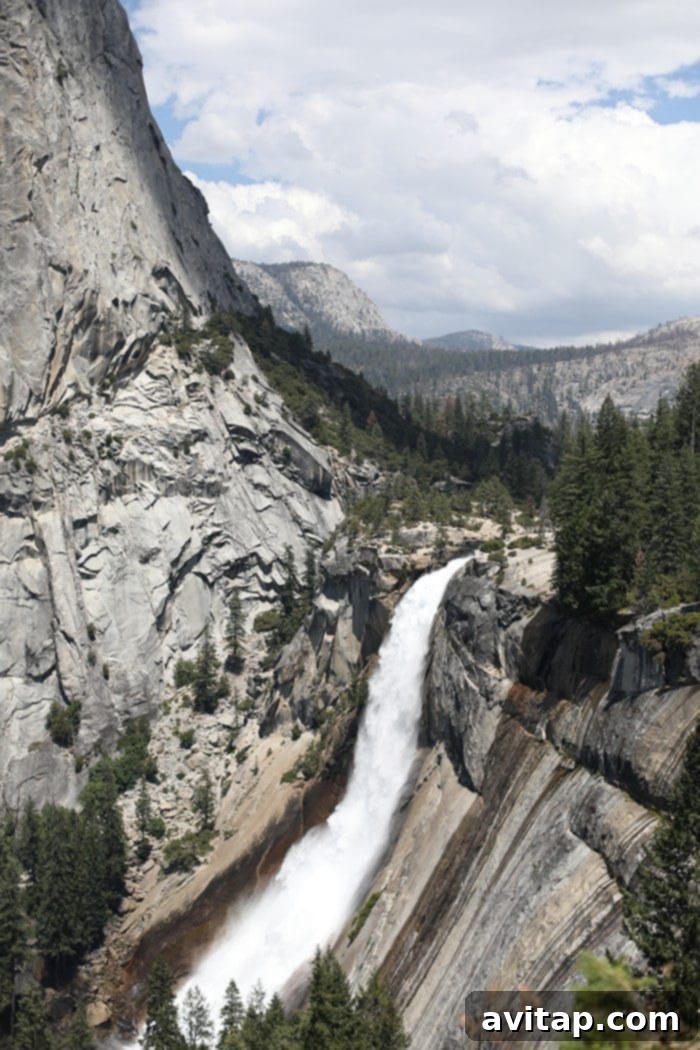
From Panorama Point, you’ll endure a short uphill climb before beginning the final, significant descent that brings you face-to-face with Nevada and Vernal Falls. It’s at this point that the Panorama Trail converges with one of Yosemite’s most popular routes: the Mist Trail. While approximately 90% of the Panorama Trail remains relatively lightly trafficked and peaceful, the Mist Trail is a different story altogether. Everyone, including us, adores waterfalls! If you are fortunate enough to visit after a snowy winter, as we were, you will be treated to a truly powerful display of gushing waterfalls and will get sufficiently “misted” on the slippery descent. After this exhilarating but damp experience, we caught the convenient valley shuttle bus and headed back to our Half Dome Village base camp, eager for a gigantic pizza and a much-deserved local beer. I opted for a Sierra Nevada, which felt perfectly fitting. Plus, I’d heard that Sierra Nevada is a 100% solar-powered brewery – how incredibly neat is that?!
Cathedral Lakes: Tranquility in the High Sierra
Distance: 7 mile out-and-back
Elevation Gain: 800 feet
Difficulty: Moderate
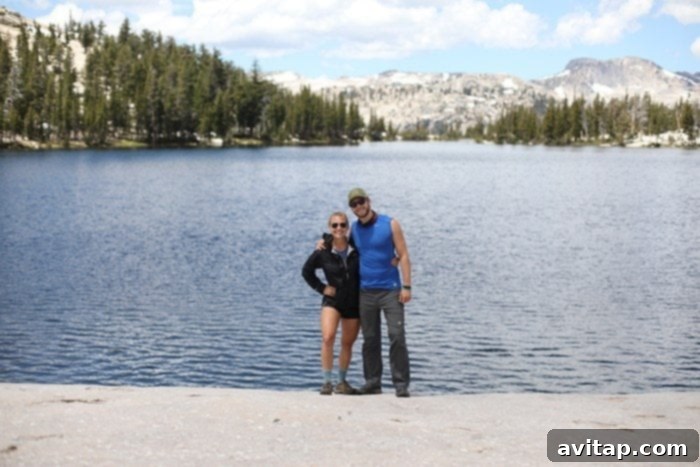
On our final day in Yosemite, seeking a different perspective, we decided to venture beyond the bustling valley and explore one of the High Sierra’s many pristine alpine lakes. Our destination: Lower Cathedral Lake. We conveniently parked our car at the trailhead, situated at approximately 8,500 feet on the side of Tioga Pass Road, marking the start of a peaceful ascent.
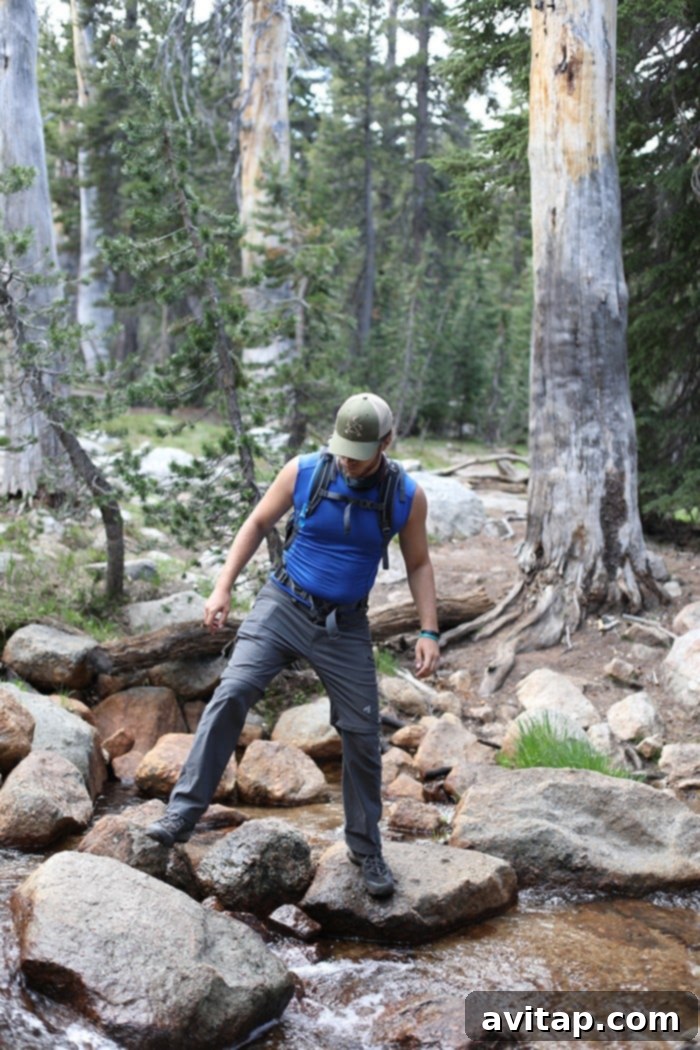
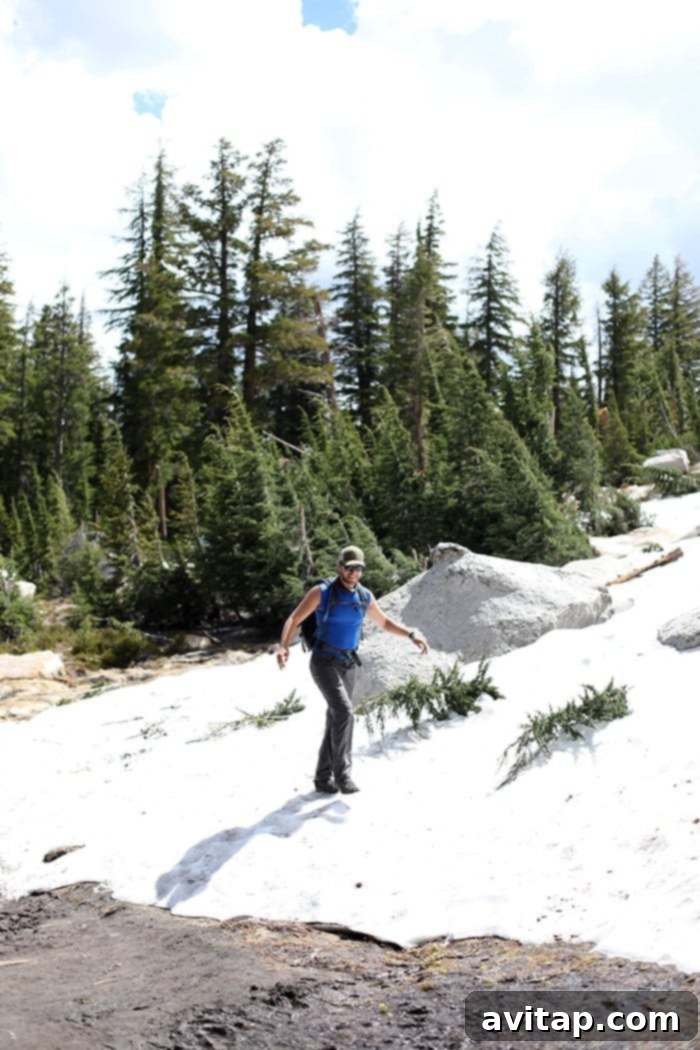
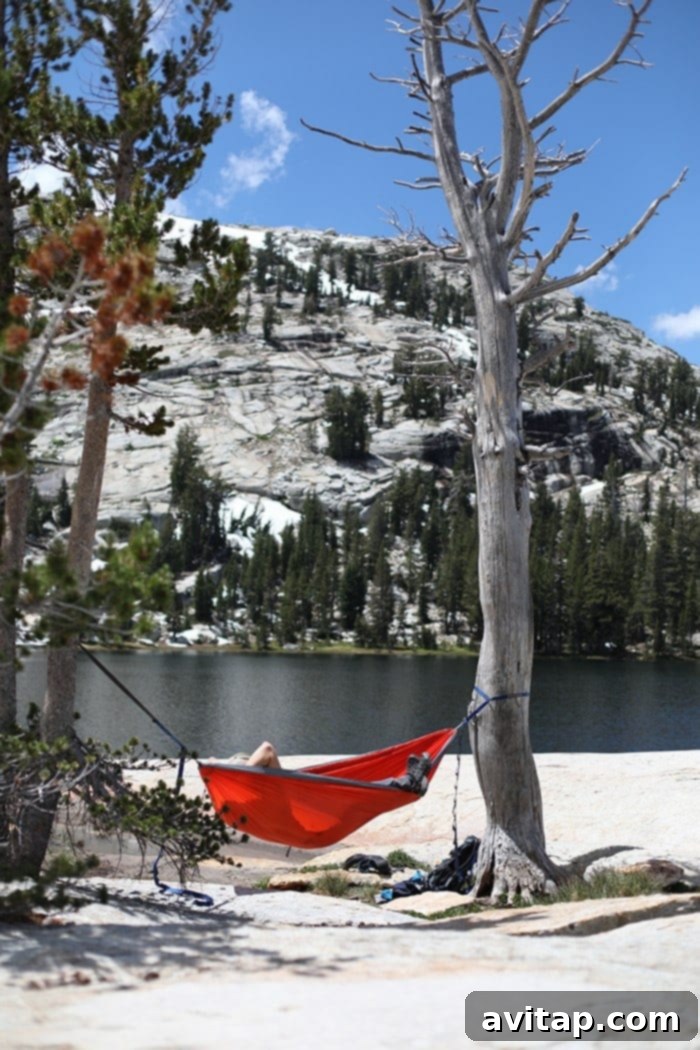
This trail offered a welcome change of pace. It was almost entirely canopied by dense forest, providing abundant shade from the sun, which was a pleasant relief. In stark contrast to the popular valley hikes, we encountered very few other hikers here, mostly a handful of backpackers embarking on longer journeys. The hike began with a gentle uphill climb through the serene wilderness. Along the way, we were delighted by glimpses of local wildlife—a cautious marmot scurrying amongst the rocks and a sleepy deer pausing beneath the trees were among the few animals we spotted. After a minor moment of concern, fearing we had lost the trail due to unexpectedly high water levels (which led to several more exciting creek crossings and even patches of lingering snow!), we found ourselves just a quarter-mile from the breathtaking, granite-wrapped beauty of Lower Cathedral Lake. We carefully hopped our way through a marshy section before settling down for a well-deserved lunch on our ENO Hammock, suspended above the shimmering water, before beginning our journey back. It was a truly tranquil and invigorating experience, offering a profound sense of solitude amidst nature.
Stargazing at Glacier Point: A Celestial Spectacle
Imagine being 10,000 feet up with absolutely zero light pollution. Sold! For a truly unforgettable evening, we secured tickets for a ranger-led stargazing tour and drove back up to Glacier Point’s amphitheater seating. The goal: to witness the Milky Way in all its glory, up close and personal. Tickets were a mere $10 if you drove yourself, a much more appealing option than the $50 round-trip bus ticket – especially since Lee, prone to motion sickness, would have undoubtedly found that winding, hour-long bus ride utterly unbearable.
I can honestly say I had never seen so many stars in my life. And I had certainly never witnessed the Milky Way emerge from its hidden cosmic depths with such breathtaking clarity outside of photographs and computer wallpapers. But there she was, in all her glorious, purply splendor, a celestial river stretching across the dark canvas of the night sky. The ranger-led aspect was fantastic, with a knowledgeable guide pointing out various constellations and nebulae using a laser pointer, bringing the vastness of space into vivid focus. Lee, despite her best efforts, eventually drifted off to sleep, but I imagine the 15 minutes she did experience were nothing short of spectacular. This stargazing experience at Glacier Point earns a perfect 10/10 from us – a profound and humbling encounter with the universe.
Yosemite, you truly are magnificent. We will absolutely be back to explore your wonders again.
————————————
Hi again! Lee here. So there you have it, folks—a truly thorough recap of how to experience the best of Yosemite in just 48 hours. Mark’s detailed insights into the hikes perfectly capture the spirit of adventure and the sheer beauty of the park. Now, I’d love to hear from you! Have you been to Yosemite? What were your favorite trails, viewpoints, or experiences? We’re already dreaming and scheming about our next visit, and your recommendations would be invaluable!