
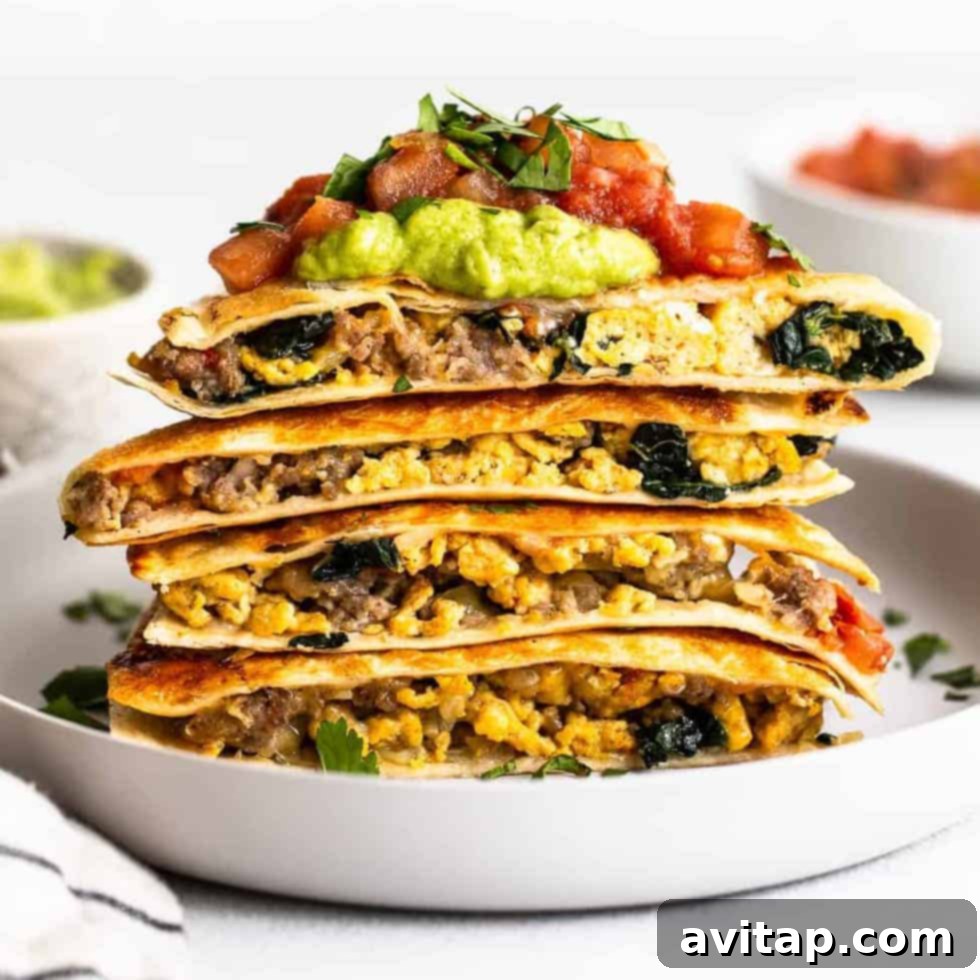
Say goodbye to rushed mornings and breakfast dilemmas with these incredible make-ahead freezer breakfast quesadillas. Designed for ultimate convenience and packed with savory flavor, these quesadillas are an absolute game-changer. Whether you’re a busy parent, a student, or simply someone who loves a stress-free start to the day, this recipe will become your go-to solution when you need a delicious and satisfying breakfast without the fuss.
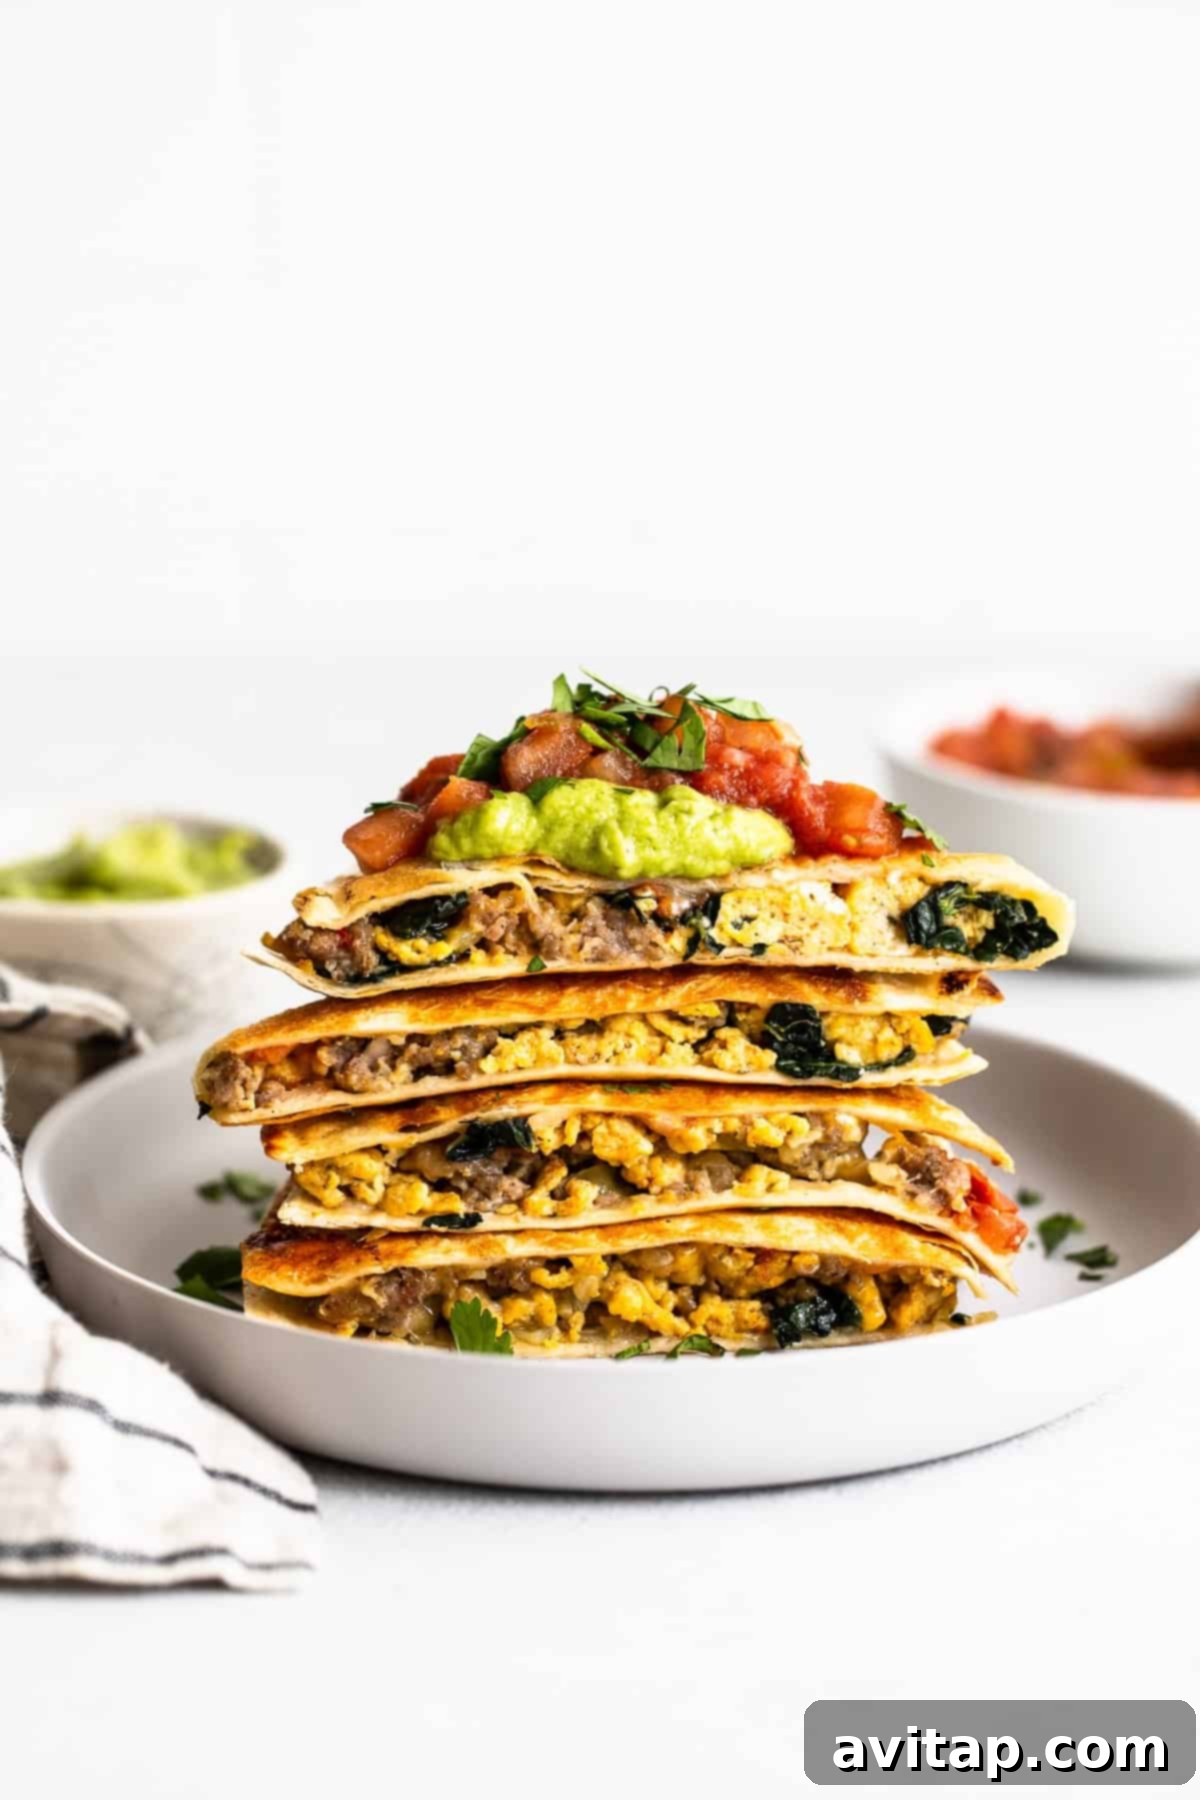
Breakfast Quesadillas Made Easy: Your Morning Game-Changer
You’re about to fall in love with these freezer-friendly breakfast quesadillas! Beyond their incredible taste, this guide provides a dual approach: how to whip them up for immediate enjoyment and, more importantly, how to expertly meal prep them for your freezer. Imagine having a wholesome, flavorful breakfast ready to reheat in mere minutes, offering both convenience and comfort on even the busiest of days. These quesadillas combine fluffy eggs, savory sausage, and fresh vegetables, all wrapped in a golden tortilla – a truly satisfying way to kickstart your day.
Why Make-Ahead Breakfast is Absolutely Amazing
Picture this: a freezer brimming with homemade, wholesome breakfast options, ready for you to simply defrost and enjoy whenever hunger strikes. We are huge advocates for meal prepping, also known as make-ahead recipes, and for countless excellent reasons. Integrating make-ahead meals like these breakfast quesadillas into your routine offers unparalleled advantages:
- Grab & Go Convenience: Eliminate morning stress with breakfast already prepared. Simply grab a quesadilla from the freezer, reheat, and you’re out the door. This saves precious time, allowing you to enjoy a relaxed start or catch a few extra minutes of sleep.
- Healthy Eating Made Simple: Make-ahead recipes are your secret weapon for maintaining a healthy diet. By having nourishing options readily available in your freezer, you’re less likely to reach for less healthy, processed alternatives when hunger strikes, making healthy eating effortless.
- Effortless Meal Planning: These breakfast quesadillas integrate seamlessly into any weekly meal plan. Preparing a batch ahead of time simplifies your planning process, ensuring you always have a delicious, balanced meal on hand, whether for breakfast, a quick lunch, or a late-night snack.
- Budget-Friendly: Cooking at home and meal prepping significantly reduces your reliance on expensive takeout or drive-thru options. By buying ingredients in bulk and preparing meals in advance, you can enjoy delicious food while keeping your food budget in check.
- Reduces Food Waste: Meal prepping allows you to use up ingredients efficiently, minimizing food waste. By planning your meals and using fresh produce before it spoils, you contribute to a more sustainable kitchen.
Essential Ingredients for Your Delicious Freezer Breakfast Quesadillas
Crafting these delectable breakfast quesadillas requires a thoughtful selection of fresh and flavorful ingredients. Here’s what you’ll need to create your batch of morning masterpieces, along with some helpful tips for each:
- Eggs: The foundational element of our breakfast quesadillas, eggs provide rich protein and a creamy texture. You’ll need a dozen large eggs to ensure a generous, fluffy filling for all your quesadillas.
- Taco Seasoning: Elevate the flavor profile of your eggs and sausage with a kick of taco seasoning. We highly recommend using our homemade taco seasoning for its vibrant, fresh blend, but any quality store-bought taco seasoning will work wonderfully.
- White Onion: Finely minced white onion introduces a subtle sweetness and aromatic depth, significantly enhancing the overall flavor of these breakfast quesadillas.
- Ground Breakfast Sausage: A staple for any hearty breakfast, ground breakfast sausage adds savory richness. For a delicious vegetarian option, feel free to substitute with your favorite plant-based ground alternative.
- Minced Garlic: Freshly minced garlic is key for an irresistible aroma and robust flavor. We always prefer fresh over jarred garlic for that extra punch.
- Chopped Kale: Incorporate a healthy boost of greens with chopped kale. If kale isn’t your preference or isn’t available, diced bell peppers, spinach, or zucchini are excellent substitutions, adding color and nutrients.
- Salsa: Your favorite salsa brings a burst of fresh, tangy, and spicy notes to the quesadillas. Choose a mild, medium, or hot salsa based on your preference for an added layer of flavor.
- Shredded Cheese: The gooey, melty heart of any good quesadilla! Feel free to use whatever shredded cheese you have on hand. Classic cheddar, a vibrant Mexican blend, or creamy Monterey Jack are all fantastic choices that melt beautifully.
- Flour Tortillas: For these breakfast quesadillas, particularly when freezing, flour tortillas are highly recommended. Their flexibility and durability help them hold together much better during cooking and prevent cracking when frozen and reheated. If you plan to serve the quesadillas immediately, corn or gluten-free tortillas can also be used, though they may be more delicate.
- For Serving: Customize your quesadilla experience with an array of delicious toppings! We suggest fresh salsa, creamy avocado or guacamole, a dash of hot sauce for extra zing, fragrant chopped cilantro, or a dollop of cooling sour cream (or Greek yogurt for a healthier alternative).
Crafting Your Freezer Breakfast Quesadillas: Step-by-Step Guide
Creating these delightful breakfast quesadillas is a straightforward process. Follow these easy steps to prepare a batch for immediate enjoyment or for freezing to savor later.
Step 1: Prepare the Flavorful Egg Mixture
Begin by cracking a dozen large eggs into a spacious mixing bowl. Whisk them vigorously until the yolks and whites are thoroughly combined and the mixture is homogeneous. Next, add the taco seasoning to the whisked eggs and whisk again, ensuring the seasoning is evenly distributed for a burst of flavor in every bite. Set this prepared egg mixture aside.
Step 2: Sauté the Savory Sausage and Vegetables
Heat a large nonstick skillet over medium-high heat. Add 1 tablespoon of olive oil to the hot pan. Once the olive oil is fragrant, add the minced white onion and a pinch of salt. Sauté the onion for 2-3 minutes until it begins to soften and become translucent. Then, add the ground breakfast sausage and minced garlic to the skillet. Use a spatula to break up the sausage and combine all ingredients. Continue to sauté for another 2-3 minutes. Finally, stir in the chopped kale (or your chosen vegetable) and cook until the meat is fully browned and the vegetables are tender.
Step 3: Cook the Fluffy Eggs
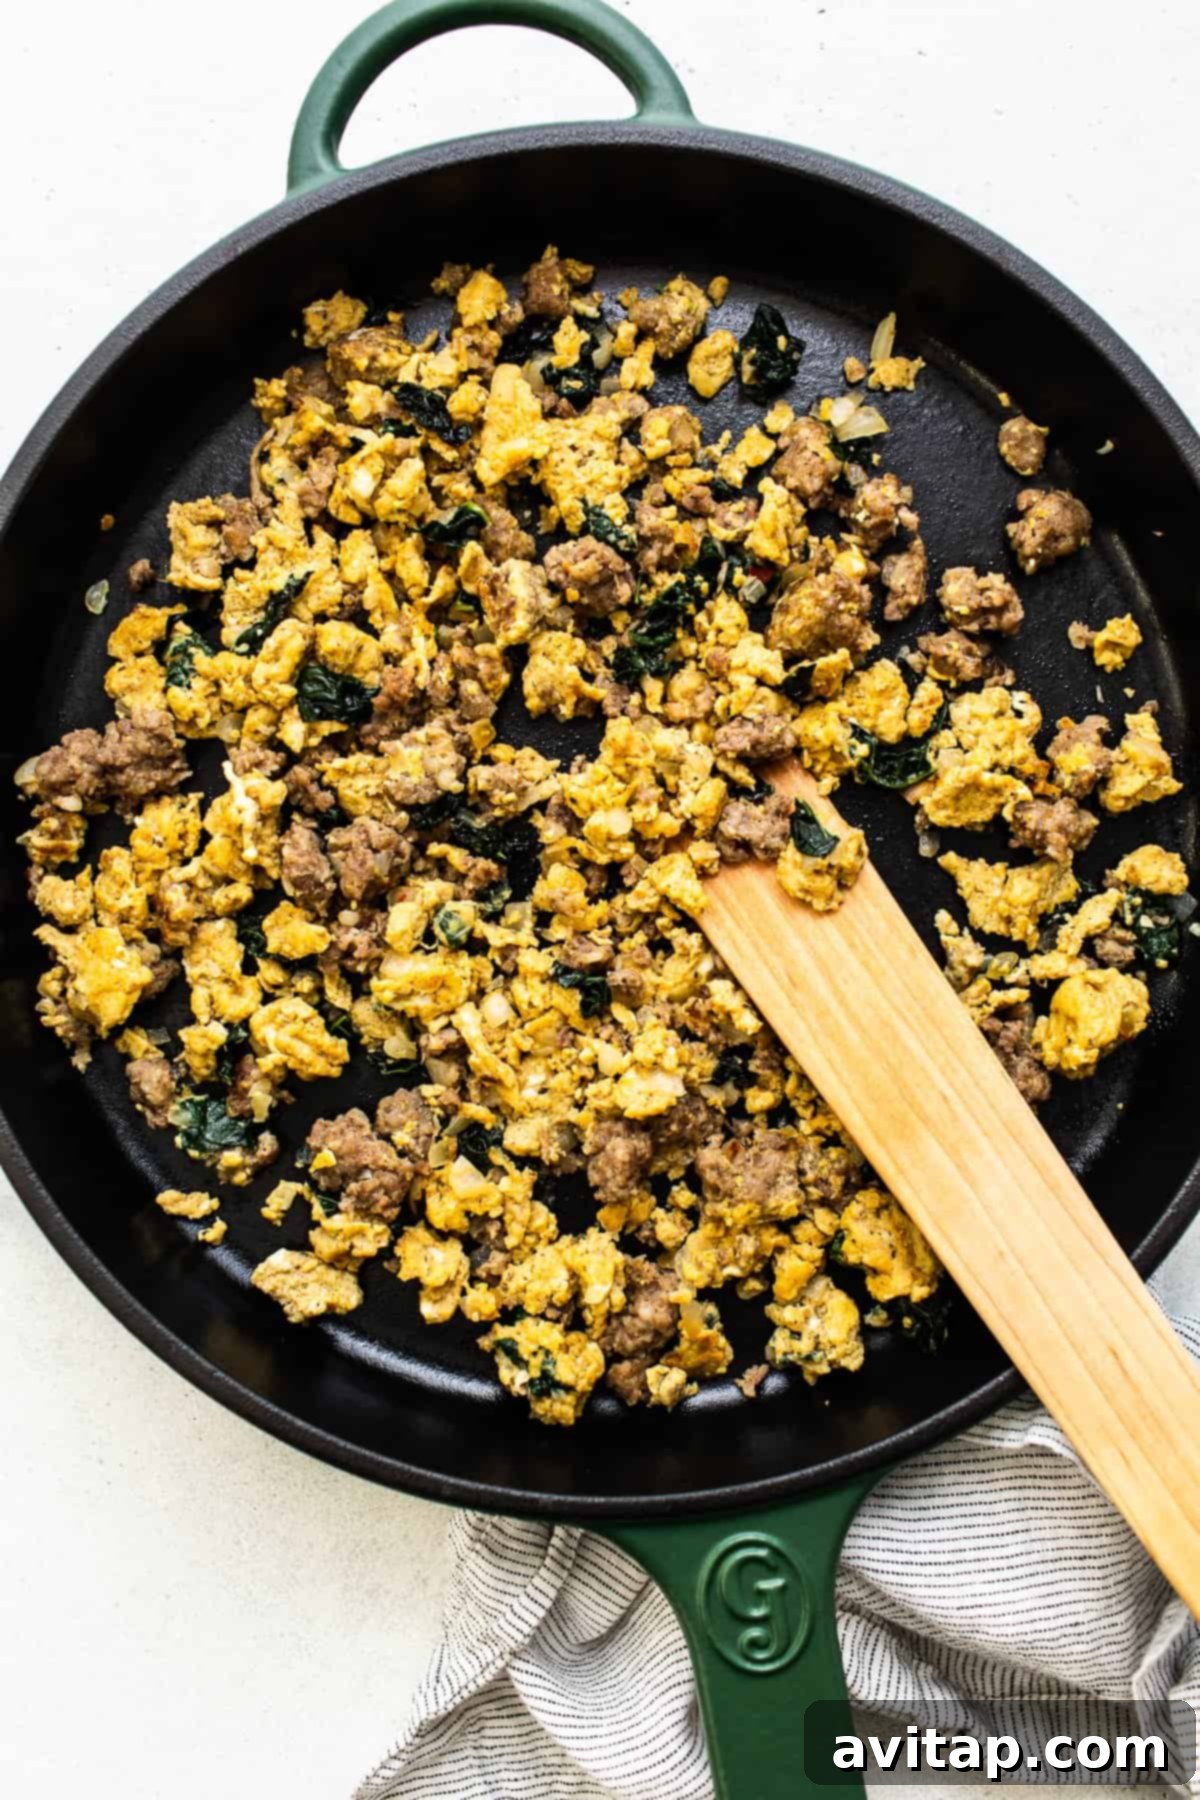
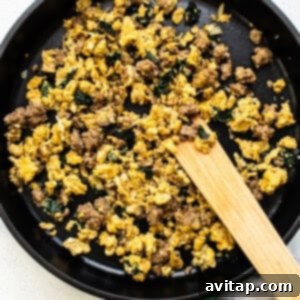
Pour the whisked egg mixture directly into the skillet with the cooked sausage and vegetables. Cook the eggs over medium-high heat, using your spatula to gently push and scramble the eggs until they are fully cooked through and fluffy. Once cooked, remove the entire egg and sausage mixture from the pan and transfer it to a separate bowl. Now, your delicious filling is ready for assembly!
Step 4: Assemble and Cook Your Quesadillas
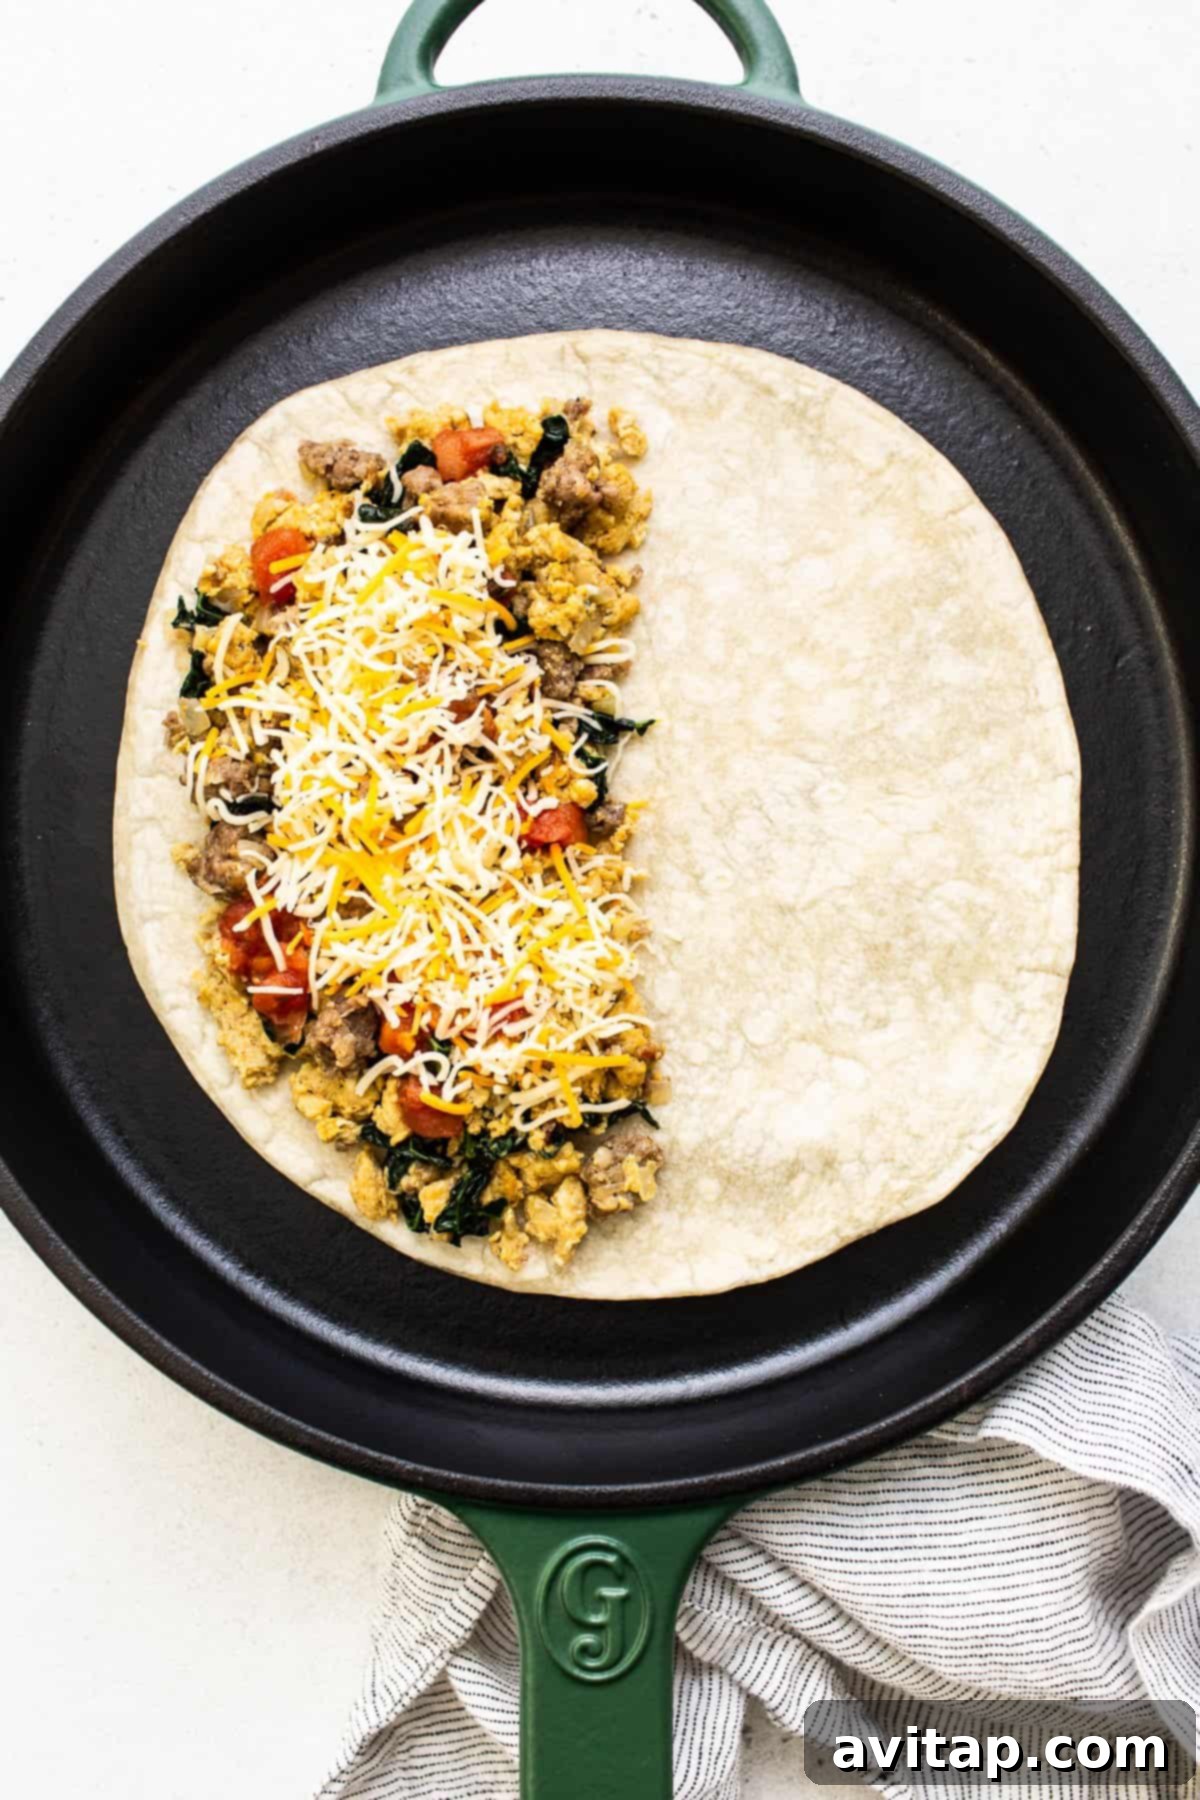
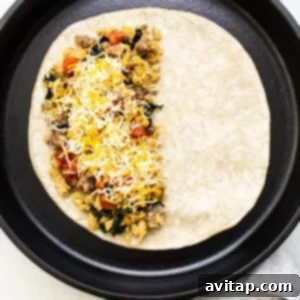
Add ½ tablespoon of olive oil to the same skillet and reduce the heat to medium. Place one large flour tortilla into the pan. Spoon approximately half of the cooked egg and sausage mixture onto one half of the tortilla. Drizzle 1 tablespoon of your favorite salsa over the filling, then generously sprinkle about ¼ cup of shredded cheese on top. Carefully fold the empty half of the tortilla over the filled half to create a crescent shape.
To achieve that perfect golden-brown crispness, place a heavy cast iron skillet or another heavy pan directly on top of the folded quesadilla. Let the quesadilla cook for 1-2 minutes, or until the bottom is beautifully golden brown (cooking times may vary depending on your stove). Carefully flip the quesadilla with a spatula, replace the heavy pan on top, and brown the other side for another 1-2 minutes until it’s also golden and the cheese is thoroughly melted.
Step 5: Repeat and Prepare for Enjoyment or Freezing
Remove the cooked quesadilla from the pan. Repeat steps 8-10 for the remaining tortillas until all your quesadillas are assembled and cooked. You can enjoy these savory breakfast quesadillas immediately while they’re warm and fresh, or allow them to cool completely before proceeding with the freezing instructions for future enjoyment!
Explore More Delicious Breakfast Ideas
Protein-Packed Pumpkin Chia Pudding
Peanut Butter Chocolate Chip Protein Cinnamon Rolls (Small Batch)
Coffee Overnight Oats
Easy Baked French Toast
Homemade Strawberry Pop Tarts
Expert Tips for Perfect Breakfast Quesadillas Every Time
To ensure your make-ahead breakfast quesadillas are consistently delicious and convenient, keep these valuable tips in mind:
Batch Cooking for Maximum Efficiency: Considering a larger household, anticipating busy weeks, or perhaps looking to gift a new parent with nourishing meals? This recipe is perfectly scalable! Feel free to double or even triple the ingredients to create a substantial batch of quesadillas. This ensures you have an ample supply of ready-to-eat breakfasts stashed away in your freezer, saving you time and effort down the line.
Ingredient Flexibility is Key: Don’t feel constrained by the exact ingredients listed. The beauty of these quesadillas lies in their adaptability. If kale isn’t your favorite or isn’t on hand, readily substitute with other diced vegetables like bell peppers (any color!), spinach, mushrooms, or zucchini. For those following a vegetarian diet, a plant-based ground “sausage” works exceptionally well, delivering all the savory flavor without the meat. Customize to your taste and pantry!
Labeling for Future Clarity: Before placing your carefully wrapped quesadillas into the freezer, take a moment to label each package clearly. Use a permanent marker to write the name of the recipe (“Breakfast Quesadillas”) and the date it was prepared. This simple step prevents any future confusion, ensuring you always know exactly what delicious meal awaits you in your freezer and its freshness date.
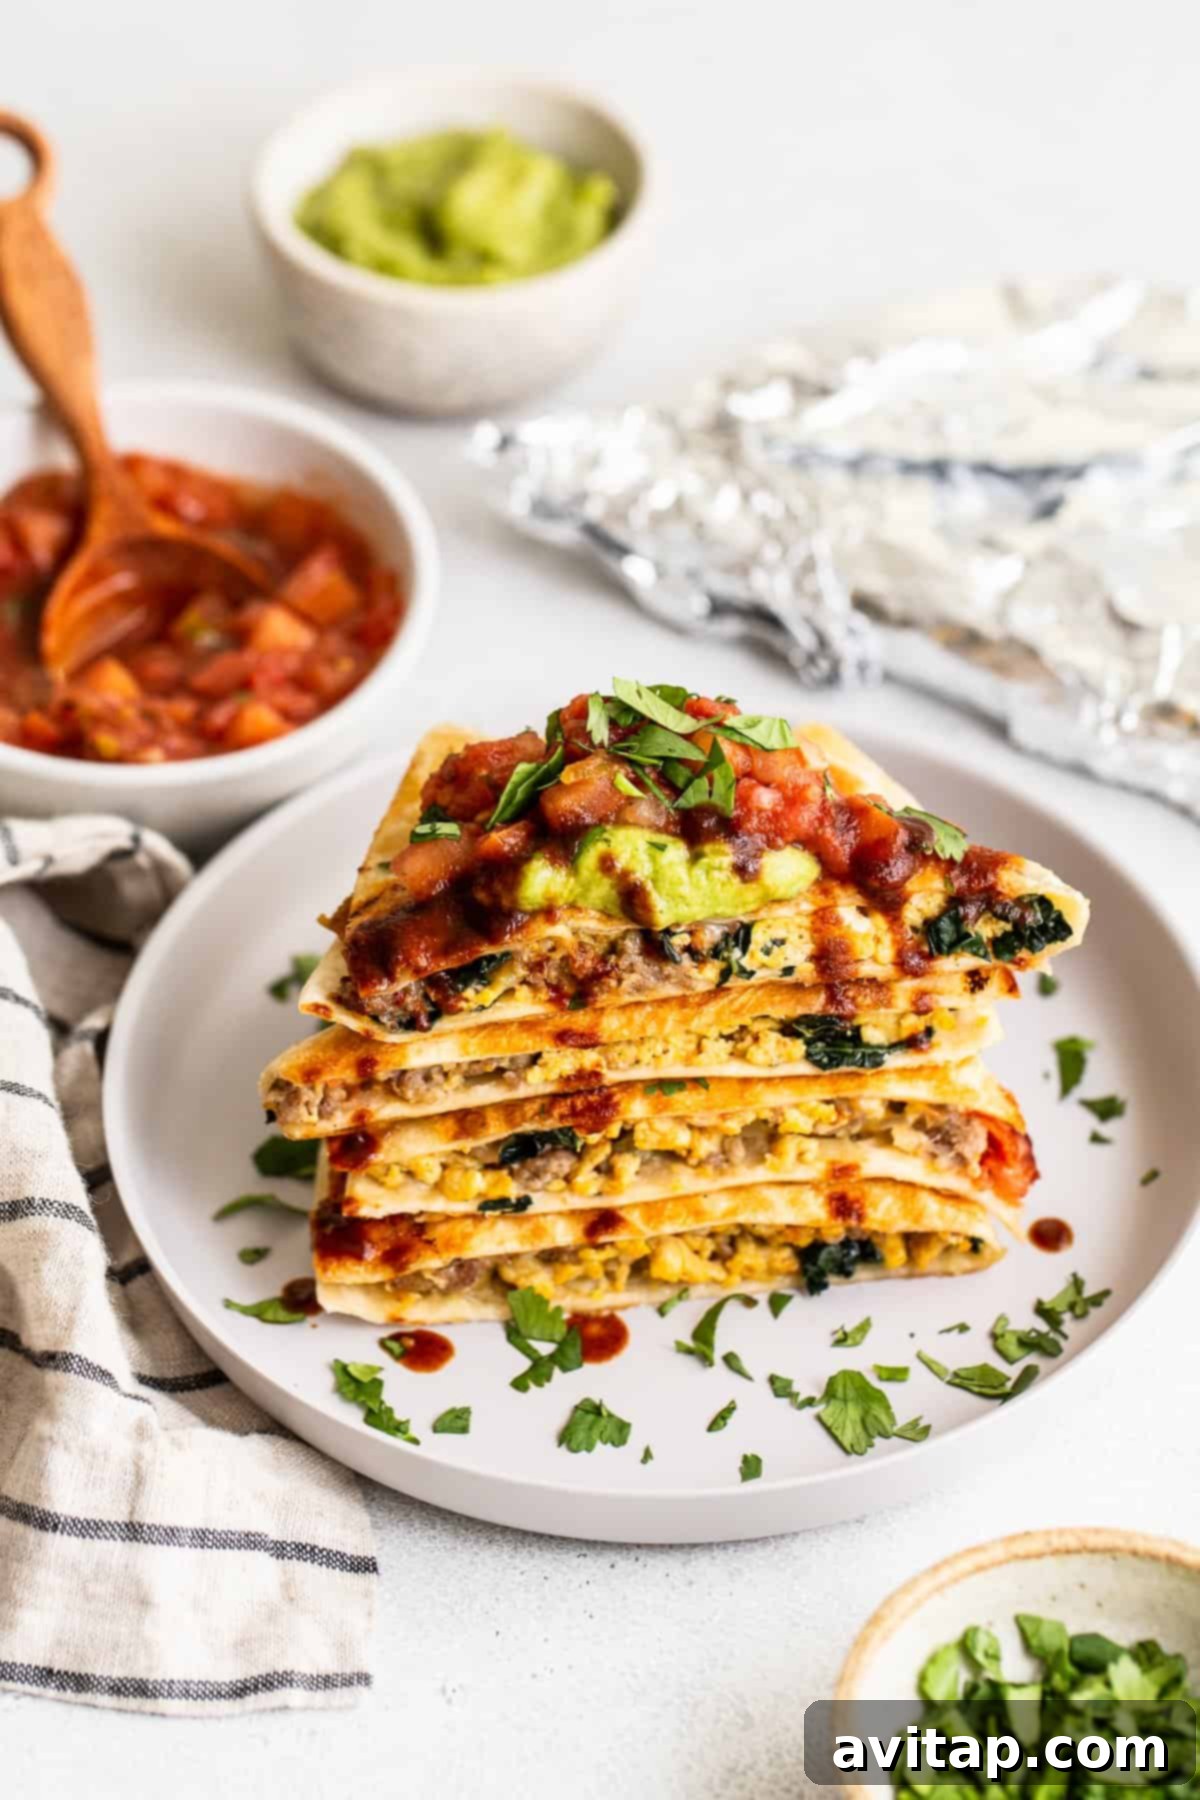
Elevate with Essential Toppings: While delicious on their own, breakfast quesadillas truly shine with the right accompaniments. Do not skip the toppings! They add an explosion of flavor, texture, and freshness that elevates the entire meal. Consider any of the following to complement your quesadillas:
- Freshly chopped salsa or your favorite hot sauce for a spicy kick.
- Creamy guacamole or perfectly sliced avocado for a rich, healthy fat.
- Cool and tangy sour cream or a dollop of Greek yogurt for a refreshing contrast.
- A sprinkle of vibrant, fresh cilantro for an aromatic finish.
- A squeeze of lime juice for an extra zesty touch.
Storage & Reheating: Maximize Your Meal Prep
Properly storing these breakfast quesadillas is key to maximizing their convenience and shelf life. If you’re using them for meal prep and planning to freeze them, individual wrapping is highly recommended. This allows you to easily grab and reheat just one quesadilla at a time, preventing unnecessary thawing of the entire batch.
To Freeze Your Breakfast Quesadillas:
- First and foremost, ensure the cooked quesadillas have cooled completely to room temperature. This prevents ice crystal formation and maintains texture.
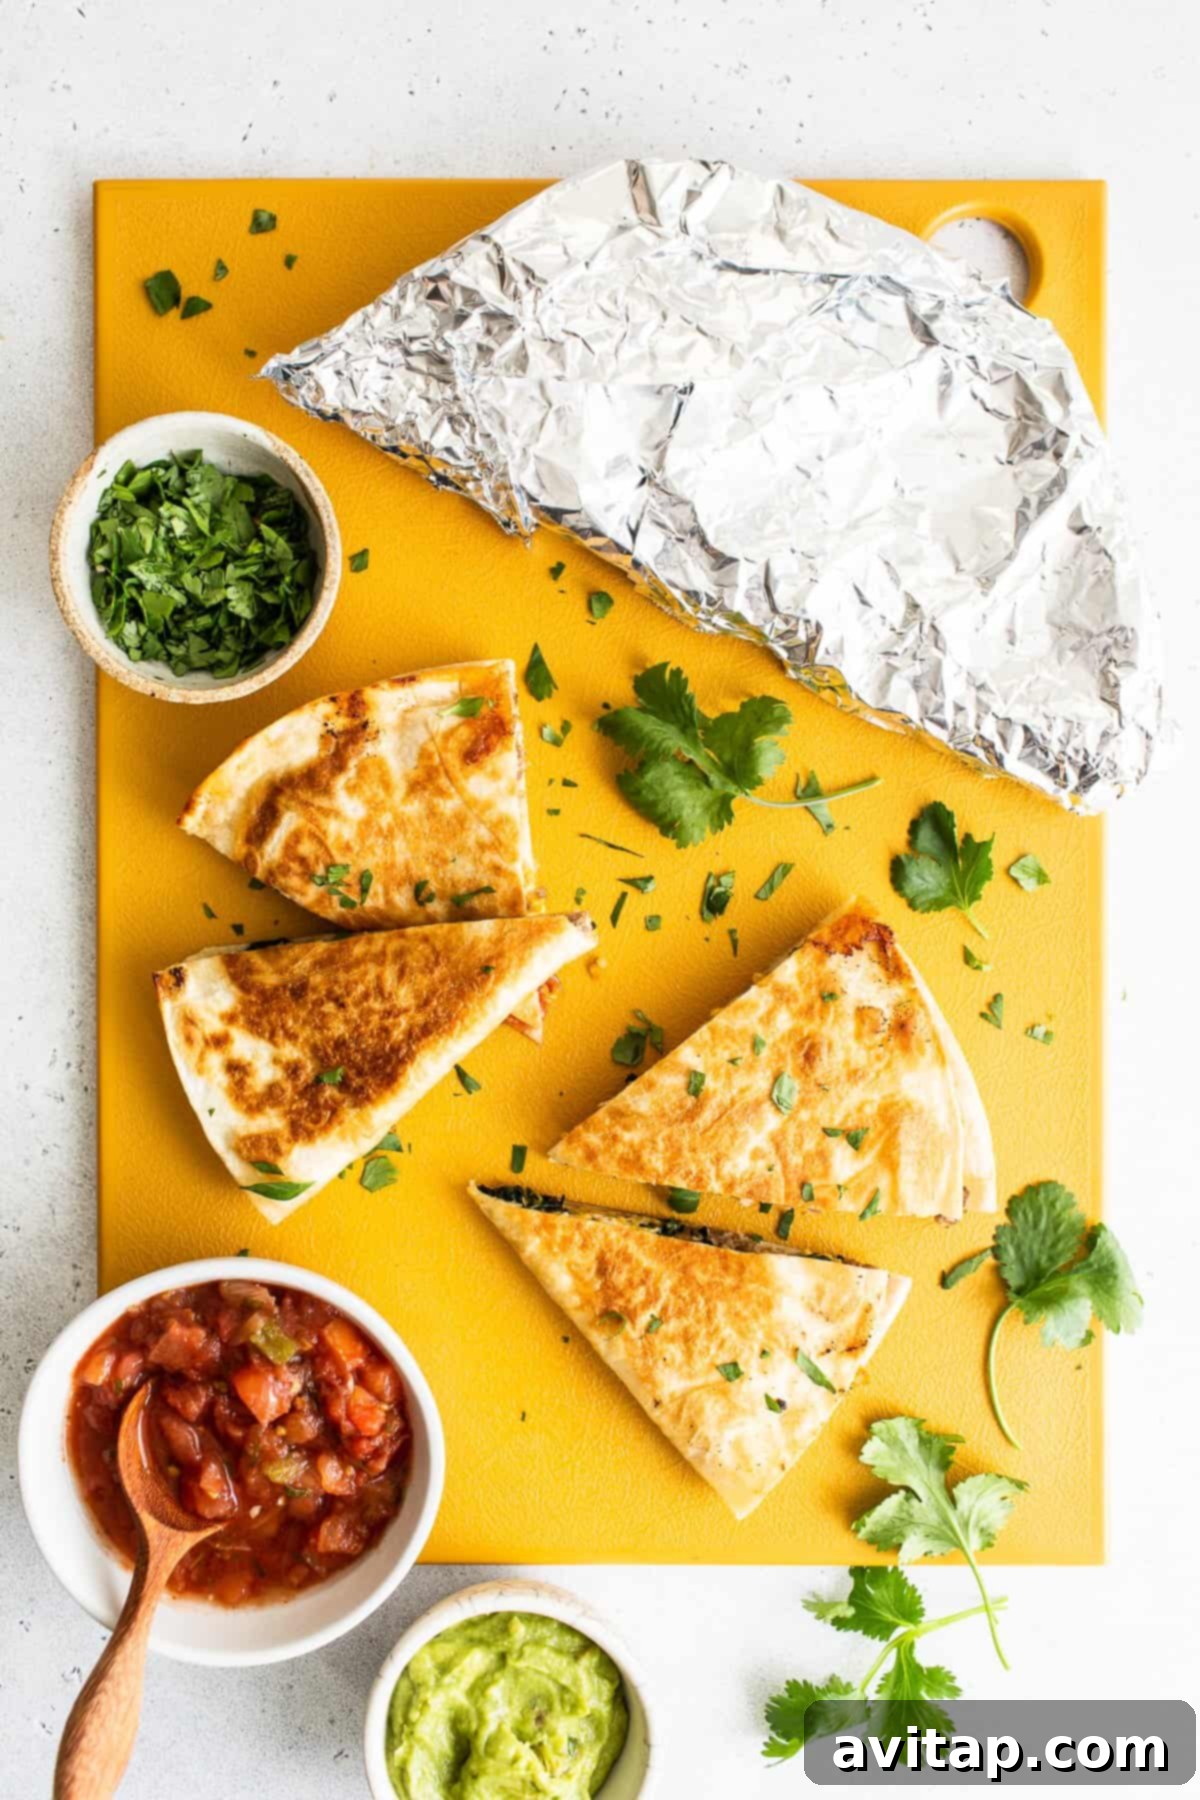
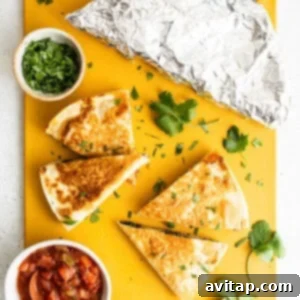
- Place each cooled quesadilla in the center of a piece of aluminum foil. Carefully fold the tin foil securely around the quesadilla, ensuring to remove as much air as possible. Pay special attention to tightly sealing all edges to prevent freezer burn.
- Once individually wrapped, you can place the quesadillas in a large freezer-safe bag or an airtight container. They will keep beautifully in the freezer for up to 3 months.
To Reheat Your Frozen Breakfast Quesadillas:
- Microwave Method (Quickest): Remove the frozen quesadilla from the aluminum foil wrapping. Defrost in the microwave for a few minutes (e.g., 1-2 minutes on defrost setting) until it begins to soften. Then, microwave on high for an additional 1-2 minutes, or until thoroughly heated through. For a crispier texture, you can finish it in a pan or air fryer after microwaving.
- Oven Method (Crispiest): Preheat your oven to 350ºF (175ºC). Place the frozen quesadilla, still fully wrapped in aluminum foil, directly into the preheated oven. Bake for approximately 30-40 minutes, or until the quesadilla is completely thawed and piping hot in the center. The foil helps steam it gently, keeping it moist while it heats. For a crisper exterior, unwrap for the last 5-10 minutes of baking.
- Air Fryer Method (Highly Recommended for Crispness): Remove the frozen quesadilla from its foil. Preheat your air fryer to 350°F (175°C). Place the quesadilla directly in the air fryer basket and cook for 10-15 minutes, flipping halfway through, or until it’s heated through and deliciously crispy.
More of our Favorite…
Additional Make-Ahead Breakfast Ideas You’ll Love
If you’re a fan of convenient, delicious breakfasts that save you time, explore these other fantastic make-ahead recipes from our collection:
- Fajita Breakfast Burritos
- Sheet Pan French Toast
- Make-Ahead Breakfast Burritos (Video Recipe)
- Vegetarian Black Bean Breakfast Burritos
- Healthy Breakfast Casserole
- Maple Pecan Overnight French Toast Bake
Make-Ahead Freezer Breakfast Quesadillas
Emily Richter
Prep:
15 minutes
Cook:
10 minutes
6
Save
Saved
Pin
Ingredients
- 12 large eggs
- 3 teaspoons taco seasoning
- 4.5 tablespoons olive oil, separated
- 1 large white onion, minced
- 1.5 teaspoons salt
- 1 pound ground breakfast sausage, plant-based ground works too
- 6 garlic cloves, peeled and minced
- 1.5 cups chopped, deboned kale (diced peppers or another veggie works too)
- 6 tablespoons salsa
- 1.5 cups shredded cheese
- 6 large flour tortillas
Instructions
-
Crack eggs into a large bowl and whisk until homogeneous. Add the taco seasoning and whisk again. Set aside.
-
Heat a large nonstick skillet over medium/high heat and 1 tablespoon of olive oil.
-
When the olive oil is fragrant, add the onion to the pan and season with salt. Sauté the onion for 2-3 minutes.
-
Add the breakfast sausage and garlic to the onion and combine the ingredients with a spatula. Sauté the ingredients together for 2-3 more minutes and then add the kale to the pan.
-
Sauté the vegetables with the breakfast sausage until the meat is fully cooked.
-
Pour the whisked eggs into the skillet and cook the eggs over medium/high heat and push the eggs around with a spatula until they are fully cooked.

-
Remove the eggs from the pan and add ½ tablespoon of olive oil to the pan. Turn heat to medium.
-
Add the tortilla to the pan and add half of the egg mixture to half of the tortilla. Pour 1 tablespoon of salsa over the eggs and then sprinkle on ¼ cup of shredded cheese.
-
Fold the tortilla over the eggs and set a heavy cast iron skillet on top of the quesadilla.
-
Let the quesadilla brown for 1-2 minutes or until golden brown (the time could vary by the stove). Carefully flip the quesadilla with a spatula. Place the cast iron back onto the quesadilla and brown for another 1-2 minutes until golden brown.
-
Remove the quesadilla from the pan and repeat steps 8-10 to complete the other quesadillas.
-
Enjoy the quesadillas right away or let the quesadillas cool before freezing.
Freezer directions:
-
To freeze the quesadillas, let them cool first. Then, place the quesadilla into the center of a piece of aluminum foil and fold the tin foil over the quesadilla. Be sure to remove as much air as possible and that the edges are tightly folded.
-
Place in the freezer for up to 3 months.
Reheating directions:
-
Microwave: unwrap the tin foil and then defrost it in the microwave for a few minutes before microwaving on high for 1 – 2 minutes.
-
Oven: preheat oven to 350ºF. Place frozen quesadilla in the oven fully wrapped in tin foil. Bake for 30-40 minutes or until the quesadilla is thawed and hot.
Tips & Notes
- You can use whatever vegetables you would like in this recipe. Consider bell peppers, spinach, or mushrooms.
- We used breakfast sausage, but feel free to use bacon, ham, or a plant-based ground for a vegetarian option.
- For extra flavor, try adding a pinch of smoked paprika or a dash of hot sauce to your egg mixture.
Nutrition
Carbohydrates: 8 g,
Protein: 38 g,
Fat: 41 g,
Fiber: 1 g,
Sugar: 2 g
Nutrition information is automatically calculated, so should only be used as an approximation.
Love this recipe? Leave a comment below!
Don’t forget to tag your posts on social media with the hashtag #fitfoodiefinds – we’d absolutely love to see your delicious creations!
Photography Credit: All beautiful photos featured in this post were expertly captured by Ashley McGlaughlin from The Edible Perspective.