
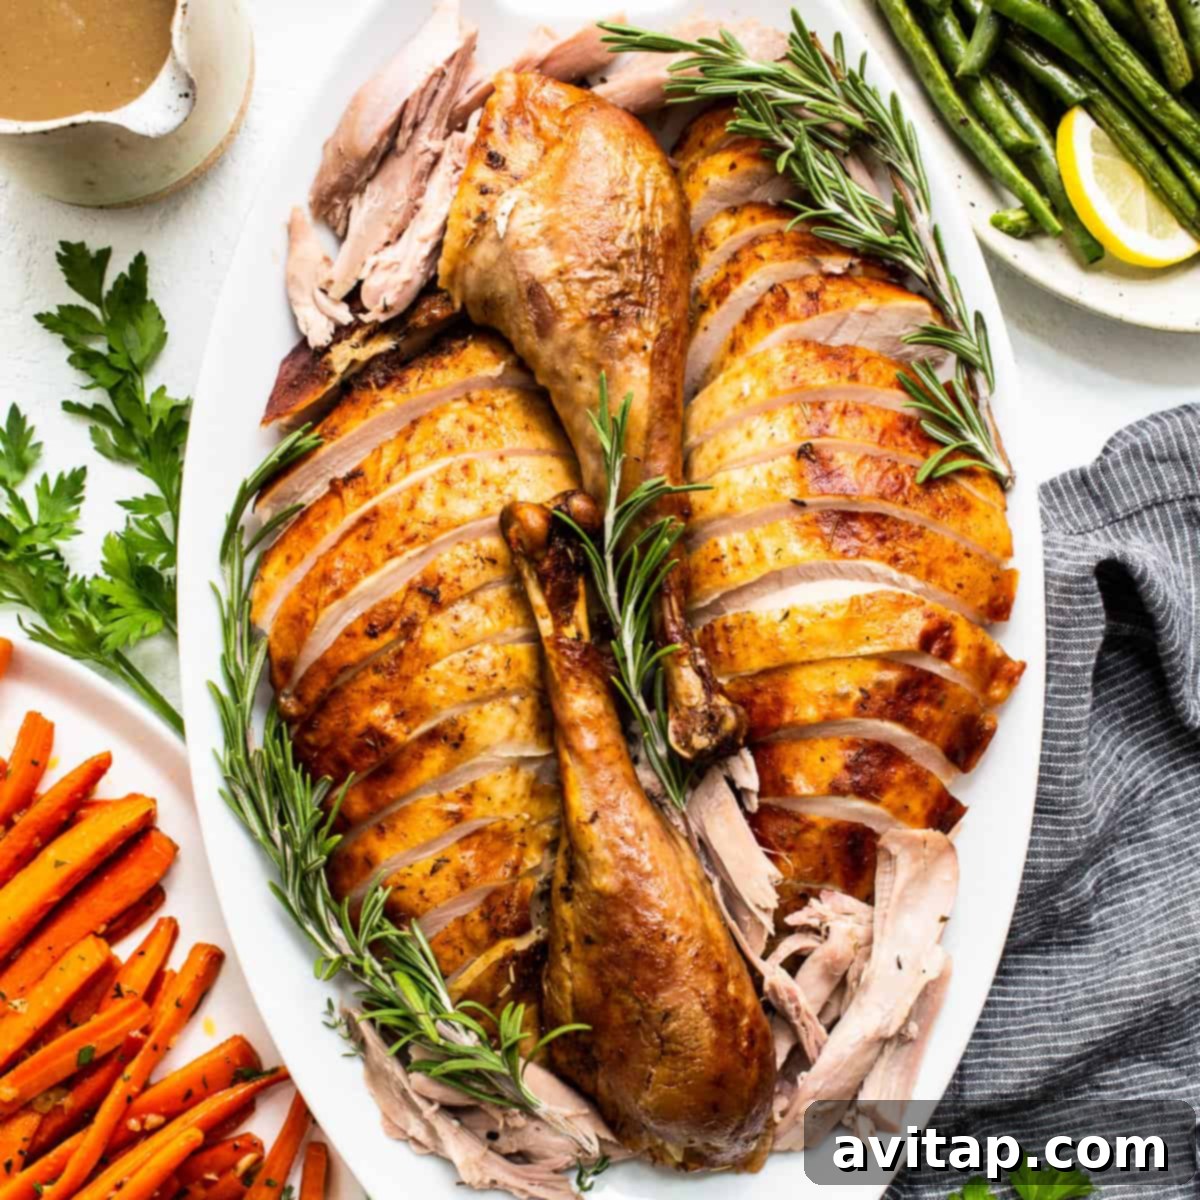
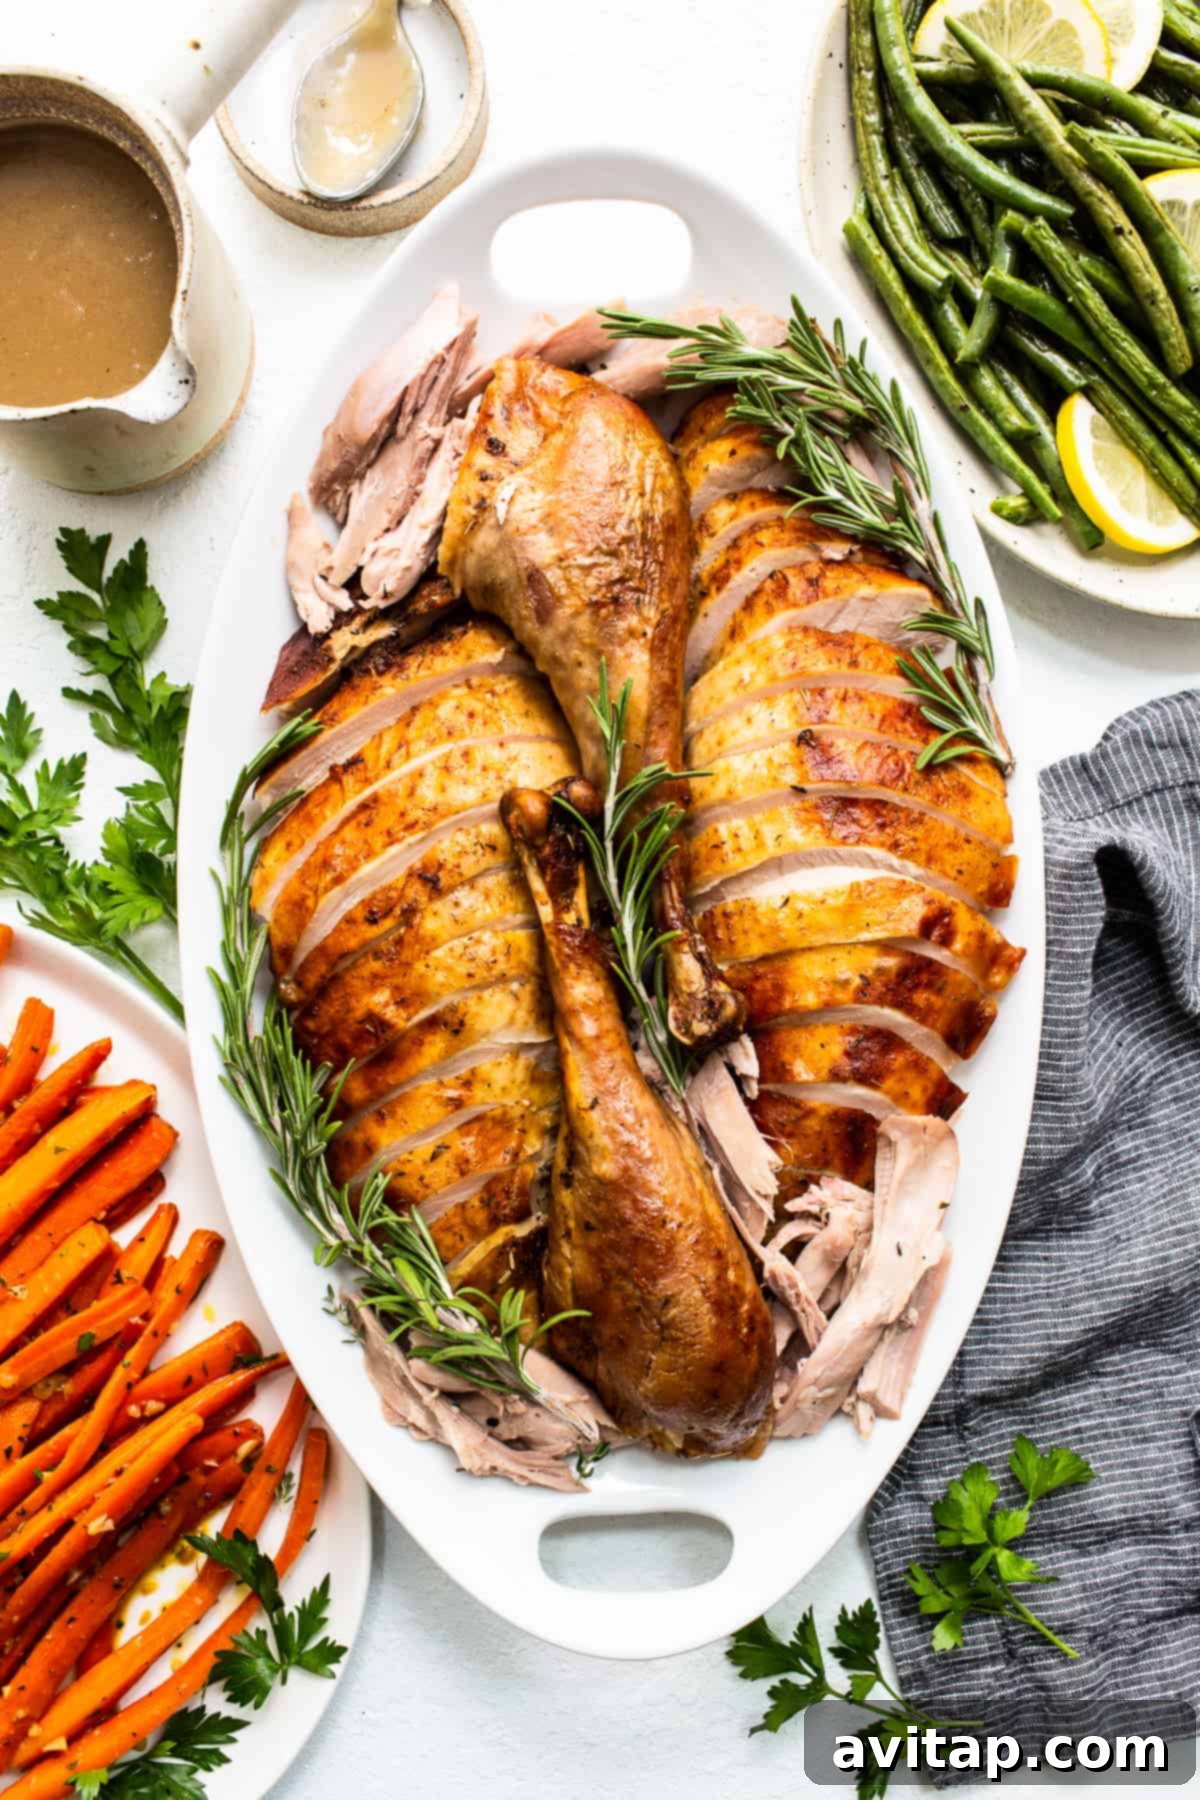
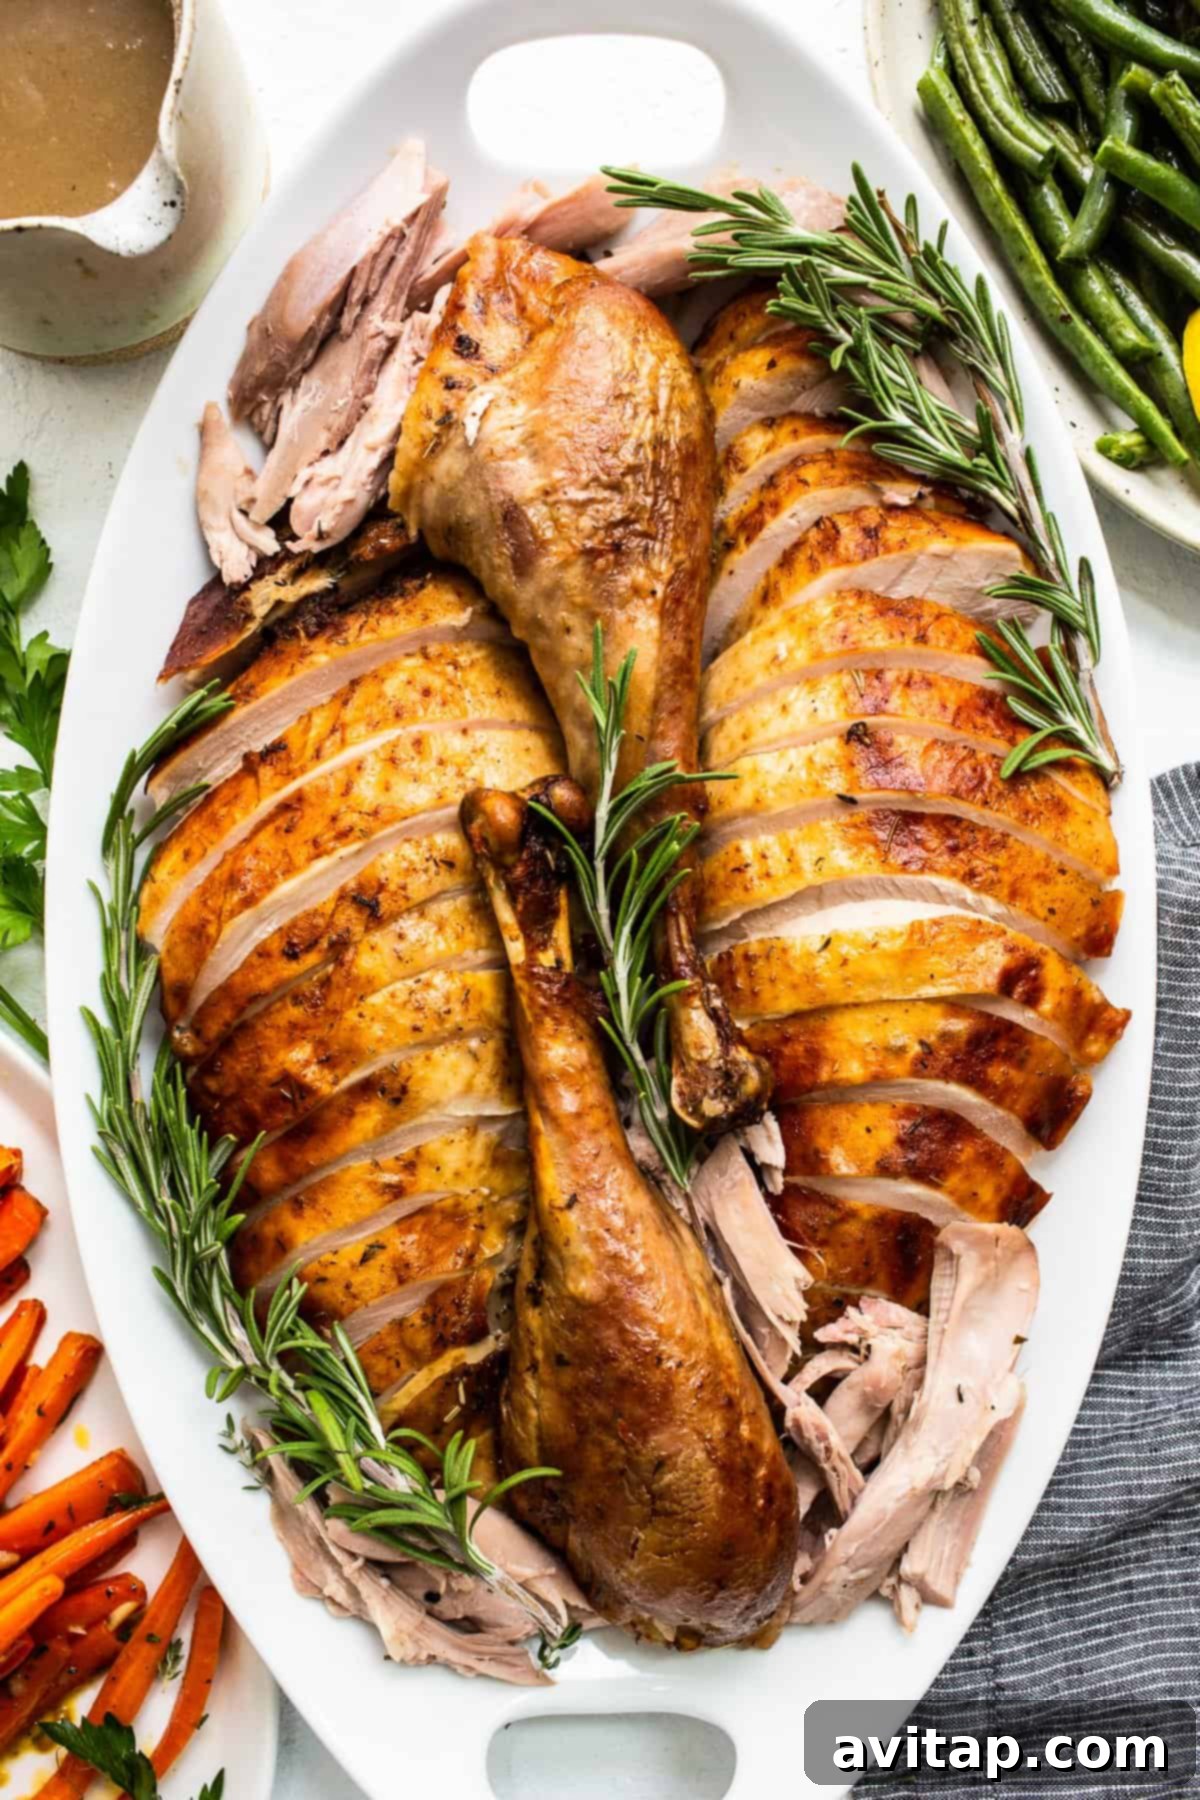
Prepare to create the most unforgettable centerpiece for your holiday table with this Thanksgiving turkey recipe. We’ve perfected a method that combines brining, dry rubbing, and consistent basting to deliver a turkey with irresistibly crispy skin on the outside and unbelievably tender, juicy meat on the inside. Say goodbye to dry, bland turkey and hello to a culinary triumph!
Crafting the Perfect Thanksgiving Turkey: Your Step-by-Step Guide
Have you ever experienced the dreaded realization that you accidentally roasted a turkey with the giblets still tucked inside? You’re not alone! Many home cooks face challenges when preparing this monumental holiday dish. But fear not! After reading this comprehensive guide, you’ll be equipped with all the knowledge and techniques to achieve a flawless Thanksgiving turkey, every single time.
My passion for cooking Thanksgiving dinner began watching and assisting my mom. Her turkeys were legendary – always succulent and cooked to perfection. I’ve taken her invaluable insights and combined them with modern techniques to create a recipe that’s not just delicious but also incredibly reliable. This recipe is designed to serve 8-10 joyous guests, starting with a 12-15 lb. turkey. The secret lies in a multi-stage process: an overnight brine infused with salt and citrus, followed by a flavorful dry rub applied in the morning. Then, it’s slowly roasted in the oven at a precise 325ºF for approximately 3.5 to 4 hours, with regular basting to ensure that coveted golden-brown, crispy skin and the moistest, most tender meat you’ve ever tasted.
Essential Preparations: Notes Before Making Your Thanksgiving Turkey
To ensure your turkey turns out perfectly, consider these crucial tips before you begin your culinary journey:
- The Power of Brining: While optional, we enthusiastically recommend brining your turkey. A wet brine adds significant flavor and, more importantly, helps the turkey retain moisture, preventing it from drying out during the long roasting process. If you prefer a dry brine, that’s also an excellent option – explore our dedicated post for details.
- Calculating Roasting Time: The exact roasting time is directly dependent on the size of your turkey. A general rule of thumb is 13 minutes per pound for an unstuffed bird. Always use a meat thermometer to ensure safety and perfect doneness.
- Homemade Dry Rub for Superior Flavor: We highly encourage using our homemade turkey dry rub. Its carefully balanced blend of herbs and spices elevates the turkey’s natural flavor profile. However, if time is a constraint, a high-quality store-bought poultry seasoning can be a suitable alternative.
- Invest in a Quality Roasting Pan: A good turkey roasting pan with a sturdy wire rack is indispensable. The rack is crucial for elevating the turkey, allowing hot air to circulate evenly around the bird and preventing the bottom from steaming. It also collects precious pan drippings, essential for basting and making the best gravy.
- Don’t Forget the Gravy: A fantastic roasted turkey deserves an equally fantastic gravy! Remember to save those delicious pan drippings to create a rich, homemade turkey gravy that will complement your meal beautifully.
Key Ingredients for Your Delicious Turkey Feast
Every exceptional dish begins with high-quality ingredients. Here’s what you’ll need to create our juicy Thanksgiving turkey:
- Whole Turkey: Select an untreated, fresh, or fully thawed whole turkey, ideally weighing between 12-15 pounds. This size is manageable and cooks evenly, perfect for a family gathering.
- Kosher Salt: This coarse salt is vital for both the brining process and as a key component of the dry rub. It penetrates the meat, tenderizing it and enhancing the overall savory flavor of the bird.
- Flavorful Turkey Seasoning: We consistently recommend our homemade turkey dry rub for its superior taste and aroma. It’s a game-changer! If you’re short on time, a good quality store-bought poultry seasoning can be used.
- Aromatics: Fresh onions, garlic, thyme, rosemary, and oregano are not just for garnish; they infuse the turkey with incredible depth and fragrance. These aromatics are stuffed into the cavity, releasing their essence as the turkey roasts. Do not skip them!
- Broth: Any type of broth – chicken, vegetable, or homemade turkey broth – will work wonderfully as the base for your basting liquid. It adds moisture and rich flavor.
- Dry White Wine: A touch of dry white wine in the basting liquid makes a remarkable difference. It adds a subtle acidity and complexity that complements the turkey beautifully. Opt for a dry variety like Sauvignon Blanc or Pinot Grigio over sweeter wines.
Mastering Turkey Preparation for Roasting
Proper preparation is the foundation of a perfectly roasted turkey. Follow these steps meticulously to ensure your bird is ready for its flavorful transformation.
Step 1: Safely Thaw Your Turkey
It is absolutely critical that your turkey is fully thawed before you begin the brining or roasting process. A partially frozen turkey will cook unevenly, potentially leading to unsafe temperatures or dry spots. For a 12-15 lb. turkey, thawing takes longer than you might expect:
- Refrigerator Thawing (Recommended): Place the wrapped turkey on a baking sheet in the refrigerator. Allow approximately 24 hours of thawing time for every 4-5 pounds of turkey. So, a 12-15 lb. bird will need 2-3 days. This is the safest and most recommended method.
- Cold Water Thawing: For a faster option, place the turkey (still in its original wrapping) in a leak-proof bag in a sink or large container filled with cold water. Change the water every 30 minutes. Allow about 30 minutes per pound. This means a 12-15 lb. turkey will take 6-7.5 hours. Cook immediately after thawing with this method.
Important Note: Never thaw a turkey at room temperature on the countertop, as this can allow harmful bacteria to grow rapidly. Always keep it cold during thawing.
Step 2: Remove Turkey Innards
Before you do anything else, thoroughly check both cavities of the turkey – the main body cavity and the neck cavity – for any giblets (neck, heart, liver, gizzards) and the gravy packet. These are often wrapped in paper or plastic. Carefully remove all items. You can discard them, or if you enjoy making homemade stock or gravy, save the giblets for a flavorful turkey soup or to enhance your gravy.
Step 3: Prepare the Wet Turkey Brine
Once your turkey is thawed and cleaned, it’s time to prepare the “wet” turkey brine. Brining is a game-changer; it not only infuses the turkey with flavor but also keeps the meat incredibly moist throughout the roasting process. Essentially, you’ll be creating a salty, aromatic water bath for the turkey to soak in overnight. For a complete detailed guide on the benefits and process, check out our dedicated post on how to wet brine a turkey.
If a turkey dry brine is more your style, that’s another excellent way to achieve a juicy bird with crispy skin!
Wet brining a turkey before roasting is highly recommended because it accomplishes two main goals: it deeply infuses the meat with flavor, and critically, it helps the turkey retain moisture. The salt in the brine denatures the proteins in the meat, allowing them to hold onto more water, resulting in an exceptionally juicy and tender turkey.
We recommend brining your turkey for a minimum of 12 hours, ideally overnight. This allows sufficient time for the brine to work its magic. Planning to brine the night before roasting means your turkey will be perfectly prepped and ready for the oven in the morning.
Step 4: Apply the Flavorful Turkey Dry Rub
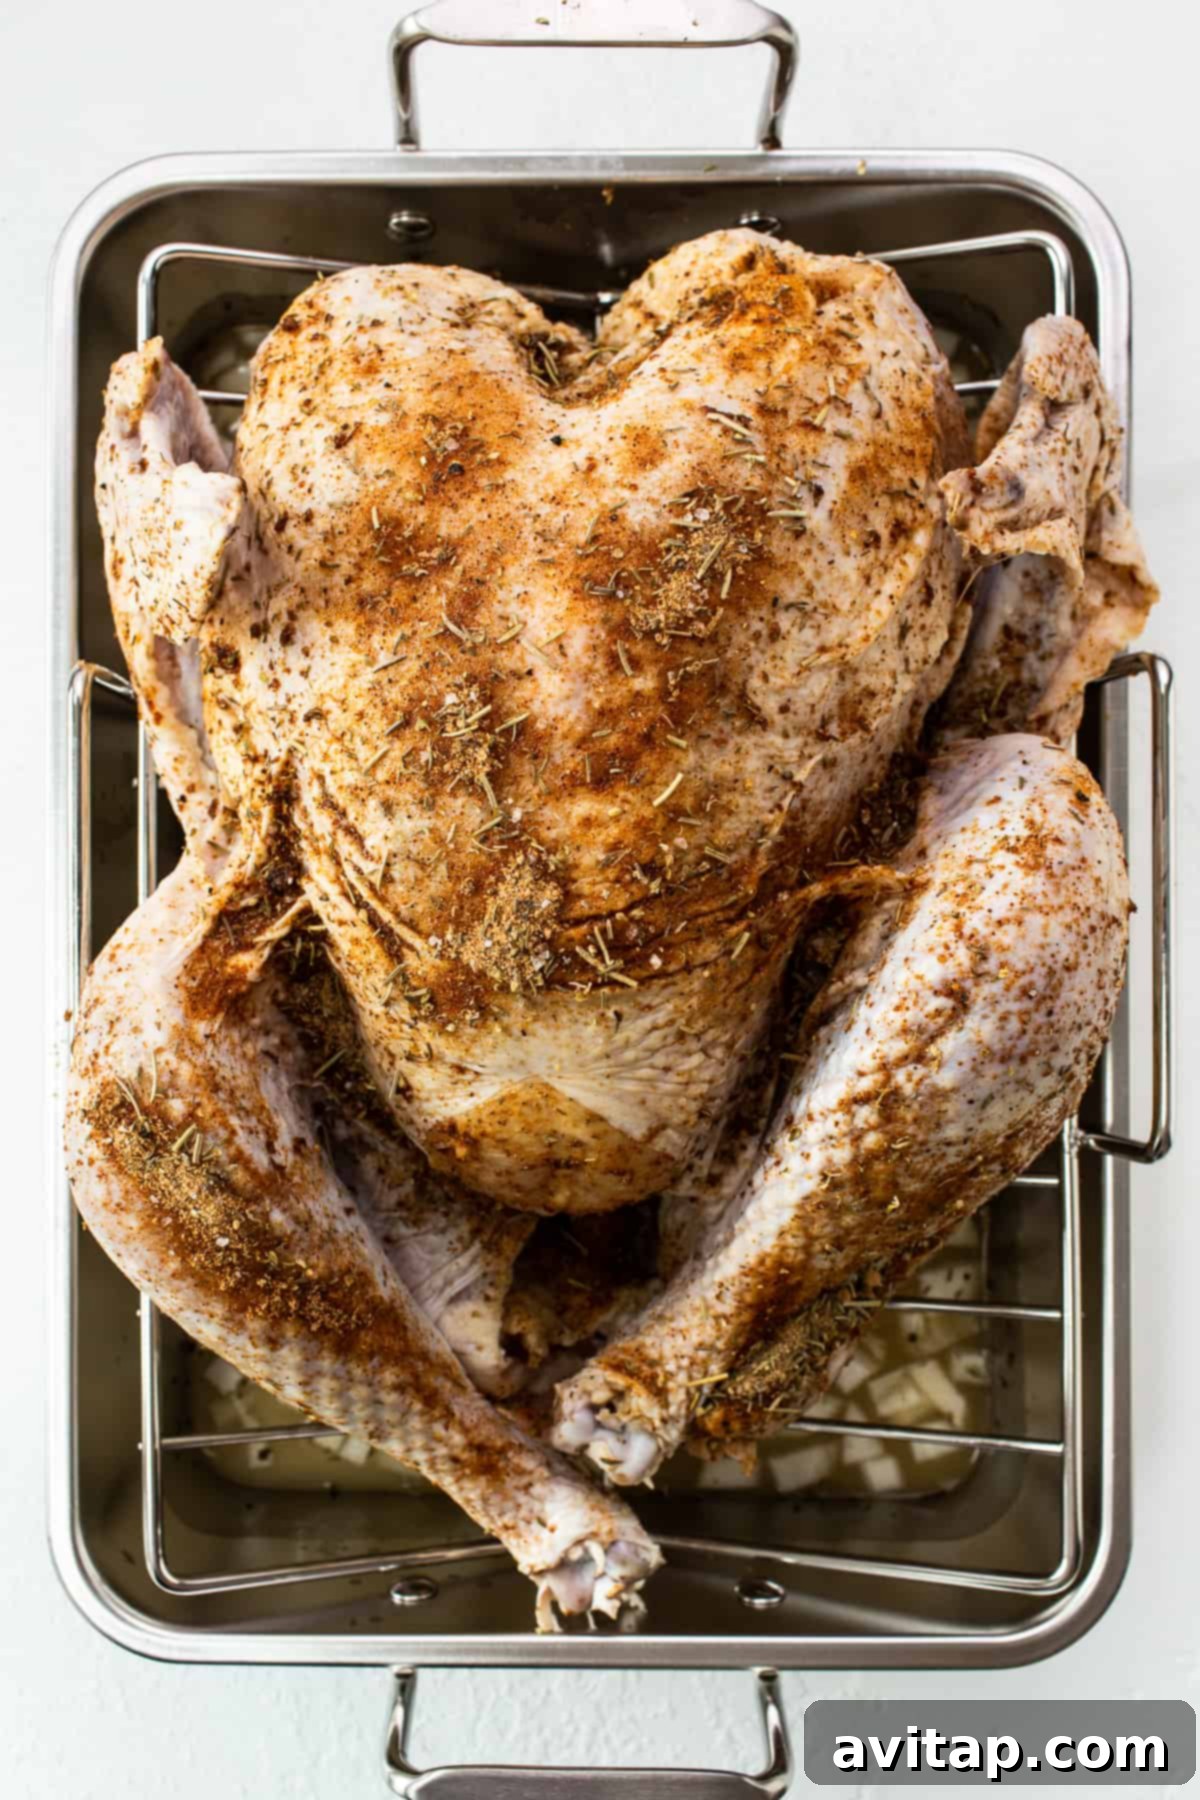
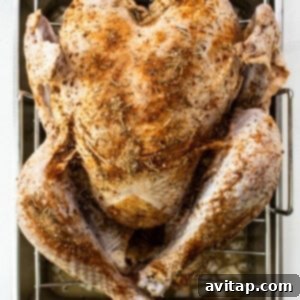
After its refreshing brine bath, the next crucial step is to prepare your turkey for roasting with a generous dry rub. First, carefully remove the turkey from the brine and rinse it thoroughly under cold running water, inside and out. This removes any excess salt from the surface. Then, and this is very important, pat the turkey completely dry with paper towels. A dry surface is key to achieving that perfectly crispy skin. Once dry, lavishly apply our delicious homemade turkey dry rub. Make sure to get it into every nook and cranny, even gently lifting the skin over the breast to rub some directly onto the meat for maximum flavor. You’ll likely use about 1/2 to 3/4 cup of our seasoning blend, which is crafted from:
- Dried thyme
- Dried rosemary
- Dried oregano
- Brown sugar
- Garlic powder
- Salt
- Ground pepper
- Chili powder
- Smoked paprika
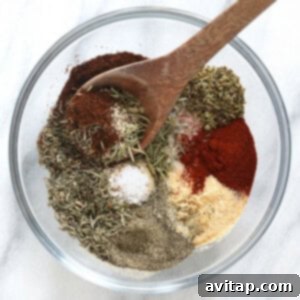
Elevate Your Flavor
Homemade Turkey Seasoning
Ditch the generic store-bought blends! Our most Flavorful Turkey Seasoning is crafted with 9 simple ingredients you can easily pronounce, including garlic powder, brown sugar, and kosher salt. It’s the secret to a truly outstanding turkey dinner!
Step 5: Prepare Your Basting Liquid
The basting liquid is a critical component for maintaining moisture and building layers of flavor as your turkey roasts. For this recipe, our aromatic basting liquid is made with a rich blend of broth, dry white wine, diced onion, and fresh garlic. As the turkey roasts, these ingredients combine to create a fragrant, savory liquid in the bottom of your roasting pan. You will use this flavorful mixture to regularly baste the turkey throughout the cooking process. Consistent basting is non-negotiable – it’s what contributes to that beautiful golden-brown, crispy skin and ensures the meat stays incredibly moist and tender. Plus, these pan drippings will form the perfect base for your homemade gravy later!
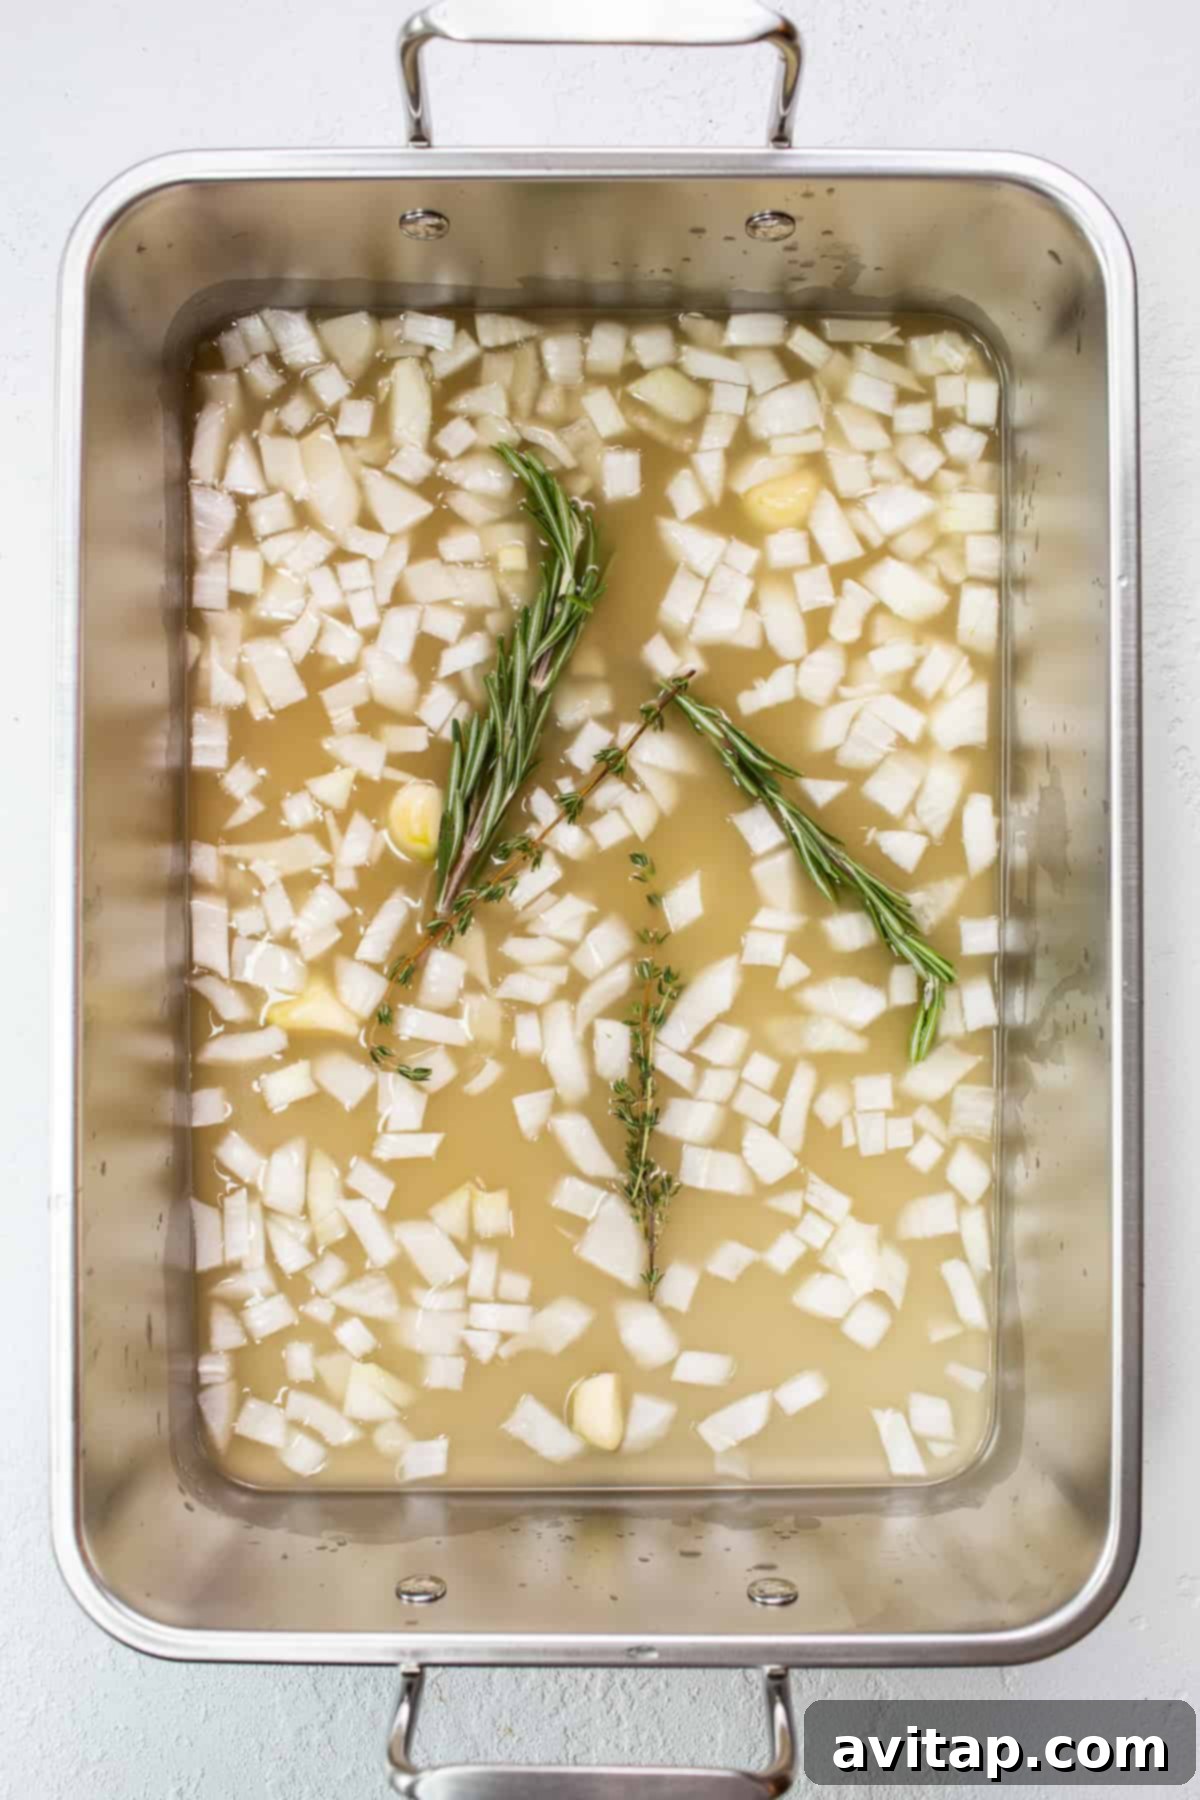
Essential Tool
Cuisinart Roasting Pan
A durable roasting pan with a wire rack is essential for perfect turkey. The rack elevates the turkey for even cooking and allows precious drippings to collect below. We highly recommend this reliable Cuisinart roasting pan.
Roasting Times and Techniques for a Perfectly Cooked Turkey
Understanding roasting times and proper techniques is key to a perfectly cooked turkey. For a 12-15 lb. turkey, expect a roasting time of approximately 3 to 3.5 hours at 325ºF. Remember, this is a guideline; the actual time can vary based on your oven and the turkey’s exact size and starting temperature. Always rely on an accurate meat thermometer for ultimate safety and doneness. If you’re cooking a larger turkey, simply adjust the roasting time accordingly, allowing about 13 minutes per pound. Once your turkey reaches its target internal temperature, resist the urge to carve immediately! Remove the turkey from the oven, loosely tent it with foil, and let it rest for a crucial 15-20 minutes. This resting period allows the juices to redistribute throughout the meat, ensuring every slice is incredibly tender and moist. After resting, use a sharp carving knife to slice your beautifully roasted turkey.
Can I roast a bigger turkey using this recipe? Absolutely! This recipe is adaptable for larger turkeys. Just be prepared to extend your roasting time, following the 13 minutes per pound guideline, and always using a meat thermometer to confirm doneness.
Achieving Food Safety: Internal Temperature of a Whole Turkey
Food safety is paramount when cooking poultry, and for a whole turkey, the magic number for internal temperature is 165ºF. While some sources suggest slightly different temperatures for various parts (e.g., 175ºF for the thigh, 160-165ºF for the breast), ensuring the entire bird, especially the thickest parts, reaches 165ºF is generally considered safe. To accurately measure, insert a reliable meat thermometer into the thickest part of the turkey thigh, without touching the bone. For consistency, also check the thickest part of the breast. Knowing these temperatures is crucial for both safety and preventing an overcooked, dry turkey.
Our best advice is to keep the probe of your meat thermometer securely in the thickest part of the bird throughout the roasting process. This allows you to continuously monitor the temperature and pull the turkey out of the oven at precisely the right moment.

Our Trusted Tool
Thermoworks Thermapen
For consistent and accurate results when cooking any cut of meat, a high-quality meat thermometer is indispensable. The Thermapen is our absolute go-to for its lightning-fast readings and reliability every single time.
Top Tips for Thanksgiving Turkey Success
Beyond the recipe, these tried-and-true tips will guarantee your Thanksgiving turkey is a showstopper:
Tip 1: Plan Ahead for Thawing. This cannot be stressed enough! There’s nothing more frustrating than waking up on Thanksgiving morning to discover your turkey is still frozen solid. Begin thawing your turkey in the refrigerator several days in advance (at least 2-3 days for a 12-15 lb bird) to ensure it’s fully defrosted. This prevents uneven cooking and promotes food safety.
Tip 2: Always Use a Brine. Whether you opt for a wet brine or a dry brine, this step is your secret weapon for a consistently juicy and flavorful bird. Brining helps the turkey retain moisture and adds layers of deliciousness, making dry turkey a thing of the past.
Tip 3: The Right Roasting Pan Makes a Difference. Use a sturdy roasting pan equipped with a wire rack. The rack is crucial for elevating the turkey, allowing hot air to circulate all around the bird, resulting in beautifully crispy skin. Furthermore, the pan below will catch all those flavorful drippings, which are golden liquid gold for your basting liquid and, ultimately, your homemade gravy.
More Delicious Turkey Recipes
Easy Oven-Roasted Turkey Tenderloin
Vibrant Egg Roll in a Bowl
Italian Grinder Sliders
Egg and Croissant Breakfast Casserole
High-Protein Cottage Cheese Wraps
Frequently Asked Questions About Roasting Turkey
For a 12-15 pound turkey, you can expect the roasting process to take between 3 to 3.5 hours when cooked at 325ºF. Remember to always use a meat thermometer to ensure it reaches the safe internal temperature of 165ºF.
This particular turkey recipe recommends roasting the turkey at a consistent 325ºF. This lower temperature allows for a slower, more even cook, which helps the meat stay tender and juicy while giving the skin ample time to crisp up without burning.
Roasting a turkey in the oven remains the most classic and popular method for Thanksgiving. However, other delicious options include smoking a turkey for a distinct smoky flavor, or preparing a sous vide turkey for unparalleled precision and moisture.
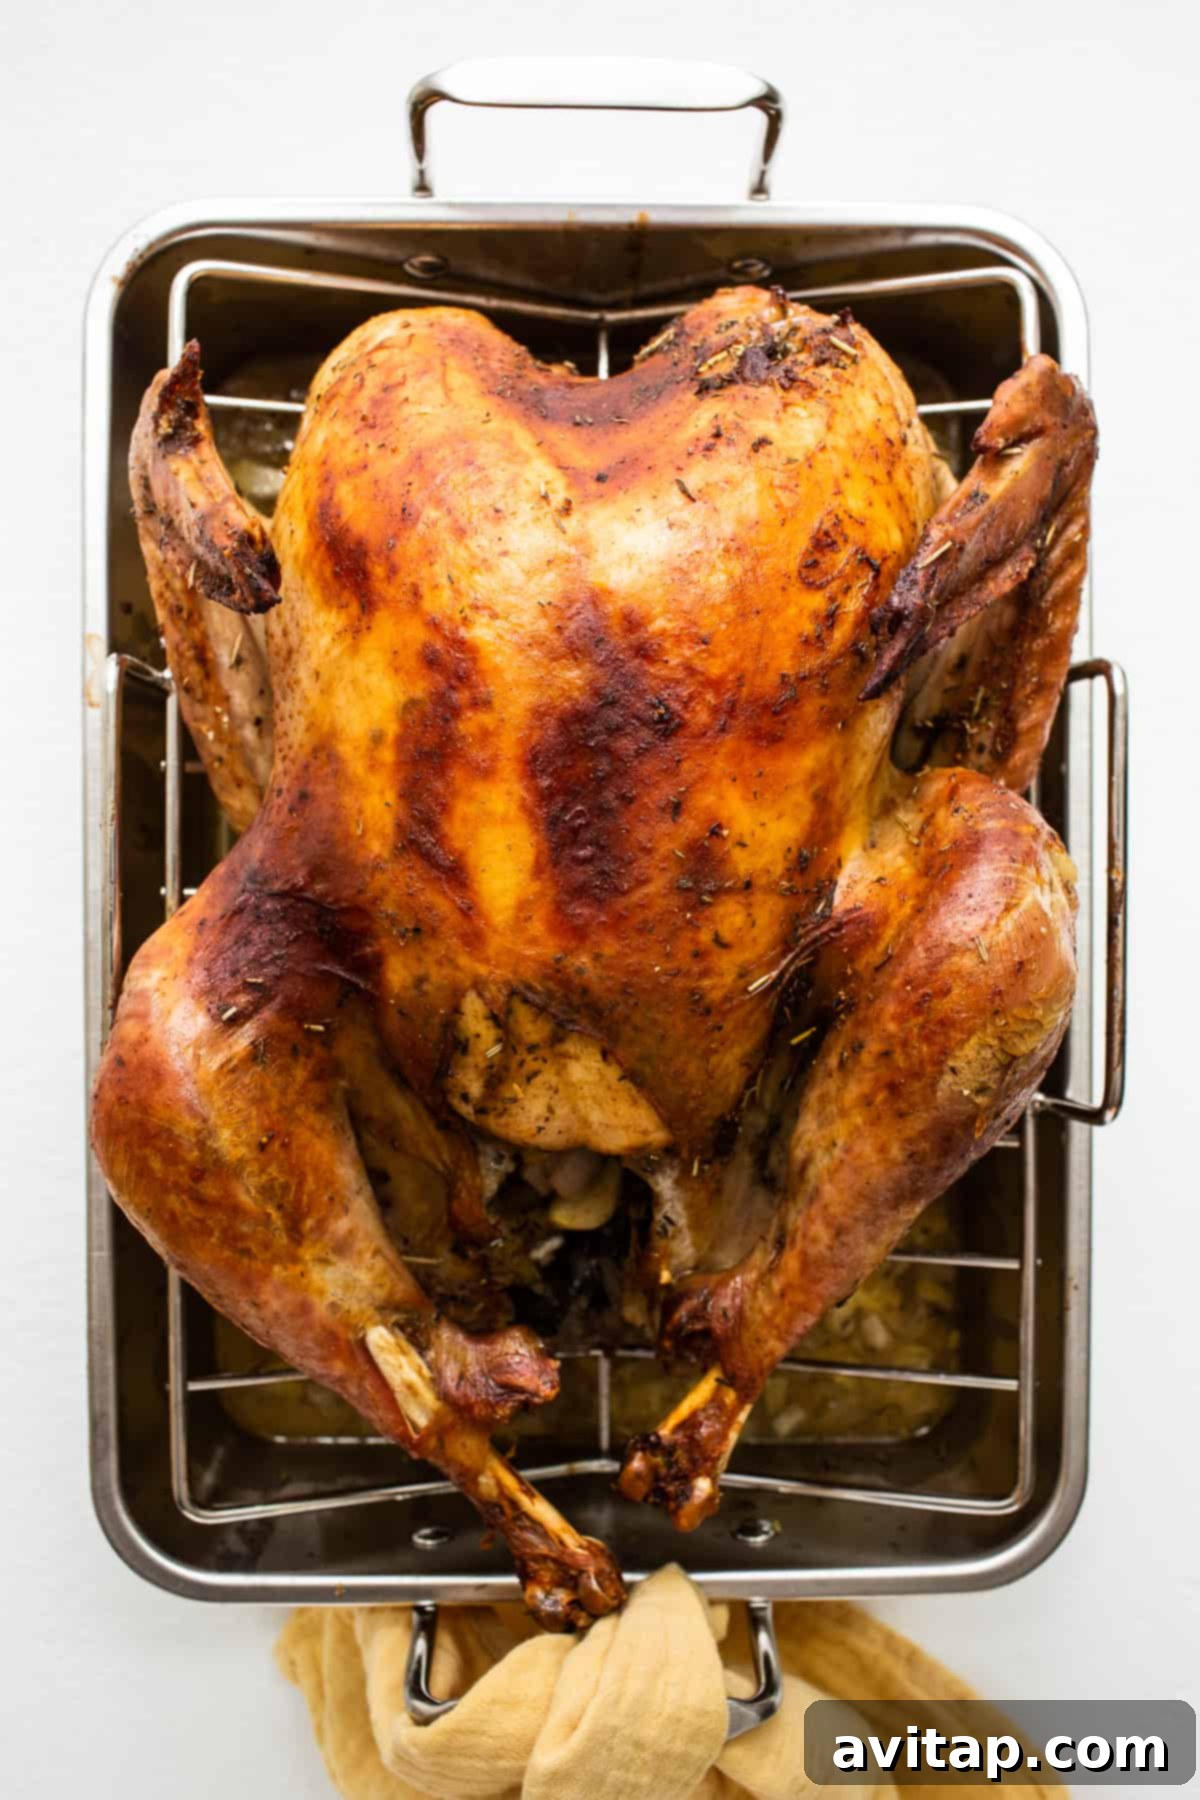
Storing Your Thanksgiving Turkey Leftovers
Proper storage is essential to enjoy your delicious turkey leftovers safely. Once the turkey has cooled completely, carve the meat from the bone and store it in an airtight container. Refrigerate promptly, and your turkey leftovers will remain fresh and tasty for up to 3-4 days. This is perfect for quick sandwiches, salads, or adding to other dishes throughout the week.
Can I Freeze Leftover Turkey for Later Use?
Absolutely! Freezing leftover turkey is a fantastic way to extend its shelf life and enjoy it in future meals. Once your turkey has cooled completely, portion it out into desired sizes – either sliced, shredded, or diced. Place the turkey in freezer-safe bags or airtight containers, removing as much air as possible to prevent freezer burn. Frozen turkey can be stored for up to 3 months, ready to be incorporated into soups, casseroles, salads, or any other creative recipes you can imagine!
Discover More of Our Favorite…
Festive Thanksgiving Recipes
Complete your holiday feast with these delectable side dishes and complementary recipes:
- Creamy Herby Mashed Potatoes: A lighter take on a classic, bursting with fresh herbs.
- Elegant Green Beans Almondine: Tender green beans tossed with toasted almonds and a hint of lemon.
- Hearty Vegan Green Bean Casserole: A plant-based twist on the beloved comfort food.
- Zesty Lemon Ginger Cranberry Sauce: A bright and flavorful homemade alternative to canned sauce.
- Wholesome Sweet Potato Casserole: A healthier rendition of the sweet and savory favorite.
Perfect Pairings: What to Serve with Your Thanksgiving Turkey
A magnificent turkey deserves an equally impressive supporting cast of side dishes. Here are some of our top recommendations to create a truly memorable Thanksgiving spread:
Butternut Squash Risotto:This creamy and comforting butternut squash risotto is a delightful autumn dish, offering rich, savory flavors that perfectly complement the turkey.
Crock Pot Mashed Potatoes: Free up oven space with this incredibly easy and delicious crockpot mashed potatoes recipe – a holiday staple made effortlessly.
Green Beans Almondine: A fresh and elegant holiday side dish featuring perfectly blanched green beans, a delightful slivered almond topping, and a burst of fresh lemon zest.
Pumpkin Bread Pudding:End your meal on a sweet note with this tender and warmly spiced pumpkin bread pudding, made with an entire loaf of pumpkin bread for the ultimate fall dessert.
Creative Thanksgiving Turkey Leftover Ideas
Even if you have a large gathering, a delicious Thanksgiving turkey often means glorious leftovers! Don’t let them go to waste. Here are some incredibly tasty and creative ideas to transform your leftover turkey into exciting new meals:
- Hearty Leftover Turkey Soup: A comforting and flavorful way to use up every last bit of your holiday bird.
- Fresh Turkey Salad: A light and refreshing option, perfect for sandwiches or a quick lunch.
- Savory Turkey Quesadillas: A fun and easy meal that kids and adults alike will love, featuring melted cheese and tender turkey.
★
★
★
★
Ultimate Juicy Thanksgiving Turkey Recipe
Linley Hanson
Prep:
13 hours
Cook:
4 hours
Total:
17 hours
12
Print Recipe
Ingredients
For the Brine
- 2 gallons water, separated
- 1.5 cups kosher salt
- 1 large orange, sliced
- 1 lemon, sliced
For the Basting Liquid
- 3 cups broth (any kind works, homemade turkey broth recommended)
- ½ large white onion, diced
- 4 cloves garlic, smashed
- 1 cup dry white wine
- 2 sprigs fresh thyme
- 2 sprigs fresh rosemary
For the Turkey
- 12-15 lb. whole turkey, innards removed, fully thawed (ours was 14 lbs.)
- 3 tablespoons turkey seasoning (our homemade blend or quality poultry seasoning)
- 2 tablespoons unsalted butter, cut into two pieces
- 2 tablespoons olive oil
- 1 large white onion, diced
- 4 cloves garlic, minced
- 4 sprigs fresh thyme
- 4 sprigs fresh oregano
- 4 sprigs fresh rosemary
Instructions
-
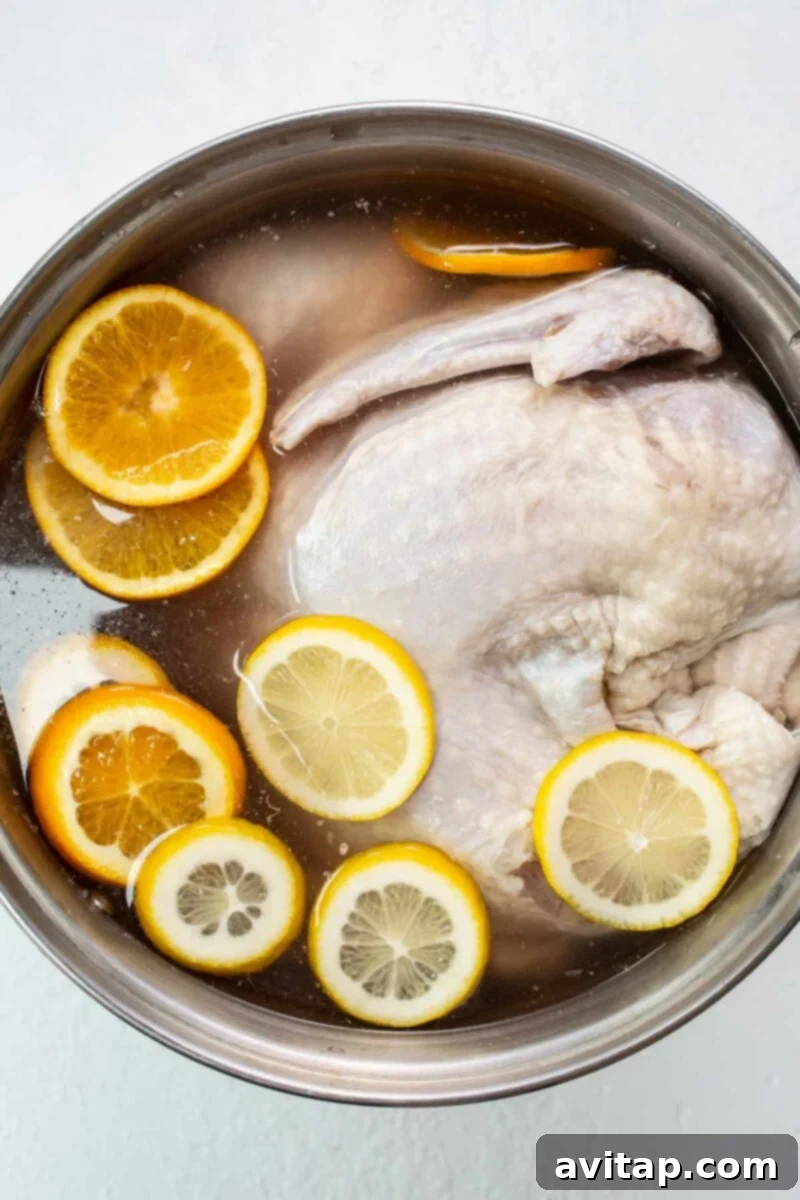
Prepare the turkey brine: Fill a large 20-30 quart pot or brining bag with 2 gallons of water.
-
Remove 2 cups of water from the pot and transfer it to a saucepan. Add the kosher salt to the saucepan. Heat the mixture over medium heat, whisking continuously until the salt has completely dissolved. Do not bring it to a boil. Remove the saucepan from the heat, then pour the salted water back into the larger pot and whisk to combine thoroughly.
-
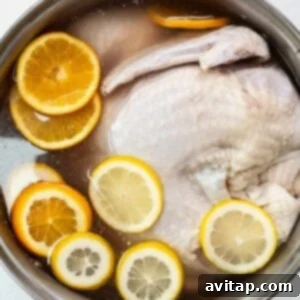
Next, add the sliced oranges and lemons to the salt water brine.
-
Finally, carefully add the thawed turkey to the pot, ensuring it is completely submerged in the brine.

-
Place the entire pot with the turkey in the refrigerator for at least 12 hours, or ideally, overnight.
-
Prepare the turkey for roasting: Preheat your oven to 325ºF. Remove the turkey from the brine, allowing any excess liquid to drain thoroughly from its cavity. Pat the entire turkey, inside and out, completely dry with paper towels. This step is crucial for crispy skin.
-
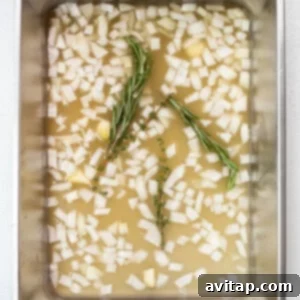
In the bottom of a large basting pan, combine all the ingredients for the basting liquid and mix them well. Place the metal rack for the turkey inside the basting pan. Position the turkey breast-side up on the rack.
-
Generously season the outside of the turkey with the turkey seasoning. Use your hands to massage the seasoning into the skin, ensuring every part of the exterior is covered. Then, gently lift the skin over each turkey breast and insert one piece of unsalted butter underneath.
-
Drizzle the olive oil over the turkey, then massage the oil into the skin, helping the seasoning adhere and promoting crispiness.
-
Lastly, stuff the diced onion, minced garlic, and sprigs of fresh thyme, oregano, and rosemary into the cavity of the turkey.
-
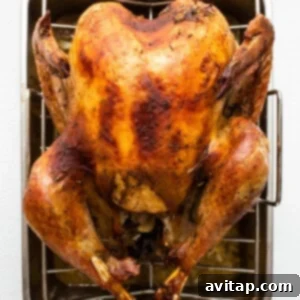
Roast the turkey: Place the prepared turkey into the preheated oven. Roast for 3 to 3.5 hours (approximately 13 minutes per pound) or until a meat thermometer inserted into the thickest part of the turkey thigh (without touching the bone) registers 165ºF. Remember to baste the turkey with the pan drippings every hour, on the hour, to keep it moist and promote browning. If the skin begins to brown too quickly or excessively during the last hour, loosely tent the top of the turkey with aluminum foil to prevent over-browning.
-
Once the internal temperature reaches 165ºF, remove the turkey from the oven. Tent it loosely with foil and let it rest for at least 20 minutes before carving. This crucial resting period allows the juices to redistribute throughout the meat, ensuring maximum tenderness and flavor.
-
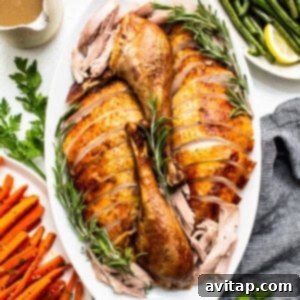
Carve your beautiful, juicy turkey and serve it with your homemade gravy and all your favorite holiday sides. Enjoy!
Chef’s Notes & Tips
- To Brine or Not to Brine: While not strictly mandatory, we highly advocate for brining your turkey. It’s the secret to consistent moisture and incredible flavor. If you prefer a dry brine, consult our dedicated post for that method.
- Tailoring Roasting Time: The size of your turkey directly impacts the roasting duration. A good rule of thumb is approximately 13 minutes per pound for an unstuffed turkey. Always use a reliable meat thermometer for accuracy.
- Homemade Seasoning Advantage: Our homemade turkey dry rub truly elevates the flavor. If you’re short on time, a high-quality store-bought poultry seasoning can be used as an alternative.
- The Right Pan Matters: Ensure your roasting pan includes a wire rack. This elevates the turkey, allowing even heat circulation and collecting valuable drippings for basting and gravy.
- Gravy is Essential: Don’t forget to prepare homemade turkey gravy using the flavorful pan drippings. It’s the perfect accompaniment!
Watch the Recipe
Nutrition Information
Carbohydrates: 2 g,
Protein: 99 g,
Fat: 30 g,
Fiber: 0.4 g,
Sugar: 1 g
Nutrition information is automatically calculated and should only be used as an approximation.
Loved this recipe? Leave a comment below!
Don’t forget to tag your culinary creations on social media with the hashtag #fitfoodiefinds – we’d absolutely love to see what you’re cooking up!
Photography Credit: All beautiful photos featured in this post were taken by Ashley McGlaughlin from The Edible Perspective.