
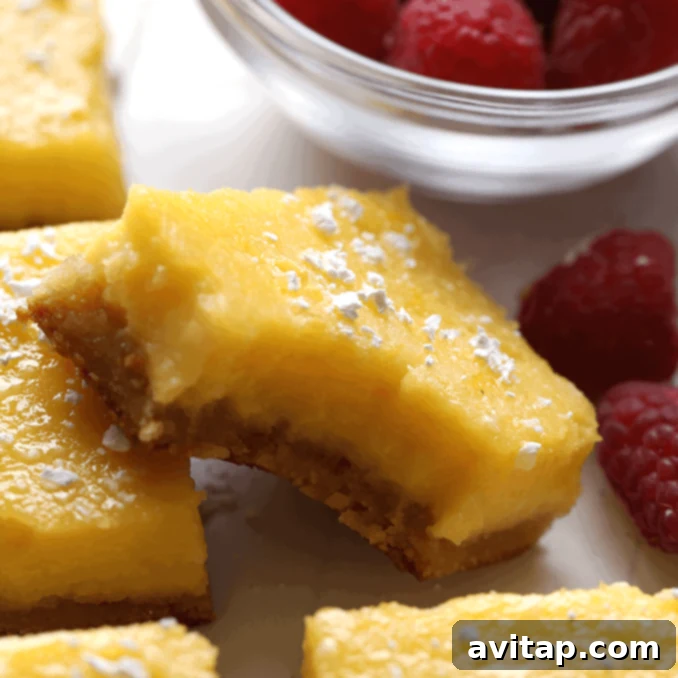
Indulge in these incredibly nutritious and utterly delicious gluten-free lemon bars! Crafted with only 8 wholesome, real food ingredients, these bright, zesty bites of heaven are also completely grain-free and free from refined sugars, making them a perfect treat for anyone seeking a healthier dessert option. Whether you follow a paleo diet or simply prefer clean eating, this recipe delivers on flavor without compromise.
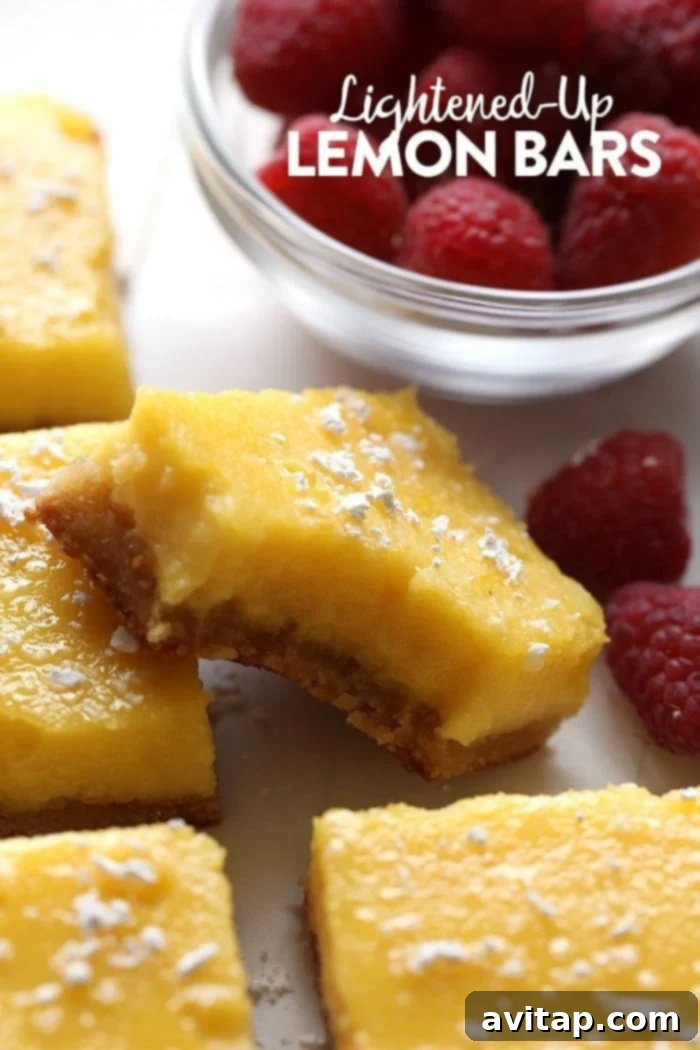
Your New Favorite Gluten-Free Lemon Bar Recipe
Are you on the hunt for a gluten-free lemon bar that truly satisfies? One with an irresistibly creamy, tangy lemon filling nestled atop a perfectly crumbly, gluten-free crust? Your search ends here! This recipe isn’t just a dessert; it’s a revelation, quickly becoming one of our most cherished gluten-free creations ever.
What makes these lemon bars so special? It starts with the foundation: a meticulously crafted crust made exclusively from super-fine almond flour. Being entirely nut-based, it offers a wonderful texture and richness without any gluten. This delicate crust is subtly sweetened with natural honey, bound together with melted coconut oil, and infused with a hint of warm vanilla extract, creating a harmonious base that perfectly complements the bright lemon topping.
The star of the show, the luscious lemon filling, is equally impressive. It combines fresh eggs, more natural honey for a balanced sweetness, and a touch of coconut flour to achieve that ideal, smooth, and firm lemon curd consistency. Just like the crust, the filling is inherently gluten-free, ensuring a wholesome experience from top to bottom. Bring these two incredible components together, and you have a truly delightful gluten-free dessert that’s ideal for sharing with friends and family, or simply savoring by yourself!
Essential Ingredients for These Zesty Lemon Bars
Creating these delightful gluten-free lemon bars requires just a handful of straightforward, natural ingredients. Each one plays a crucial role in achieving the perfect balance of flavor and texture. Here’s a closer look at what you’ll need:
For the Wholesome Crust
- Almond Flour: The foundation of our gluten-free crust. It’s essential to use super-fine ground almond flour for this recipe. This ensures a smooth, non-gritty texture that bakes beautifully and holds its shape. Almond flour is also a fantastic source of protein and healthy fats, making this crust more nutritious than traditional grain-based alternatives.
- Coconut Oil: This acts as our healthy fat and binder, helping the almond flour form a cohesive crust. For accurate measurements, always remember to melt the coconut oil first, and then measure the liquid. It also imparts a subtle, pleasant flavor that complements the other ingredients.
- Honey: Our natural sweetener for the crust. Honey provides a gentle sweetness that balances the richness of the almond flour and the forthcoming tang of the lemon filling. It also contributes to the crust’s binding properties.
- Vanilla Extract: A touch of vanilla adds a wonderful warmth and depth to the crust, enhancing the overall flavor profile without overpowering the main lemon notes.
- Salt: A pinch of salt is crucial for balancing the sweetness and bringing out the nuanced flavors of all the ingredients in the crust.
For the Zesty Lemon Filling
- Large Eggs: Eggs are fundamental to achieving the classic silky, custardy texture of lemon bars. They act as an emulsifier and thickener, ensuring the filling sets properly in the oven. This recipe specifically calls for large eggs for optimal consistency.
- Fresh Lemon Juice: This is where the signature tang comes from! The importance of freshly squeezed lemon juice cannot be overstated. Bottled lemon juice simply won’t deliver the same vibrant, bright, and authentic flavor that elevates these bars from good to truly exceptional.
- Honey: Similar to the crust, honey serves as the natural sweetener for the filling, providing a lovely counterpoint to the tart lemon juice without the use of refined sugars.
- Coconut Flour: A tiny but mighty ingredient! Coconut flour is incredibly absorbent and helps to thicken the lemon curd filling, giving it structure and preventing it from being too runny. You only need a small amount to achieve the desired consistency.
Explore More Healthy Bars & Brownies
Brown Butter Chai Rice Krispie Treats
Protein S’mores Brownies
Easy Cottage Cheese Protein Fruit Pizza
Strawberries and Cream Rice Krispie Treats
Banana Bread Brownies
Step-by-Step: Crafting Your Healthy Lemon Bars
Making these gluten-free lemon bars is surprisingly straightforward, divided into two simple stages: preparing the crust and then the filling. Follow these easy instructions for a perfect batch every time!
The Perfect Gluten-Free Crust
Our crust is truly a highlight of this recipe. It’s incredibly simple to make and naturally sweetened, similar to the delightful base we use for our healthy gluten-free fruit pizza. The key to its success lies in the quality of your almond flour and how you prepare it.
Pro Tip: For the best texture, always use super-fine ground almond flour. This prevents a gritty or coarse crust, ensuring a smooth, tender bite. Almond flour is an excellent choice for gluten-free baking because it’s simply finely ground almonds, free from any added grains or starches.
Crust Instructions
- First, preheat your oven to 350ºF (175ºC). Line an 8-inch x 8-inch baking pan with parchment paper, allowing some overhang on the sides to easily lift the bars out later. This non-stick lining is crucial for removal.
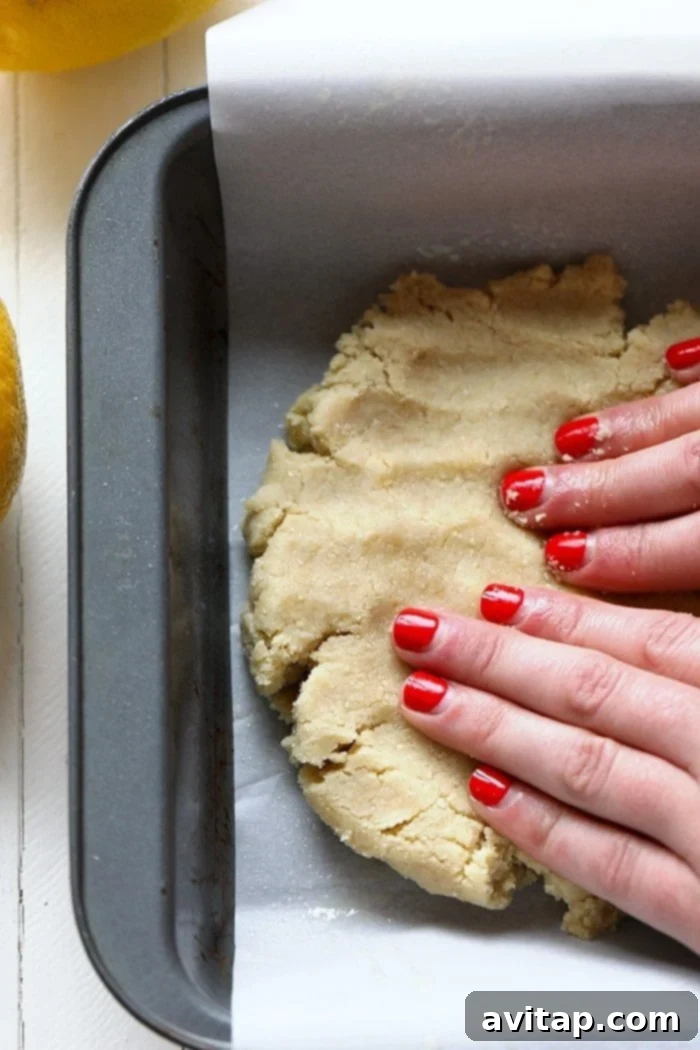
- In a large mixing bowl, combine all the ingredients for the crust: superfine almond flour, melted coconut oil, honey, vanilla extract, and salt. Mix thoroughly until a cohesive dough forms. It should be pliable and easy to handle.
- Transfer the dough into your prepared baking pan. Using your hands or a spatula, gently and evenly press the dough across the bottom of the pan. Pay special attention to the edges, ensuring the crust has a consistent thickness throughout for even baking.
- Bake the crust in the preheated oven for approximately 10 minutes. This pre-bake step helps to firm up the crust before adding the liquid filling.
The Zesty Lemon Filling
While your crust is baking to a light golden hue, you can begin preparing the star of the show: the bright and tangy lemon filling. This part is, in my humble opinion, the absolute best! Just like the crust, our lemon filling is 100% gluten-free, relying on fresh ingredients to deliver that classic flavor and texture. You’ll need fresh eggs, vibrant lemon juice, natural honey, and a small amount of coconut flour. The coconut flour is a secret weapon here, providing just enough thickening power without altering the delicate lemon flavor.
Filling and Baking Instructions
- In a medium-sized bowl, whisk together the large eggs. Then, add the freshly squeezed lemon juice, honey, and coconut flour. Continue whisking until all ingredients are well combined and there are no visible lumps of coconut flour. The mixture should not be overly thick at this stage; its final consistency will develop during baking.
- Once the crust has completed its 10-minute bake, carefully remove the pan from the oven. Pour the prepared lemon filling evenly over the warm crust.
- Place the pan back into the oven and continue baking for an additional 15 minutes. The filling should appear mostly set with a slight jiggle in the center when gently shaken.
- This next step is crucial for preventing cracks: once the filling has set, turn the oven off completely. Open the oven door slightly (about 1-2 inches) and allow the lemon bars to cool gradually inside the oven for 15 minutes. A sudden drastic change in temperature can cause the delicate lemon curd to crack.
- After the slow cool-down in the oven, remove the pan and let the bars continue to cool on the stovetop or a wire rack for another 20 minutes.
- For the best results, transfer the pan to the refrigerator and chill the lemon bars for at least 2 hours before attempting to slice them. This prolonged chilling time is essential for the filling to fully set and firm up, ensuring clean, beautiful cuts.
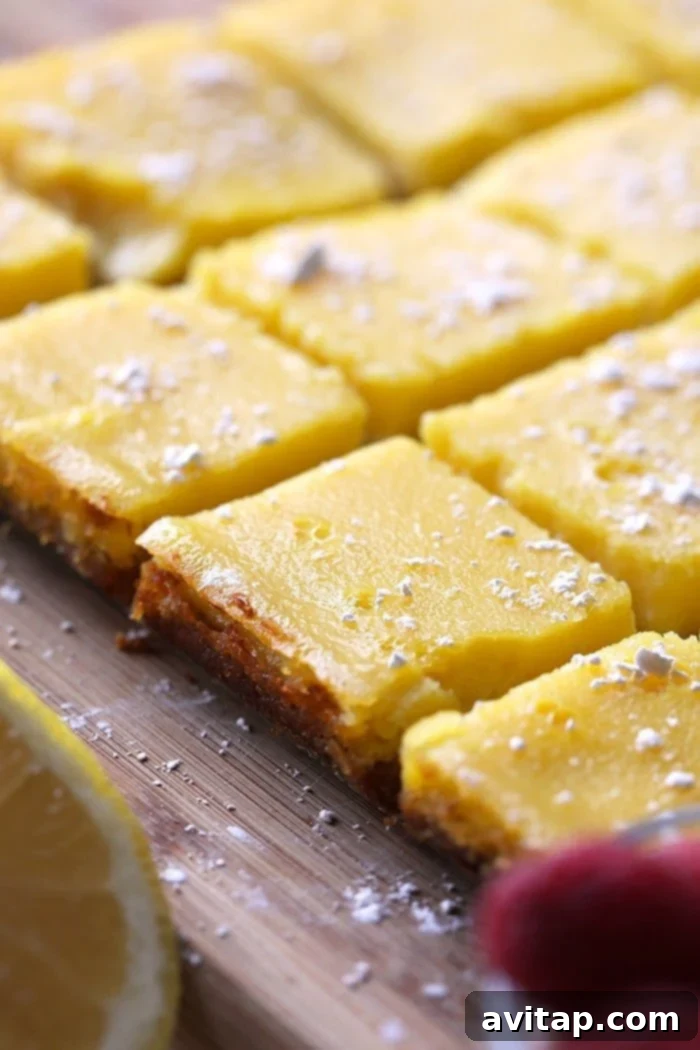
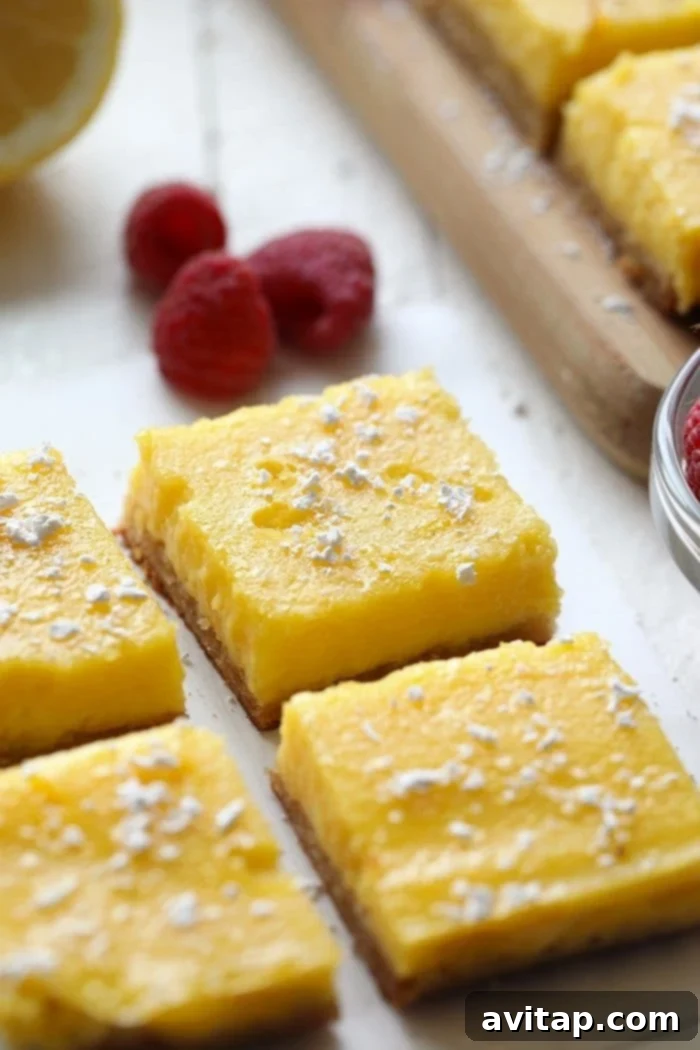
- Once thoroughly chilled, lift the lemon bars out of the pan using the parchment paper overhang. Slice into 9 even squares. For an elegant finish, dust lightly with organic powdered sugar before serving.
Why These Healthy Lemon Bars Are a Must-Try
Beyond being naturally gluten-free, grain-free, and refined sugar-free, these lemon bars offer a host of benefits. They are packed with wholesome ingredients like almond flour, which contributes healthy fats, fiber, and protein, making them a more satisfying and nutritious treat than many traditional desserts. The fresh lemon provides a good dose of Vitamin C, and honey offers natural sweetness with additional beneficial compounds. These bars prove that healthy eating doesn’t mean sacrificing deliciousness; they are a vibrant, flavorful example of mindful indulgence.
Tips for Perfect Lemon Bars Every Time
Achieving bakery-quality lemon bars at home is easier than you think with a few key considerations:
- Preventing Cracks: The most common issue with lemon bars is cracking. The secret lies in a gradual cooling process. Do not pull the bars directly from the hot oven into a cool kitchen. The slow temperature decrease by opening the oven door slightly is vital for the filling to set smoothly without stress.
- Don’t Rush the Chill: It can be tempting to slice into these delectable treats immediately, but patience is a virtue! A minimum of 2 hours, or even better, overnight chilling in the refrigerator, allows the lemon filling to firm up completely. This ensures clean, defined slices and the perfect texture.
- Fresh Lemon is Non-Negotiable: We truly can’t stress this enough. The bright, acidic punch of freshly squeezed lemon juice is what gives these bars their signature taste. Skip the bottled stuff for the best results. You might even consider zesting a lemon or two into the filling for an extra burst of aromatic flavor.
- Check Your Oven Temperature: Ovens can vary. Keep a close eye on your lemon bars during the final baking stage. The filling should be mostly set, with just a slight wobble in the very center, indicating it’s done without being overbaked and dry.
Storage Guidelines
To maintain their freshness and delightful texture, store your gluten-free lemon bars in an airtight container in the refrigerator. They will keep beautifully for up to 3 days. For longer storage, you can individually wrap slices and freeze them for up to 1 month. Thaw in the refrigerator before serving.
More of our Favorite…
Irresistible Gluten-Free Desserts
Craving more delightful gluten-free dessert recipes? Here are some other fantastic options to explore:
- Lemon Blueberry Crumble Bars
- Chocolate Chia Seed Pudding
- Monster Cookie Bars
- Blueberry Crisp
Gluten Free Lemon Bars Recipe
These healthy gluten-free lemon bars are incredibly easy to make with just 8 nutritious ingredients. A perfect grain-free, paleo-friendly, and refined sugar-free dessert to share!
- Author:
- Lee Funke
- Prep Time:
- 20 minutes
- Cook Time:
- 30 minutes
- Total Time:
- 50 minutes
- Servings:
- 9 bars
Print Recipe
Ingredients
For the Crust
- 1.5 cups super fine almond flour
- 2 tablespoons melted coconut oil
- 2 tablespoons honey
- 1 teaspoon vanilla extract
- 1/8 teaspoon salt
For the Filling
- 4 large eggs
- 1/2 cup lemon juice (freshly squeezed for best flavor)
- 1/2 cup honey
- 4 teaspoons coconut flour
Instructions
- Preheat oven to 350ºF (175ºC) and line an 8-inch x 8-inch cake pan with parchment paper, leaving an overhang on two sides for easy removal. Set aside.
- To prepare the crust, combine the superfine almond flour, melted coconut oil, 2 tablespoons honey, vanilla extract, and salt in a large bowl. Mix until a firm dough ball forms.
- Transfer the dough into the prepared pan and use your hands or a spatula to press it evenly across the bottom, ensuring consistent thickness from edge to edge.
- Bake the crust for 10 minutes at 350ºF (175ºC).
- While the crust is baking, prepare the filling. In a medium-sized bowl, whisk the 4 large eggs. Then, add the 1/2 cup fresh lemon juice, 1/2 cup honey, and 4 teaspoons coconut flour. Whisk vigorously until the mixture is smooth and no coconut flour clumps remain.
- Once the crust has baked for 10 minutes, remove it from the oven and carefully pour the lemon filling over the warm crust.
- Place the pan back in the oven and bake for an additional 15 minutes, or until the filling is mostly set with a slight jiggle in the center.
- Crucially, turn the oven off and prop the oven door open about 1-2 inches. Allow the lemon bars to cool slowly inside the oven for 15 minutes. This gradual temperature change helps prevent the filling from cracking.
- Remove the pan from the oven and let it cool completely on a wire rack at room temperature for about 20 minutes before transferring it to the refrigerator.
- Chill the lemon bars in the refrigerator for at least 2 hours (or ideally, overnight) to allow the filling to fully set.
- Once thoroughly chilled, use the parchment paper overhang to lift the entire batch from the pan. Slice into 9 equal squares. Serve plain, or with a delicate sprinkle of organic powdered sugar for a finishing touch.
Nutrition Information (per serving)
Calories: 244 kcal, Carbohydrates: 26 g, Protein: 7 g, Fat: 15 g, Fiber: 3 g, Sugar: 21 g
Nutrition information is automatically calculated and should only be used as an approximation.
Love this recipe? Leave a comment below!
Don’t forget to tag your creations on social media with the hashtag #fitfoodiefinds – we’d absolutely love to see what you’re baking!