
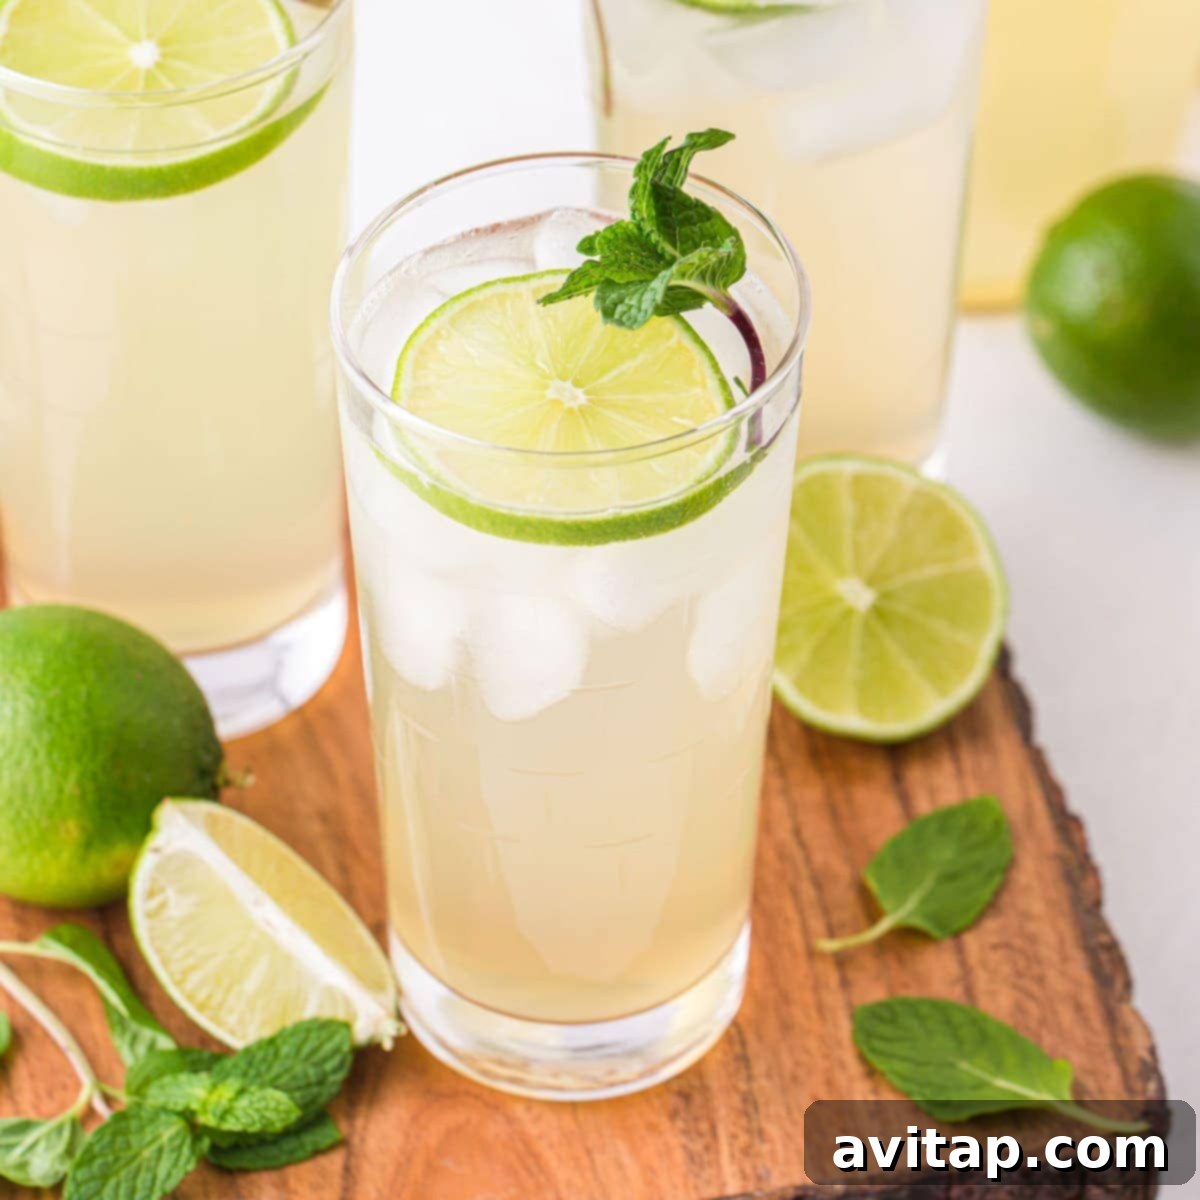
What’s more refreshing than a sweet, tangy limeade on a scorching summer day? This ultimate no-cook limeade recipe offers a perfect balance of flavors, expertly sweetened with both natural honey and rich brown sugar. It’s an effortless way to quench your thirst and invigorate your senses. Get ready to mix up this delightful homemade beverage and savor every sip!
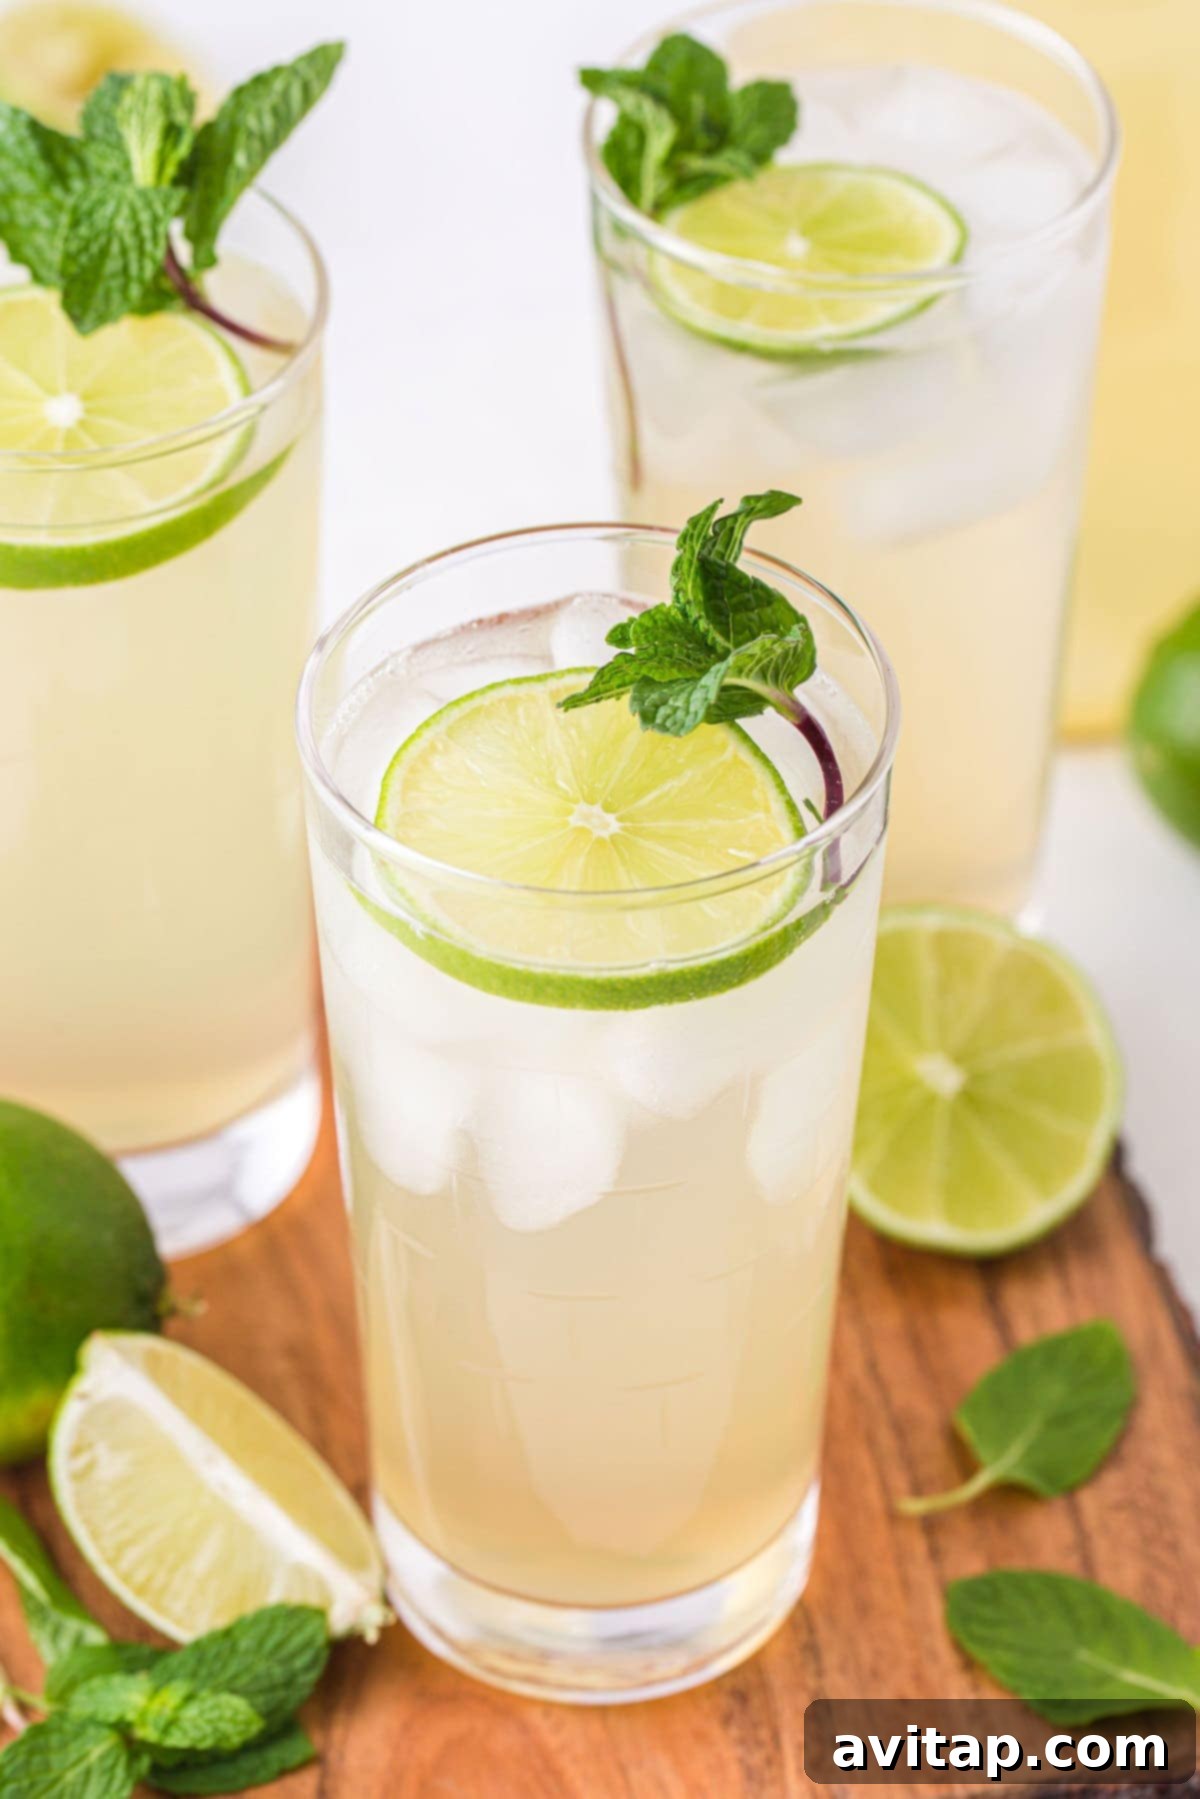
The Ultimate Refreshing Limeade: Your Perfect Summer Sip
Imagine bottling up the essence of spring and summer, then pouring it into a glass for instant enjoyment. That’s exactly what this incredibly refreshing limeade tastes like! It’s a celebration of fresh, vibrant flavors, crafted from freshly-squeezed limes, thoughtfully balanced sweeteners, and simple, elegant garnishes. This beverage isn’t just a drink; it’s an experience, a delightful escape that invigorates your palate and cools you down. Perfect for a leisurely afternoon by the pool, a vibrant picnic in the park, or a lively gathering with friends and family, this homemade limeade promises pure, unadulterated refreshment with every single gulp. Cheers to the brightest and most invigorating flavors of the season!
Why This Homemade Limeade Recipe Is a Must-Try
In a world full of overly sweet sodas and artificial drinks, our no-cook limeade offers a wholesome, naturally delicious, and truly satisfying alternative. What makes this particular recipe so exceptionally special and a cut above the rest? It’s the unique and harmonious combination of sweeteners – the deep, earthy notes of brown sugar perfectly paired with the subtle, floral undertones of natural honey. This dynamic duo creates a complex depth of flavor that granulated sugar alone simply can’t achieve, resulting in a limeade that is both comforting in its richness and exhilarating in its zestiness.
Furthermore, its “no-cook” nature means you can whip up a batch in mere minutes without ever needing to turn on your stove, making it the ideal concoction for those sweltering hot days when you crave maximum flavor with minimum effort. This makes it perfect for spontaneous gatherings or when you just need a quick, revitalizing pick-me-up. It’s also incredibly versatile and forgiving, allowing for easy customization to your preferred level of sweetness and adaptable for various occasions – from a simple, thirst-quenching family refreshment to a sophisticated and vibrant cocktail base for adult celebrations.
Embrace the simplicity and unparalleled taste of truly fresh ingredients. This recipe not only delivers an exceptional beverage but also connects you with the joy of creating something wonderful from scratch. Say goodbye to store-bought mixes and hello to your new favorite homemade drink!
Essential Ingredients for Your Perfect Limeade
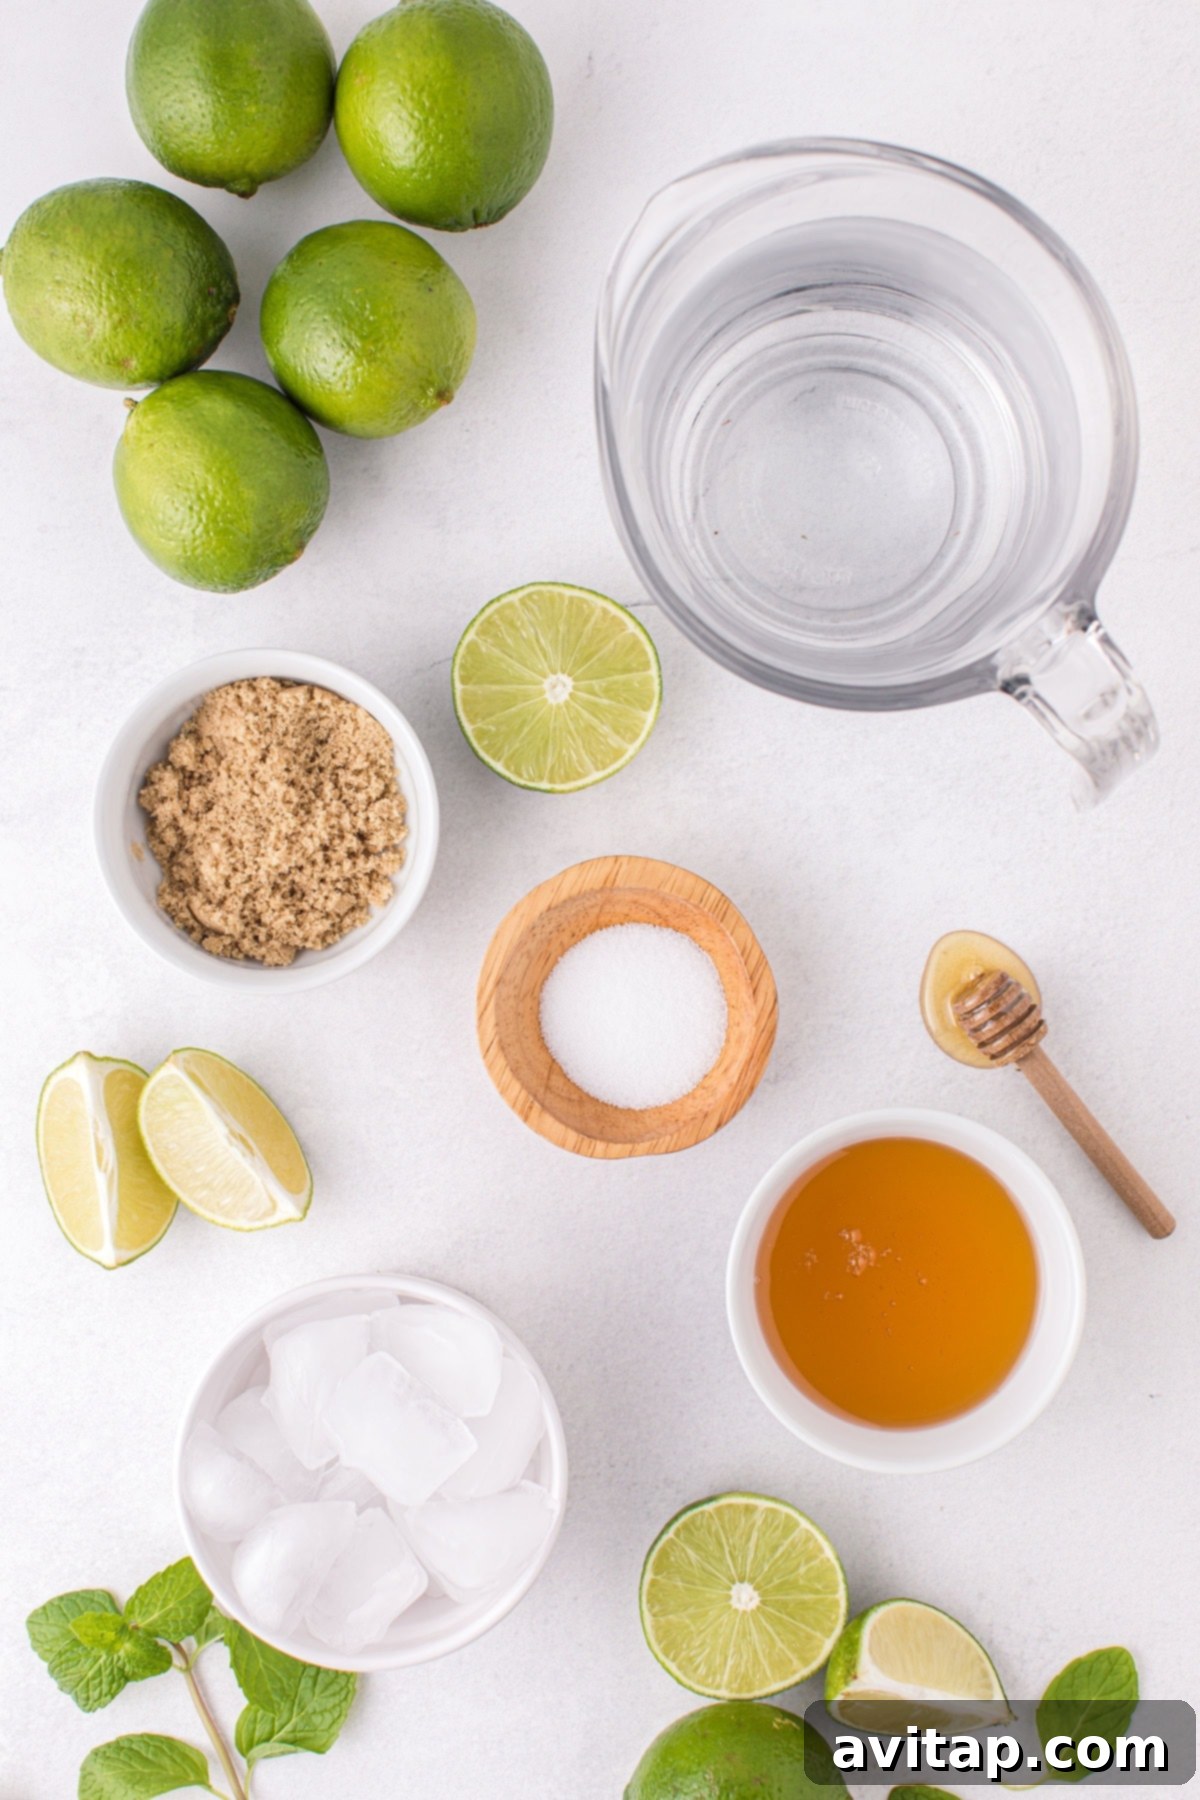
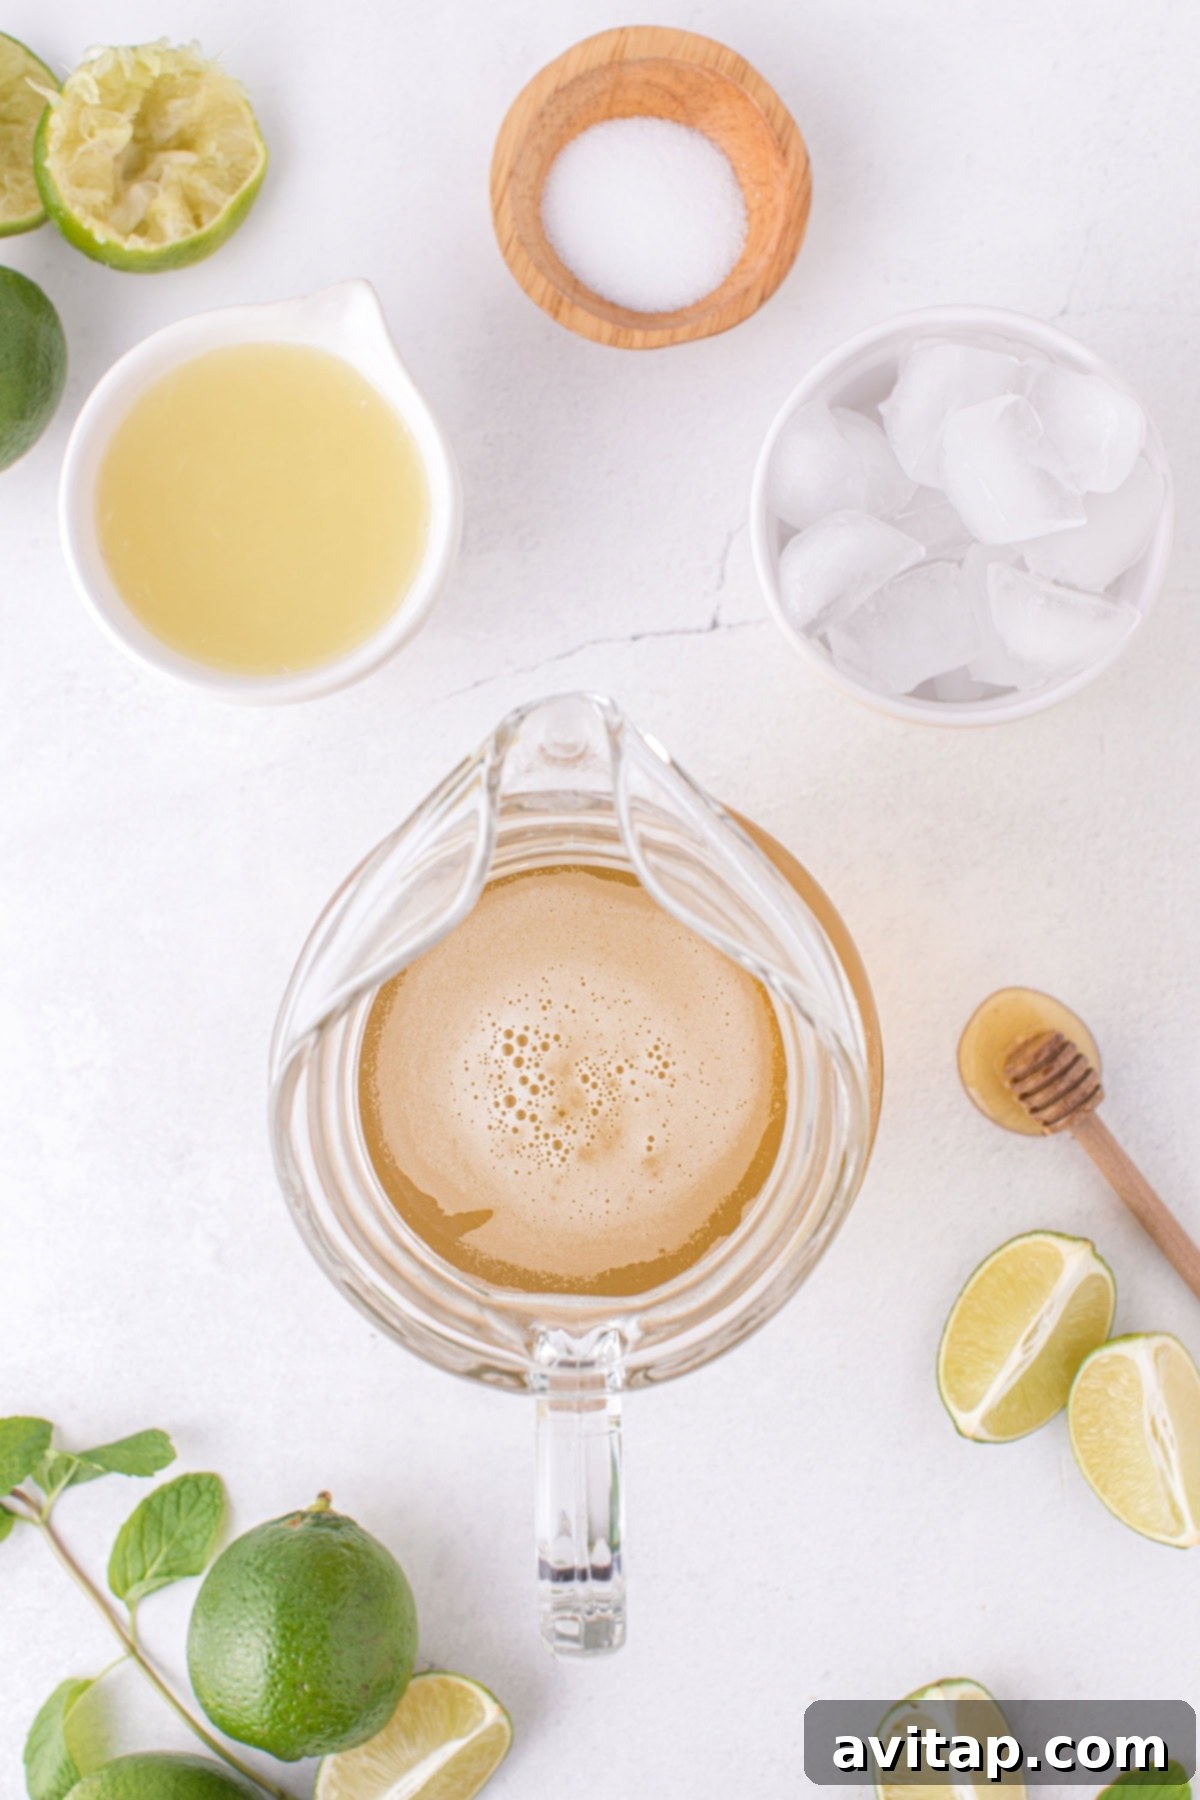
Crafting the perfect pitcher of refreshing limeade starts with selecting the right, high-quality ingredients. Fortunately, this recipe calls for a surprisingly short list of accessible items, many of which you likely already have readily available in your pantry or refrigerator. Here’s a detailed look at what you’ll need to gather to create this incredibly refreshing and utterly delicious homemade beverage:
- Fresh or Bottled Lime Juice: For the absolute best, most vibrant, and intensely aromatic flavor, we wholeheartedly recommend the unparalleled zest of freshly squeezed lime juice. The natural oils present in fresh limes provide a burst of fragrance and a tangy kick that truly elevates your limeade to gourmet status. However, if fresh limes are out of season, inconvenient to find, or time is simply too short, a high-quality bottled lime juice can serve as a decent alternative. A highly recommended option for bottled lime juice is Nellie & Joe’s Key Lime Juice, known for its authentic flavor. When using bottled juice, be sure to taste and adjust the sweetness and tartness, as its intensity might differ from fresh.
- Honey: This wonderful natural sweetener contributes more than just mere sugar to your limeade; it introduces a beautiful depth of flavor and subtle floral notes that beautifully complement and round out the sharp, bright citrus notes of the lime. Honey also plays a role in creating a smoother, more palatable texture in the final drink, preventing any harsh edges.
- Brown Sugar: The strategic inclusion of brown sugar is an absolute game-changer in this recipe, setting it apart from standard limeades. Its inherent molasses content provides a richer, more complex sweetness compared to plain white granulated sugar. This subtle hint of caramel and warmth delicately balances the tartness of the limes, adding a layer of sophisticated flavor. If light brown sugar is unavailable, granulated sugar can be used as a direct substitute, but anticipate a slightly different (less rich) flavor profile.
- Water: Our recipe intelligently utilizes a combination of both hot and cold water. The hot water is crucial for one very important reason: it ensures that the honey and brown sugar are thoroughly and completely dissolved, preventing any grainy residue from settling at the bottom of your pitcher. Once these sweeteners are perfectly integrated, the addition of cold water and ice cubes swiftly chills the mixture, making it ready to serve and enjoy immediately, without any waiting.
- Salt: A tiny pinch of salt might seem counterintuitive or unusual for a sweet beverage, but it is a time-honored culinary secret weapon! Salt in sweet drinks doesn’t make them salty; instead, it magically enhances and brightens all the other flavors, particularly amplifying the sweetness and tartness. This subtle addition makes the vibrant lime notes pop even more intensely, creating a more balanced and exciting taste experience.
- Lime Slices and/or Fresh Mint Leaves: These are not merely for aesthetic appeal, though they certainly add visual charm! Fresh lime slices can infuse additional subtle citrus notes into your drink as they sit, gradually deepening the lime flavor. Meanwhile, fresh mint leaves contribute a wonderfully aromatic and distinctively cooling element, perfect for summer. They are the ideal finishing touch, transforming a simple drink into a gourmet, sensory experience.
Pro Tip: Storing Your Limes for Maximum Freshness and Juice
To ensure you extract the maximum amount of juice and the best possible flavor from your limes, proper storage before use is absolutely crucial. Limes, like many citrus fruits, have a tendency to dry out quickly and develop tough, hardened rinds when simply left at room temperature on the counter. This not only makes them significantly more difficult to juice but also drastically reduces the amount of liquid you can extract, leading to wasted fruit and a less potent limeade.
To prevent this common issue and keep your limes fresh, plump, and juicy for an extended period, the best practice is to store them in the crisper drawer of your refrigerator. Place them gently inside an unsealed plastic bag or, even better, a breathable mesh produce bag. This method helps maintain their delicate moisture content and protects them from excessive air exposure, ensuring they remain succulent and ready for juicing whenever inspiration strikes. Properly stored limes can last for several weeks, meaning you’ll always have vibrant citrus on hand to infuse your drinks and dishes with their invigorating zest.
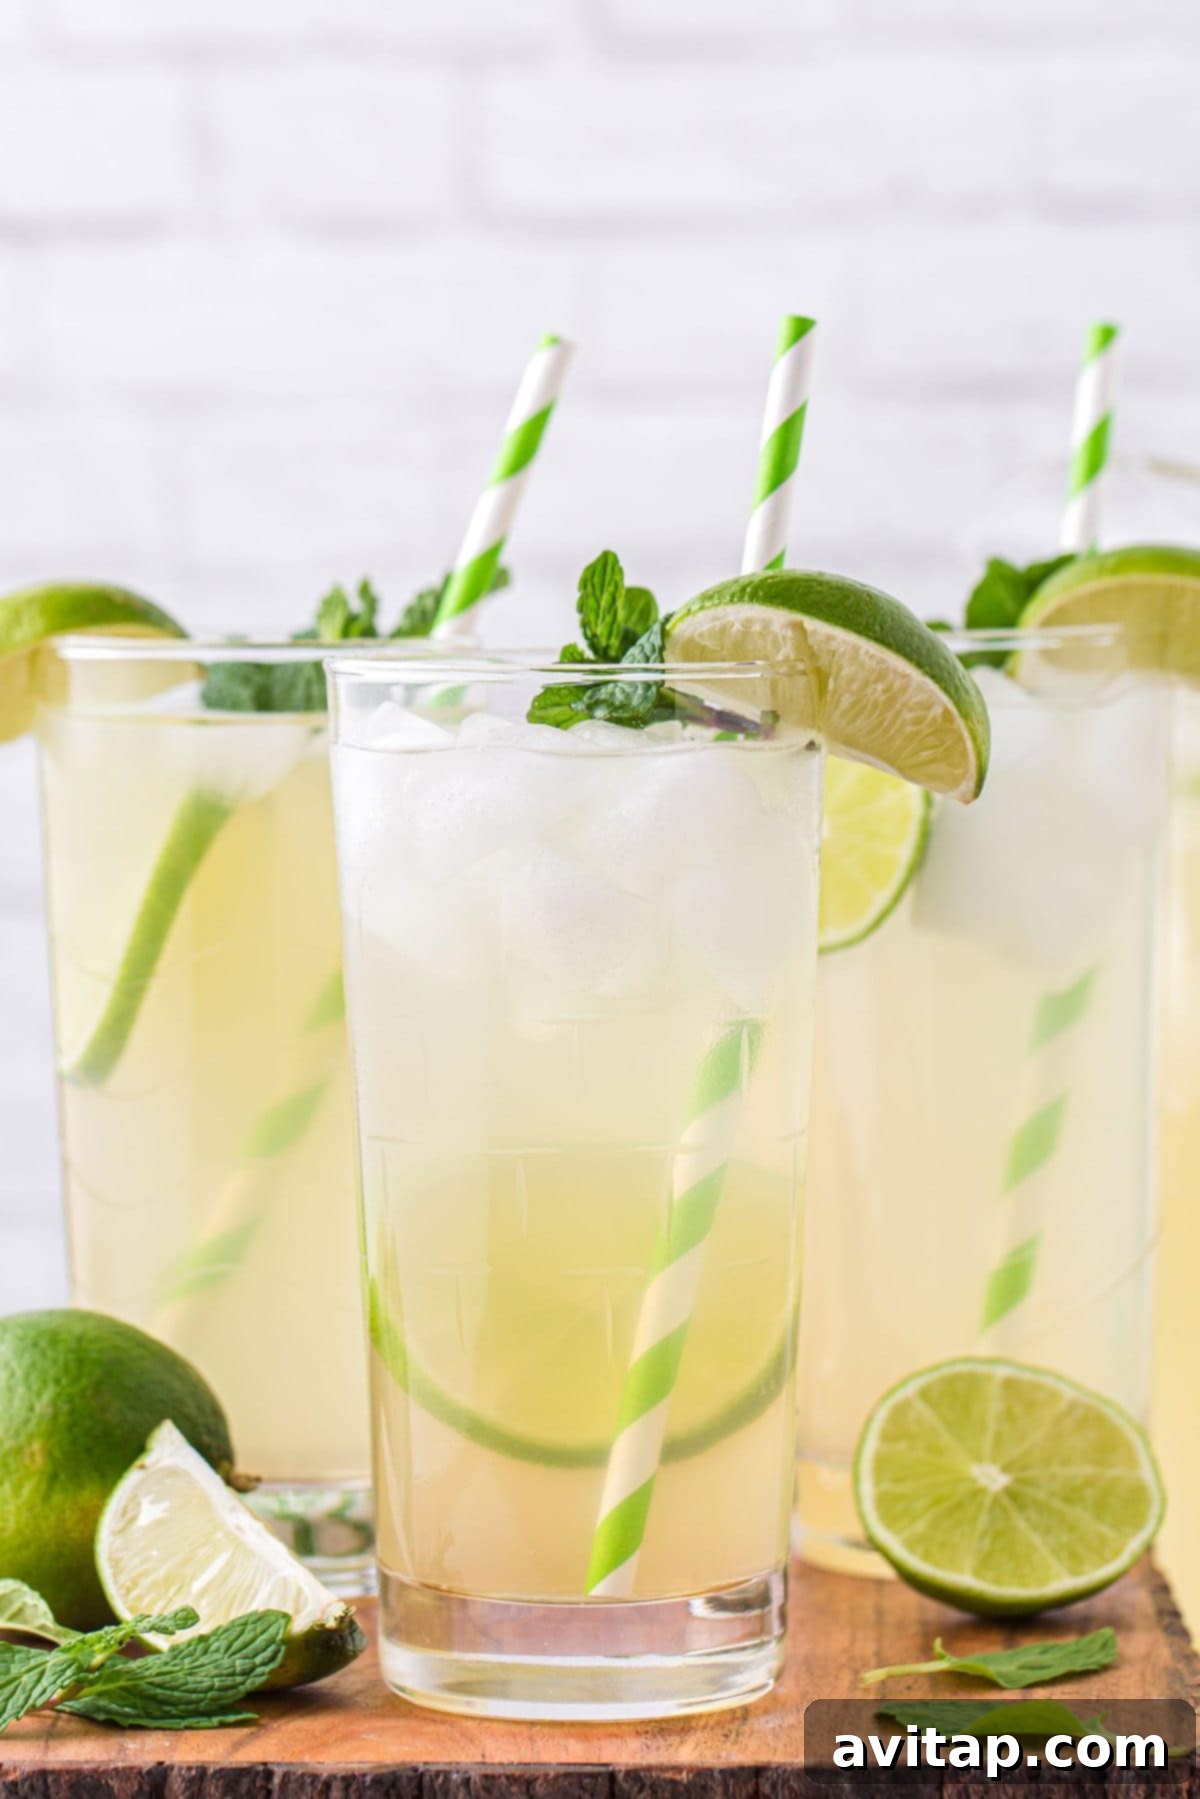
Essential Kitchen Supplies for Making Your Homemade Limeade
One of the many appealing aspects of this no-cook limeade recipe is its remarkable simplicity, which happily extends to the minimal equipment required for preparation. You won’t need any highly specialized gadgets, complex machinery, or an extensive culinary setup to bring this delightful beverage to life. Just a few fundamental kitchen tools will suffice to prepare this truly refreshing and satisfying drink. Here’s a detailed list of what to gather from your kitchen before you begin your limeade-making adventure:
- 2-Quart Serving Pitcher: This size of pitcher is perfectly suited for mixing all the ingredients together comfortably and for conveniently serving your freshly prepared limeade. Opt for one with a secure lid if you anticipate having any delicious leftovers that you’ll want to store securely in the refrigerator. A clear glass pitcher is also an excellent choice, as it beautifully showcases the vibrant green hue and the attractive garnishes of your homemade limeade, making it visually appealing for guests.
- Sharp Knife and Cutting Board: These are indispensable tools for neatly slicing your limes, both for efficient juicing and for preparing those beautiful, picture-perfect garnishes. A properly sharp knife ensures clean, precise cuts with minimal effort, making the entire preparation process safer and more enjoyable.
- Juicer (or Fork, Tongs, or Reamer): This is arguably the most crucial tool for efficiently extracting every precious drop of juice from your limes. A dedicated citrus juicer, whether it’s a manual hand press or a small electric model, will undoubtedly be the most efficient and least strenuous option. However, if you don’t possess a specialized juicer, absolutely do not worry! Common kitchen items like a sturdy fork, a pair of robust kitchen tongs, or a simple hand-held reamer can also perform the task effectively. We will delve into various practical juicing methods below to ensure you get the maximum yield from each and every lime.
- Measuring Cups and Spoons: For accurate and consistent measurement of your water, lime juice, honey, and brown sugar. Precision in measurement is key to achieving a perfectly balanced and consistently delicious flavor profile every single time you make this limeade.
- Whisk or Long Spoon: An essential tool for thoroughly mixing and ensuring that the honey and brown sugar are completely dissolved into the hot water. It also helps to smoothly combine all the other ingredients, ensuring no lumps and an evenly flavored drink.
Expert Tips: How to Juice Limes Efficiently for Maximum Yield
Getting the most juice out of your limes is a critical step in crafting a truly flavorful and potent limeade. No one wants a watery drink due to insufficient lime juice! Here are a few tried-and-true techniques and clever hacks to ensure you extract every last drop, whether you possess specialized juicing equipment or are simply juicing by hand:
Juicing Limes By Hand: Maximizing Yield Without Special Equipment
If you don’t happen to have a dedicated juicer at your disposal, don’t let that deter you! You can still obtain a significant amount of juice with a little bit of physical effort and these remarkably simple, yet effective, steps:
- Roll and Press: Before you even think about cutting, place your whole limes firmly on a clean countertop. With the palm of your hand, roll them back and forth with steady, gentle pressure. This crucial action helps to break down the internal membranes and juice sacs within the lime, effectively loosening the pulp and making it much easier for the juice to release when squeezed.
- Strategic Cutting: Instead of the conventional method of simply halving the lime crosswise, try this technique: cut the lime lengthwise in four distinct places, carefully avoiding the very center where the stem runs through. This innovative cutting method yields four elongated, oval-shaped pieces and leaves a longer, somewhat rectangular core piece in the center. This specific cut maximizes the exposed surface area of the pulp, making it more amenable to juicing.
- Squeeze the Oval Pieces: Take each of the smaller, oval-shaped pieces individually and squeeze them firmly over a small bowl. Twist your wrist slightly as you squeeze to help extract as much liquid as possible from the pulp.
- Twist the Core Piece: Don’t discard the central, larger rectangular piece! Hold its ends and twist it vigorously over the bowl. You’ll be pleasantly surprised by how much additional juice can be wrung out from this seemingly less promising section.
- Fork and Squeeze: For any stubborn remaining pulp or particularly juicy, unyielding sections, insert a fork into the flesh of the already squeezed lime pieces. Twist and prod the fork to further break up any remaining membranes, then give the lime pieces another firm squeeze. This often yields a final burst of juice.
Juicing Limes with Specialized Tools: Using Juicers, Reamers, and Tongs
If you are fortunate enough to have access to dedicated citrus juicers or reamers, these tools can make the juicing process even quicker, more efficient, and less messy:
- Using a Reamer: Begin by cutting the lime in half. Press one half firmly onto the ridged, cone-shaped head of the reamer. Twist the lime back and forth while applying steady downward pressure. The reamer’s design is specifically engineered to effectively break up the pulp and release the juice, which then collects in the reservoir below.
- Using a Manual Juicer (Hand Press): Again, cut the lime in half. Place one half, with the cut side facing downwards, into the juicer’s bowl. Press the handles of the juicer together firmly. This method ingeniously uses leverage to squeeze out a significant amount of juice with minimal effort, often featuring a built-in strainer to catch seeds and larger pulp pieces.
- Using Kitchen Tongs: This is a surprisingly effective and clever kitchen hack! Cut the lime in half. Place one half snugly between the ends of a sturdy pair of kitchen tongs, ensuring the cut side faces downwards into a waiting bowl. Squeeze the tong handles together firmly. The tongs act as a makeshift press, extracting juice with remarkable efficiency.
Regardless of which juicing method you choose, it’s always a good practice to strain your freshly squeezed lime juice through a fine-mesh sieve. This simple step removes any stray seeds or larger pieces of pulp, ensuring your limeade has a perfectly smooth, clear, and enjoyable texture.
Step-by-Step: How to Make the Best Fresh Limeade
Creating this wonderfully refreshing homemade limeade is incredibly straightforward, requiring just five simple, easy-to-follow steps and minimal fuss. You don’t need to be an experienced chef to master this recipe. Follow these clear instructions, and you’ll be delighting in your vibrant, homemade beverage in what feels like no time at all. Let’s walk through the process together:
Step 1: Heat the Water
Begin your limeade creation by heating 2 cups of water until it reaches a point just shy of boiling. This can be achieved quickly and conveniently using either a microwave-safe measuring cup (heating in 30-60 second intervals) or a small saucepan placed on your stovetop over medium-high heat. The purpose of using hot water at this initial stage is absolutely crucial: it ensures that your chosen sweeteners – honey and brown sugar – fully and completely dissolve, preventing any undesirable grainy texture from forming in your final, smooth drink.
Step 2: Dissolve the Sweeteners
Once your 2 cups of water are hot and steaming, carefully pour them into your 2-quart serving pitcher. Immediately add the measured ¼ cup of honey and ¼ cup of light brown sugar to the hot water. With a whisk or a long-handled spoon, stir the mixture continuously and thoroughly until both the honey and brown sugar are entirely dissolved. It is paramount to keep stirring until there are absolutely no visible sugar granules lingering at the bottom of the pitcher. This meticulous mixing creates a smooth, concentrated, and perfectly sweet base for your limeade, ensuring every sip is pure bliss.
Step 3: Combine with Cold Ingredients
After your sweeteners are perfectly dissolved and integrated into the hot water, it’s time to introduce the cooling elements and, of course, the star of the show – the lime! Stir in the remaining 2 ½ cups of cold water, the full cup of ice cubes, your freshly squeezed ¾ cup of vibrant lime juice, and the tiny but mighty ⅛ teaspoon of sea salt. Mix everything together vigorously until all the ingredients are completely combined and the ice begins to rapidly chill the entire mixture. You’ll notice the color become a beautiful, inviting pale green. Your limeade is now almost complete and tantalizingly close to delighting your taste buds!
Step 4: Sweeten to Your Liking
Now comes the most enjoyable and personalized part: customizing your limeade to suit your exact preference! Carefully taste the mixture and assess its sweetness and tartness. Everyone has a different ideal balance. If you find yourself desiring a sweeter limeade, feel free to add more honey or brown sugar. Do this gradually, one tablespoon at a time, stirring exceptionally well after each addition to ensure it dissolves fully before tasting again. Remember, this step is all about personal preference, so don’t hesitate to adjust until it’s precisely to your liking. Some individuals prefer a bold, tart, and zesty kick, while others enjoy a milder, more sugary profile.
Step 5: Garnish and Enjoy!
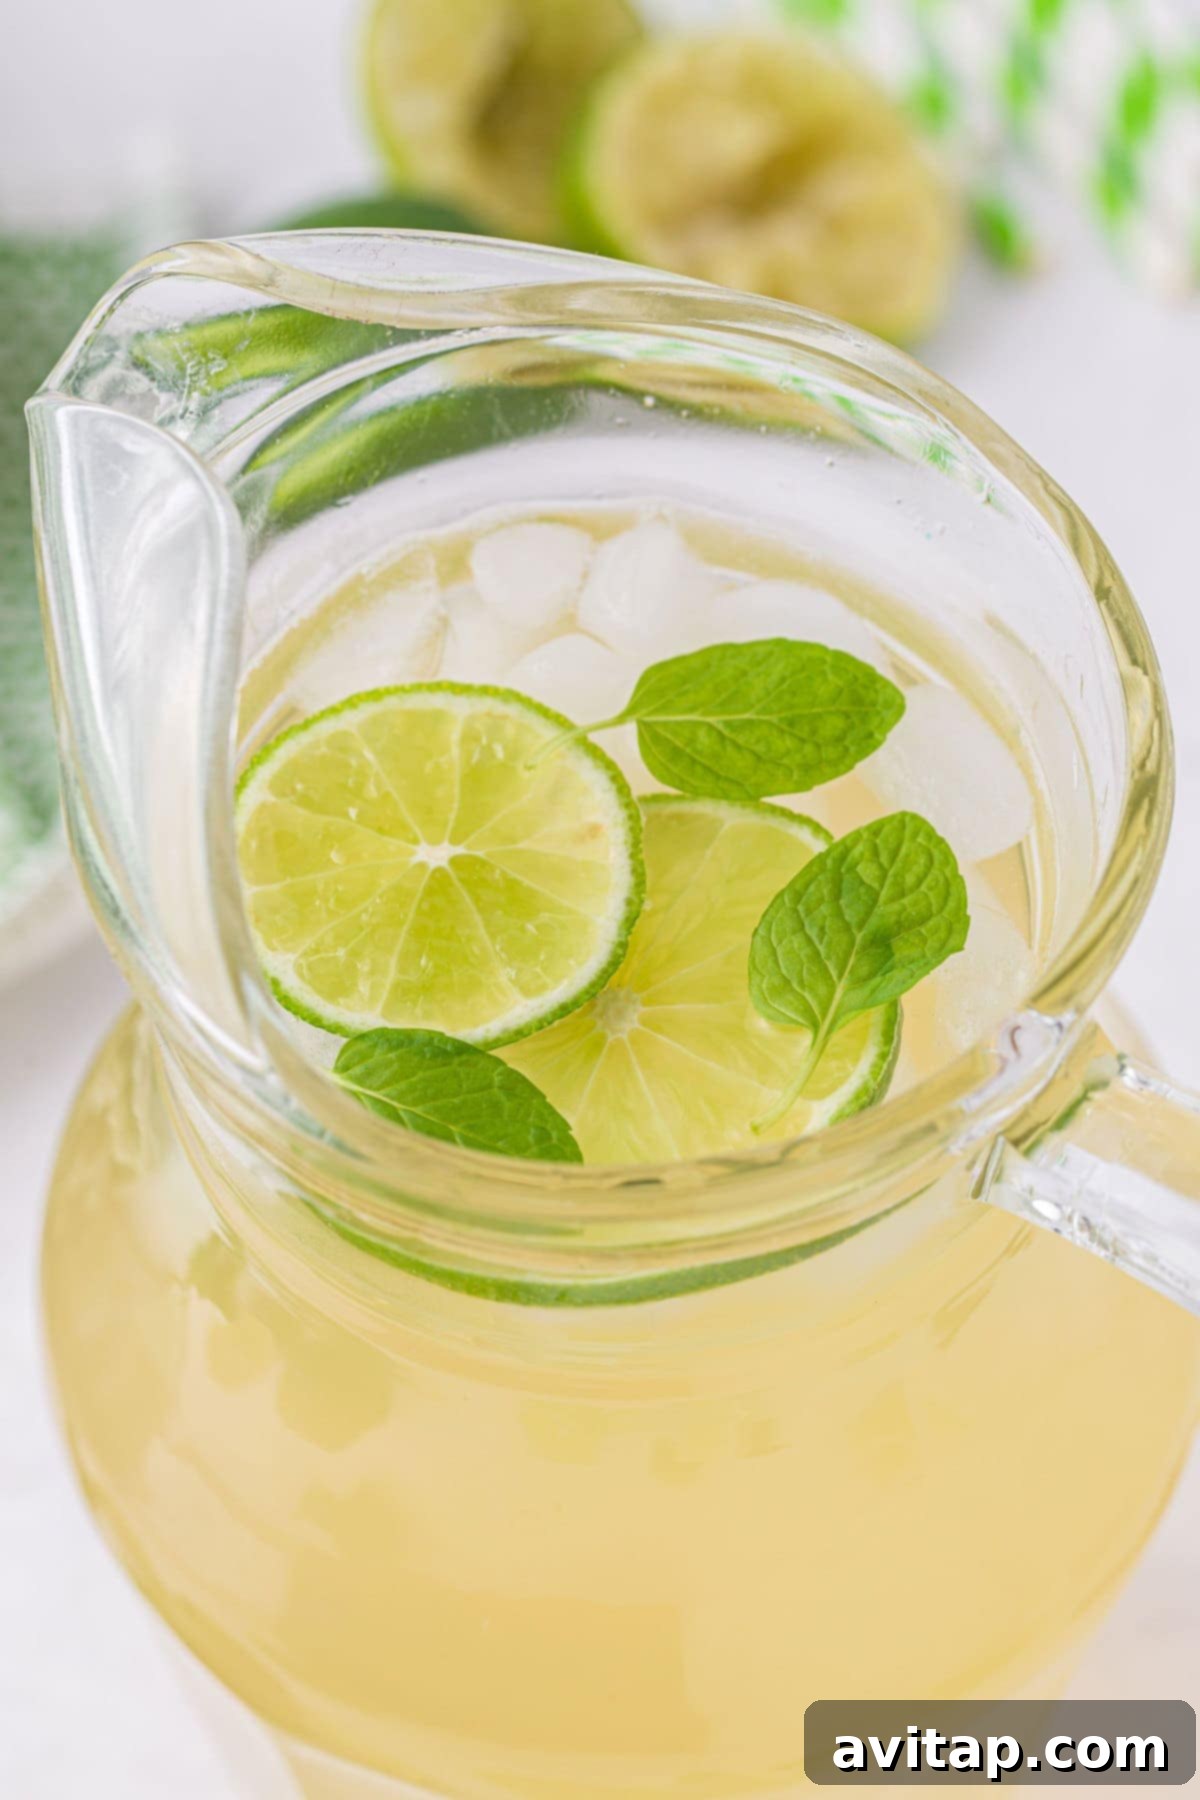
Once your limeade has reached its perfect balance, it’s time for the grand finale. Pour your freshly prepared, chilled limeade into individual serving glasses. For an extra touch of elegance, refreshing aroma, and enhanced flavor, consider garnishing each glass. A fresh lime slice perched artfully on the rim or floating gracefully within the drink adds visual appeal and a subtle citrus boost. A sprig of vibrant fresh mint is also a wonderful addition, contributing a beautiful aroma and a cool, invigorating sensation. Serve immediately over plenty of ice and ENJOY this truly delightful and homemade refreshment!
Elevate Your Limeade: Make it a Cocktail
While this homemade limeade is undeniably perfectly delicious and satisfying on its own, its impeccably balanced sweet and tart profile also makes it an exceptional foundation for a wide array of refreshing and innovative cocktails. Its inherent versatility means it pairs wonderfully with various spirits, allowing you to craft sophisticated adult beverages with ease. To effortlessly transform your vibrant homemade limeade into a spirited cocktail, simply introduce your favorite alcoholic beverage.
Vodka stands out as a classic and popular choice, offering a clean, neutral addition that allows the bright, zesty lime flavor to shine through unhindered. For individual servings, a standard measure of approximately 1.5 ounces (or about a shot) of vodka per glass is generally ideal. If you’re preparing for a larger gathering or party and wish to spike the entire pitcher (which conveniently yields about 6 servings), consider incorporating roughly 9 ounces of vodka directly into the pitcher for a consistently mixed batch. However, the possibilities don’t end there! Feel absolutely free to experiment with other delightful spirits. Gin, with its botanical complexities, can offer a sophisticated twist, while white rum can evoke a refreshing mojito-like vibe. Even tequila can be used to create a zesty, margarita-inspired drink. Always remember to consume alcoholic beverages responsibly and adjust the alcohol amounts to perfectly suit your personal preference and tolerance. Enjoy your custom-crafted limeade cocktail responsibly!
Host with Ease: Make a Large Batch of Limeade for Crowds
Planning a lively backyard BBQ, an elegant summer garden party, or simply wishing to have an abundant supply of refreshing homemade drink readily available for your family throughout the week? This limeade recipe is incredibly forgiving and effortlessly easy to scale up! You can effortlessly double or even triple the recipe to serve a significant crowd without complicating the preparation process in the slightest. Simply multiply all the ingredient quantities by your desired factor (e.g., 2x for a double batch, 3x for a triple batch) and then meticulously follow the same straightforward instructions provided in the recipe. The method remains identical, just with larger volumes.
For an extra touch of sophistication and convenience when serving a large batch, present your glorious homemade limeade in an elegant beverage dispenser. Enhance its visual appeal by adorning it generously with extra vibrant lime slices, colorful fresh fruit like berries or cucumber, and a generous scattering of fresh mint sprigs. This not only makes the drink look incredibly inviting but also subtly infuses additional flavors. Offer charming mason jar glasses or decorative tumblers for a quaint, rustic touch that is absolutely perfect for any outdoor gathering or festive occasion. This thoughtful presentation ensures that everyone stays wonderfully cool, perfectly hydrated, and thoroughly delighted with a continuous supply of this delicious, homemade refreshment.
Storage Tips: Keeping Your Homemade Limeade Fresh and Delicious
One of the many fantastic advantages of taking the time to make your own limeade from scratch is the ability to enjoy its unparalleled fresh taste over several days, minimizing waste and maximizing enjoyment. Proper storage techniques are crucial to ensuring your homemade beverage remains as delicious and vibrant as the moment you first prepared it.
Refrigeration for Short-Term Freshness
Your freshly made limeade will maintain its delightful taste and refreshing qualities beautifully when stored in the refrigerator for approximately 5 days. To preserve its freshness and prevent it from absorbing any unwanted odors from other foods in your fridge, always store it in a tightly sealed pitcher, jar, or airtight container. A crucial and highly recommended pro tip for refrigeration: if you added ice cubes directly to the entire pitcher when initially preparing the limeade, it is best practice to scoop out any melted or remaining ice before transferring it to storage. This simple step prevents the limeade from becoming watered down and subsequently diluting its vibrant, concentrated flavor over time, ensuring a consistently delicious experience.
Freezing for Long-Term Enjoyment
For an even longer-lasting treat and to capture the essence of summer all year round, this versatile limeade can be successfully frozen for up to an impressive 6 months! This method is a fantastic way to extend its shelf life and enjoy a taste of sunny days even in colder months. To freeze, simply pour the limeade mixture into freezer-safe containers or heavy-duty freezer bags. Remember to leave a small amount of headspace at the top of the container, as liquids will naturally expand when they freeze. When you’re ready to indulge, simply transfer the frozen limeade to the refrigerator to thaw gradually. You might find it beneficial to give it a good stir or shake after thawing to thoroughly reintegrate any separated components and restore its uniform texture.
Fun Frozen Treats: Homemade Limeade Popsicles!
Looking for an extra fun, playful, and utterly refreshing way to conquer the heat? Why not transform your leftover (or even freshly made!) limeade into delightful homemade popsicles! The process couldn’t be simpler: just pour the limeade mixture directly into your favorite popsicle molds and then place them in the freezer until they are completely solid. This is an absolutely fantastic and beloved treat for both eager children and discerning adults alike, offering a perfectly cool, tangy, and sweet escape on any hot day. It’s also an ingenious and creative way to utilize any remaining limeade before its refrigerated shelf life expires, turning a simple drink into an exciting frozen delight. How incredibly fun and inventive!
Frequently Asked Questions (FAQ) About Homemade Limeade
- Can I use lemon juice instead of lime juice in this recipe?
- While this specific recipe is thoughtfully crafted to highlight the unique nuances of limeade, you absolutely can substitute fresh lemon juice for lime juice to create a delicious and refreshing homemade lemonade! The resulting flavor profile will naturally be different – lemon is generally perceived as sweeter and less aromatic compared to the distinct zest of lime – but it will still yield a fantastic, thirst-quenching drink. You might want to adjust the sweeteners slightly to taste, as lemons can sometimes present a different level of tartness than limes.
- Is this homemade limeade recipe suitable for various dietary restrictions?
- This honey brown sugar limeade recipe is naturally gluten-free and inherently vegetarian, making it suitable for a wide range of diets. If you are specifically looking for a vegan-friendly option, you can easily substitute the honey with an equal amount of plant-based sweeteners such as agave nectar or maple syrup. Be aware that this substitution will subtly alter the flavor profile of the limeade. For individuals who are monitoring their sugar intake, artificial sweeteners could be used, but achieving the perfect balance with the potent lime juice might require careful tasting and diligent adjustment.
- How can I make my homemade limeade extra fizzy and bubbly?
- To infuse your limeade with a delightful effervescence and satisfying fizz, simply replace a portion of the cold water with sparkling water, club soda, or seltzer when you are ready to serve. For the best bubbly experience, it is highly recommended to add sparkling water to individual glasses just before serving, rather than to the entire batch. Adding it to the whole pitcher for storage might cause it to lose its carbonation over time, diminishing the desired fizzy effect.
- Can I add other fresh fruits or herbs to this limeade recipe?
- Absolutely! This foundational limeade recipe serves as a fantastic and versatile base for countless fruit-infused and herb-enhanced variations. Feel free to get creative! Consider gently muddling some fresh berries (such as ripe strawberries, juicy raspberries, or sweet blueberries) at the bottom of your serving pitcher, or incorporating thinly sliced cucumber, fresh ginger, or even a few slices of jalapeño for an intriguing spicy kick. For the best flavor infusion, allow the mixture to sit for at least 30 minutes (or even longer) in the refrigerator, giving ample time for the additional flavors to meld and develop.
Discover More Refreshing Beverages:
More Refreshing Juice & Drink Recipes
- Homemade Strawberry Basil Lemonade: A wonderfully vibrant blend that combines the juicy sweetness of fresh strawberries with the aromatic depth of basil and the classic tang of lemon, offering a sophisticated twist on a beloved classic.
- Honey Lavender Lemonade: Indulge your senses with the soothing, delicate floral notes of lavender, perfectly combined with the natural, comforting sweetness of honey and the invigorating zest of fresh lemon for a uniquely relaxing drink.
- Kombucha Lemonade: For the health-conscious and adventurous palate, this effervescent option masterfully blends the probiotic benefits and subtle tang of kombucha with the familiar, refreshing taste of lemonade, creating a sparkling delight.
- 4 Fruit Infused Water Recipes: Explore simple yet incredibly delightful ways to naturally flavor your everyday water with an array of fresh fruits and herbs, offering light, healthy, and delicious hydration alternatives.
4.50 from 2 votes
Homemade Honey Brown Sugar Limeade
Pin Recipe
Print Recipe
Ingredients
- 4.5 cups water, divided (2 cups hot, 2.5 cups cold)
- ¼ cup honey, or more to taste
- ¼ cup light brown sugar, or more to taste
- 1 cup ice cubes
- ¾ cup lime juice, ~ 6-8 juicy limes
- ⅛ teaspoon sea salt
- Optional garnishes: Lime slices and/or fresh mint
Instructions
-
Using a microwave or over the stove top, heat 2 cups water until near boiling.
-
Add hot water to a 2-quart serving pitcher along with honey and brown sugar. Mix until honey and sugar have dissolved.
-
Once dissolved, stir in the remaining 2 ½ cups cold water, ice cubes, lime juice, and salt until completely combined.
-
Taste and see if limeade needs more sweetener. If so, add more honey (or sugar) to taste and stir to dissolve.
-
Garnish with lime slices and fresh mint on each glass, optional.
Nutrition Information (per serving)
Carbohydrates: 21 g,
Protein: 0 g,
Fat: 0 g,
Fiber: 0 g,
Sugar: 20 g
Nutrition information is automatically calculated and should only be used as an approximation. Actual values may vary based on exact ingredients and preparation methods.
Love this recipe? Leave a comment below!
Don’t forget to tag your posts on social media with the hashtag #fitfoodiefinds – we’d absolutely love to see your beautiful creations!