
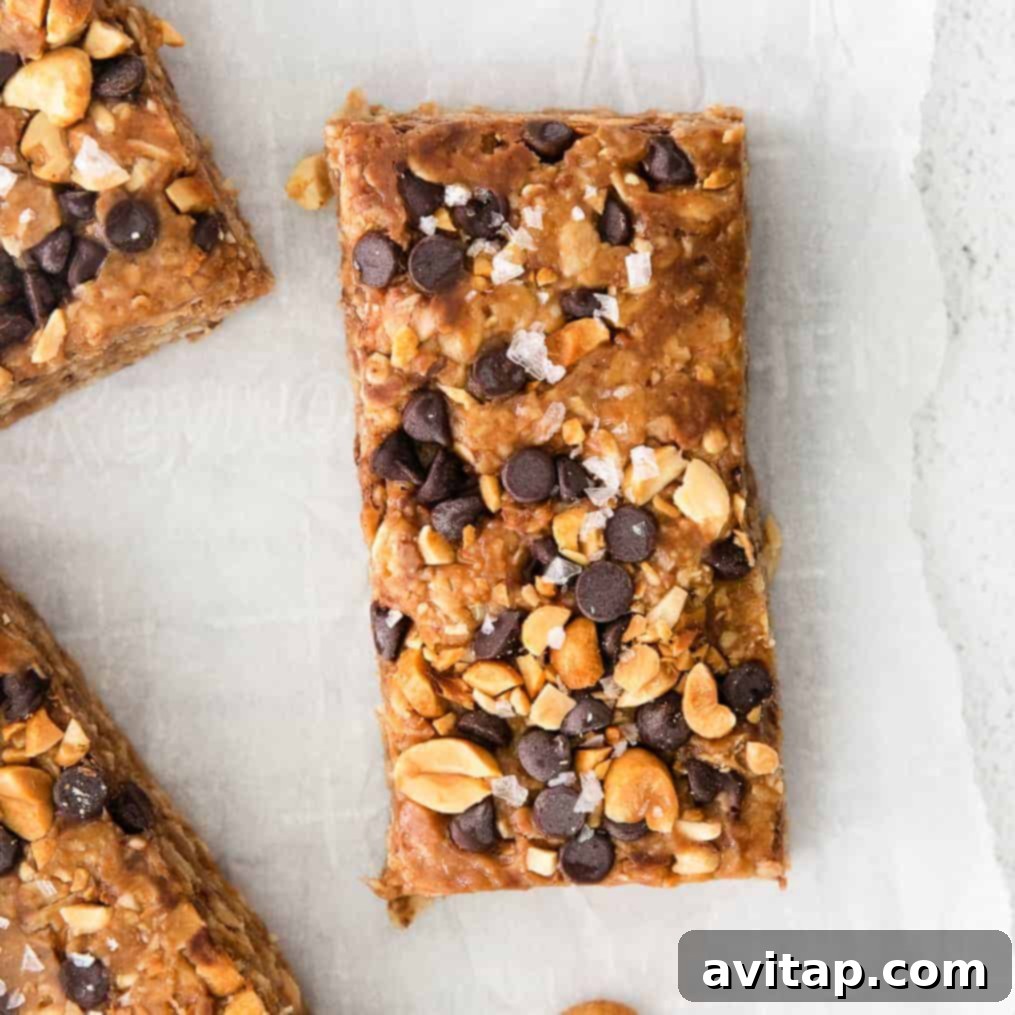
Craving a wholesome, satisfying snack that’s both delicious and incredibly easy to make? Look no further! This ultimate homemade granola bar recipe delivers perfectly chewy, sweet, and nutty goodness without ever needing an oven. Our healthy granola bars are a simple no-bake recipe, crafted with pantry staples like hearty rolled oats, creamy peanut butter, natural honey, and a generous sprinkle of chocolate chips for that irresistible touch of indulgence. Ideal for busy mornings, afternoon slumps, or a quick post-workout refuel, these bars are a family favorite that you’ll want to keep on hand.
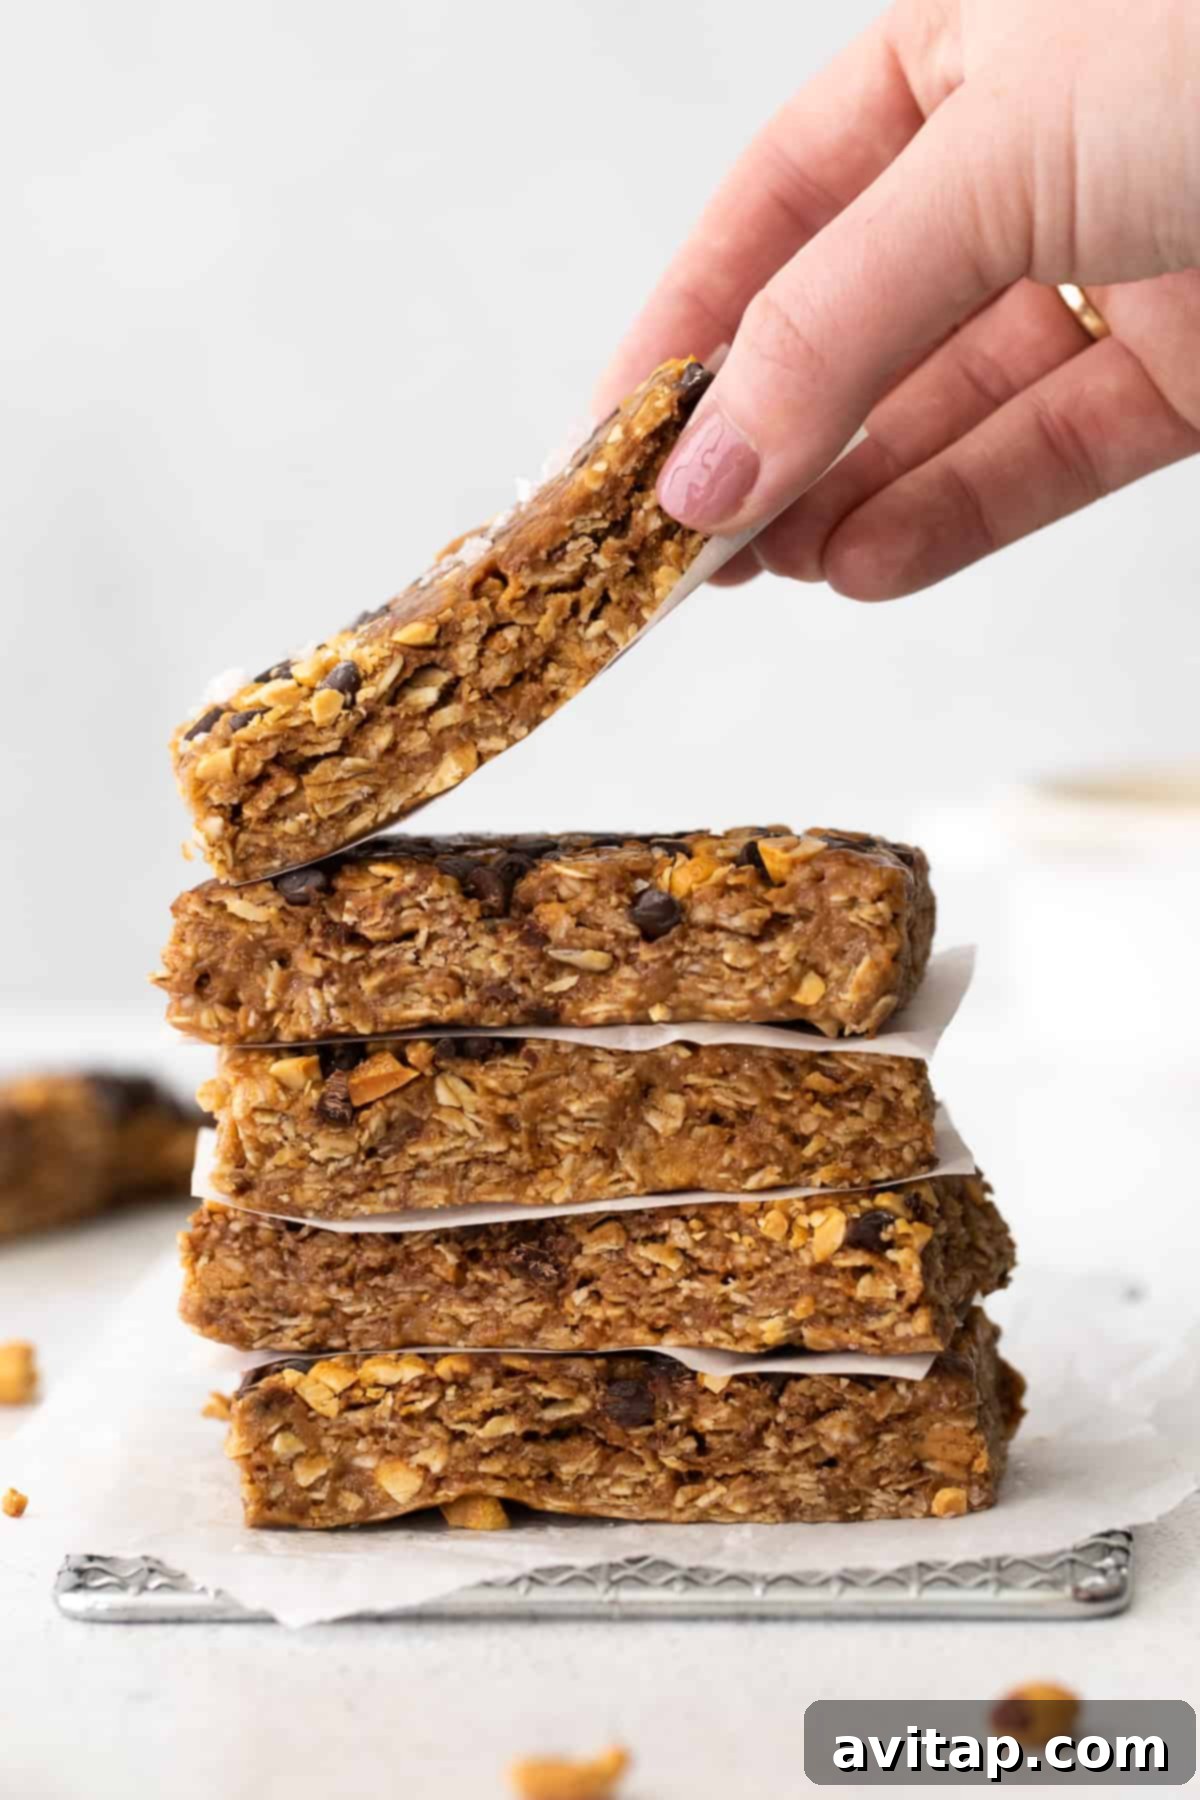
Craft Your Own Wholesome Homemade Granola Bars!
In our fast-paced lives, having nutritious and convenient snacks readily available is key to maintaining a balanced diet. We’re passionate about preparing homemade snacks, and these peanut butter chocolate chip granola bars are a testament to that philosophy. Similar to our popular protein ball recipes in their simplicity and nutritional value, these come in a perfectly portable bar form, making them an excellent grab-and-go option.
From childhood, granola bars have always been a comforting favorite. The chewy texture, combined with sweet morsels of chocolate, was an unbeatable treat. This recipe recaptures that nostalgic flavor while elevating it with whole, natural ingredients. Our version combines all our preferred elements – rich peanut butter, wholesome oats, delightful chocolate chips, and naturally sweet honey – into one fantastic creation. They come together in minutes, boast an ideal chewy consistency, and serve as an outstanding energy-boosting snack that everyone in the family, from kids to adults, will absolutely adore.
Why You’ll Love These Granola Bars:
- Naturally Gluten-Free: Made with oats (ensure certified gluten-free if necessary for dietary restrictions), these bars are a fantastic option for those avoiding gluten.
- High-Protein (13g!): Thanks to the generous amount of peanut butter and oats, each bar provides a substantial protein punch, keeping you feeling full and energized.
- Effortless to Make: With no baking required, this recipe is incredibly straightforward and quick, perfect for even the busiest schedules.
- Freezer-Friendly: Prepare a big batch and store them in the freezer for healthy snacks ready whenever hunger strikes.
- Kid-Friendly & Family Approved: The sweet and savory combination of peanut butter and chocolate is a surefire hit with children, making them a healthier alternative to many store-bought options.
- Better Than Dessert Delicious: So flavorful and satisfying, these bars might just become your new favorite treat, rivaling any dessert!
Essential Ingredients for Your Granola Bars
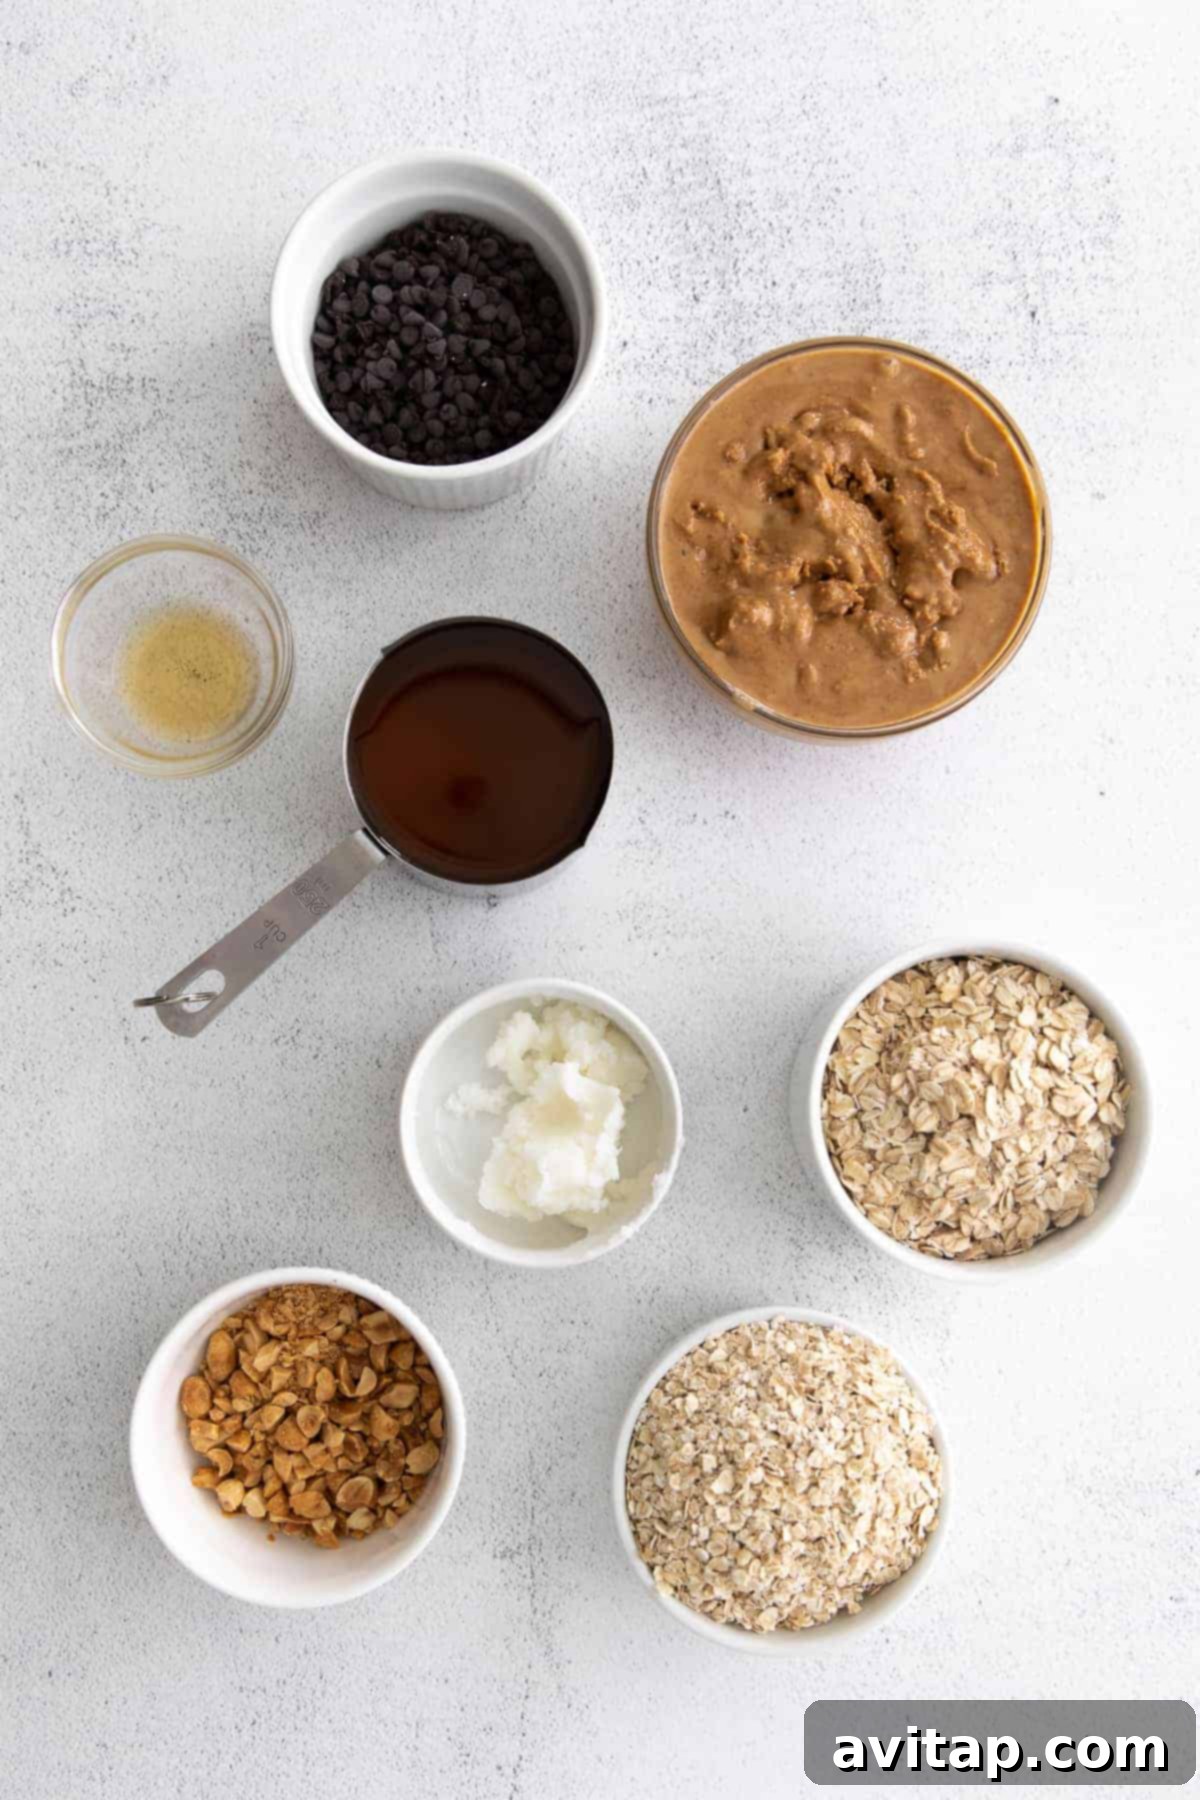
The magic of these granola bars lies in their simple, wholesome ingredients that combine to create a truly satisfying and delicious snack. Anything involving peanut butter and oatmeal is a guaranteed win in our book – it hits all the right notes with its satisfying texture, natural sweetness, and a hint of saltiness. Here’s a detailed look at what you’ll need to create these fantastic no-bake treats:
- All-Natural Creamy Peanut Butter: This is the star of the show! It provides incredible flavor, healthy fats, and acts as a crucial binder. Make sure to use a “drippy” or “stir-at-the-bottom” type of natural peanut butter, where the only ingredients are peanuts and salt. Prior to measuring, stir your jar thoroughly to ensure the oil and nut butter are fully combined, which is essential for the right consistency in your bars. Avoid brands with added sugars or hydrogenated oils, as they can alter the texture and sweetness.
- Rolled Oats (Old-Fashioned Oats): These provide the classic chewy texture and hearty bite that makes a granola bar truly satisfying. They are less processed than quick-cooking oats, offering more fiber and structure.
- Quick-Cooking Oats: To achieve the perfect balance of chewiness and softness, we use a combination of rolled and quick-cooking oats. Quick-cooking oats are pre-steamed and cut into smaller pieces, making them easier to chew and helping the bars hold together more uniformly. This blend ensures a delightful mouthfeel that isn’t too tough or too mushy.
- Pure Honey: As a wonderful all-natural sweetener, honey not only adds a lovely depth of flavor but also acts as an incredibly effective binding agent. Its natural stickiness is superior to maple syrup for holding these no-bake bars together firmly, preventing them from crumbling.
- Coconut Oil: While it contributes a subtle richness and healthy fats, the primary role of coconut oil in this recipe is structural. As it chills, coconut oil solidifies, helping to firmly set the bars and keep them from falling apart. Do not skip this ingredient, especially if you want your bars to maintain their shape at room temperature for longer.
- High-Quality Chocolate Chips: Every great granola bar deserves chocolate! Mini chocolate chips work beautifully here as they distribute evenly throughout the mixture, ensuring a bit of chocolate in every bite. Feel free to use your favorite variety – semi-sweet, dark, or even milk chocolate.
- Chopped Peanuts: We add peanuts for an extra layer of crunch and a boost of nutty flavor that perfectly complements the peanut butter. Ensure they are unsalted or adjust the overall saltiness of the recipe accordingly.
- Pure Vanilla Extract: A touch of vanilla enhances all the other flavors, adding warmth and depth to the bars.
- Flaky Sea Salt (for garnish): A sprinkle of flaky sea salt on top provides a beautiful contrast to the sweetness of the honey and chocolate, elevating the overall flavor profile. It’s an optional but highly recommended touch!
Versatile Ingredient Swaps and Customizations
One of the best aspects of homemade recipes is the freedom to customize them to your taste, dietary needs, or what you simply have on hand. These no-bake granola bars are incredibly adaptable:
Peanut Butter: If you have a peanut allergy or simply prefer a different flavor, feel free to substitute with another drippy, all-natural nut butter. Excellent alternatives include almond butter, cashew butter, or even sunflower seed butter for a nut-free option. Just ensure it’s natural, with oil separation, and give it a good stir before using to get the right consistency.
Honey: While honey is our preferred binder and sweetener due to its unique stickiness, you can experiment with other sticky sweeteners. Brown rice syrup is an excellent alternative that offers similar binding properties. We haven’t tested this recipe with maple syrup, but it tends to be less viscous and may not hold the bars together as firmly, potentially resulting in a softer texture that requires more chilling time.
Oats: Our recipe strategically uses a combination of rolled oats and quick-cooking oats to achieve the ideal chewy-yet-tender texture. However, if you only have one type available, don’t fret! You can use 3.5 cups of either rolled oats or quick-cooking oats exclusively. Using all rolled oats will result in a firmer, chewier bar, while using all quick-cooking oats will produce a softer, more uniformly textured bar. Both are delicious!
Chocolate Chips & Peanuts: This is where you can truly get creative! The beauty of these bars lies in their adaptability. Swap the chocolate chips or peanuts for an array of delightful add-ins to create your signature flavor. Consider dried cranberries, raisins, chopped apricots, pepitas (pumpkin seeds), sunflower seeds, other chopped nuts like walnuts or pecans, white chocolate chips, butterscotch chips, or even nutrient-dense cacao nibs. A pinch of cinnamon or a dash of nutmeg can also add a warm, inviting spice to your bars.
Effortless Step-by-Step Instructions
Making these no-bake granola bars is incredibly simple, requiring minimal effort and no special equipment. Just follow these easy steps:
- Prepare Your Pan: Begin by lining a square 9×9-inch baking pan with parchment paper, leaving an overhang on the sides. This makes it much easier to lift the bars out later. Lightly spray the parchment paper with a non-stick baking spray to prevent any sticking.
- Melt the Wet Ingredients: In a large, microwave-safe bowl, combine the all-natural peanut butter, honey, and coconut oil. Microwave this mixture for approximately 1 minute on high power. The goal is to soften and warm the ingredients, making them easy to combine.
- Stir Until Smooth: Carefully remove the bowl from the microwave. Stir the peanut butter mixture thoroughly with a spatula or spoon until it is completely smooth and well combined. It should be thick and glossy. Then, stir in the pure vanilla extract, ensuring it’s evenly distributed.
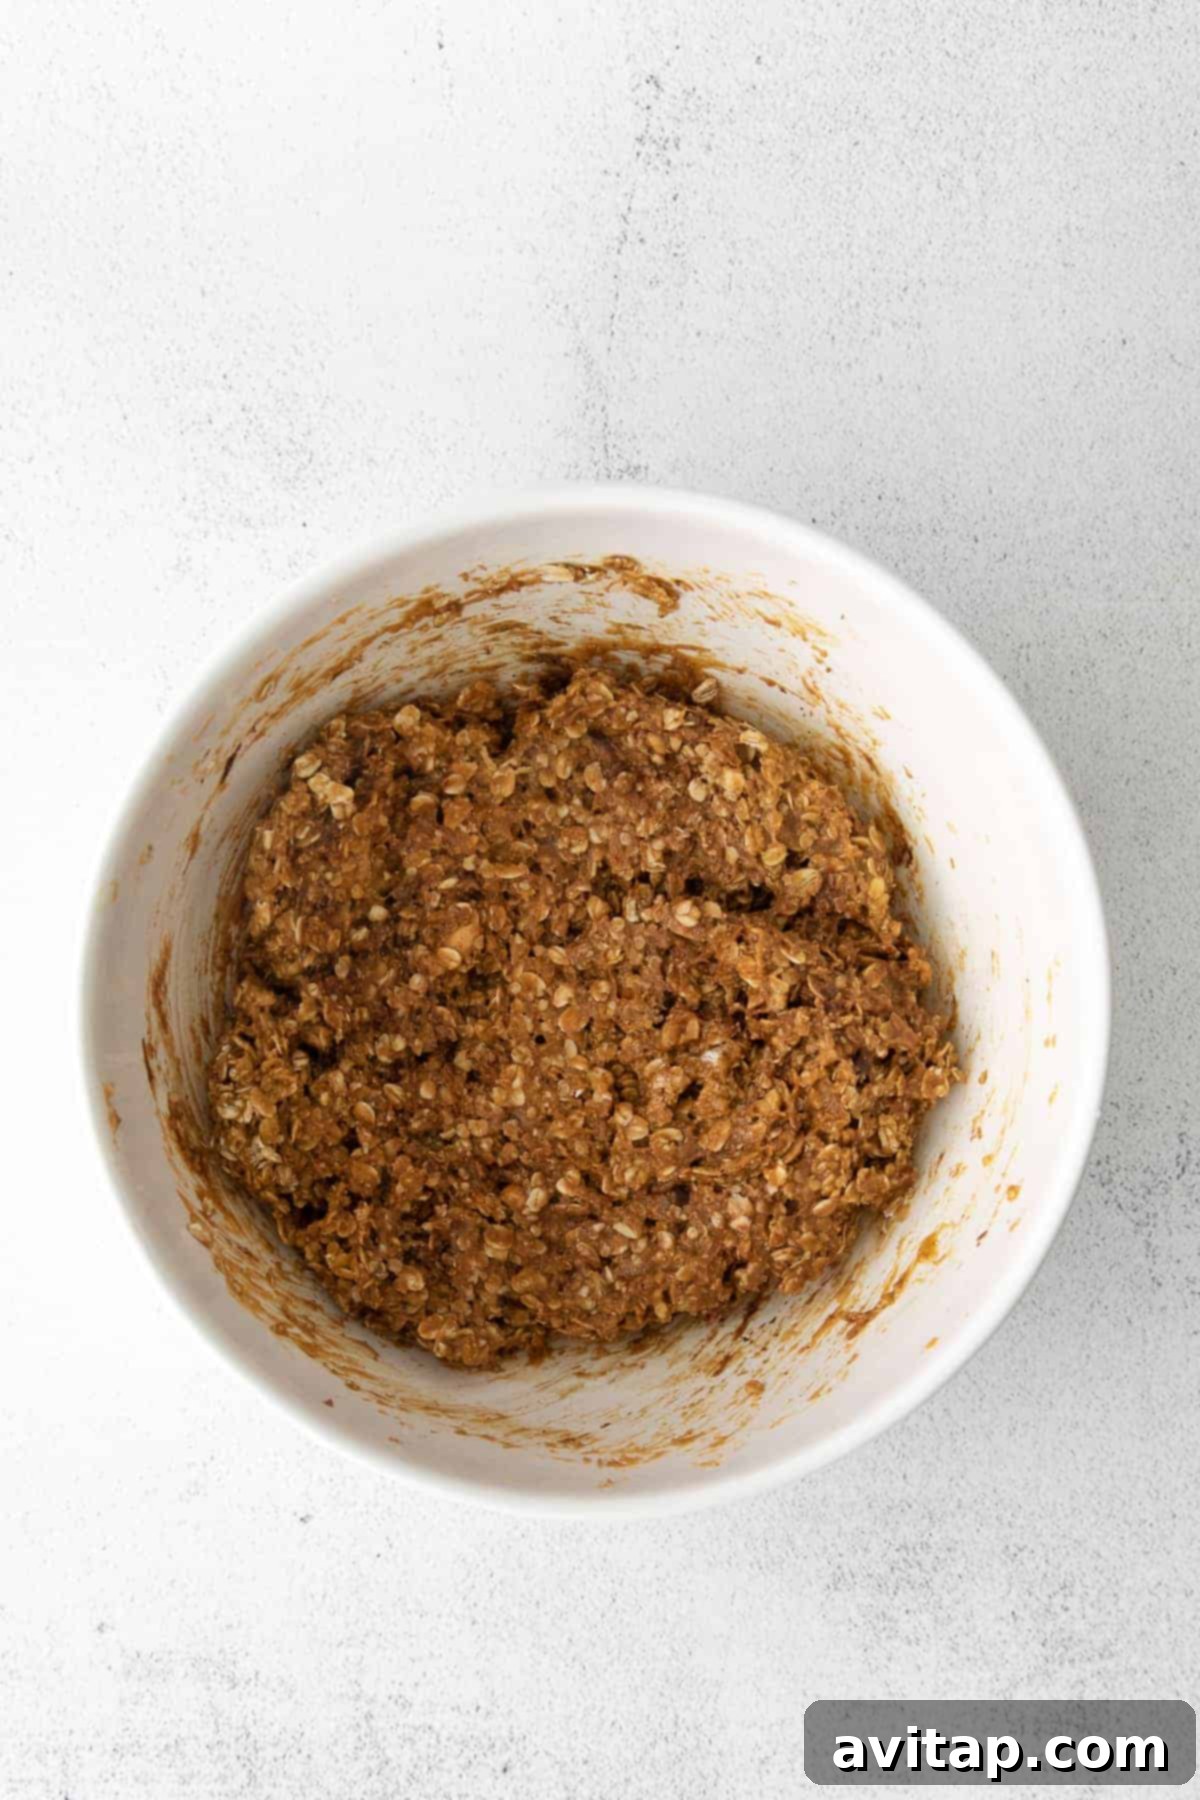
- Incorporate the Oats: Add the rolled oats and quick-cooking oats to the wet mixture. Using a sturdy spatula, fold the oats into the liquid mixture. Take your time to ensure that all the oats are thoroughly coated with the sticky peanut butter and honey base. This is crucial for the bars to hold together.
- Add the Extras: Once the oats are almost fully incorporated, add about half of your chocolate chips and half of the chopped peanuts. Continue to fold the mixture gently until these additional ingredients are evenly distributed throughout the granola bar dough.
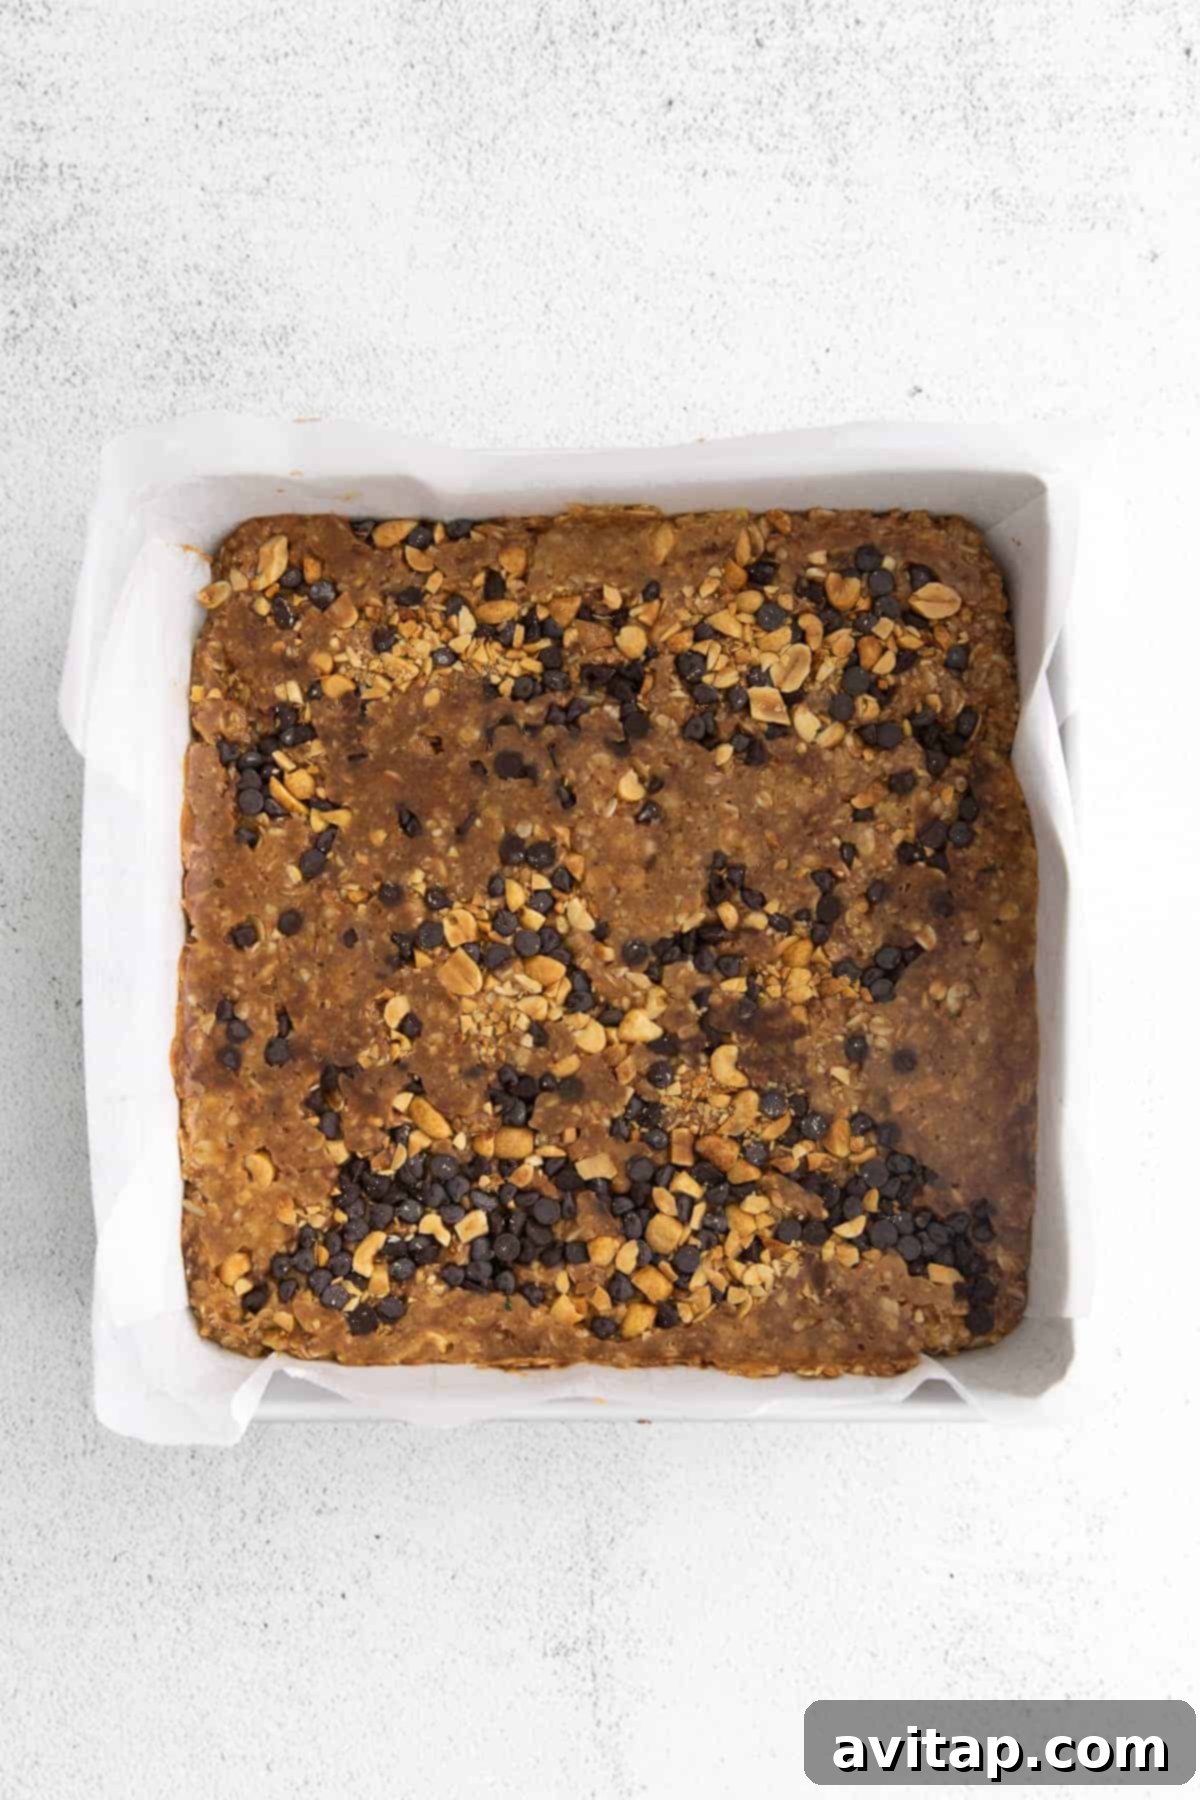
- Transfer and Press: Transfer the entire granola bar mixture into your prepared pan. Use your spatula to spread it out as evenly as possible. Now, for the most important step in achieving firm bars: place another piece of parchment paper directly on top of the mixture (this keeps your hands clean!). Using your hands or the bottom of a glass, press the mixture down *very firmly* into the pan. Compacting the mixture tightly is key to ensuring your bars don’t crumble.
- Chill for Firmness: Once firmly pressed, transfer the pan with the granola bars (still covered with the top layer of parchment paper) to the refrigerator. Chill for a minimum of 2 hours. This chilling time allows the coconut oil to fully harden and the mixture to set completely, ensuring perfectly firm and sliceable bars.
- Slice and Enjoy: After chilling, remove the pan from the fridge. Use the parchment paper overhang to lift the entire slab of granola bars out onto a cutting board. Using a sharp knife, slice the slab into 12 even bars. Your delicious homemade granola bars are now ready to be enjoyed!
Quick Questions & Answers About Homemade Granola Bars
How do I get homemade granola bars to stick together perfectly?
The secret to achieving perfectly cohesive no-bake granola bars lies in a couple of key ingredients and techniques. Our primary trick is using a combination of a truly sticky sweetener, like honey (which we prefer over thinner syrups like maple), and a precise amount of coconut oil. As the coconut oil cools and solidifies in the refrigerator, it acts as a natural binding agent, effectively holding all the ingredients firmly in place. Additionally, the importance of pressing the mixture *very firmly* into the pan cannot be overstated. The more tightly you pack the ingredients, the better they will stick together once chilled.
Are homemade granola bars healthier than store-bought options?
Absolutely! These homemade granola bars are significantly healthier than most commercially produced varieties. When you make them yourself, you have complete control over every ingredient. This means:
- No Unpronounceable Additives: You won’t find any artificial flavors, colors, or preservatives.
- 100% Whole Grain: Made with nutritious rolled and quick-cooking oats, they provide excellent fiber and sustained energy.
- Naturally Sweetened: We use honey, an all-natural sweetener, avoiding refined white sugar or high-fructose corn syrup often found in store-bought bars.
- Customizable: You can tailor the recipe to reduce sugar, increase protein, or manage allergens, making them perfect for specific dietary needs.
These factors make homemade granola bars a superior choice for a wholesome snack.
What is the best binder for no-bake granola bars?
For no-bake granola bars, the ideal binder needs to be both sticky and capable of solidifying. We highly recommend using a combination of a viscous, natural sweetener like honey or brown rice syrup, paired with a small amount of coconut oil. Honey provides immediate stickiness, helping to coat and adhere the dry ingredients. The coconut oil then works its magic during the chilling process; as it hardens, it creates a solid matrix that locks everything together, ensuring your bars maintain their shape and don’t crumble when handled.
Can I use a different sized pan for this recipe?
Yes, you certainly can! Since this is a no-bake recipe, the exact pan size is quite flexible and won’t affect the “cooking” process. Keep in mind that using a larger pan will result in thinner granola bars, while a smaller pan will yield thicker ones. If you use a different sized pan, simply adjust the chilling time slightly; thinner bars might set a bit faster, and thicker bars might need a little more time in the fridge to become perfectly firm. Regardless of the pan size, the delicious outcome remains the same!
Creative Twist: Roll Them Into Energy Bites!
If you’re not in the mood for traditional bars, or perhaps prefer bite-sized snacks, this versatile mixture can easily be transformed into delightful energy balls instead! Once the mixture is combined, simply roll small portions into balls of your desired size. They should hold together just as well as the bars once chilled, offering a fun and equally convenient snack option. This is a great way to introduce variety or make them even more appealing for little hands!
Storage Tips for Optimal Freshness
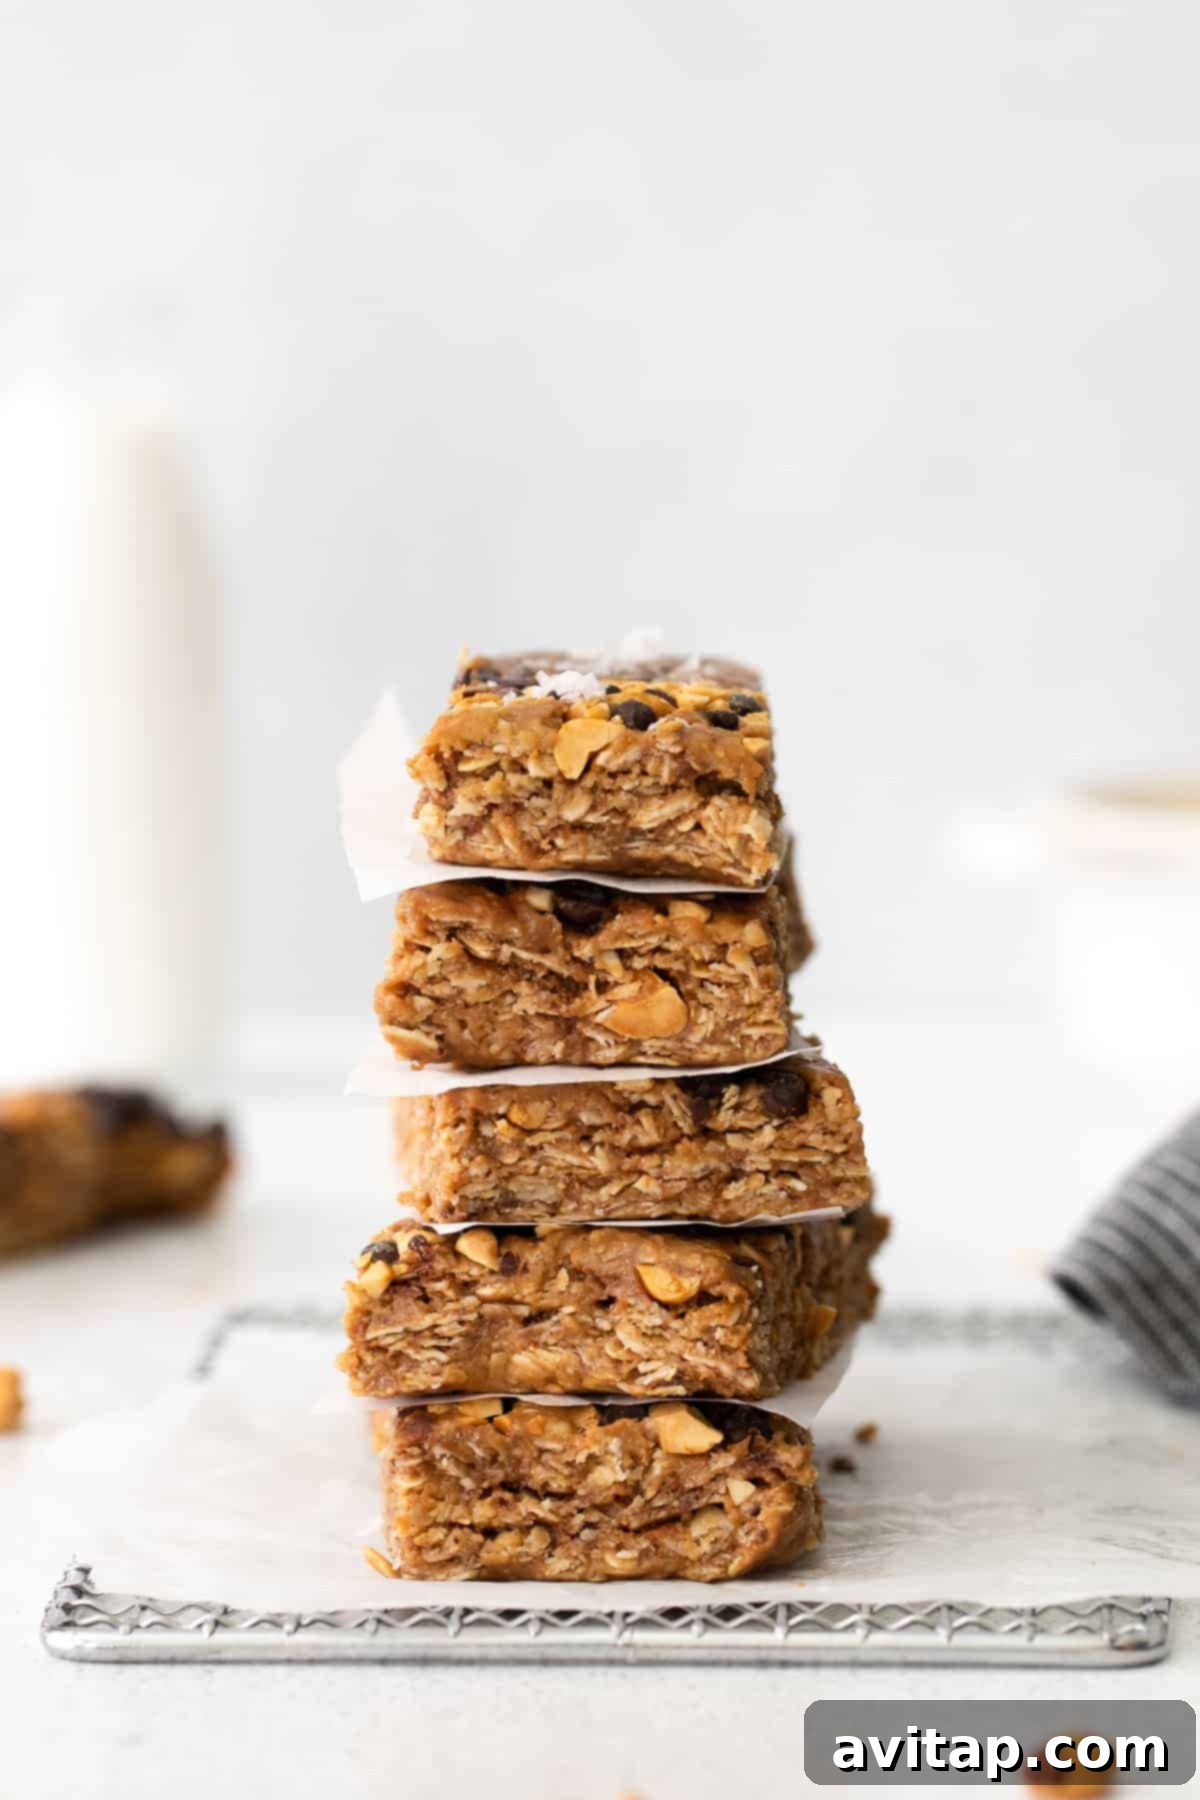
Proper storage is essential to keep your homemade granola bars fresh, firm, and delicious for as long as possible. Once your bars have fully set in the refrigerator and you’ve sliced them into individual portions, transfer them to an airtight container. Layer them with parchment paper in between if stacking multiple layers to prevent sticking. Store these in the fridge for up to 7 days. While they are safe to eat at room temperature for a short period (a few hours), storing them in the refrigerator ensures they maintain their firm texture, especially due to the coconut oil content.
Freezer Instructions for Long-Term Enjoyment
These no-bake granola bars are wonderfully freezer-friendly, making them perfect for meal prepping and having healthy snacks on demand. Freezing a batch ensures you’re always prepared with a wholesome treat. Follow these simple steps for freezing:
- Initial Freeze: After slicing the chilled bars, arrange them in a single layer on a baking sheet. Make sure they are not touching each other, as this prevents them from freezing together into one solid block.
- Flash Freeze: Place the baking sheet with the separated bars into the freezer for about 30 minutes. This “flash freezing” step allows the individual bars to harden slightly, preventing them from sticking together when stored in bulk.
- Transfer to Storage: Once flash-frozen, transfer the hardened bars into a gallon-size freezer-safe bag or an airtight freezer container. For best results, remove as much air as possible from the bag before sealing to prevent freezer burn.
- Long-Term Storage: Store the granola bars in the freezer for up to 3 months. When you’re ready to enjoy one, simply grab a bar from the freezer and let it thaw at room temperature for a few minutes, or enjoy it chilled straight from the freezer for a super firm snack!
Discover More of Our Favorite…
Nourishing Bar & Energy Ball Recipes
- Homemade Protein Bars
- Cashew Date Bars
- Chocolate Coconut Energy Bars
- Peanut Butter Chocolate Chip Larabars
Homemade Granola Bars (Peanut Butter Chocolate Chip)
You are going to love this peanut butter granola bar recipe. These healthy, no-bake granola bars are sweetened with honey and made with all-natural peanut butter, hearty rolled oats, and delightful chocolate chips. Perfect for a quick snack or meal prep!
Ingredients
- 1.5 cups all-natural creamy peanut butter
- 1 cup honey
- 2 tablespoons coconut oil
- 1 teaspoon pure vanilla extract
- 2 cups rolled oats
- 1.5 cups quick cooking oats
- ½ cup mini chocolate chips
- ½ cup chopped peanuts
- Flaky sea salt, for garnish (optional)
Instructions
- Line a square 9×9-inch pan with parchment paper, allowing an overhang, and lightly spray it with non-stick baking spray.
- Add the peanut butter, honey, and coconut oil to a large, microwave-safe bowl. Microwave for 1 minute to soften.
- Stir the peanut butter mixture until it is smooth and thick. Add the vanilla extract and stir to combine well.
- Next, add the rolled oats and quick-cooking oats. Fold them into the wet ingredients, making sure the oats are evenly coated. Once mostly incorporated, add half of the chocolate chips and half of the peanuts. Continue folding until everything is fully combined.
- Transfer the mixture to your prepared pan and spread it out evenly with a spatula. Sprinkle the remaining chocolate chips and peanuts over the top.
- Place another piece of parchment paper on top of the mixture and press down *very firmly* into the pan. This tight packing is crucial for the bars to hold together.
- Transfer the pan to the fridge to chill for at least 2 hours, ensuring the bars are covered with the parchment paper on top. This allows the coconut oil to harden.
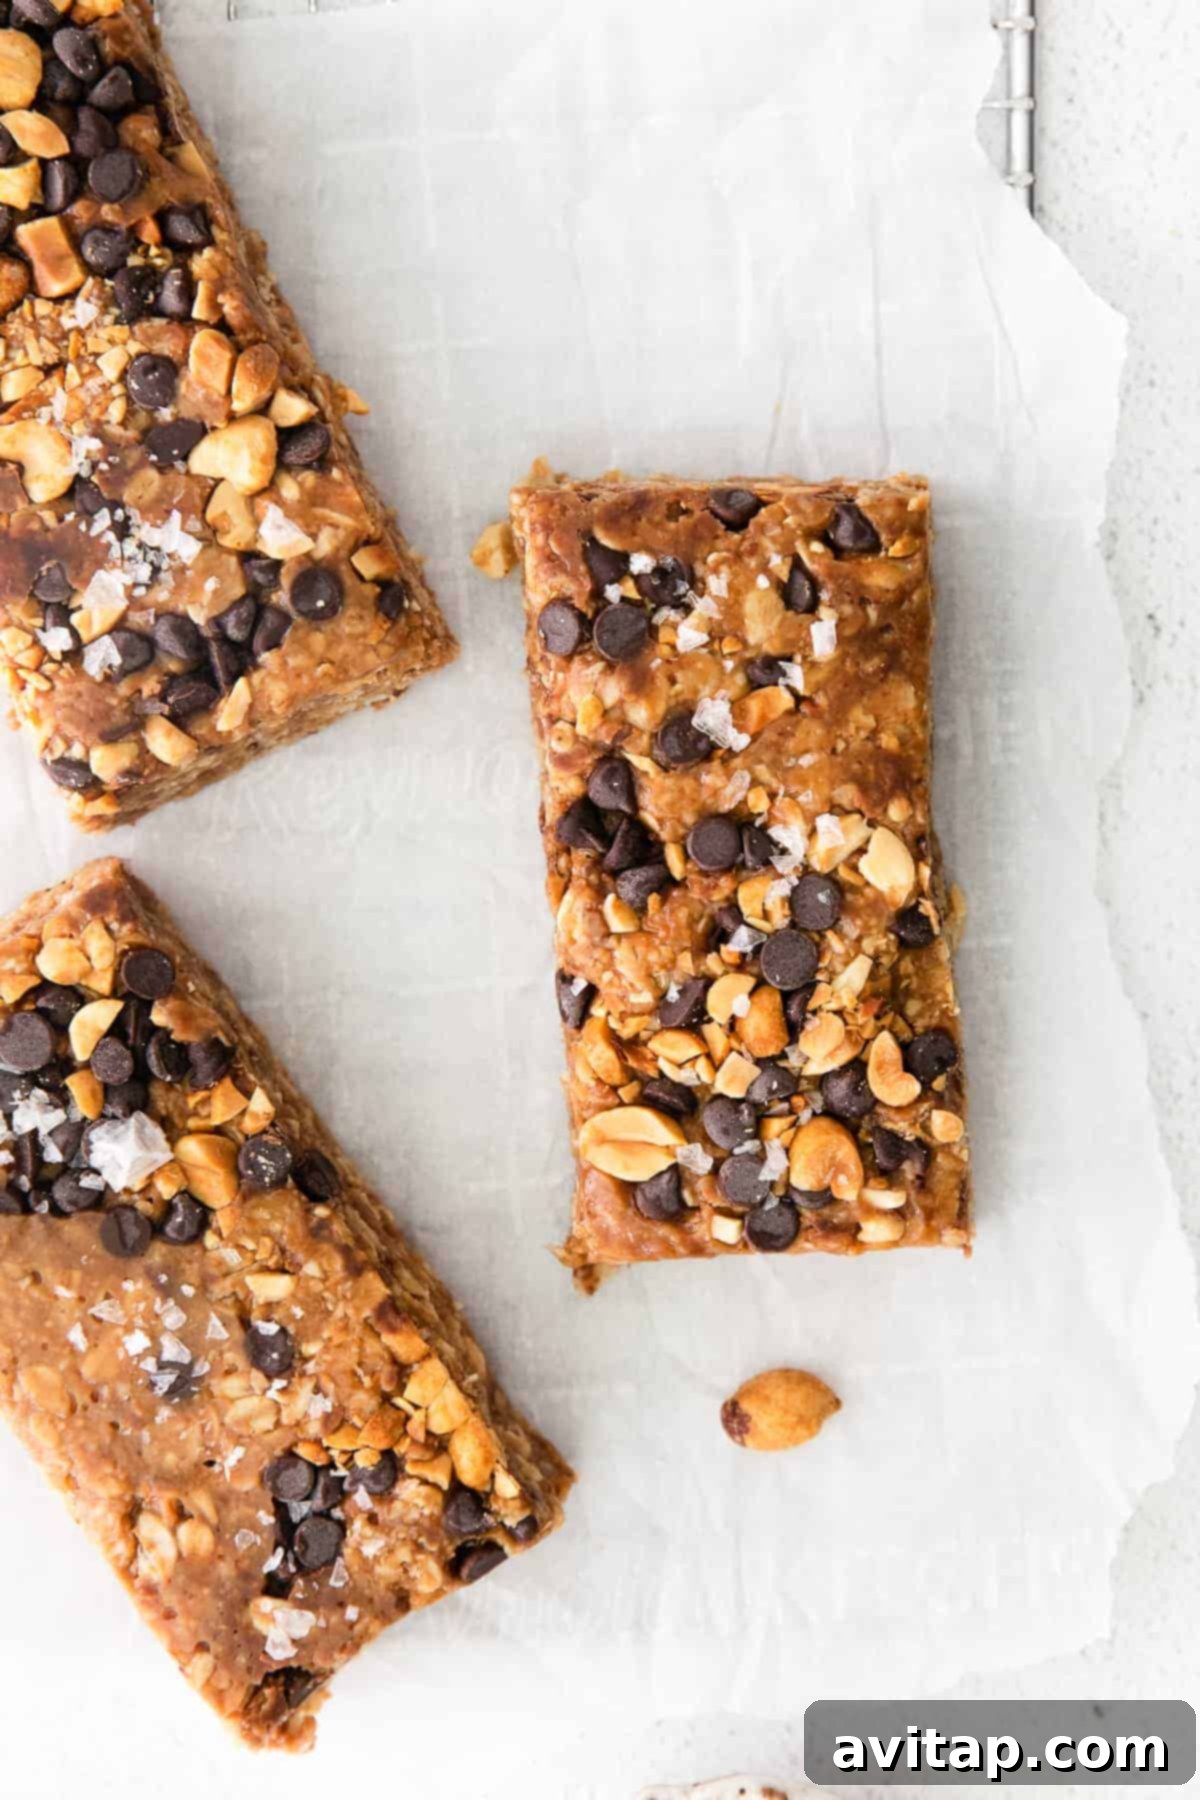
- Once thoroughly chilled, remove the granola bars from the pan using the parchment paper overhang, slice into 12 bars, and enjoy!
- Store leftover granola bars in an airtight container in the fridge for up to five days.
Tips & Notes
- Make sure to use an all-natural creamy peanut butter that has been stirred well. The natural oils and moisture help to bind the granola bars effectively.
- The combination of rolled and quick-cooking oats provides the perfect balance of chewiness and soft texture. However, if you only have one type, feel free to use 3.5 cups of either, understanding the texture might vary slightly (all rolled oats for chewier, all quick-cooking for softer).
- For a dairy-free option, ensure your chocolate chips are dairy-free.
Nutrition
Calories: 414 kcal
Carbohydrates: 47 g
Protein: 13 g
Fat: 23 g
Fiber: 6 g
Sugar: 26 g
Nutrition information is automatically calculated, so should only be used as an approximation.
Love this recipe? Share your thoughts below!
We’d be thrilled to see your homemade creations! Don’t forget to tag your posts on social media with the hashtag #fitfoodiefinds. Your culinary adventures inspire us!