
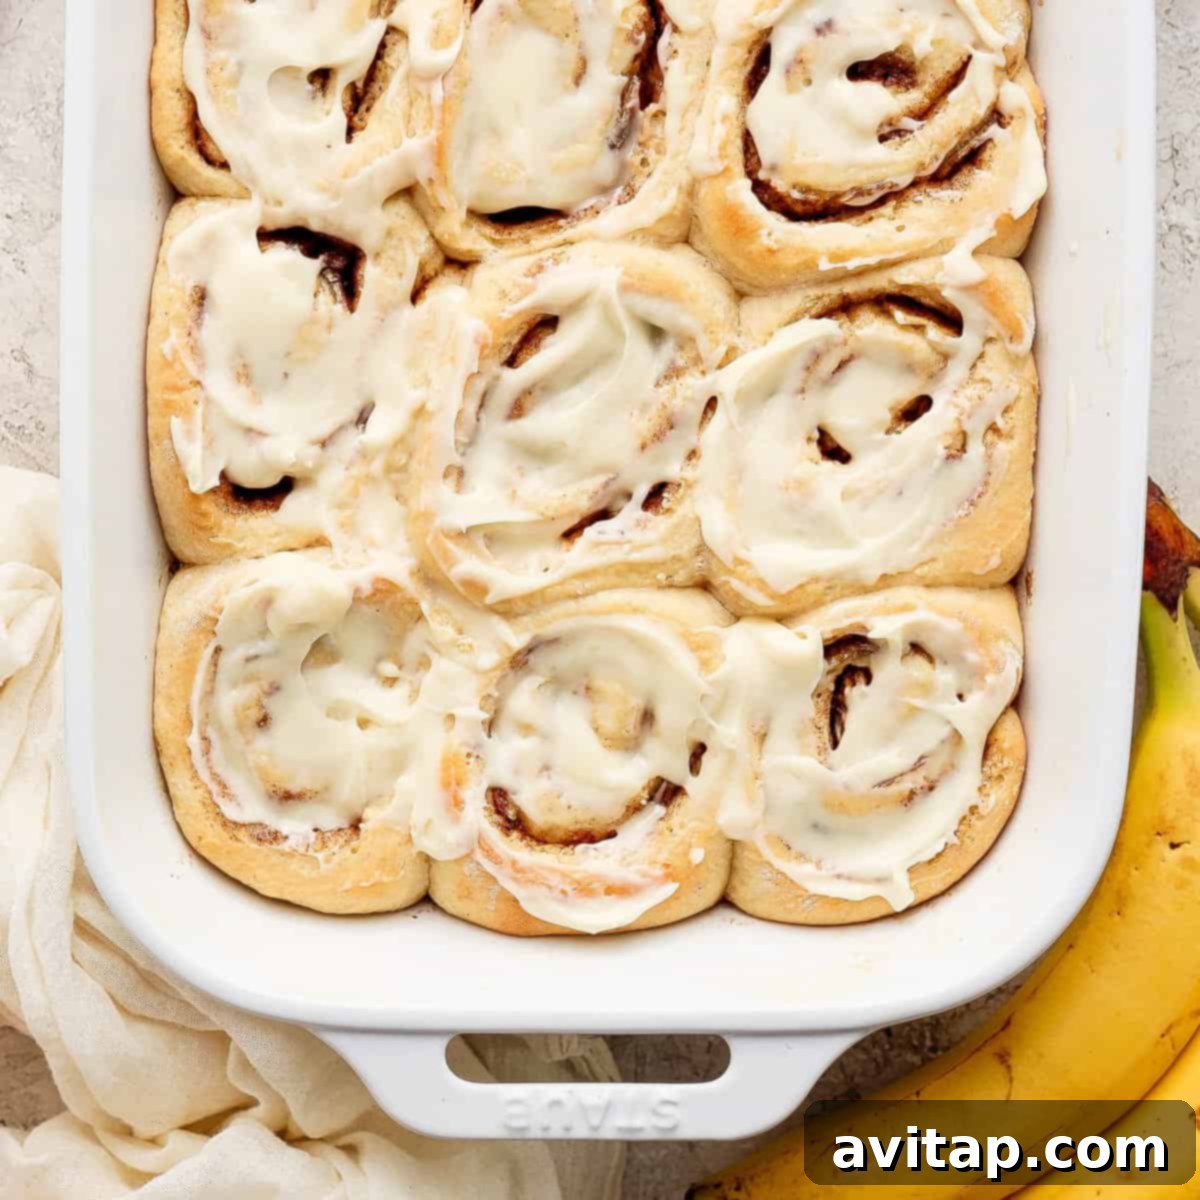
Brown Butter Banana Bread Cinnamon Rolls: The Ultimate Indulgence
Prepare to transform your breakfast or dessert experience from ordinary to absolutely extraordinary with these incredible brown butter banana bread cinnamon rolls! This recipe isn’t just about making cinnamon rolls; it’s about crafting a truly unique and unforgettable sweet treat that combines the comforting essence of homemade banana bread with the irresistible swirl of classic cinnamon rolls, all elevated by the rich, nutty notes of brown butter. Every bite is designed to be a revelation, a perfect harmony of flavors and textures that will captivate your senses.
Our special dough is infused with a delightful blend of ripe mashed banana, sweet maple syrup, farm-fresh egg, luxurious brown butter, and aromatic vanilla. This unique combination creates a dough that is unbelievably tender, moist, and bursting with flavor, setting the foundation for what we confidently declare to be the best cinnamon rolls to ever grace your taste buds. But the journey of deliciousness doesn’t end there! These fluffy banana bread cinnamon rolls are generously filled with a vibrant banana cinnamon swirl and crowned with a decadent, melt-in-your-mouth brown butter cream cheese icing. Truly, every single element of this recipe is meticulously designed to be next level, promising a baking adventure and a tasting experience you won’t soon forget.
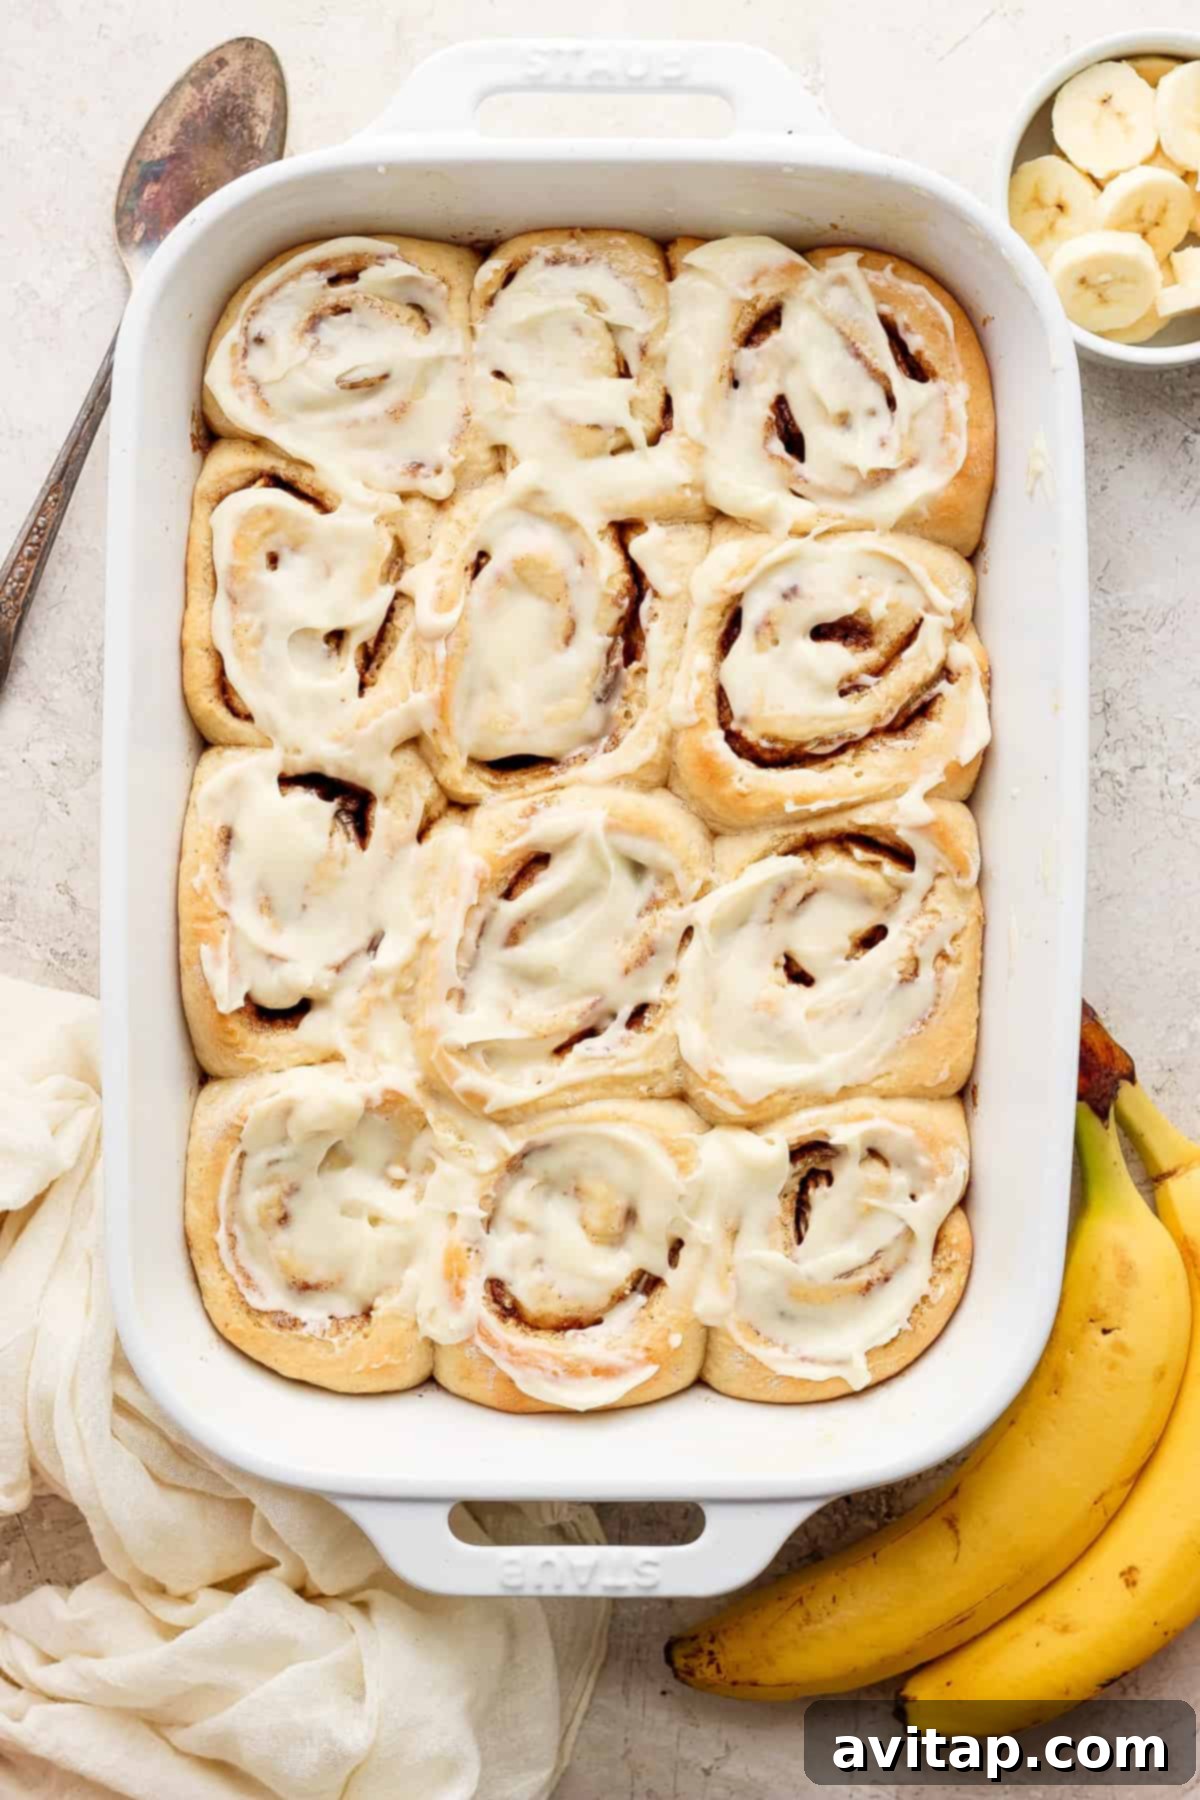
The Magic of Brown Butter and Banana: A Flavor Symphony
What truly sets these cinnamon rolls apart is the harmonious marriage of brown butter and ripe bananas. Brown butter, or beurre noisette, is simply butter that has been cooked until the milk solids caramelize, creating a deep, nutty, and complex flavor profile that adds incredible depth to both the dough and the frosting. This rich, toasted essence complements the sweet, fruity notes of banana perfectly, creating a flavor combination that is both comforting and sophisticated. The subtle caramel notes of brown butter elevate the familiar sweetness of banana, turning a simple breakfast pastry into a gourmet delight.
The addition of mashed banana into the dough doesn’t just impart a wonderful banana bread flavor; it also contributes to the exceptional moisture and tenderness of the rolls. Bananas act as a natural humectant, keeping the dough soft and moist long after baking. This natural sweetness allows us to use maple syrup, offering a more nuanced and healthier sweetness compared to refined sugars, which can sometimes overpower delicate flavors. Paired with a classic cinnamon swirl and a luscious brown butter cream cheese icing, these rolls become an irresistible treat perfect for any occasion, from a special breakfast to a delightful dessert. Imagine the aroma filling your home as these bake – it’s pure bliss.
Essential Ingredients for Your Culinary Masterpiece
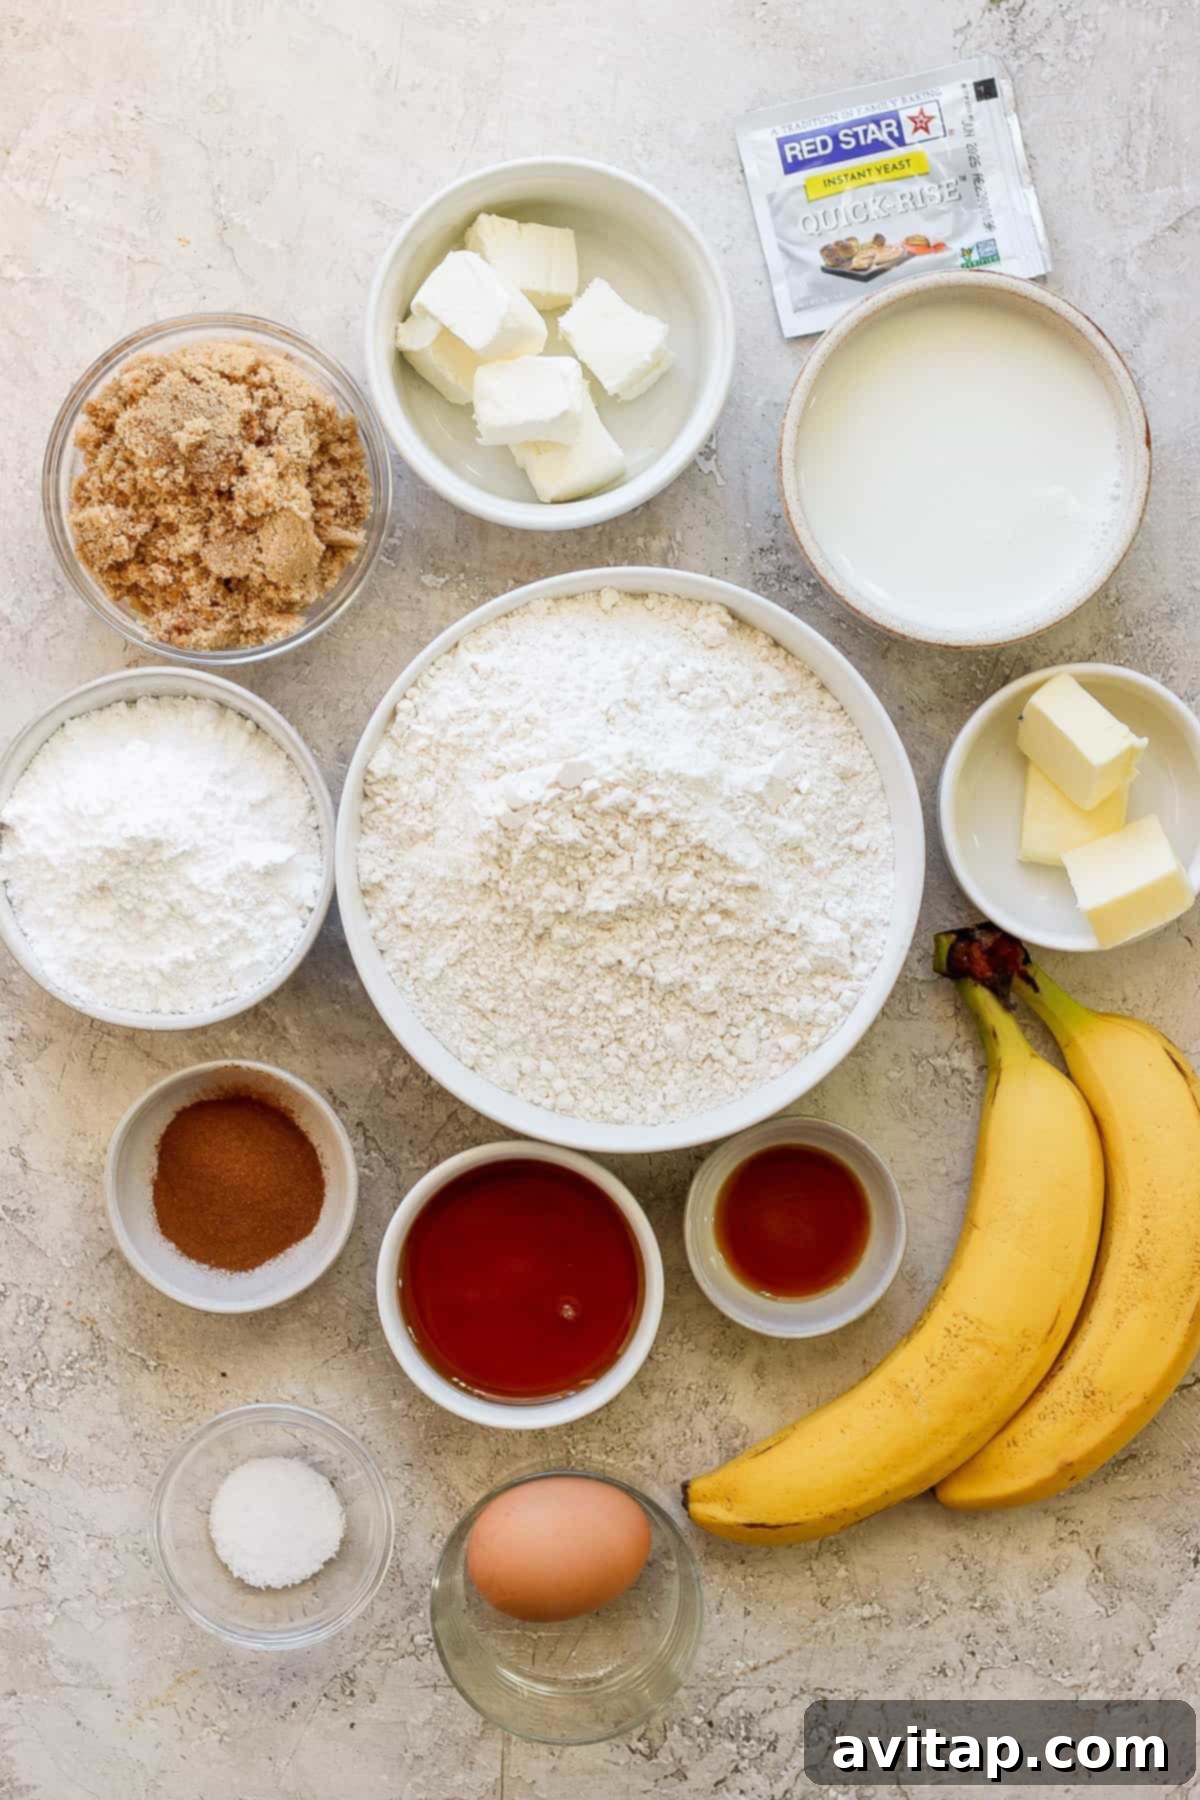
For a comprehensive list of ingredients and detailed recipe steps, please refer to the complete recipe card below.
Crafting these extraordinary cinnamon rolls begins with selecting high-quality ingredients, each playing a crucial role in developing the rich flavors and perfect texture. The key players are, of course, the brown butter and ripe bananas, which provide the foundational flavors and moistness. You’ll also need active quick-rise yeast to ensure your dough rises beautifully, yielding those wonderfully fluffy rolls. Maple syrup provides a natural, rich sweetness that enhances the banana and butter notes, while a fresh egg adds structure and richness to the dough. And let’s not forget the simple yet crucial components for that easy-to-make, dreamy cream cheese frosting that ties all the flavors together in a sweet, tangy embrace.
- Unsalted Butter (Dough & Filling): Essential for browning, providing that rich, nutty flavor. Using unsalted butter gives you precise control over the overall saltiness of your recipe. For the filling, softened butter creates a perfect base for the cinnamon-sugar mixture.
- Ripe Bananas (Mashed for Dough, Sliced for Filling): The riper the bananas, the better! Look for bananas with plenty of brown spots, as these are sweeter and mash more easily, contributing to a more intense banana flavor in the dough and a softer texture in the filling.
- Quick-Rise Yeast: This specific type of yeast ensures a quicker rise time, allowing you to enjoy your delicious cinnamon rolls faster without compromising on the airy, tender texture of the dough.
- 2% Milk: Warmed to the correct temperature (100-110°F or 38-43°C), milk activates the yeast perfectly. You can also use whole milk for an even richer dough, adding to the indulgence.
- Maple Syrup: A natural and unrefined sweetener that pairs wonderfully with the complex flavors of banana and brown butter, adding a deep, caramel-like sweetness.
- Large Egg (Room Temperature): The egg binds the dough ingredients together, adds essential moisture, and contributes to a tender, slightly rich crumb. Bringing it to room temperature ensures it incorporates smoothly into the mixture.
- Pure Vanilla Extract: A staple in baking, vanilla extract enhances all the sweet flavors in the recipe, adding warmth, depth, and a comforting aroma to both the dough and the icing.
- All-Purpose Flour: The structural backbone of the dough, providing the necessary gluten development for that classic cinnamon roll chewiness. For a healthier twist, a portion can be swapped with whole wheat flour (see variations section below).
- Salt (Dough): A small amount of salt is crucial in the dough to balance the sweetness, enhance the overall flavor profile, and control yeast activity.
- Light Brown Sugar & Ground Cinnamon (Filling): This classic duo creates the irresistible, fragrant swirl at the heart of each roll. Brown sugar adds moisture and a rich molasses flavor that complements the banana and butter beautifully, while cinnamon provides that essential warm spice.
- Powdered Sugar & Cream Cheese (Icing): These are the fundamental components for our decadent, tangy, and sweet brown butter cream cheese icing. Powdered sugar dissolves easily for a smooth texture, and cream cheese adds a delightful tang and richness that cuts through the sweetness.
- Salted Butter (Icing): Specifically for browning in the icing, the hint of salt in salted butter can actually enhance the overall flavor balance of your frosting.
Essential Equipment
Having the right tools can make your baking process much smoother and more enjoyable, especially when working with dough.
- Stand Mixer (with Dough Hook Attachment): This is highly recommended to effortlessly mix and knead both the dough and the icing to perfection, saving you significant time and effort. A stand mixer ensures consistent results and helps develop a smooth, elastic dough, which is crucial for fluffy cinnamon rolls. While hand kneading is possible, it requires more physical exertion and time (typically 8-10 minutes of vigorous kneading).
- Large Mixing Bowls: You’ll need at least two – one for combining wet ingredients and the yeast, and another (lightly oiled) for the dough’s initial rise.
- Saucepan or Skillet (light-colored): Essential for browning the butter until it reaches that beautiful nutty aroma and deep golden color. A light-colored pan allows you to monitor the browning process closely to prevent burning.
- Rolling Pin: To roll out the dough evenly into a perfect rectangle, ensuring uniform thickness for the classic cinnamon roll shape and consistent layers.
- 9×13-inch Baking Dish: The ideal size for baking a standard batch of 12 rolls, allowing them to proof and bake together beautifully, creating those desirable soft, pull-apart edges.
- Whisk and Spatula: For mixing wet ingredients, scraping down bowls, and spreading the filling and icing.
- Food Thermometer: Helpful for accurately checking the milk temperature for yeast activation, ensuring optimal dough rise.
Creative Variations and Substitutions
One of the joys of baking homemade treats like these cinnamon rolls is the endless possibility for customization. This brown butter banana bread recipe is incredibly versatile, allowing you to tailor it to your preferences, dietary needs, or simply to add an extra flourish of flavor. Don’t hesitate to experiment and make these rolls uniquely your own!
- Healthier Flour Options: For a delightful twist that adds more fiber, a slightly denser texture, and a nutty undertone, you can substitute up to half of the all-purpose flour with whole wheat flour. If you do this, you might need to add a touch more milk, as whole wheat flour absorbs more liquid. Alternatively, a gluten-free all-purpose flour blend (one-for-one baking blend) can be used for those with gluten sensitivities, though results may vary slightly in texture.
- Vegan Adaptation: Making this recipe entirely vegan is quite straightforward with a few key swaps. Simply use a high-quality non-dairy butter stick (such as Miyoko’s Kitchen or Earth Balance baking sticks) in place of dairy butter for the dough, filling, and icing. For the cream cheese icing, opt for a plant-based cream cheese alternative. Replace the egg in the dough with a flaxseed egg (combine 1 tablespoon ground flaxseed with 3 tablespoons water and let it sit for 5 minutes until gel-like) or a chia seed egg for a similar binding effect. Ensure your maple syrup is pure and check your yeast packet to confirm it’s vegan-friendly.
- Nutty Additions: Elevate the texture and flavor by adding finely chopped nuts to the filling. Toasted walnuts or pecans would be a fantastic complement to the banana and brown butter flavors. Simply mix them in with the brown sugar and cinnamon before generously spreading the mixture over the dough.
- Chocolate Lover’s Dream: Who doesn’t adore the classic pairing of chocolate and banana? Sprinkle a handful of mini chocolate chips or finely chopped dark chocolate (dairy-free for a vegan option) over the filling before rolling the dough. They’ll melt beautifully into the warm, gooey swirl, creating pockets of rich chocolate.
- Extra Drizzle: Beyond the luscious brown butter cream cheese icing, consider adding a secondary drizzle for an extra layer of flavor. A simple melted peanut butter or almond butter drizzle would add a delightful nutty note and a boost of protein. For a more indulgent touch, a homemade caramel sauce, a dusting of powdered sugar, or a sprinkle of toasted coconut flakes could also be incredibly delightful and visually appealing.
- Spice It Up: While cinnamon is the star of these rolls, a tiny pinch of other warm spices like nutmeg, allspice, or even a hint of cardamom in the filling can add another layer of complexity and aroma, enhancing the “banana bread” feel even more.
- Sweetener Alternatives: If you prefer, you can substitute the maple syrup in the dough with an equal amount of honey or agave nectar, though each will impart a slightly different flavor profile. For the filling, regular granulated sugar can replace brown sugar if needed, but brown sugar provides superior moisture and a richer taste.
The options are truly endless, encouraging you to become a culinary artist and personalize these delightful treats in your own kitchen!
Storage & Freezer Directions for Optimal Freshness
Proper storage is key to ensuring your brown butter banana bread cinnamon rolls remain wonderfully delicious for as long as possible. Whether you’re planning to enjoy them over a few days or want to save some for a future treat, here’s how to keep them fresh and flavorful:
- Room Temperature Storage (Baked & Frosted): For immediate enjoyment, store any leftover baked and frosted cinnamon rolls in an airtight container at room temperature for up to 2 days. Keeping them sealed prevents them from drying out and maintains their soft texture.
- Refrigeration (Baked & Frosted): If you need a longer shelf life, place the baked and frosted cinnamon rolls in an airtight container and store them in the fridge for up to 1 week. When ready to enjoy, reheat them gently in the microwave for 15-30 seconds (until warmed through and soft) or in a low oven (around 250°F / 120°C) for 10-15 minutes to restore their fresh-baked warmth and gooeyness.
- Freezing Baked Rolls: This is an excellent option for long-term storage. Allow the baked cinnamon rolls to cool completely after baking. For best results, wrap each individual roll tightly in plastic wrap, then place them in a freezer-safe, airtight container or a heavy-duty freezer bag. They will keep beautifully in the freezer for up to 3 months. To reheat, you can thaw them overnight in the refrigerator or at room temperature for a few hours. Once thawed, warm them in a low oven (around 275°F / 135°C) until heated through and soft, or microwave briefly.
- Freezing Unbaked Rolls (Make-Ahead Option): This is a fantastic way to enjoy fresh, warm cinnamon rolls with minimal effort on a busy morning! After slicing the rolls and arranging them in your baking dish (following step 13 in the recipe), do NOT let them rise. Instead, cover the baking dish tightly first with plastic wrap, then with aluminum foil to prevent freezer burn. Freeze for up to 1 month. When you’re ready to bake, remove the dish from the freezer, uncover it, and let the rolls thaw and rise in a warm spot for 3-5 hours (or alternatively, thaw overnight in the fridge, then bring to room temperature for at least 1 hour). Once they have visibly puffed up and doubled in size, proceed with baking as directed in the recipe (step 16). This method provides that delicious fresh-baked aroma and taste on demand!
Perfect Pairings: What to Serve with Brown Butter Banana Bread Cinnamon Rolls
While these brown butter banana bread cinnamon rolls are undeniably a showstopper on their own, pairing them with complementary breakfast or brunch items can create an even more delightful and balanced spread. Whether you prefer a savory counterpoint to cut through the sweetness or an extra dose of indulgence, there are plenty of options to make your meal truly special and memorable.
Savory Sides for Balance:
- Protein-Packed Egg Dishes: The richness and sweetness of cinnamon rolls can be beautifully balanced by a savory, protein-rich side. Consider serving them alongside light and fluffy Instant Pot Egg Bites, which are quick to make and customize. Alternatively, for a more decadent option, try Avocado Baked Eggs, where the creamy texture of avocado and perfectly baked eggs offers a wonderful contrast to the sweet rolls.
- Crispy Bacon or Sausage: A classic breakfast pairing, crispy strips of bacon or savory sausage links provide a salty, umami flavor that perfectly cuts through the sweetness of the rolls. The contrasting textures also add excitement to your plate. For an exceptionally easy and quick option, consider preparing Seriously Easy Microwave Bacon, minimizing cleanup while maximizing flavor.
- Fresh Fruit Platter: A vibrant platter of fresh, seasonal fruits like mixed berries, sliced melon, grapes, or citrus segments can add a refreshing tartness and lightness to your meal. This provides a natural palate cleanser and a healthy component between bites of your rich cinnamon rolls.
- Yogurt Parfait: A simple Greek yogurt parfait layered with granola and fresh fruit offers a creamy, tangy, and crunchy element that complements the soft, sweet rolls.
Sweet Companions for an Indulgent Feast:
- Smoothies for a Fruity Boost: If you’re leaning into the sweet side but still want something light and refreshing, a wholesome smoothie can be a great addition. This Peanut Butter and Jelly Smoothie offers a nostalgic and wholesome sweet pairing that echoes familiar comfort food flavors without being overly heavy.
- More Baked Goodness: For a truly lavish and indulgent brunch spread, complement your banana bread cinnamon rolls with other baked delights that share a similar comforting profile. A hearty Pumpkin Waffle Casserole or delightful Brown Butter Chocolate Chip Zucchini Oatmeal Cups would continue the theme of warm, sweet, and comforting flavors, making for an utterly “wow-worthy” spread that will impress any guest.
- Coffee or Tea: Don’t forget the perfect beverage to accompany your sweet treats! A freshly brewed, robust cup of coffee (black or with cream), a creamy latte, or a comforting mug of herbal tea (like chai or chamomile) will always be a perfect accompaniment to these sweet, spiced rolls, enhancing the overall experience.
Brown Butter Banana Bread Cinnamon Rolls
Prep: 2 hours
Cook: 22 minutes
Total: 2 hours 22 minutes
Pin
Ingredients
Dough
- 3 tablespoons unsalted butter
- 1 cup 2% milk warmed to 100-110°F
- 1 packet of quick rise yeast
- ½ cup mashed banana, ~1 medium banana
- ¼ cup maple syrup
- 1 large egg room temperature
- 1 teaspoon pure vanilla extract
- 4 cups all-purpose flour
- 1 teaspoon salt
Filling
- 3 tablespoons unsalted butter, softened
- 3 large bananas, sliced
- ¾ cup light brown sugar
- 1 tablespoon ground cinnamon
Brown Butter Icing
- 3 tablespoons salted butter, browned
- 1 ¼ cup powdered sugar
- ½ teaspoon vanilla extract
- 3- oz. cream cheese, softened
Instructions
-
1. Brown the Butter for Dough: Heat 3 tablespoons of unsalted butter in a light-colored skillet over medium heat. The butter will melt, then foam, and finally, small brown specks will begin to form at the bottom of the pan. Stir frequently to prevent burning. Once the butter is a rich amber color and smells nutty (about 5-7 minutes), immediately remove it from the heat and transfer it to a heat-proof bowl to stop the cooking process. Set aside to cool completely before using in the dough. This step is crucial for flavor development.
-
2. Activate the Yeast: In a large mixing bowl, combine the warmed 2% milk (ensure it’s between 100-110°F or 38-43°C to properly activate the yeast) and the packet of quick-rise yeast. Stir gently to combine and let it sit undisturbed for about 5 minutes until the yeast has bloomed and appears foamy on the surface. This indicates it’s active and ready to work its magic.
-
3. Combine Wet Ingredients: To the bloomed yeast mixture, add the mashed banana, maple syrup, room temperature egg, the cooled brown butter (it’s vital that the brown butter is no longer hot, as residual heat could cook or scramble the egg), and pure vanilla extract. Whisk these ingredients together thoroughly until they are well combined and smooth, creating a flavorful liquid base for your dough.
-
4. Form the Dough: If using a stand mixer, attach the dough hook. Slowly add the all-purpose flour and salt to the wet ingredients on low-medium speed. Continue mixing until all the flour is incorporated and a shaggy dough begins to form. Once incorporated, increase the mixer speed slightly and knead for 2-3 minutes, or until the dough is smooth, elastic, and bounces back when gently poked with a finger. If kneading by hand, transfer the dough to a lightly floured surface and knead vigorously for 8-10 minutes until it reaches the desired smooth, elastic consistency.

-
5. First Rise: Lightly oil a large, clean mixing bowl. Transfer the prepared dough to this bowl, turning it once or twice to ensure it is lightly coated with oil (this prevents it from sticking). Cover the bowl tightly with plastic wrap, then drape a clean tea towel over it. Place the bowl in a warm, draft-free spot in your kitchen to rise for approximately 1 to 1.5 hours, or until the dough has visibly doubled in size. This first rise develops flavor and texture.
-
6. Prepare Brown Butter Cream Cheese Frosting: In a small pot or skillet, brown 3 tablespoons of salted butter over medium heat. Stir continuously, watching carefully, until it turns amber and smells nutty (approximately 5 minutes). Transfer the browned butter to a separate bowl and allow it to cool completely until it’s just set but still soft (you can chill it briefly in the fridge to speed this up, but ensure it doesn’t become hard and firm).
-
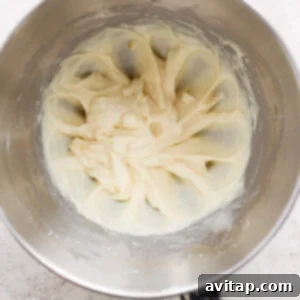
7. Mix Frosting Base: In the bowl of a stand mixer fitted with the paddle attachment (or using a hand mixer), combine the softened 3-oz cream cheese, ½ teaspoon vanilla extract, and the cooled, browned butter. Beat these ingredients on medium speed until they are smooth and creamy, scraping down the sides of the bowl as needed to ensure everything is well incorporated.
-
8. Add Powdered Sugar: Reduce the mixer speed to low and gradually add the 1 ¼ cup powdered sugar, a half-cup at a time, until it is fully incorporated into the cream cheese mixture. This slow addition prevents a cloud of sugar from flying out of the bowl!
-
9. Finish Frosting: Once all the powdered sugar is added, scrape down the sides of the bowl once more. Increase the mixer speed to medium-high and beat for another 30-45 seconds, or until the frosting is wonderfully light, fluffy, and perfectly smooth. This aeration makes the icing incredibly soft and spreadable. Set the finished frosting aside until the rolls are baked and have had a chance to cool slightly.
-
10. Assemble the Cinnamon Rolls – Roll out Dough: Once the dough has completed its first rise and doubled in size (after 1 to 1.5 hours), gently punch it down to release the trapped air. Turn the dough out onto a lightly floured work surface. Using a rolling pin, carefully roll the dough into a large rectangle, aiming for dimensions of approximately 18 inches long, 12 inches wide, and about 1/4 inch thick. Strive for an even thickness across the entire rectangle for uniform rolls.
-
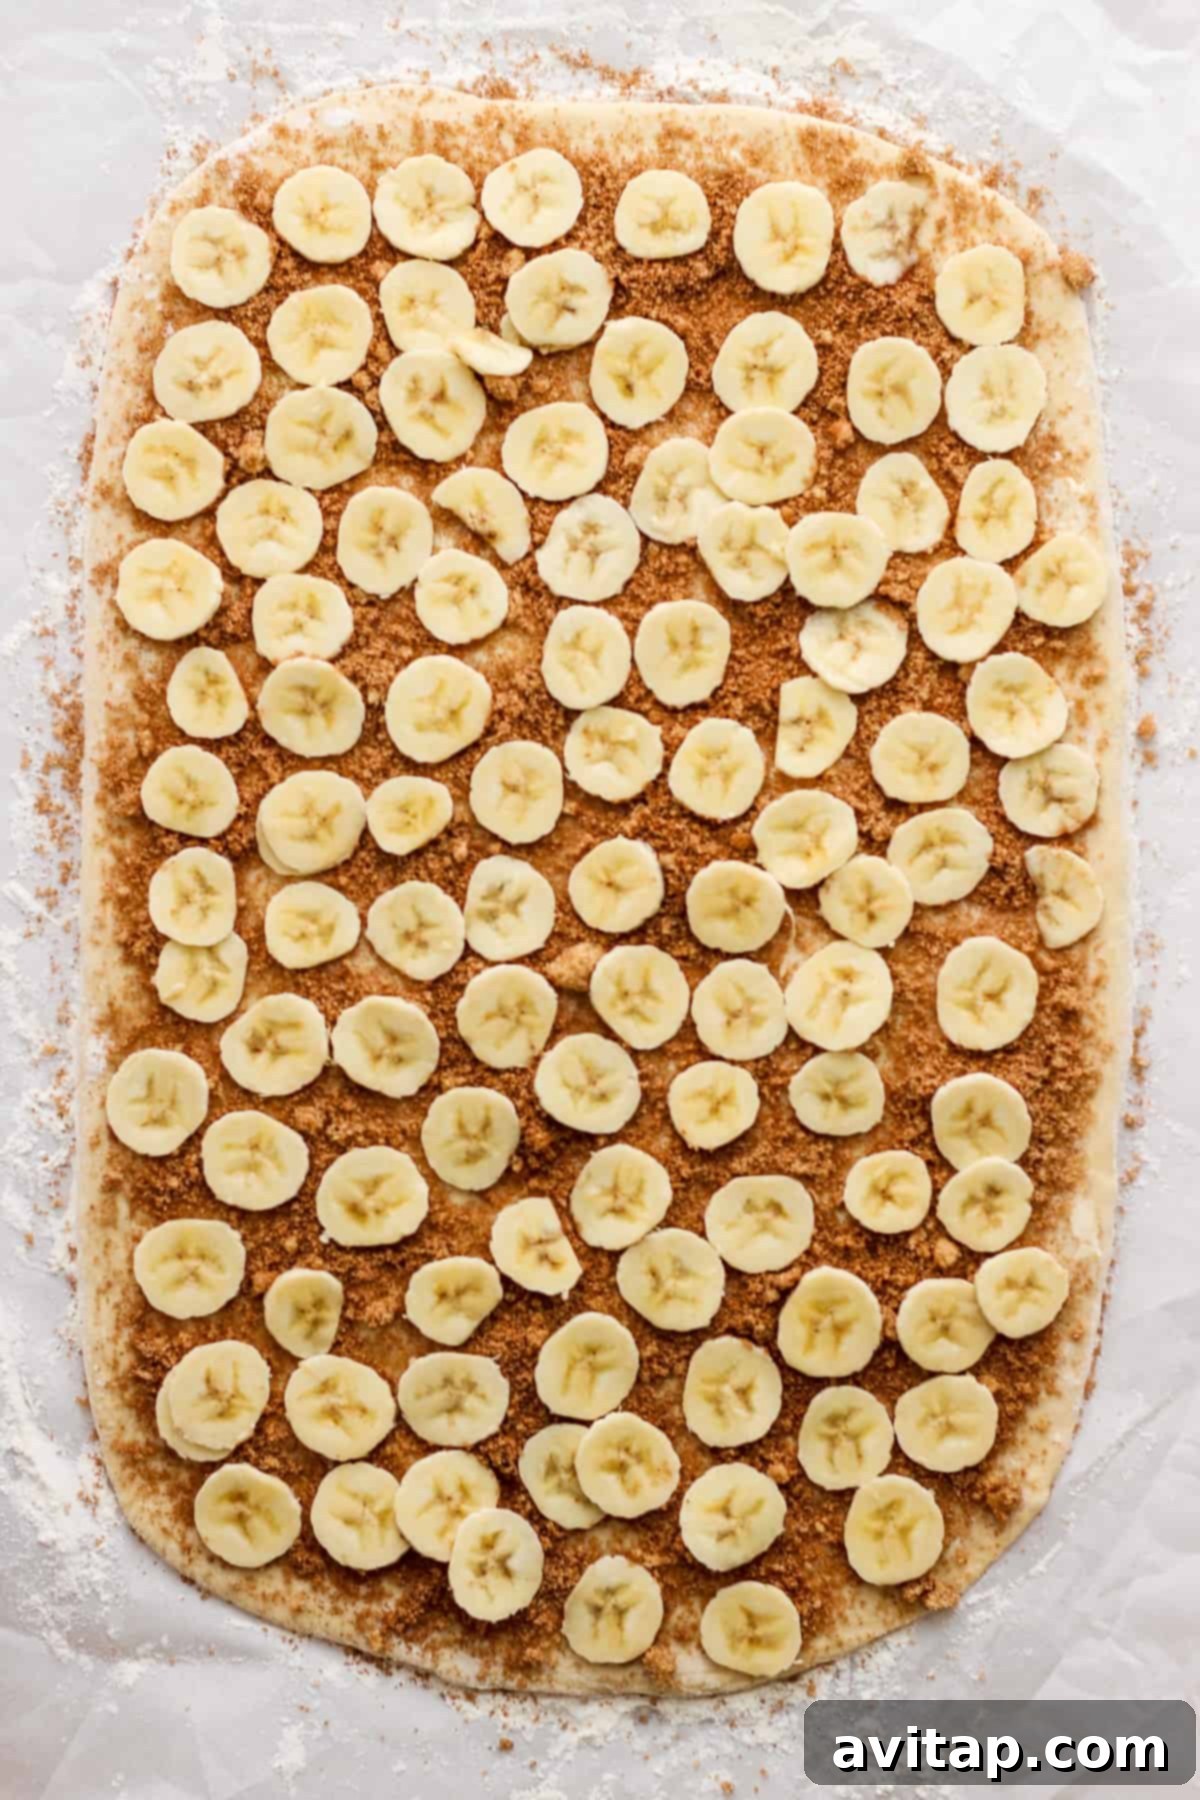
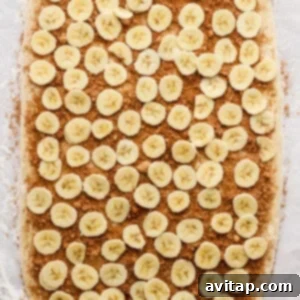
11. Add the Filling: Evenly spread the 3 tablespoons of softened unsalted butter over the entire surface of the rolled-out dough, making sure to leave a small, clean border (about half an inch) along one of the long edges. In a small bowl, mix together the light brown sugar and ground cinnamon. Generously sprinkle this fragrant mixture evenly over the butter. Finally, arrange the sliced bananas evenly over the cinnamon-sugar mixture, ensuring good coverage.
-
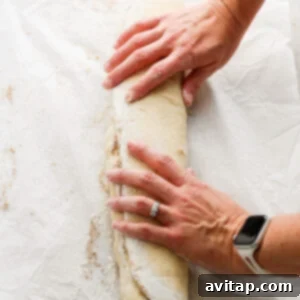
12. Roll and Slice: Starting from the long side opposite the clean border, tightly roll the dough into a log. Aim for a firm, even roll to ensure uniform swirls in your finished cinnamon rolls. For larger rolls, you can start rolling from a short side. Once rolled, use a very sharp, un-serrated knife or a piece of unflavored dental floss to slice the log into approximately 1-inch thick rolls. This method should yield about 12 rolls, though the exact number can vary depending on the tightness of your roll and the side you started from.
-
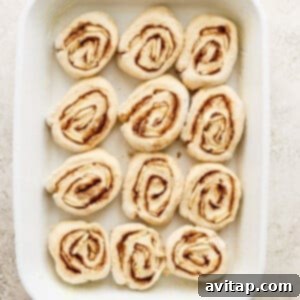
13. Arrange in Baking Dish: Lightly butter a 9×13-inch baking dish or line it with parchment paper for effortless cleanup and removal. Arrange the sliced cinnamon rolls in the prepared dish, ensuring they are snug but not overly crowded; they should just barely touch each other. This close proximity helps them rise upwards and stay moist. Depending on how tightly you rolled the dough into the log, you might fit them in a 3×4 grid, or a 2×4 grid with any extra rolls needing a smaller separate dish.
-
14. Advance Preparation (Overnight Option): If you plan to bake the rolls later, this is a perfect make-ahead step. Cover the baking dish tightly with plastic wrap and refrigerate for up to 12 hours (overnight works wonderfully). When you’re ready to bake, remove the dish from the fridge and let the rolls come to room temperature for about 30-60 minutes before proceeding with the second rise (step 15) or directly to baking if they have already risen sufficiently in the fridge.
-
15. Second Rise & Preheat Oven: If baking immediately (or after bringing refrigerated rolls to room temperature), cover the dish with fresh plastic wrap and then a clean tea towel. Place the dish in a warm, draft-free spot for a second rise of about 30 minutes, or until the rolls have visibly puffed up and are gently touching each other, indicating they are ready for baking. During the last 15 minutes of this second rise, preheat your oven to 350°F (175°C).
-
16. Bake: Place the baking dish in the preheated oven and bake the cinnamon rolls for approximately 22 minutes. Baking times can vary by oven, so start checking for doneness around the 20-minute mark. The rolls should be golden brown on top, and the centers should appear set but still feel soft and tender to the touch. It’s important not to overbake, as this can result in dry rolls; they should remain wonderfully soft and gooey.
-
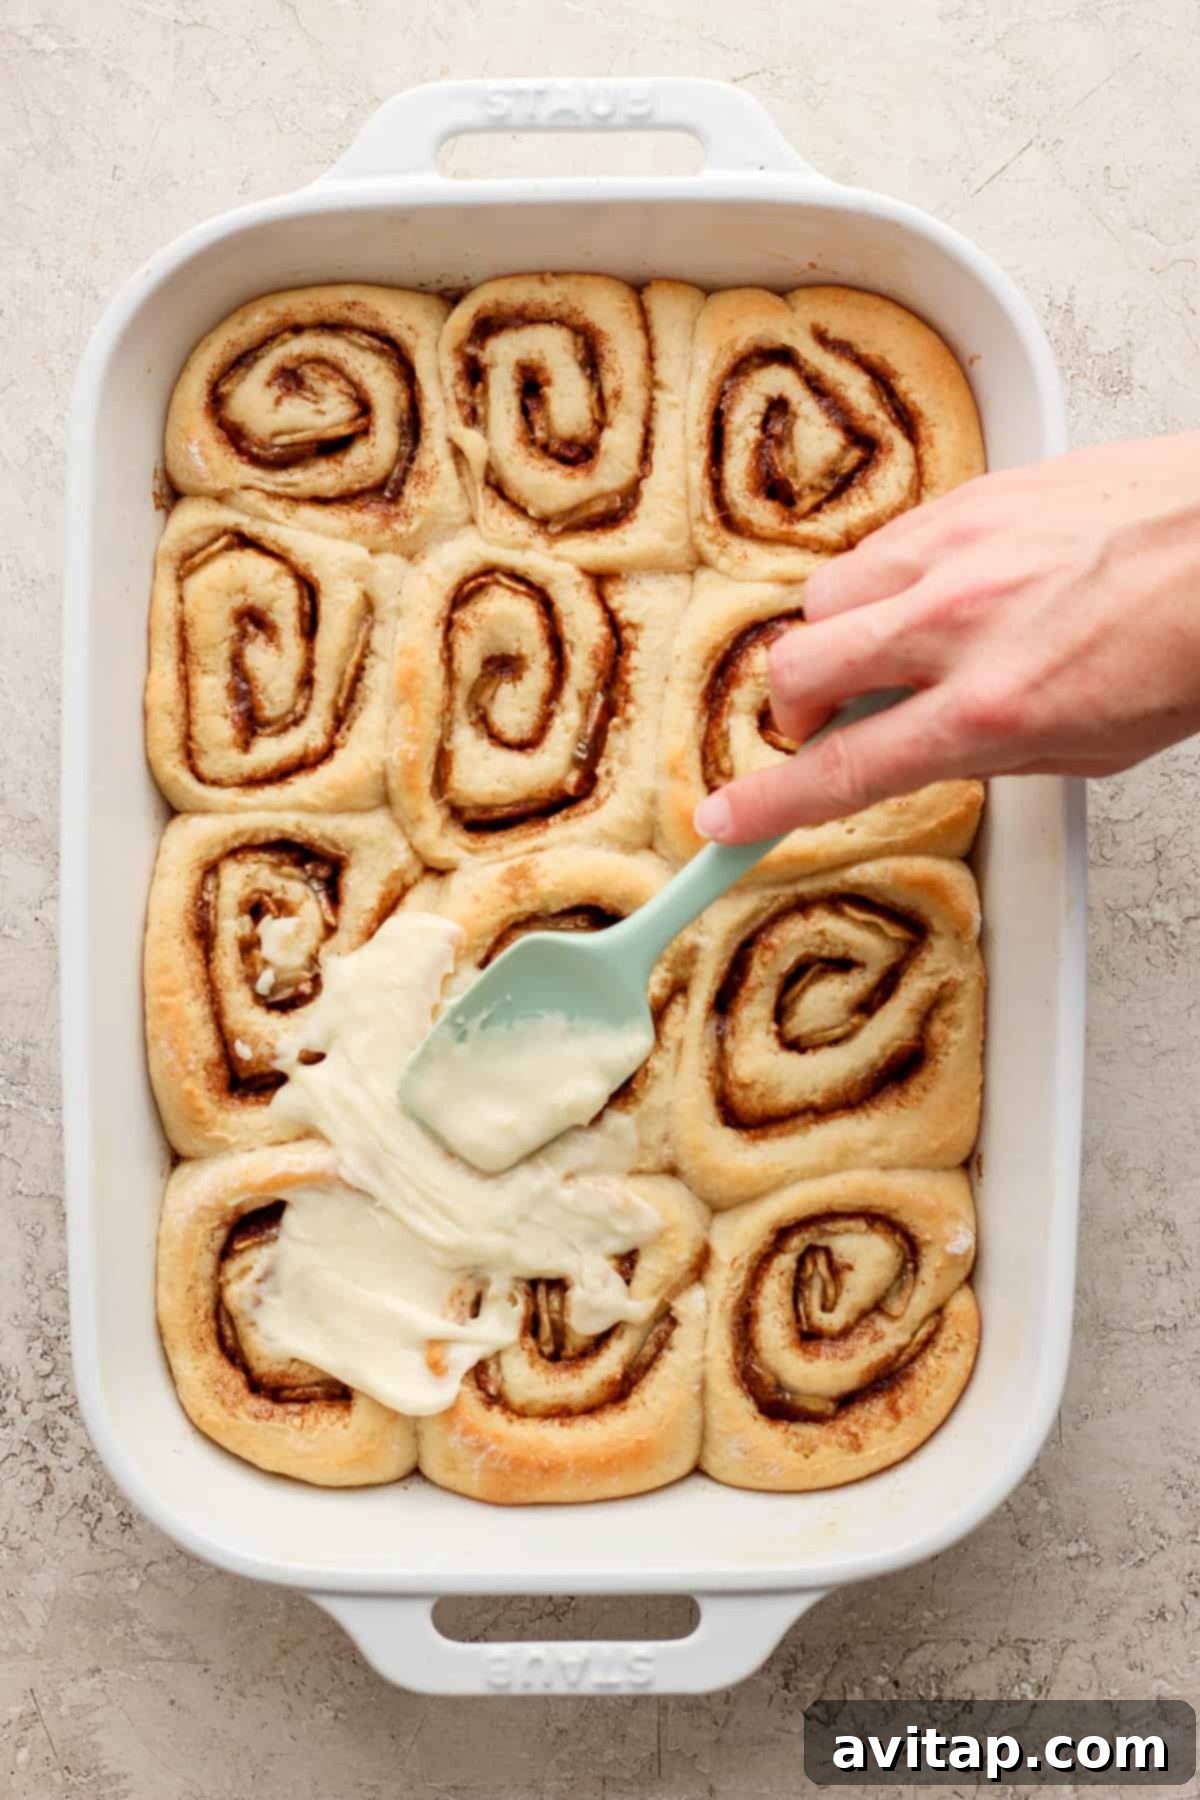
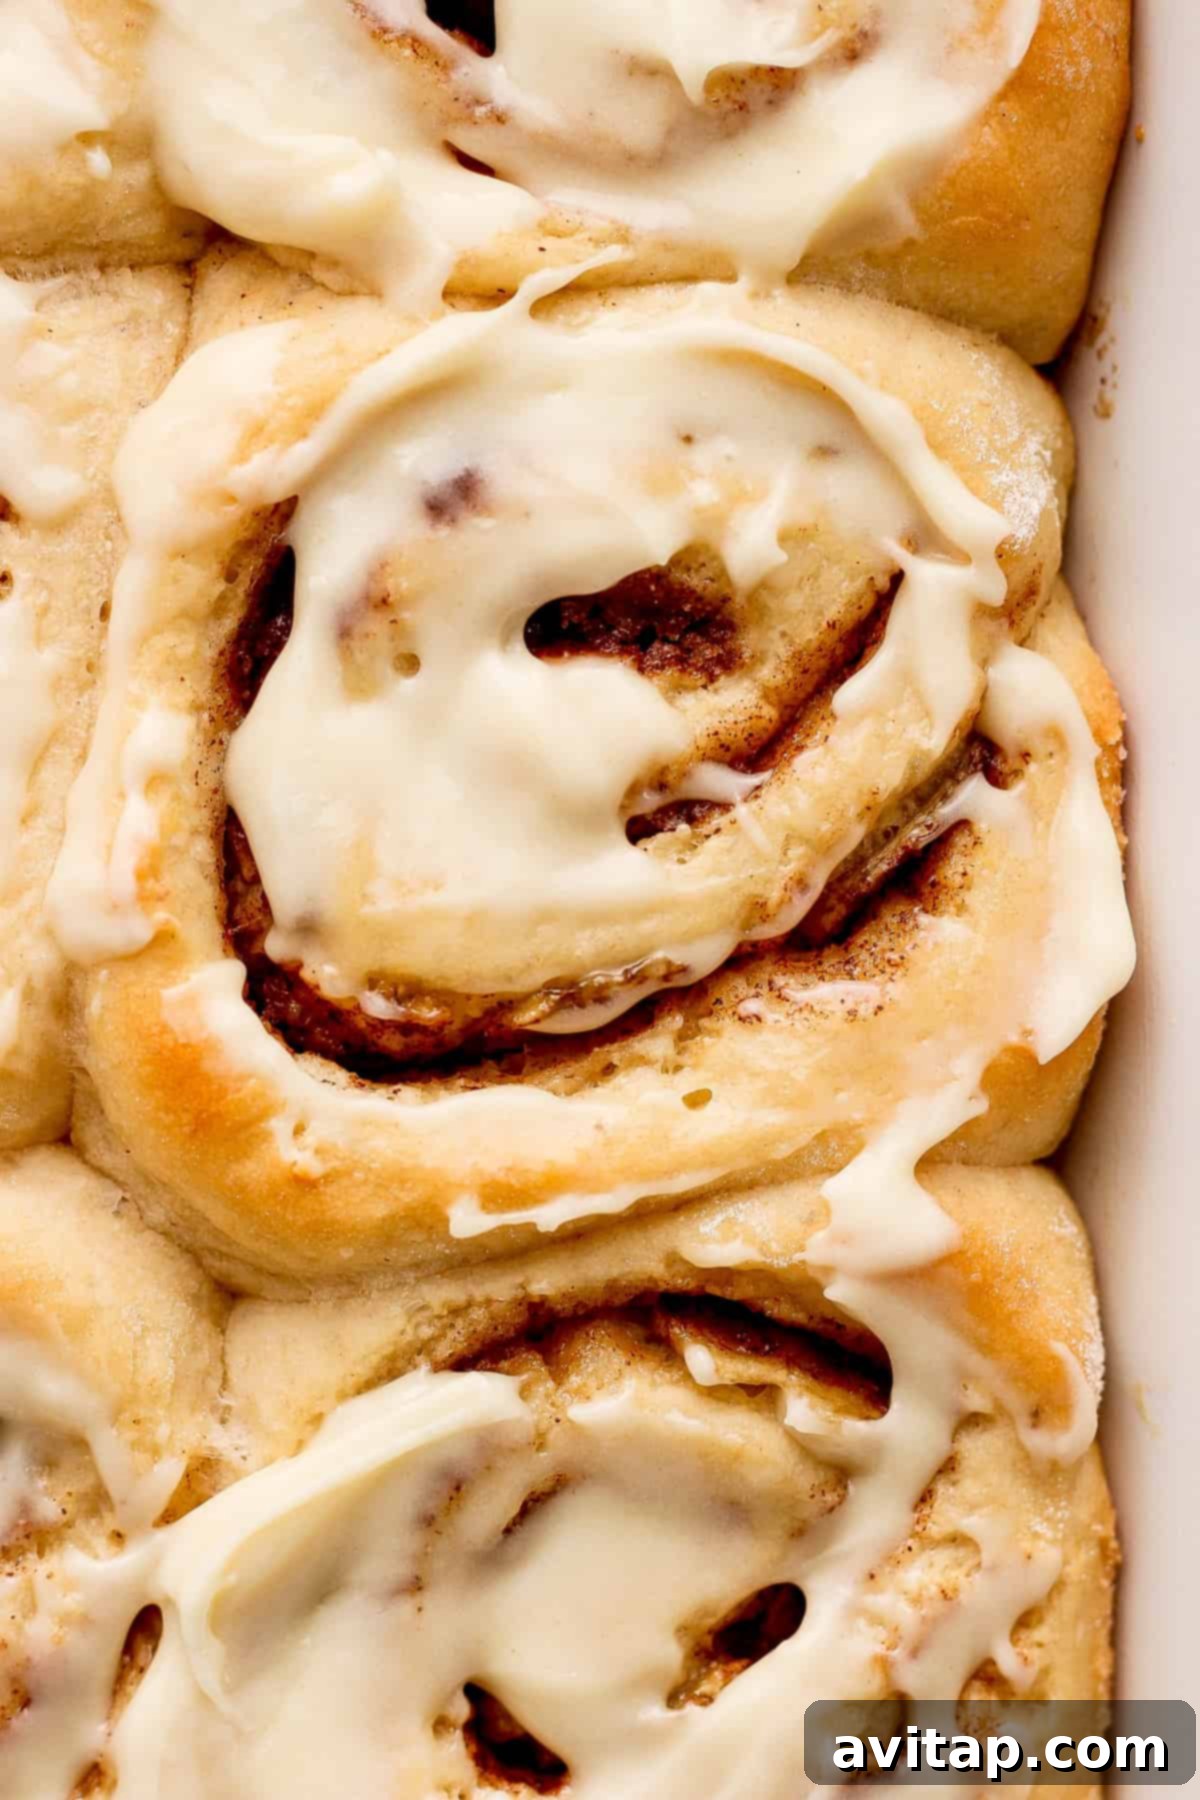
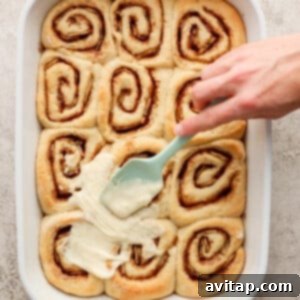
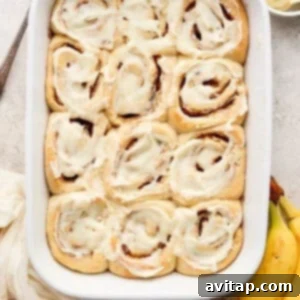
17. Frost & Serve: Once baked, remove the cinnamon rolls from the oven and allow them to cool in the baking dish for about 10 minutes. This crucial cooling period allows them to set slightly and helps the icing melt just enough to soak into the warm rolls without becoming a watery mess. Generously spread the prepared brown butter cream cheese frosting over the warm rolls. Serve immediately and prepare for a truly delicious experience!
Tips & Notes for Success
- Browning Butter Technique: Always use a light-colored pan (stainless steel is ideal) when browning butter. This allows you to clearly see the color change as the milk solids toast, preventing it from burning. Stir constantly with a whisk or spatula to ensure even browning.
- Cooling Brown Butter for Dough: It is absolutely crucial to brown the butter first and allow it to cool to at least room temperature, or even slightly cooler, before mixing it into the dough’s wet ingredients (step 3). If the butter is too hot, it can scramble or cook the egg in the dough mixture, which will negatively affect the dough’s texture and rise.
- Butter Solidification: Don’t be alarmed if the cooled brown butter solidifies slightly when mixed with other colder ingredients (like milk or egg). This is a normal reaction and won’t affect the final dough texture, as long as the egg hasn’t curdled from excessive heat. It will re-incorporate smoothly as the dough kneads.
- Yeast Activation Temperature: Ensure your milk is at the precise temperature range of 100-110°F (38-43°C). If the milk is too cold, the yeast won’t activate effectively, leading to a poor rise. If it’s too hot, it will kill the yeast, resulting in dough that won’t rise at all. A reliable food thermometer is your best friend here.
- Don’t Overbake: Cinnamon rolls are best when they are soft, moist, and slightly gooey in the center. Overbaking, even by a few minutes, will result in dry and tough rolls. Start checking for doneness around the 20-minute mark; they should be lightly golden brown on top and set in the center.
- Room Temperature Ingredients: For the best dough and frosting consistency, try to have your eggs, milk, and cream cheese at room temperature. This helps them incorporate more smoothly and evenly into their respective mixtures, leading to a more homogenous dough and a creamier frosting.
- Accurate Flour Measurement: For the most consistent and accurate results, measure flour by weight using a kitchen scale. If you’re using measuring cups, avoid scooping directly from the bag, which can pack too much flour. Instead, spoon the flour into the measuring cup and then level it off with a straight edge.
Nutrition
Carbohydrates: 66 g,
Protein: 10 g,
Fat: 16 g,
Fiber: 3 g,
Sugar: 29 g
Nutrition information is automatically calculated and should be used as an approximation. Individual results may vary based on ingredients used and preparation methods.
Love this recipe? Leave a comment below!
Don’t forget to tag your beautiful creations on social media with the hashtag #fitfoodiefinds – we can’t wait to see what you’re baking and enjoying!
Frequently Asked Questions (FAQs)
We’ve gathered some common questions to help you master these delightful Brown Butter Banana Bread Cinnamon Rolls and ensure a perfect baking experience every time.
- Can I use overripe bananas? Absolutely! Overripe bananas (those with plenty of brown spots and a soft texture) are not just acceptable but preferred for this recipe. They are significantly sweeter and mash more easily, contributing to a more intense banana flavor in the dough and adding extra moisture.
- What if I don’t have quick-rise yeast? Can I use active dry yeast? Yes, you can definitely use active dry yeast as a substitute. The main difference is the activation process. Dissolve the active dry yeast in the warm milk with a pinch of sugar and let it proof for 10-15 minutes until it becomes foamy on the surface. Once proofed, proceed with the recipe as directed. Keep in mind that the rise times might be slightly longer with active dry yeast compared to quick-rise.
- My dough isn’t rising, what went wrong? This is a common issue with yeast doughs. The most frequent culprits are incorrect milk temperature (too hot kills the yeast, too cold doesn’t activate it) or expired yeast. Always ensure your milk temperature is precise (100-110°F or 38-43°C), and check the expiration date on your yeast packet. A warm, draft-free environment is also crucial for successful dough rising.
- Can I prepare these cinnamon rolls ahead of time? Yes, this recipe is perfect for making ahead! You can prepare the rolls up to the point of slicing and arranging them in the baking dish (step 13). Cover the dish tightly with plastic wrap and refrigerate overnight (for up to 12 hours). In the morning, remove the dish from the fridge and let the rolls come to room temperature for 30-60 minutes before proceeding with the second rise (step 15) and baking. This makes them ideal for a fresh-baked breakfast without the early morning work.
- How do I get perfect, even slices for my cinnamon rolls? For the cleanest, most uniform cuts, use a very sharp, un-serrated knife. Alternatively, a clever trick is to use a piece of unflavored dental floss (about 18 inches long). Slide the floss under the rolled dough log, cross the ends over the top where you want to cut, and pull firmly to slice through the dough. This method prevents squishing the delicate layers.
- What kind of pan is best for browning butter? A light-colored saucepan or skillet, such as stainless steel, is highly recommended. The light color allows you to clearly see the milk solids turning golden brown, which is essential for preventing the butter from burning and ensuring that perfect nutty flavor.
Conclusion: A Sweet Reward for Your Efforts
These brown butter banana bread cinnamon rolls are truly more than just a recipe; they are an experience. From the moment the nutty, sweet aroma of brown butter and baking bananas fills your kitchen to the first soft, tender, and intensely flavorful bite, you’ll understand why these rolls are so incredibly special. Combining the familiar, comforting flavors of classic banana bread with the irresistible, warm embrace of cinnamon rolls, all elevated by a sophisticated brown butter and cream cheese frosting, they offer a perfect balance of richness, sweetness, and tender texture.
Whether you’re baking them for a cozy weekend breakfast, a festive holiday brunch, to impress guests, or simply to treat yourself to something truly extraordinary, the effort involved is truly worth every delightful reward. This recipe is designed to guide you through each step, ensuring a successful and delicious outcome. Share them with loved ones, or savor them on your own with a cup of coffee or tea – either way, prepare for rave reviews and an unforgettable sweet sensation. Happy baking!