
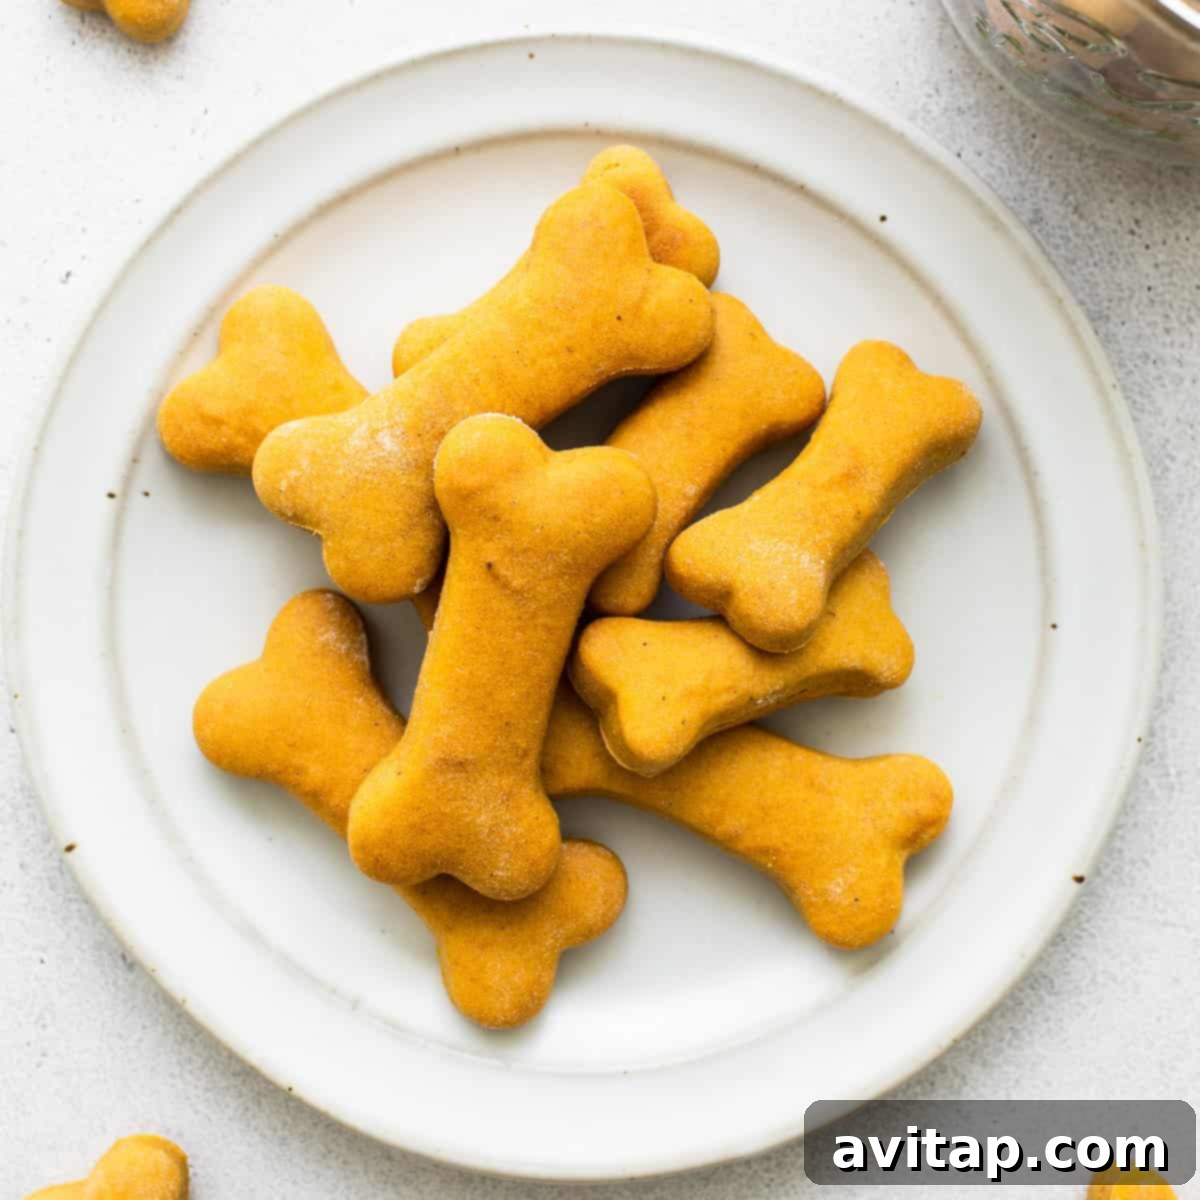
Spoil your beloved canine companion with a batch of these wholesome and delicious homemade dog treats! Crafted with just 5 simple ingredients and baked in under 30 minutes, these natural snacks are not only easy to make but also packed with flavor your furry friend will adore.
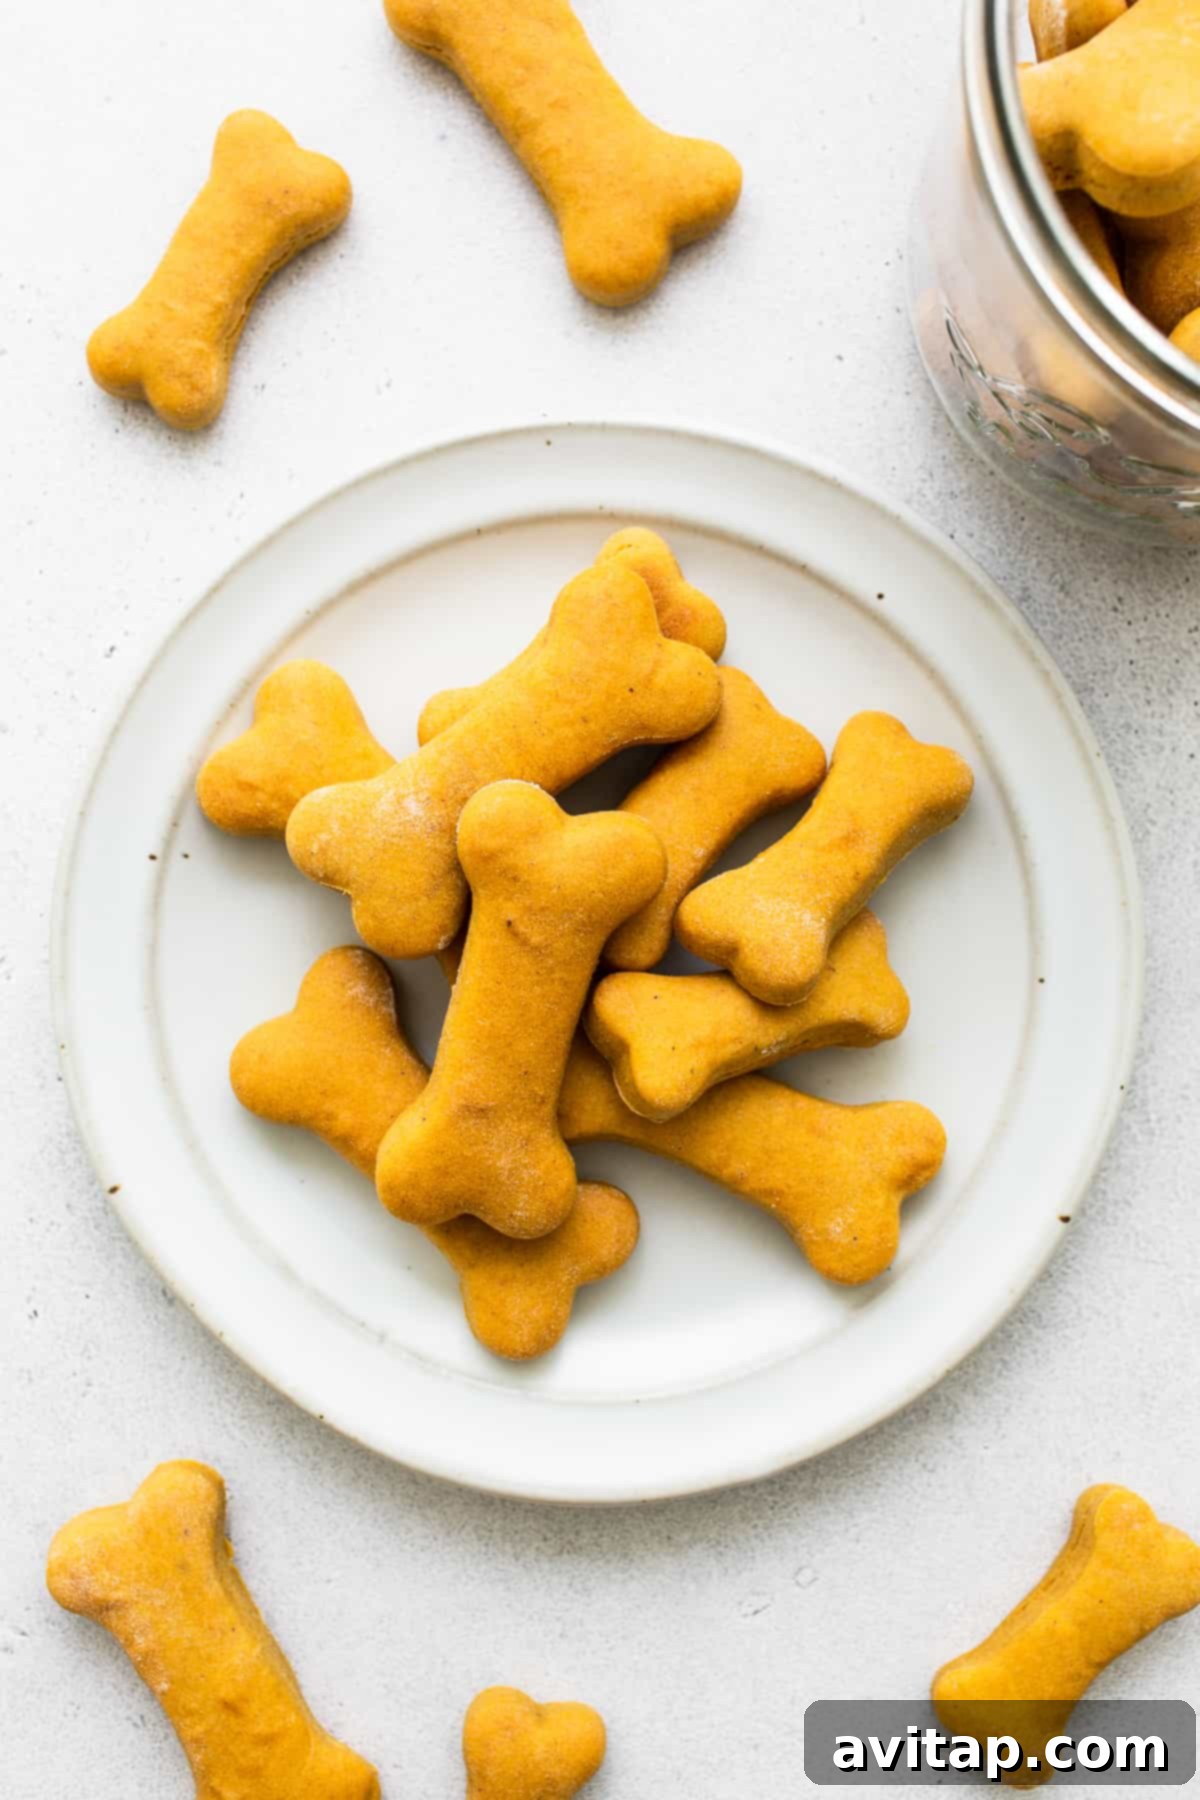
Easy & Wholesome Homemade Dog Treats Your Pup Will Adore
Forget the long drive to the pet store and the endless search for healthy options. These homemade dog treats are incredibly easy to prepare right in your own kitchen! You’ll love knowing exactly what goes into your dog’s snacks, thanks to a list of just 5 simple ingredients. Not only are they nutritious and free from artificial additives, but they’re also undeniably cute – perfect for showing your canine companion some extra love.
Why You’ll Love Making These DIY Dog Treats
Simplicity with 5 Ingredients: Our recipe uses minimal, readily available ingredients: sweet potato puree, natural peanut butter, an egg, all-purpose flour, and baking soda. We also provide clever ingredient swaps, so you can easily adapt the recipe with what you already have in your pantry.
Unconditional Canine Approval: Every dog on our team, without exception, absolutely adores these treats. You can be confident that your furry friend will be wagging their tail with delight for these homemade goodies!
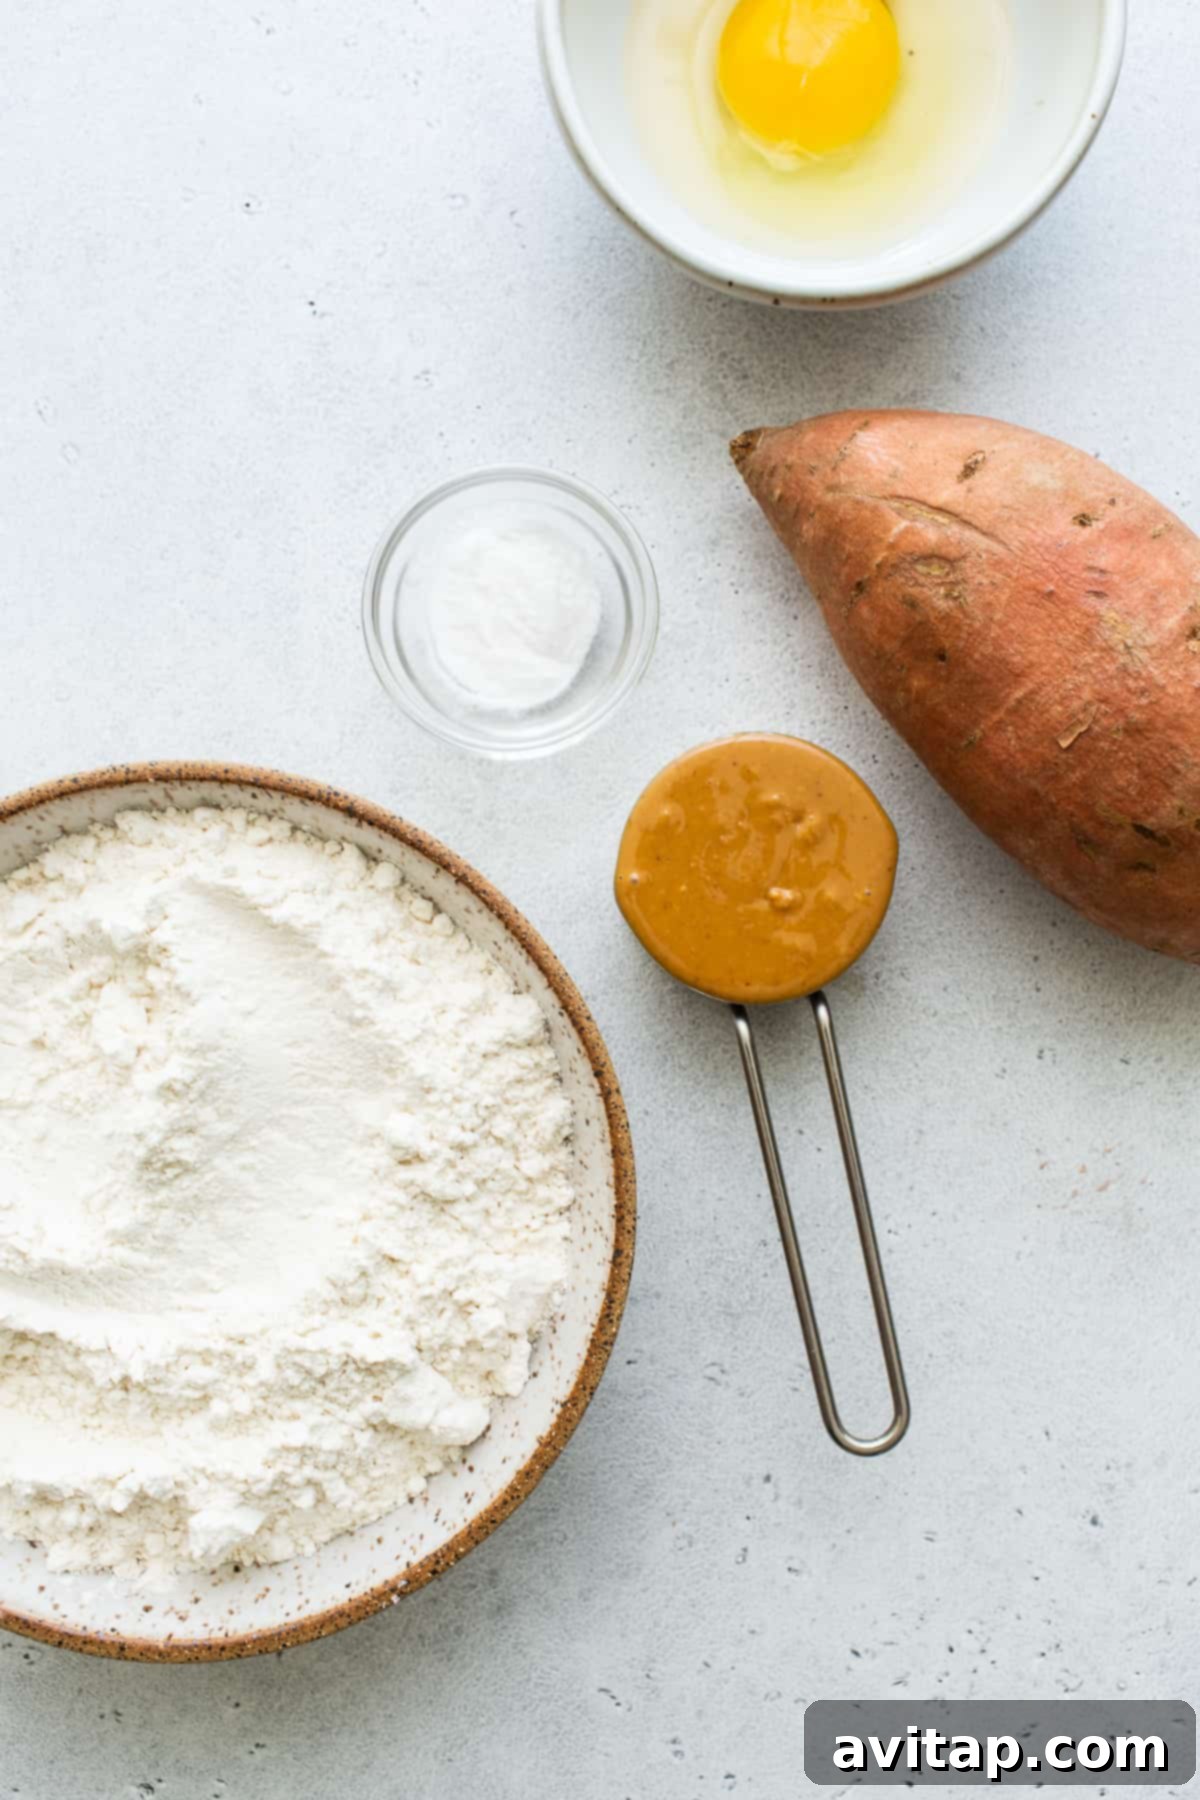
Essential Ingredients for Wholesome Homemade Dog Treats
Crafting these healthy dog treats requires just five foundational ingredients, each chosen for its nutritional benefits and dog-friendliness. You’ll need:
- Pureed Sweet Potato: A fantastic source of dietary fiber, vitamins (A, C, B6), and minerals. Sweet potatoes are naturally sweet and add a lovely flavor and moisture to the treats, making them irresistible to dogs. Ensure it’s plain, cooked sweet potato without any added seasonings or sugar.
- Drippy, All-Natural Peanut Butter: A beloved flavor for most dogs and a good source of protein and healthy fats. It’s crucial to use all-natural peanut butter that contains only peanuts and possibly salt. Absolutely avoid peanut butter containing Xylitol (birch sugar), which is highly toxic to dogs.
- Egg: Acts as a binder, holding the treats together while adding a boost of protein and essential amino acids for your dog’s health.
- All-Purpose Flour: Forms the base of the dough, giving the treats their structure. While all-purpose flour is fine, you can also explore healthier alternatives.
- Baking Soda: A leavening agent that helps the treats rise slightly and achieve a desirable texture.
Smart & Safe Ingredient Swaps for Your Dog Treats
Don’t have every ingredient on hand? No problem! Our recipe is flexible, allowing for easy and safe substitutions without compromising taste or quality. Here are some simple swaps you can make:
- Pureed Sweet Potato: Easily swap with pumpkin puree. Pumpkin is another excellent source of fiber and vitamins, great for canine digestion. Just like sweet potato, ensure it’s plain, unsweetened pumpkin puree.
- Drippy Peanut Butter: Can be replaced with any other safe, drippy nut butter, such as almond butter. Always double-check the ingredient list to ensure no xylitol or other harmful additives are present. Sunflower seed butter is also a great option for dogs with nut allergies.
- All-Purpose Flour: For a gluten-free or healthier option, consider using oat flour. You can even make your own oat flour by grinding rolled oats in a food processor. Whole wheat flour is another excellent alternative, adding more fiber.

Quick Tip!
Microwave Sweet Potato in Minutes
Did you know you can cook a sweet potato perfectly in the microwave in just 8 minutes? This quick method ensures you have a soft, ready-to-use sweet potato for your dog treats in no time, saving you valuable prep time!
Step-by-Step Guide: How to Craft Homemade Dog Treats
Follow these easy instructions to create a batch of delightful and healthy treats for your furry companion. Precision in each step ensures the best texture and taste!
Step 1: Prepare and Cook Sweet Potatoes
Begin by peeling one large sweet potato. Once peeled, slice it into uniform ½-inch thick rounds. Using a fork, carefully poke several holes into each sweet potato round. This helps them cook evenly and prevents them from bursting in the microwave. Arrange the pierced sweet potato slices on a microwave-safe plate. Microwave on high for an initial 5 minutes. Flip the rounds over and continue microwaving on high for another 5 minutes, or until they are completely fork-tender. The goal is a soft, easily mashed consistency.
Step 2: Puree the Cooked Sweet Potatoes
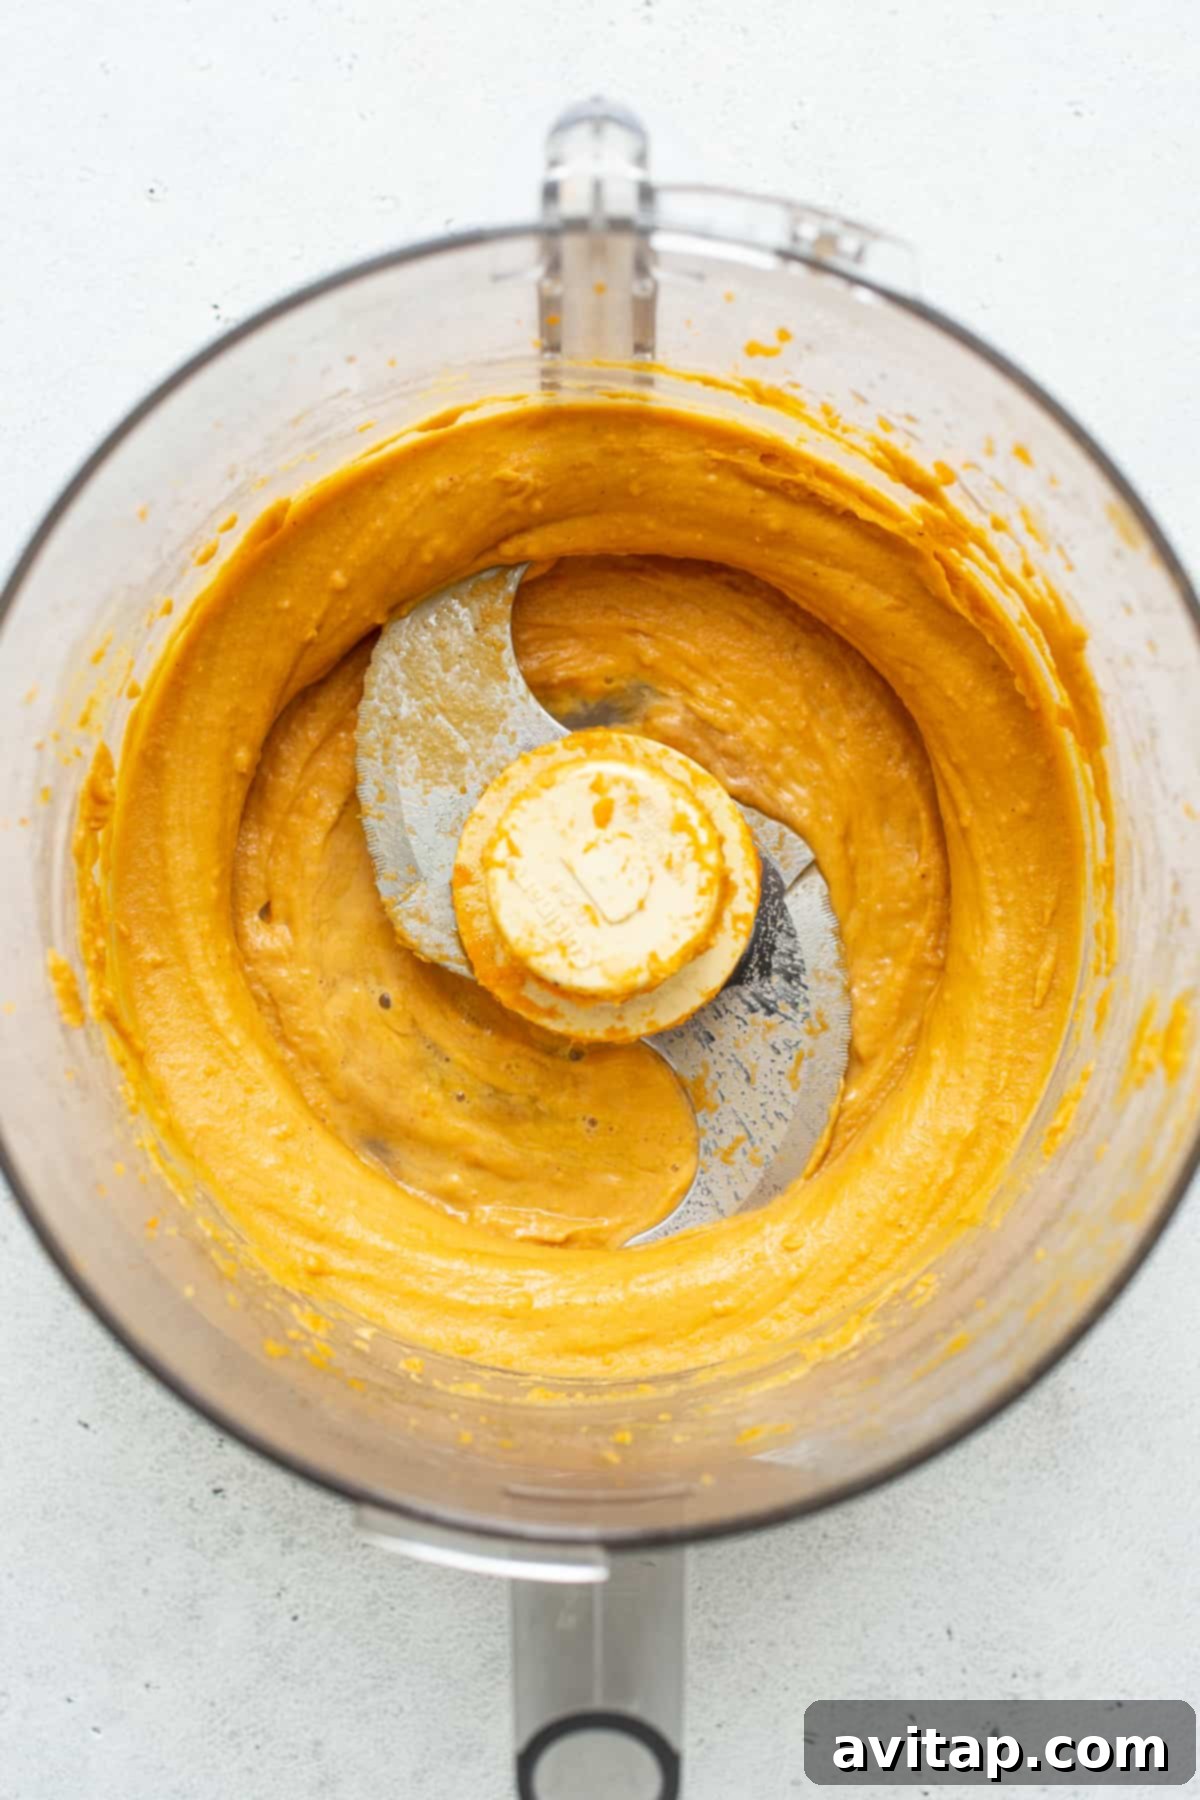
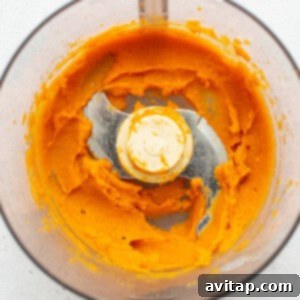
Carefully transfer the hot, cooked sweet potato rounds into a food processor. Blend them until they reach a completely smooth, lump-free puree. Measure out exactly ½ cup of this sweet potato puree. For optimal dough consistency, it’s important for the puree to be cool. Place the measured puree into the refrigerator for approximately 10-15 minutes to allow it to cool down thoroughly.
Step 3: Combine with Peanut Butter
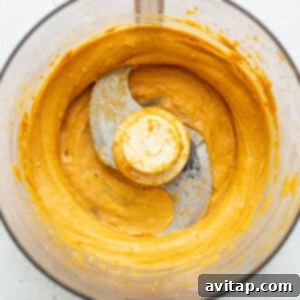
Once the sweet potato puree is chilled, return it to the food processor. Add the specified amount of drippy, all-natural peanut butter. Process these two ingredients together until they are fully combined and yield a smooth, consistent mixture. Scrape down the sides of the food processor as needed to ensure everything is incorporated.
Step 4: Incorporate the Egg
Crack one large egg directly into the food processor with the sweet potato and peanut butter mixture. Pulse the food processor a few times until the egg is fully combined with the other ingredients. The egg acts as a crucial binder, helping the dough hold its shape during baking.
Step 5: Add Flour & Baking Soda to Form Dough
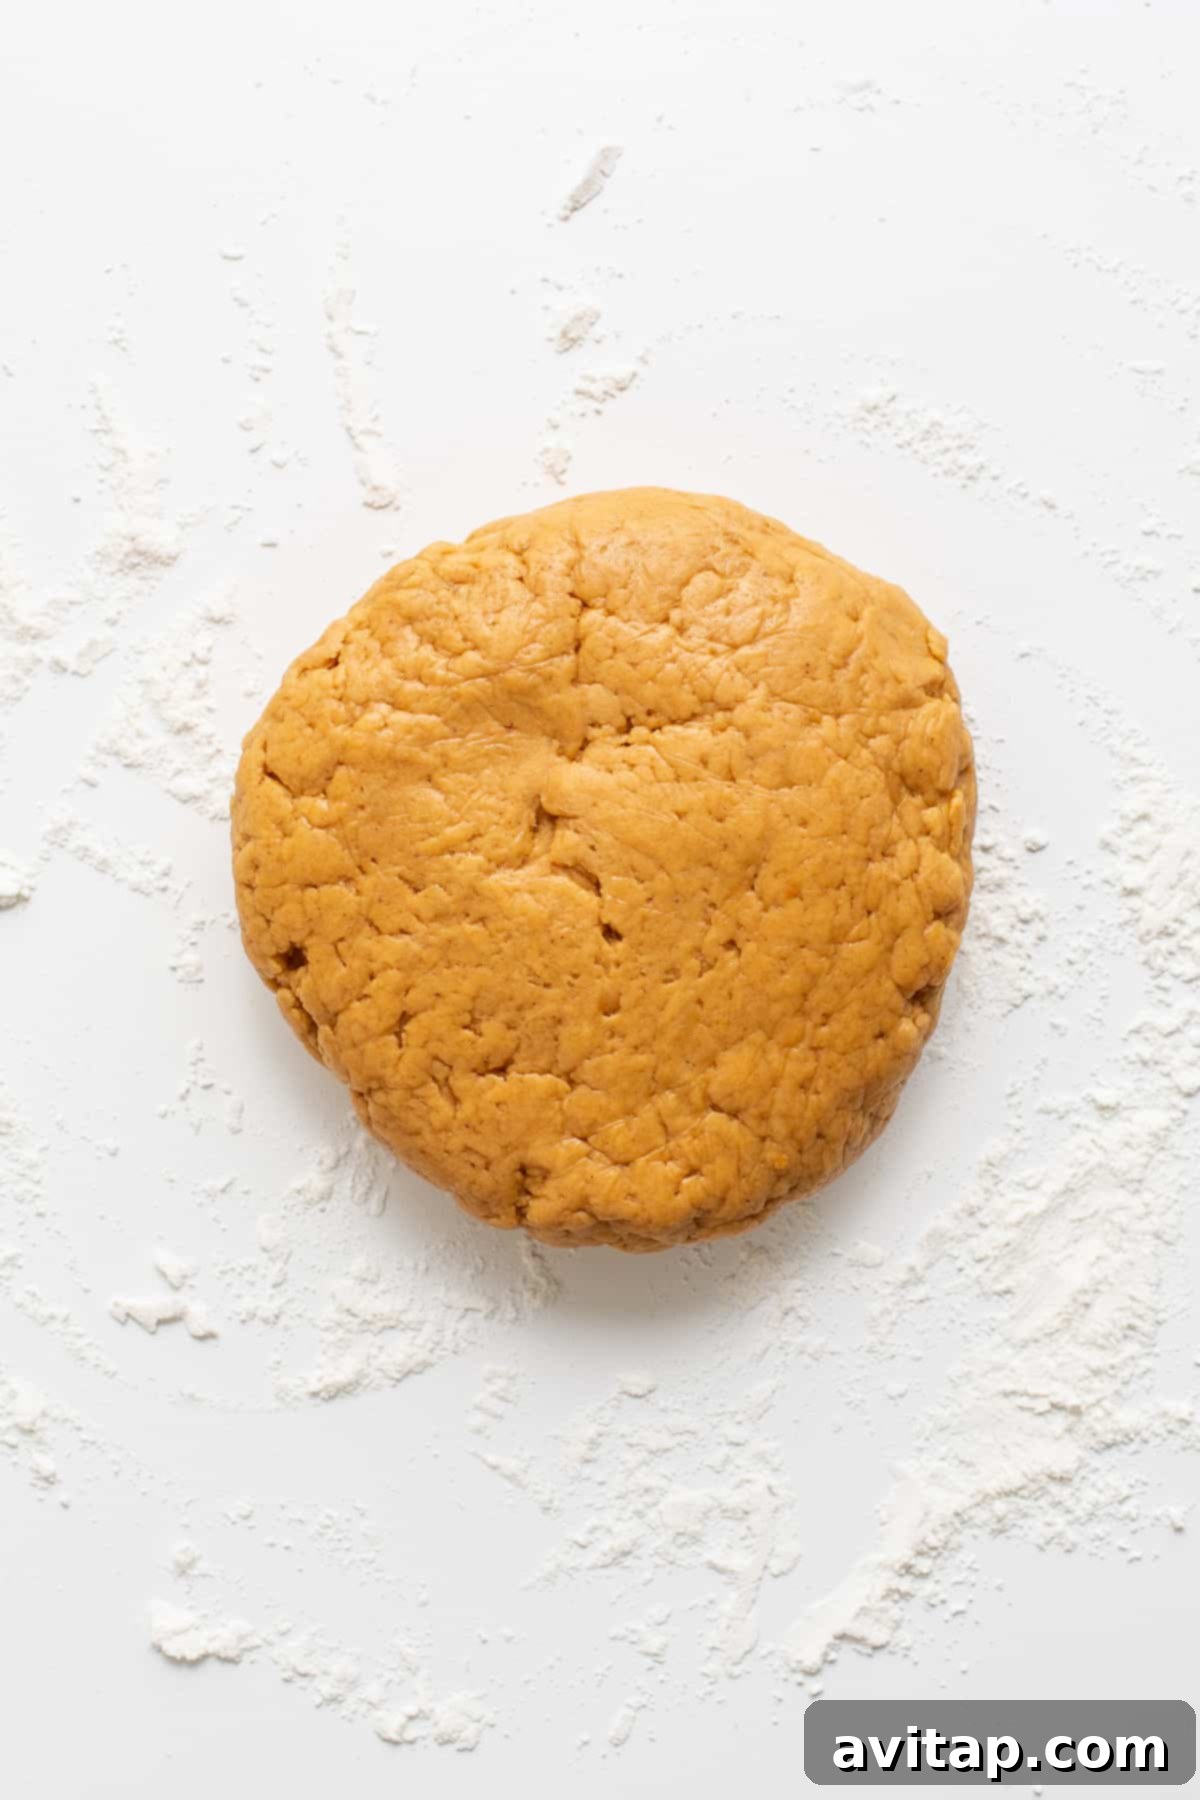
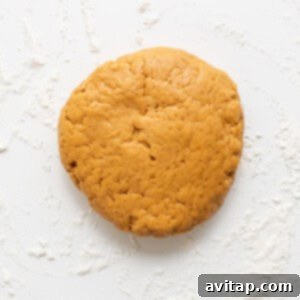
Finally, add the all-purpose flour and baking soda to the food processor. Process the mixture on a low speed. Continue blending until all the dry ingredients are fully combined with the wet ingredients and the dough begins to come together, forming a coherent ball around the blade of the food processor. This dough will be on the stickier side, which is normal for this recipe. If you find it too challenging to handle, you might want to slightly moisten your hands with water when working with it.
Step 6: Chill the Dough
Remove the newly formed dough from the food processor. Gather it into a ball, wrap it tightly in plastic wrap, and place it in the refrigerator. Allow the dough to chill for at least 30 minutes. This chilling period is essential as it helps to firm up the sticky dough, making it much easier to roll out and cut into shapes.
Step 7: Prepare for Baking & Cut Out Treats
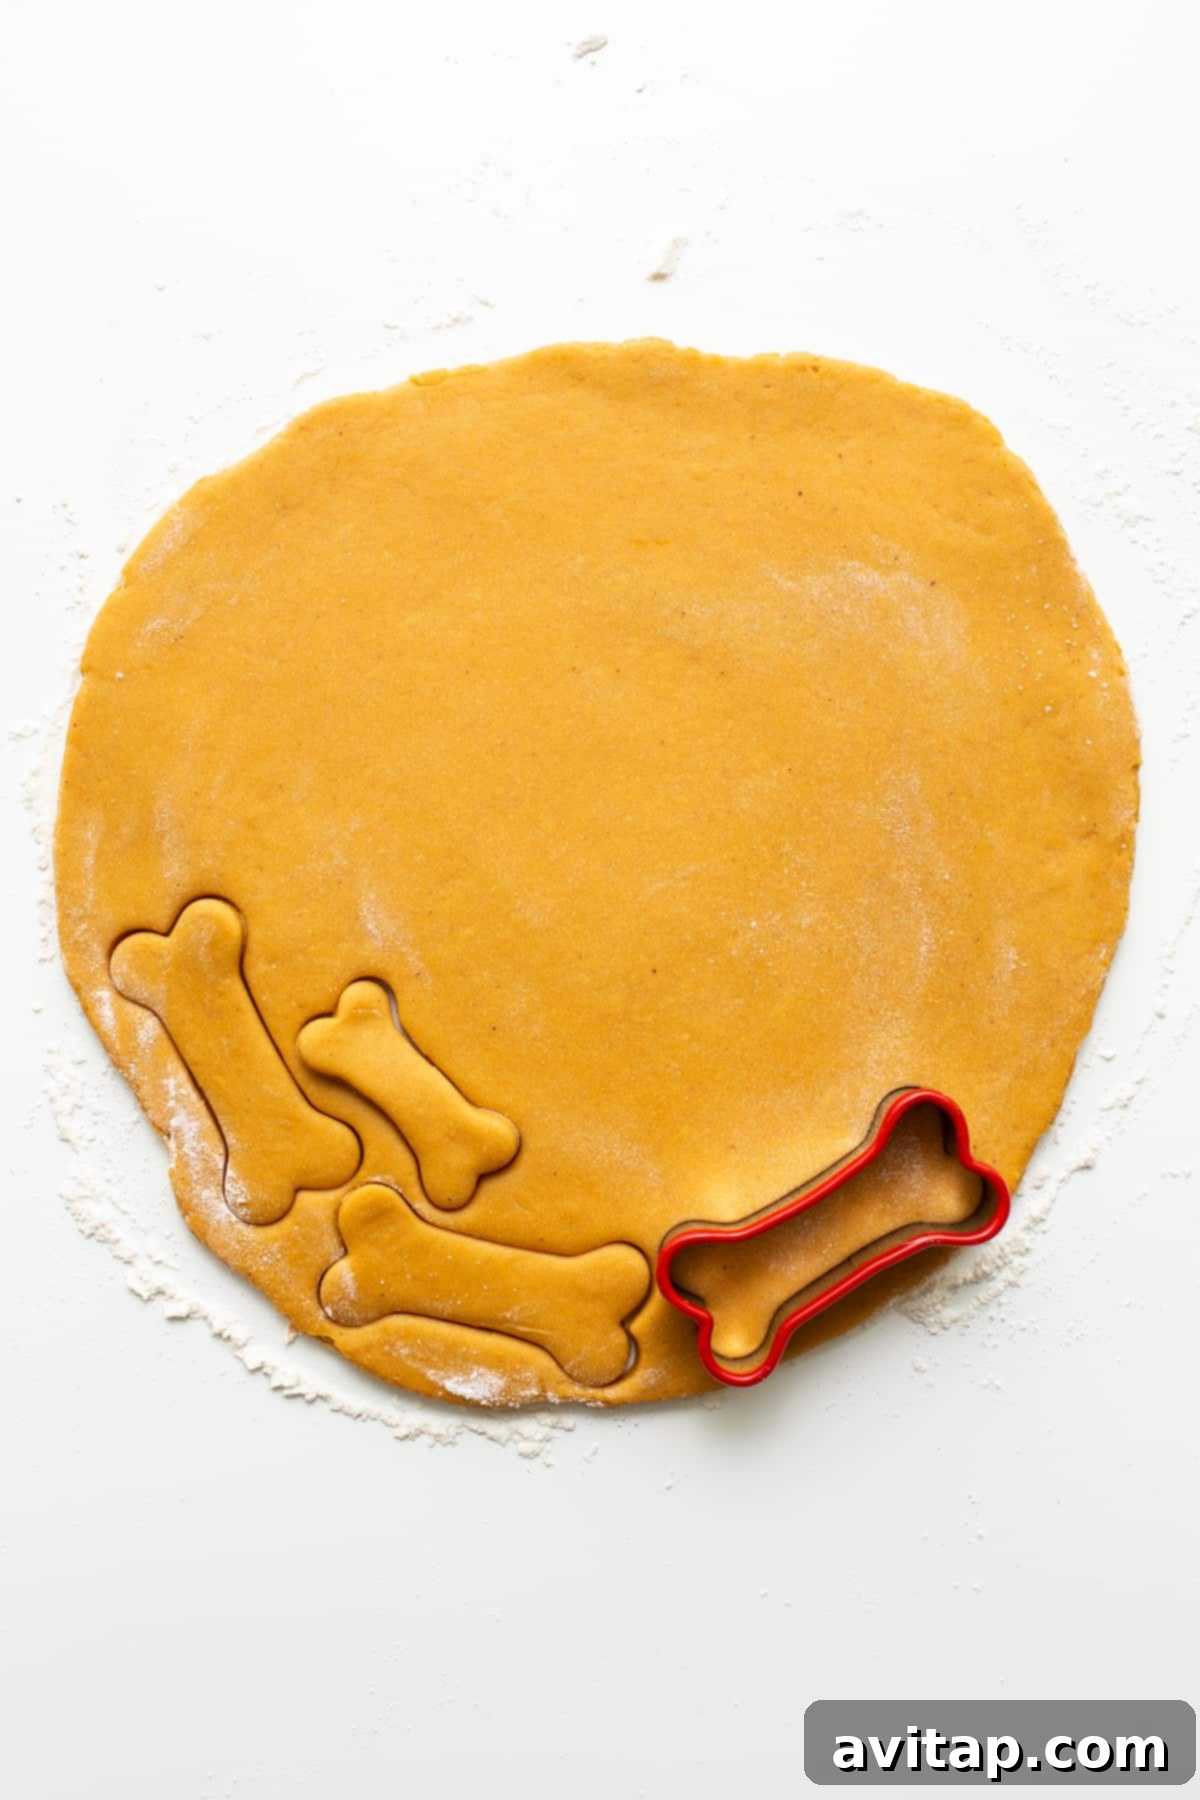
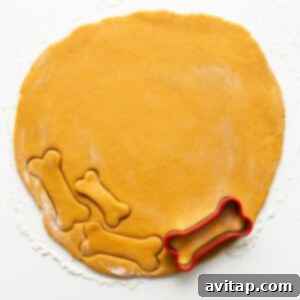
While the dough is chilling, preheat your oven to 350ºF (175ºC). Line a baking sheet with parchment paper to prevent sticking and ensure easy cleanup. Once the dough has chilled sufficiently, remove it from the refrigerator. Dust a clean, dry work surface generously with a light coating of flour. This prevents the dough from sticking. Using a rolling pin, roll out the dough evenly to about ¼-inch thickness. Now, use your favorite small to medium-sized cookie cutters to create various dog treat shapes. Carefully transfer these cutouts onto your prepared parchment-lined baking sheet. Don’t worry too much about spacing; these cookies won’t expand significantly during baking.
Step 8: Bake to Perfection
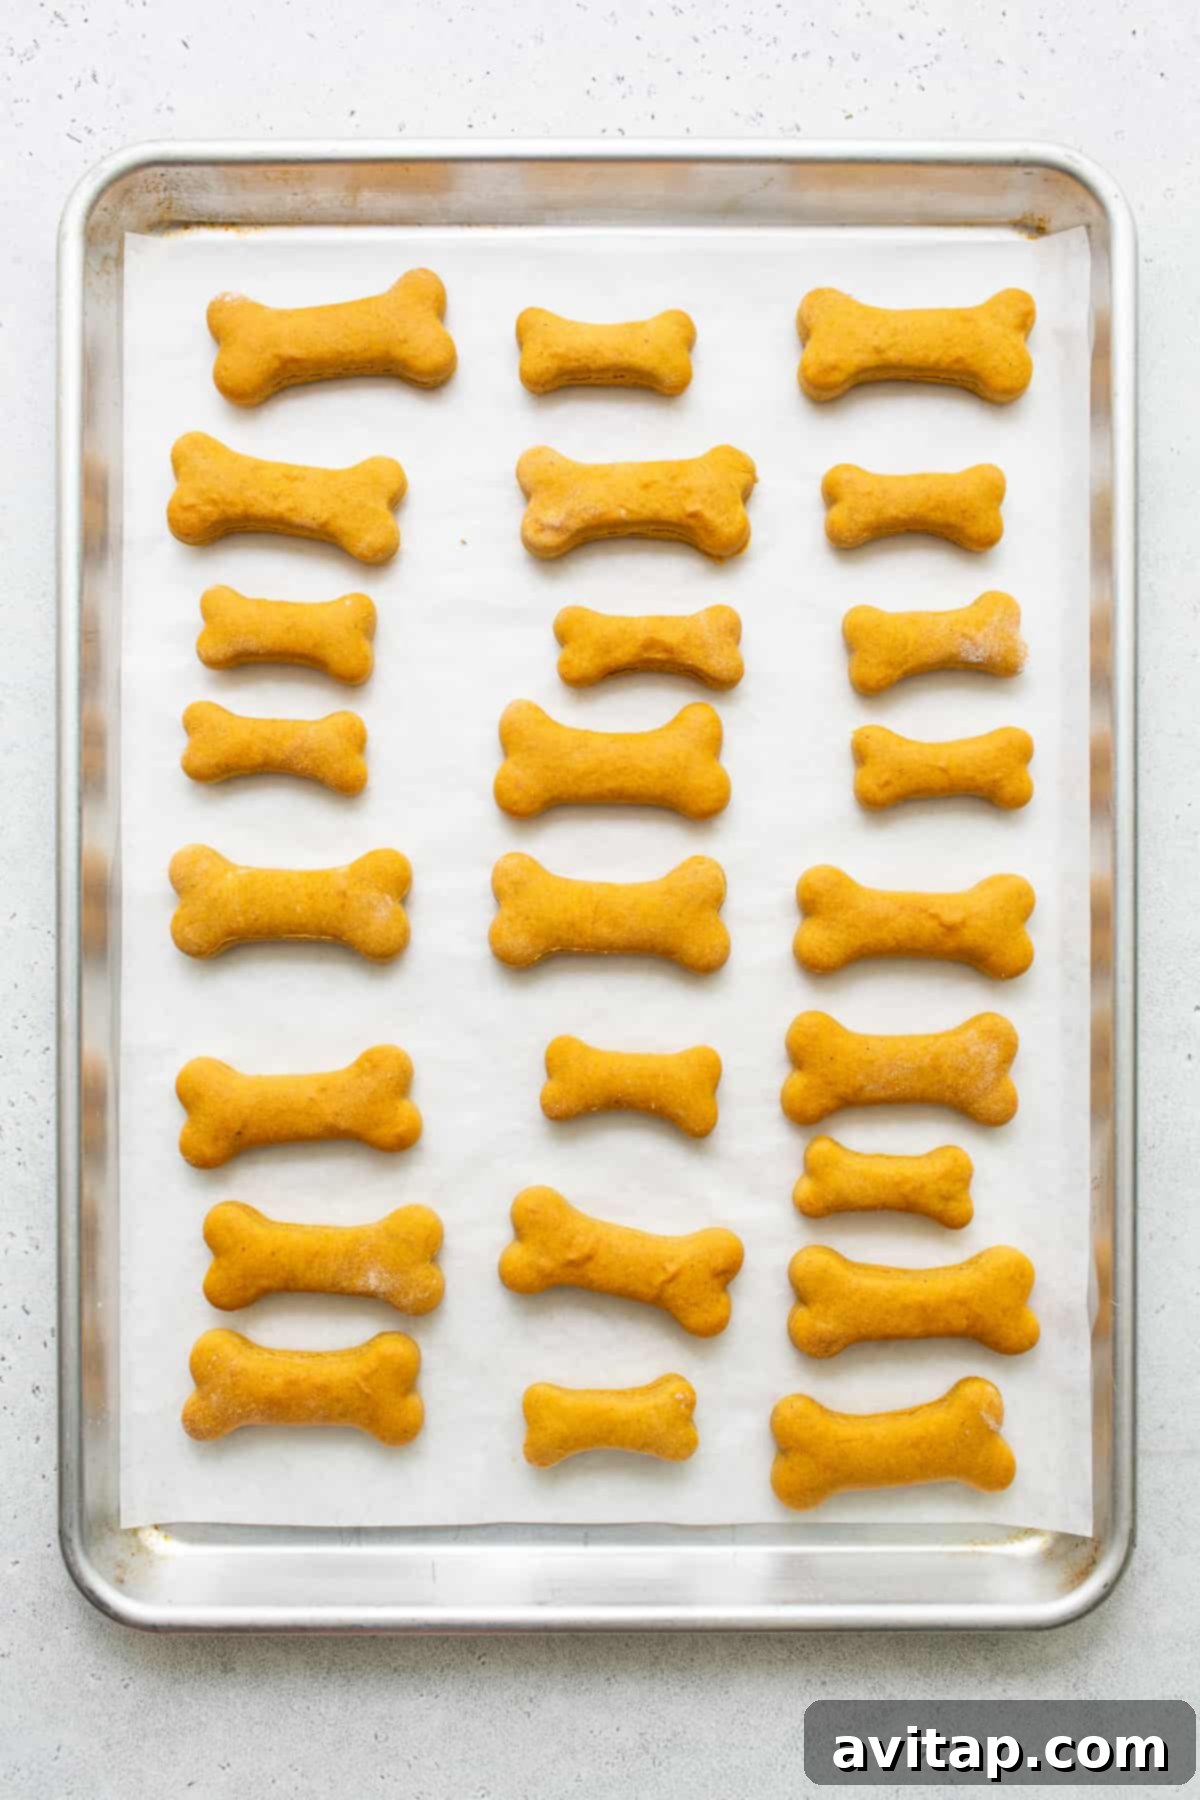
Place the baking sheet with your dog treat cutouts into the preheated oven. Bake for approximately 10-12 minutes, or until the edges of the treats begin to turn a light golden brown. Keep a close eye on them to prevent over-browning. The baking time may vary slightly depending on your oven and the thickness of your treats.
Step 9: Cool Completely and Serve
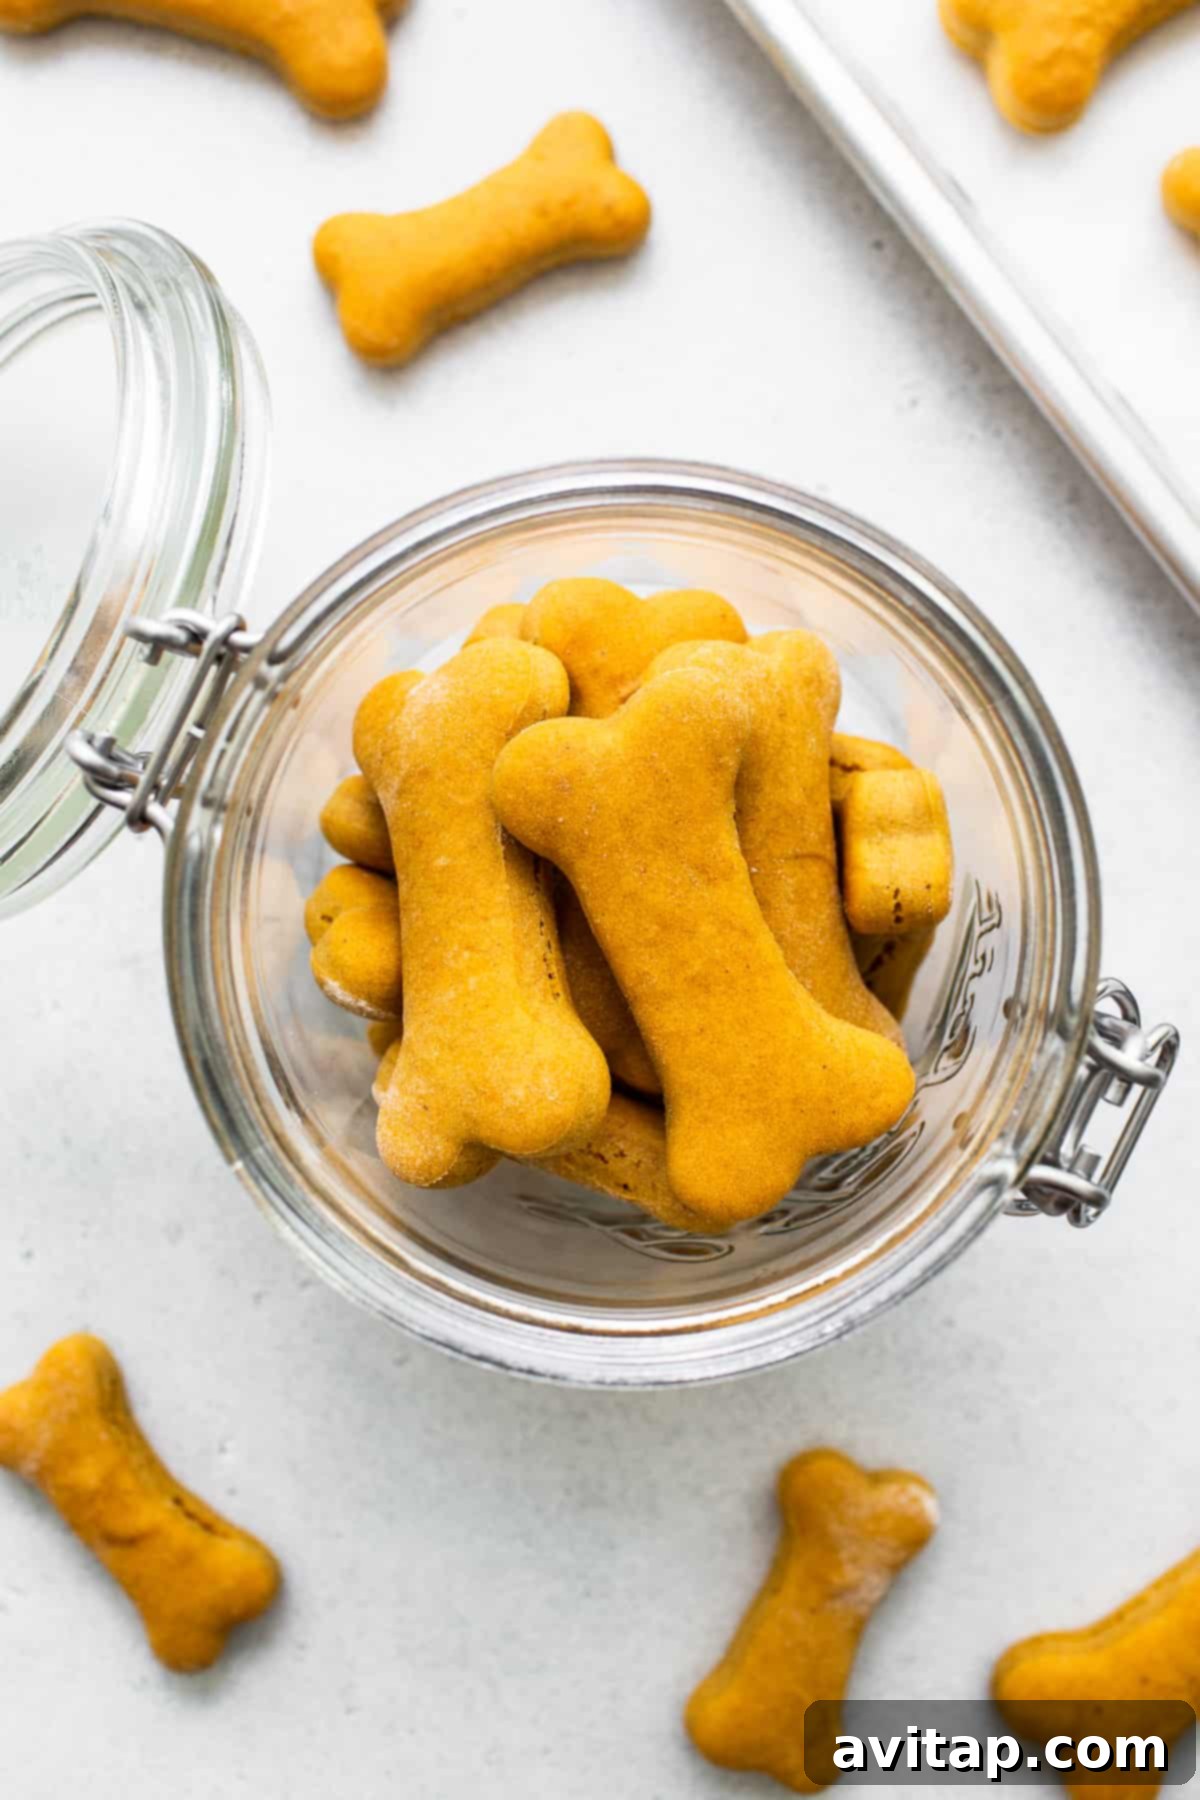
Once baked, remove the treats from the oven. Carefully transfer them from the hot baking sheet to a wire cooling rack. Allow them to cool completely at room temperature. This step is crucial for achieving a firm, desirable texture. Once fully cooled, place your freshly baked homemade dog treats into an airtight container. Serve them chilled to your excited doggies, and watch them enjoy their healthy, delicious reward!
Expert Tips for Perfect Homemade Dog Treats Every Time
Making homemade dog treats is a rewarding experience, and these expert tips will help ensure your batch turns out perfectly every time:
- Adjusting Sticky Dough: If you find your dough is too sticky or wet to comfortably roll out, simply place it back into the refrigerator for an additional 15-30 minutes. The extra chill time will firm it up. Alternatively, you can gradually knead in a small amount of extra flour (a tablespoon at a time) until it reaches a more workable consistency. Remember, a slightly sticky dough is normal, but it shouldn’t be unmanageable.
- Achieving Crispiness: For crispier treats, you can bake them for an additional 5-10 minutes at a lower temperature (around 250°F / 120°C) after the initial bake, or leave them in the oven after it’s turned off as it cools down. This helps to dry them out further.
- Get Creative with Shapes: Don’t limit yourself to just bone shapes! Use various cookie cutters like hearts, stars, or even letters to personalize your dog’s treats. Smaller shapes are great for training rewards, while larger ones can be a special snack.
- Ensuring Even Thickness: When rolling out the dough, aim for an even ¼-inch thickness. This ensures all treats bake uniformly, preventing some from burning while others remain undercooked.
Frequently Asked Questions About Homemade Dog Treats
Have questions about making treats for your furry friend? We’ve got answers to common concerns to help you bake with confidence.
Excellent choices for safe and delicious homemade dog treats include pureed sweet potato or pumpkin, oats (whole or ground into flour), whole wheat flour, eggs, and all-natural peanut butter (xylitol-free). Other dog-friendly additions can be apples (without seeds), carrots, green beans, or plain yogurt.
It is crucial to avoid corn syrup, artificial colorings, excessive sugar, and high levels of salt. Beyond that, never include xylitol (a common sugar substitute found in many human foods like peanut butter, gum, and toothpaste), chocolate, grapes, raisins, onions, garlic, avocado, macadamia nuts, or alcohol. Always research ingredients if you are unsure.
Yes, absolutely! Simply substitute the all-purpose flour with an equal amount of oat flour or a gluten-free all-purpose flour blend. Ensure your other ingredients like peanut butter are also certified gluten-free if this is a strict requirement for your dog.
Because these treats are made with fresh, perishable ingredients and no preservatives, they have a shorter shelf life than store-bought options. When stored correctly in an airtight container in the refrigerator, they will last for up to 5 days. For longer storage, freezing is recommended.
Proper Storage for Maximum Freshness & Safety
Since these homemade dog treats are crafted with natural, perishable ingredients and contain no artificial preservatives, proper storage is key to maintaining their freshness and ensuring your dog’s safety.
Refrigerator Storage: Store the completely cooled homemade dog treats in an airtight container in the refrigerator for up to 5 days. This prevents spoilage and keeps them fresh for daily enjoyment.
Freezer Storage: For extended freshness, these treats freeze beautifully. Once completely cool, transfer the treats into a freezer-safe, airtight container or a heavy-duty freezer bag, removing as much air as possible to prevent freezer burn. They will keep well in the freezer for up to 3 months. Thaw them in the refrigerator overnight or simply let your dog enjoy them as a frozen treat!
More Sweet Potato Recipes You’ll Love
Sweet potatoes are incredibly versatile and nutritious, not just for dogs but for humans too! If you enjoyed working with sweet potatoes in this recipe, explore some of our other favorite sweet potato creations:
- How to Roast Sweet Potatoes
- Homemade Sweet Potato Puree
- Crispy Baked Sweet Potato Fries
- How to Make Sweet Potato Hash Browns
Homemade Dog Treats Recipe
Spoil your canine companion with these easy-to-make, wholesome sweet potato and peanut butter dog treats. Made with just 5 simple ingredients, they are a healthy and delicious reward your dog will cherish!

By: Emily Richter
Prep time: 1 hour
Cook time: 20 minutes
Total time: 1 hour 20 minutes
Yields: Approximately 30 treats
Ingredients
- 1 large sweet potato, peeled (yields approximately ½ cup pureed) – Option to swap with plain pumpkin puree.
- ¼ cup drippy, all-natural peanut butter – Ensure no xylitol. Can swap with almond or sunflower seed butter.
- 1 large egg
- 2 cups all-purpose flour – Can swap with oat flour or whole wheat flour.
- 1 teaspoon baking soda
Instructions
- Cook Sweet Potatoes: Slice the peeled sweet potato into ½-inch thick rounds. Use a fork to poke several holes in each round. Place them on a microwave-safe plate and microwave on high for 5 minutes. Flip the rounds over and cook on high for another 5 minutes, until fork-tender.
- Puree Sweet Potatoes: Transfer the cooked sweet potatoes to a food processor and blend until completely smooth. Measure out ½ cup of the puree. Place the puree in the refrigerator for 10-15 minutes to cool down.

- Add Peanut Butter: Once chilled, return the sweet potato puree to the food processor along with the peanut butter. Process until the two ingredients are smooth and well combined.
- Incorporate Egg: Add the egg to the food processor and pulse briefly until fully combined with the mixture.
- Form Dough with Flour & Baking Soda: Add the all-purpose flour and baking soda to the food processor. Process on low speed until all ingredients are combined and the dough forms a ball. Note that this dough is naturally sticky; wetting your hands slightly can help with handling.
- Chill Dough: Remove the dough from the food processor, wrap it tightly in plastic, and refrigerate for 30 minutes.
- Preheat Oven & Prep Sheet: Preheat your oven to 350°F (175°C) and line a baking sheet with parchment paper.
- Roll & Cut Dough: Remove the chilled dough from the refrigerator. Lightly flour a clean work surface. Roll the dough out to about ¼-inch thickness using a rolling pin.
- Shape Treats: Use small to medium cookie cutters to create your desired dog treat shapes. Place the cutouts onto the prepared baking sheet. No need for excessive spacing, as these cookies won’t expand much.
- Bake Treats: Bake for 10-12 minutes, or until the treats begin to brown slightly at the edges.
- Cool Completely: Remove the cookies from the oven and transfer them to a wire cooling rack until they are completely cool.
- Store & Serve: Once cooled, store the treats in an airtight container in the refrigerator and serve them chilled to your happy pup!
Tips & Notes
- If the dough is too sticky or wet to roll out, return it to the refrigerator for more chilling time or gradually add a bit more flour until it’s workable.
- For longer storage, these dog treats can be frozen in an airtight container for up to 3 months.
Nutrition (Approximation per treat)
- Calories: 49 kcal
- Carbohydrates: 8 g
- Protein: 2 g
- Fat: 1 g
- Fiber: 0.5 g
- Sugar: 1 g
Nutrition information is automatically calculated and should be used as an approximation.
Loved this recipe? Share your thoughts below!
We’d love to see your furry friends enjoying these treats! Don’t forget to tag your posts on social media with the hashtag #fitfoodiefinds.