
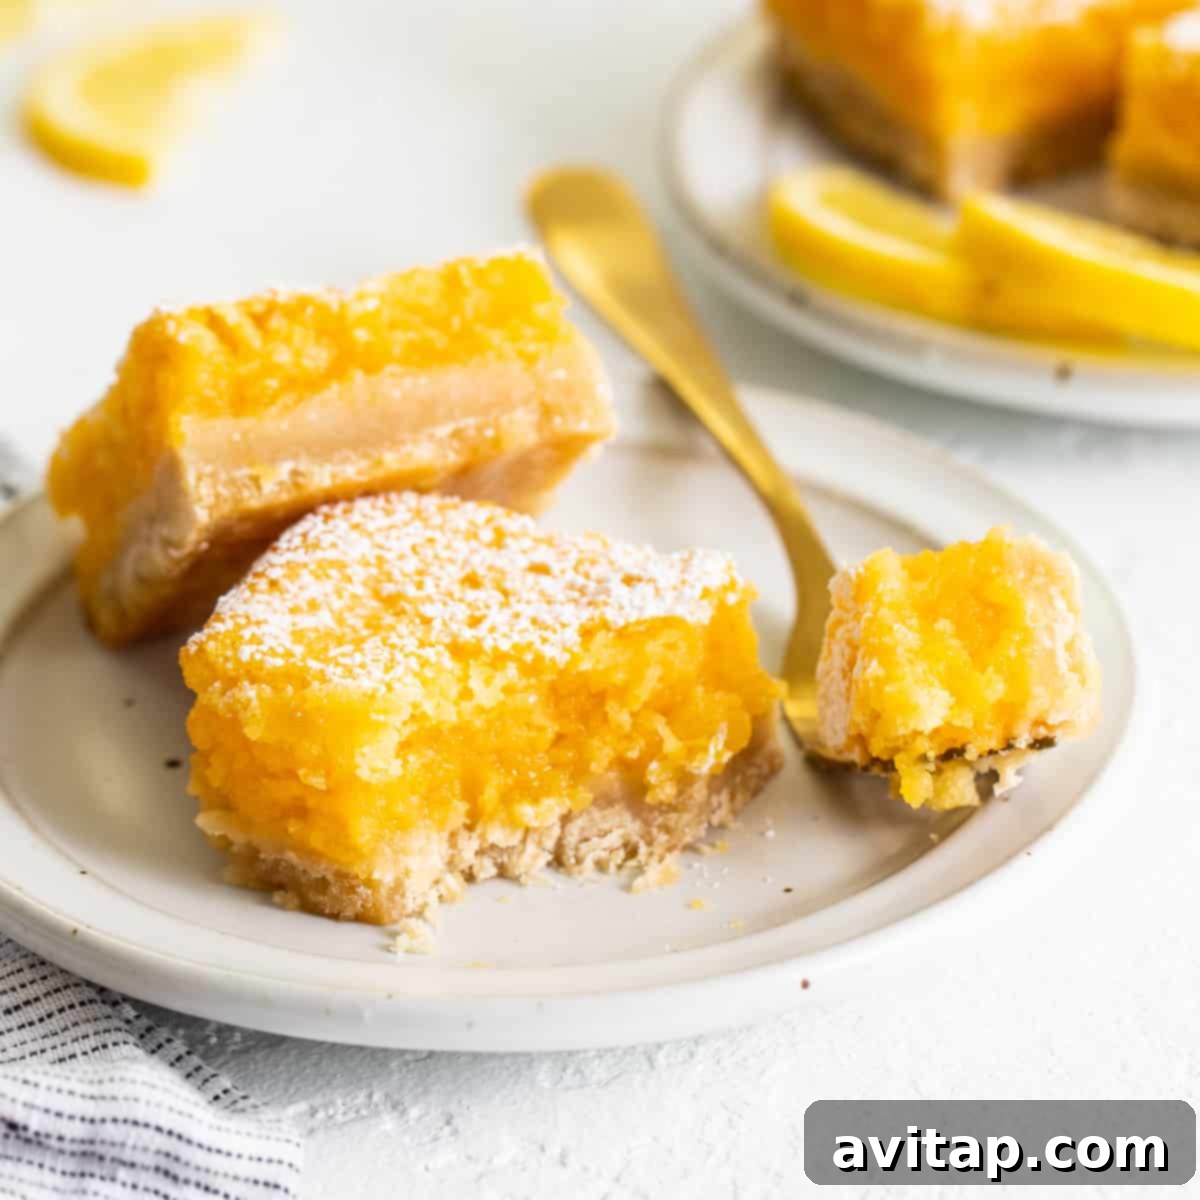
Indulge in the pure bliss of these **classic lemon bars**, a recipe that embodies simplicity and vibrant flavor. This guide will walk you through creating a dessert that’s bursting with sweet and tart citrus notes, promising to be a delightful treat for any occasion. Learn how to master the art of making **homemade lemon bars** that are sure to impress!
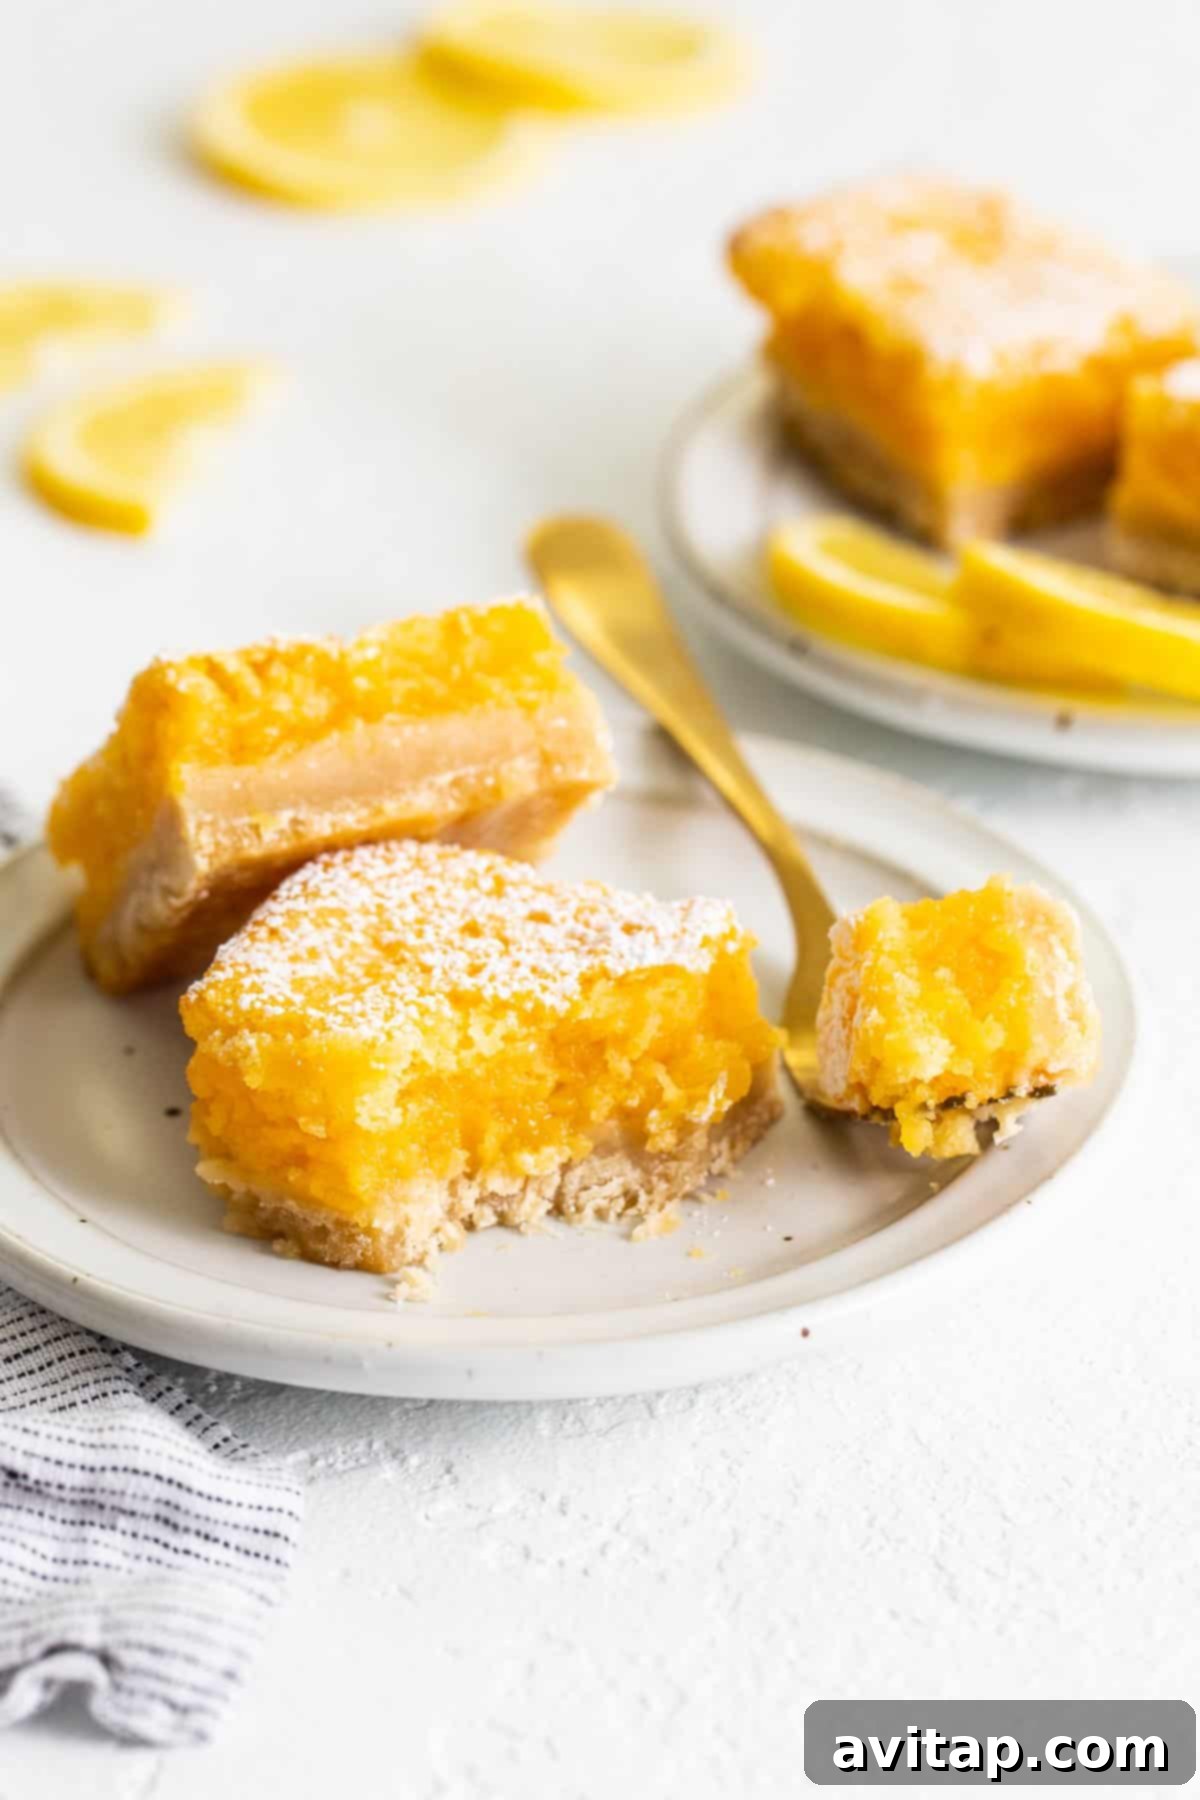
Our Signature Classic Lemon Bar Recipe: A Timeless Citrus Treat
If you’ve previously explored our healthier lemon bar alternatives and are now seeking the authentic, traditional experience, you’ve come to the right place! This is *the* definitive **classic lemon bar recipe**, meticulously crafted with a rich, buttery shortbread crust and an irresistibly smooth, perfectly tart lemon curd filling.
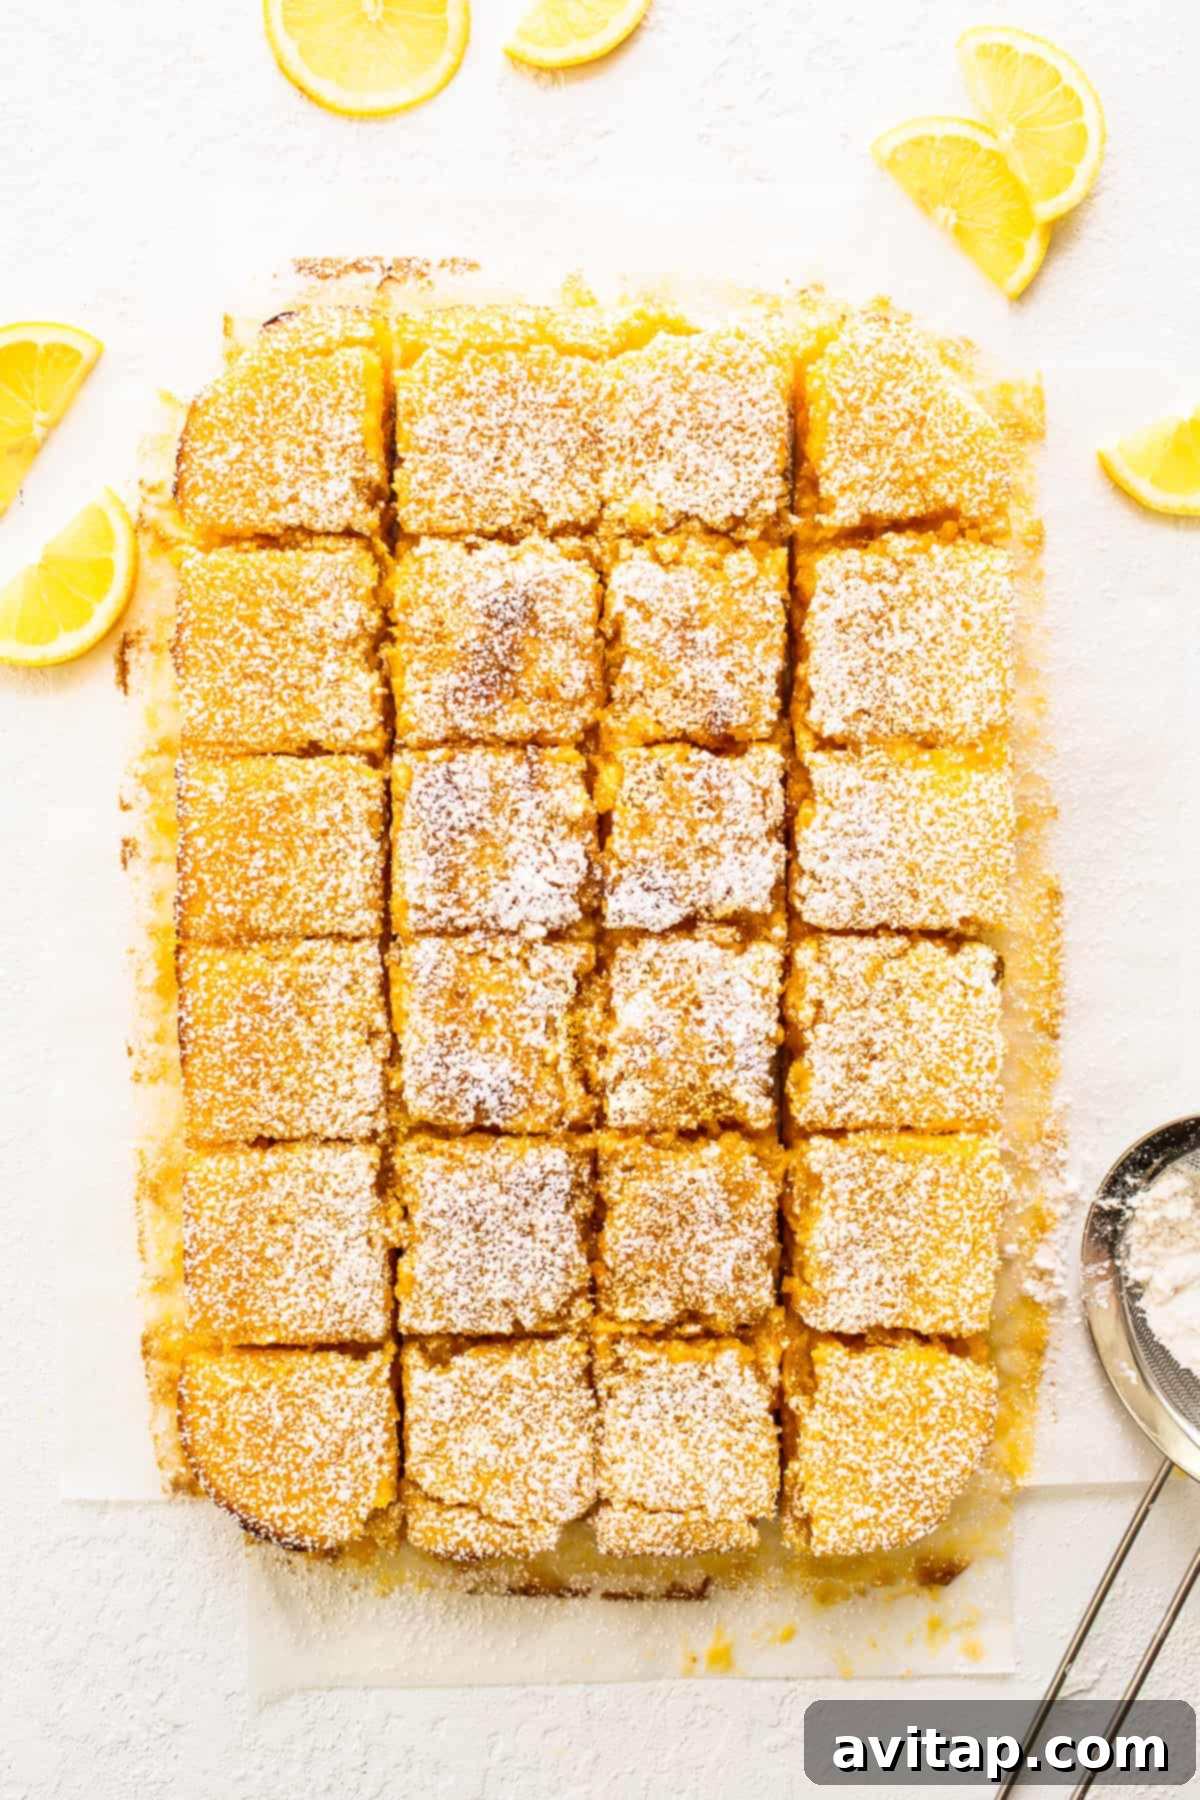
These elegant **lemon squares** are not just desserts; they are an experience. They are inherently perfect for sharing, making them an ideal addition to any party, barbecue, family gathering, or potluck. Expect your guests to rave about their exquisite balance of flavors and inevitably return for more. The real question for fellow dessert enthusiasts is: do you prefer to serve your **homemade lemon bars** with a dollop of fresh, airy whipped cream or a delicate dusting of powdered sugar, just like we do?
Why You’ll Absolutely Adore These Easy Lemon Bars!
Perfect for Sharing: These bars are inherently designed for gatherings. Their easy-to-cut square shape makes them simple to portion and serve to a crowd, ensuring everyone gets a taste of their bright, zesty goodness.
Slightly Sweet, Perfectly Tart: Achieving the ideal balance between sweetness and the characteristic tang of lemon is key. Our recipe hits that sweet spot, offering a refreshing citrus punch without being overly sour or cloyingly sweet. It’s a harmonious flavor profile that appeals to all palates.
A Classic Made Effortlessly Easy: While **lemon bars** might seem intimidating, this recipe simplifies the process without compromising on taste or texture. With straightforward steps and common ingredients, even novice bakers can achieve bakery-quality results. It’s a timeless dessert, made accessible for your home kitchen.
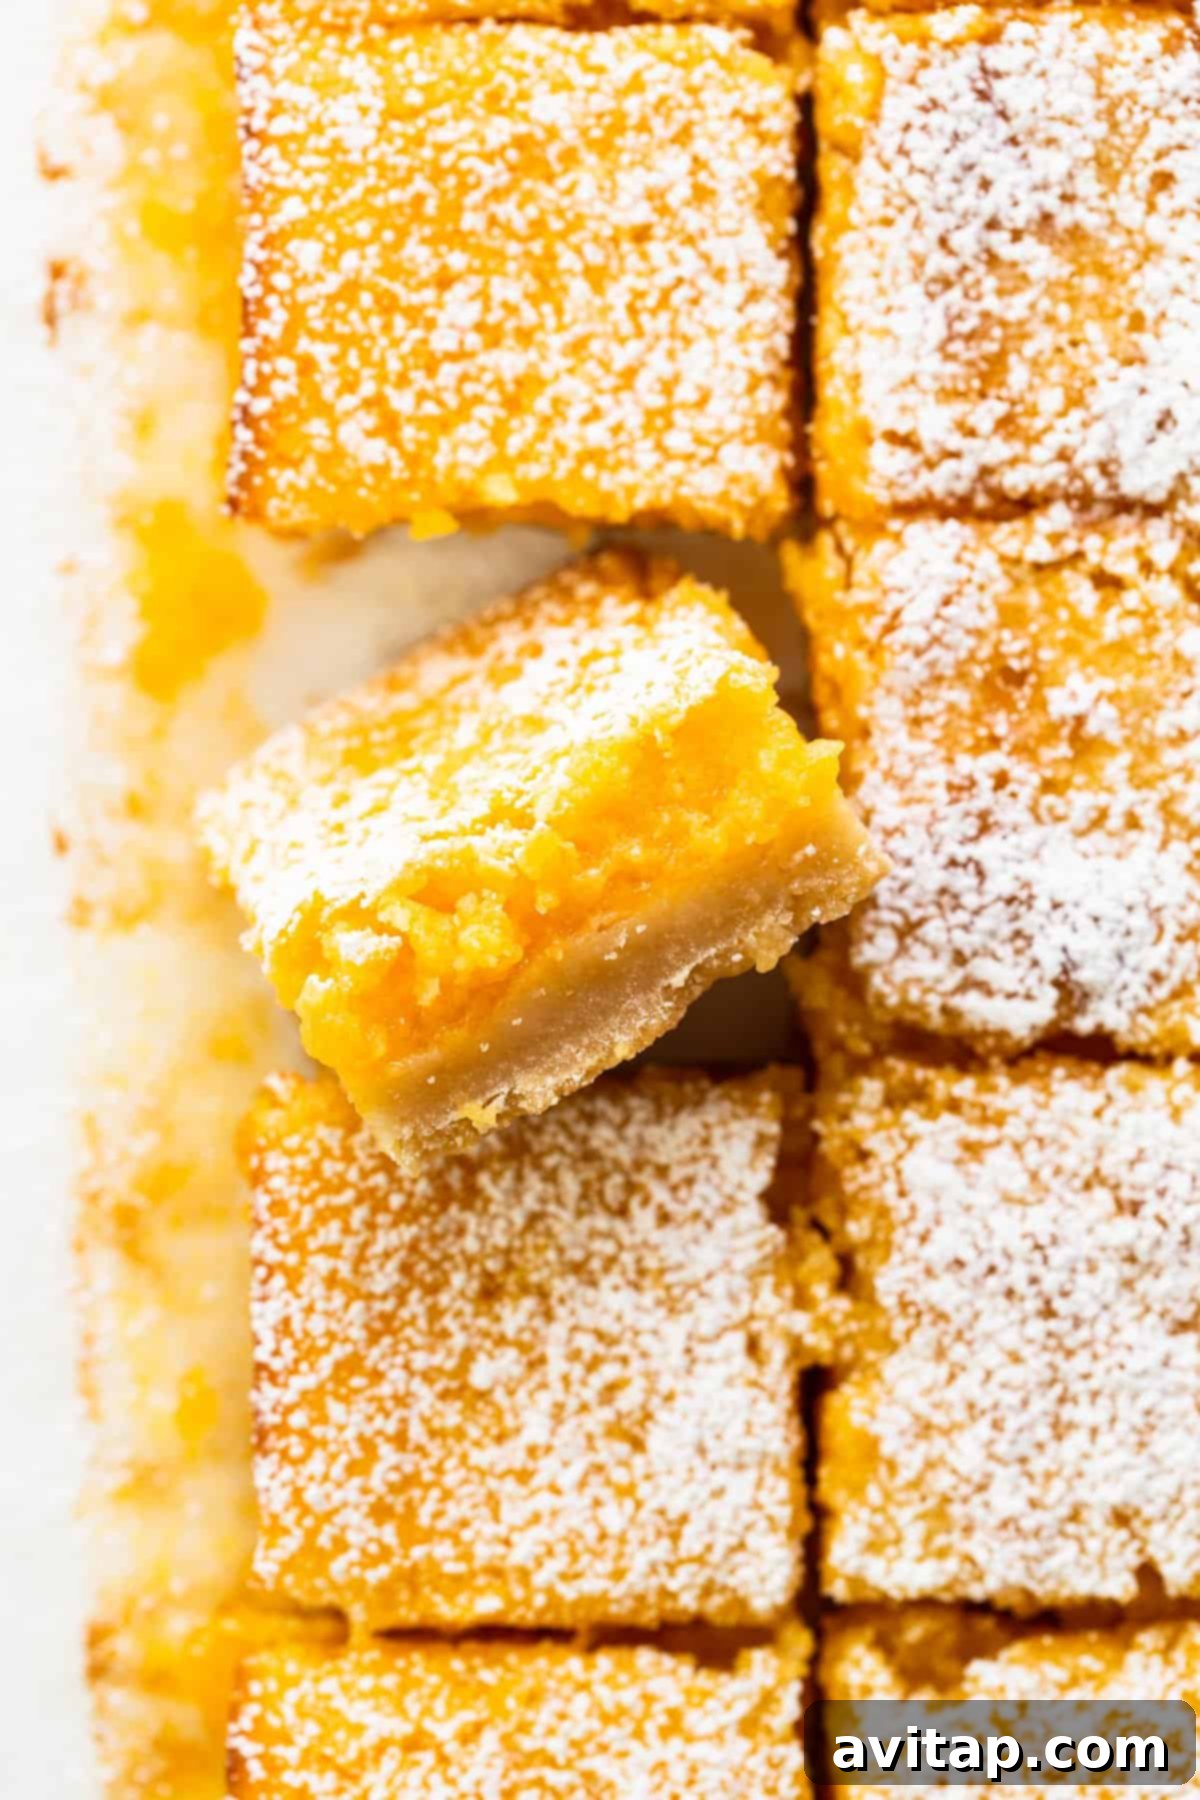
Incredible Texture Contrast: The magic of lemon bars lies in the delightful interplay of textures – the crisp, crumbly shortbread crust perfectly complements the silky, jiggly lemon curd. Each bite offers a satisfying crunch followed by a smooth, melt-in-your-mouth sensation.
Visually Appealing: With their bright yellow filling and dusting of powdered sugar, lemon bars are as beautiful to look at as they are delicious to eat. They add a pop of color and elegance to any dessert spread, making them a fantastic choice for special occasions.
Step-by-Step Guide: How to Make the Best Classic Lemon Bars
Creating these delightful **lemon squares** is a two-part process, beginning with the foundational crust and culminating in the luscious lemon curd. Follow these detailed steps to achieve perfect results every time.
Crafting the Perfect Buttery Shortbread Crust
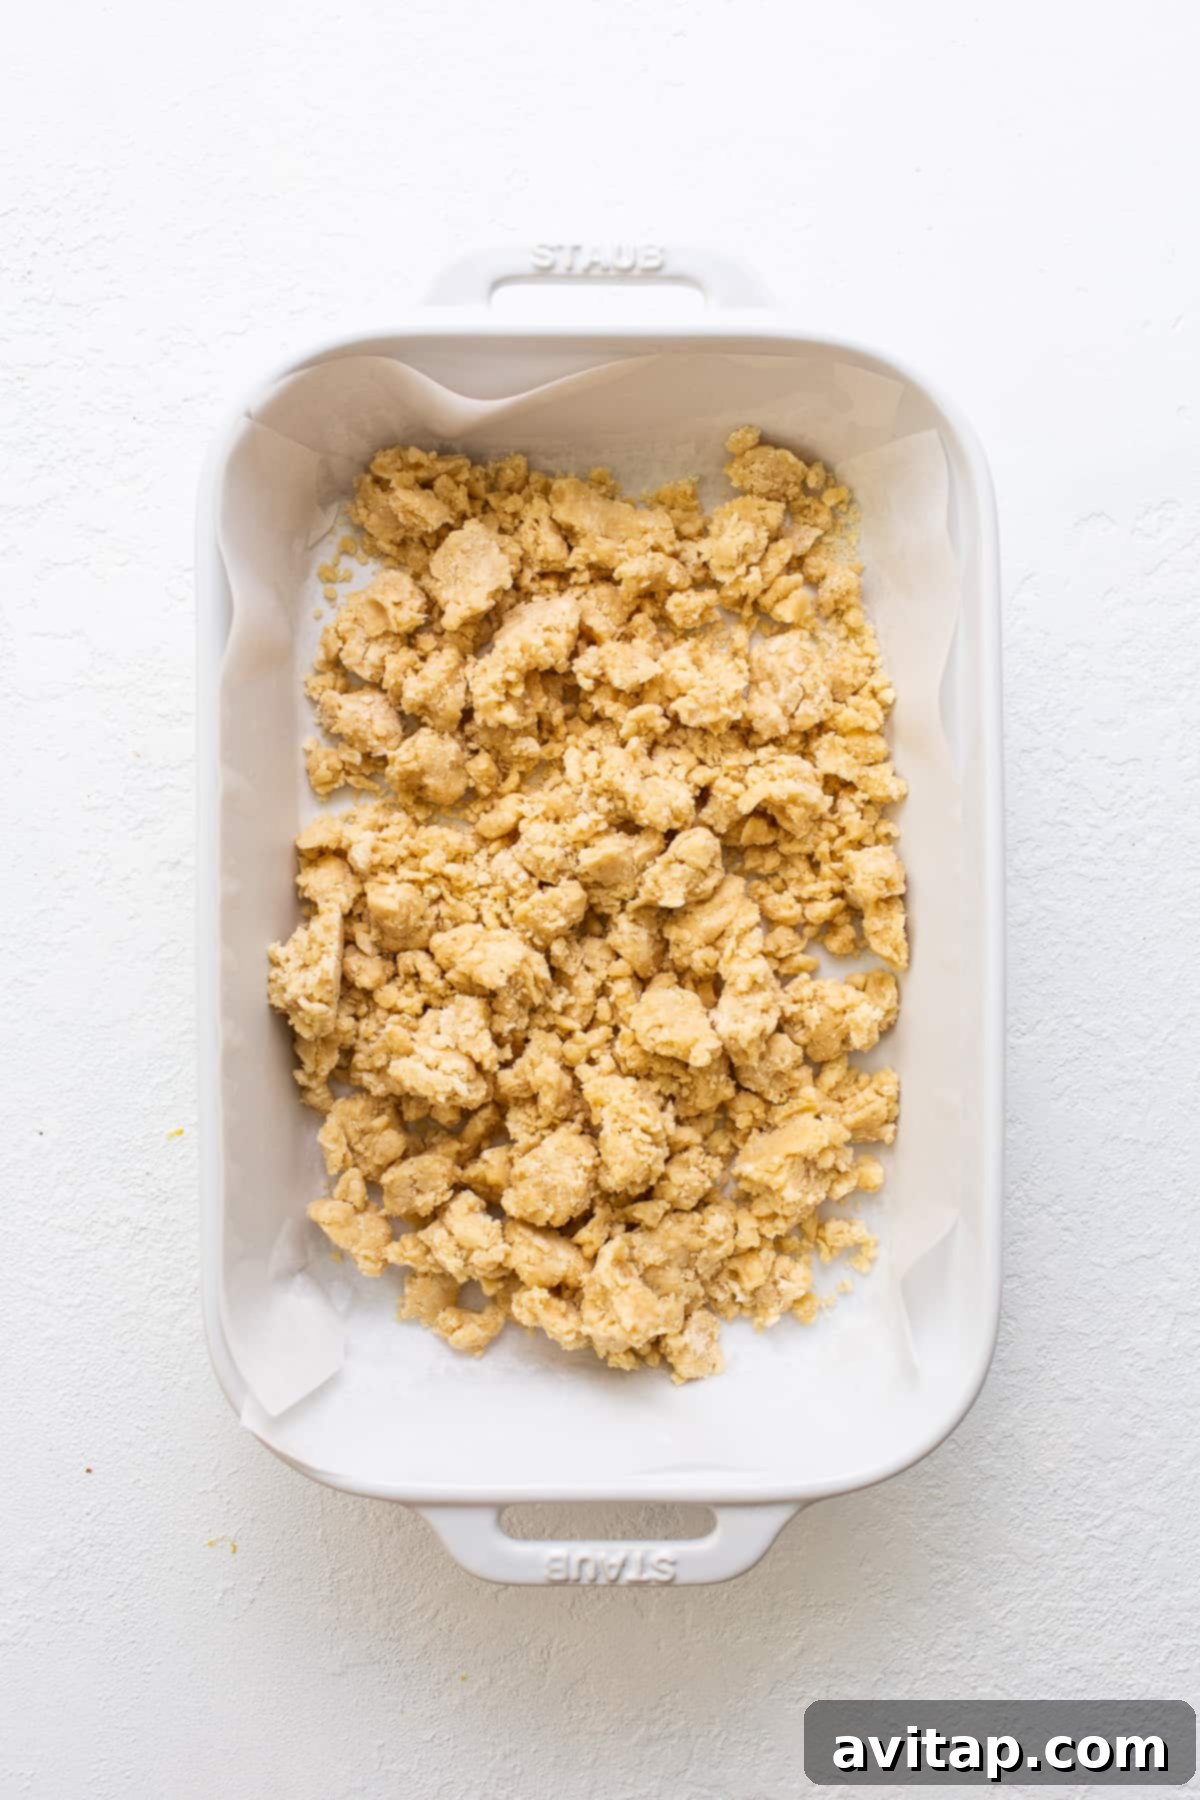
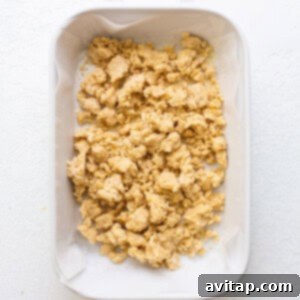
Every exceptional **lemon bar** starts with an equally exceptional crust. Our recipe features a buttery, slightly sweet shortbread base that provides the ideal counterpoint to the tart lemon filling. When you’re mixing the crust, it might appear a bit dry and crumbly, almost as if it needs more liquid. However, resist the urge to add more! This consistency is intentional. Once baked, and especially after absorbing some moisture from the curd during the second baking, it will transform into a tender yet firm foundation for your bars.
- Prepare Your Pan & Preheat Oven: First, preheat your oven to 350ºF (175ºC). Lightly grease a 9×13-inch baking dish and line it with parchment paper, leaving an overhang on the sides. This parchment paper “sling” makes for effortless removal of the cooled bars later on.
- Combine Dry Ingredients: In a large mixing bowl, meticulously whisk together the all-purpose flour, a pinch of salt, and powdered sugar until they are thoroughly combined. This ensures even distribution of flavors throughout the crust.
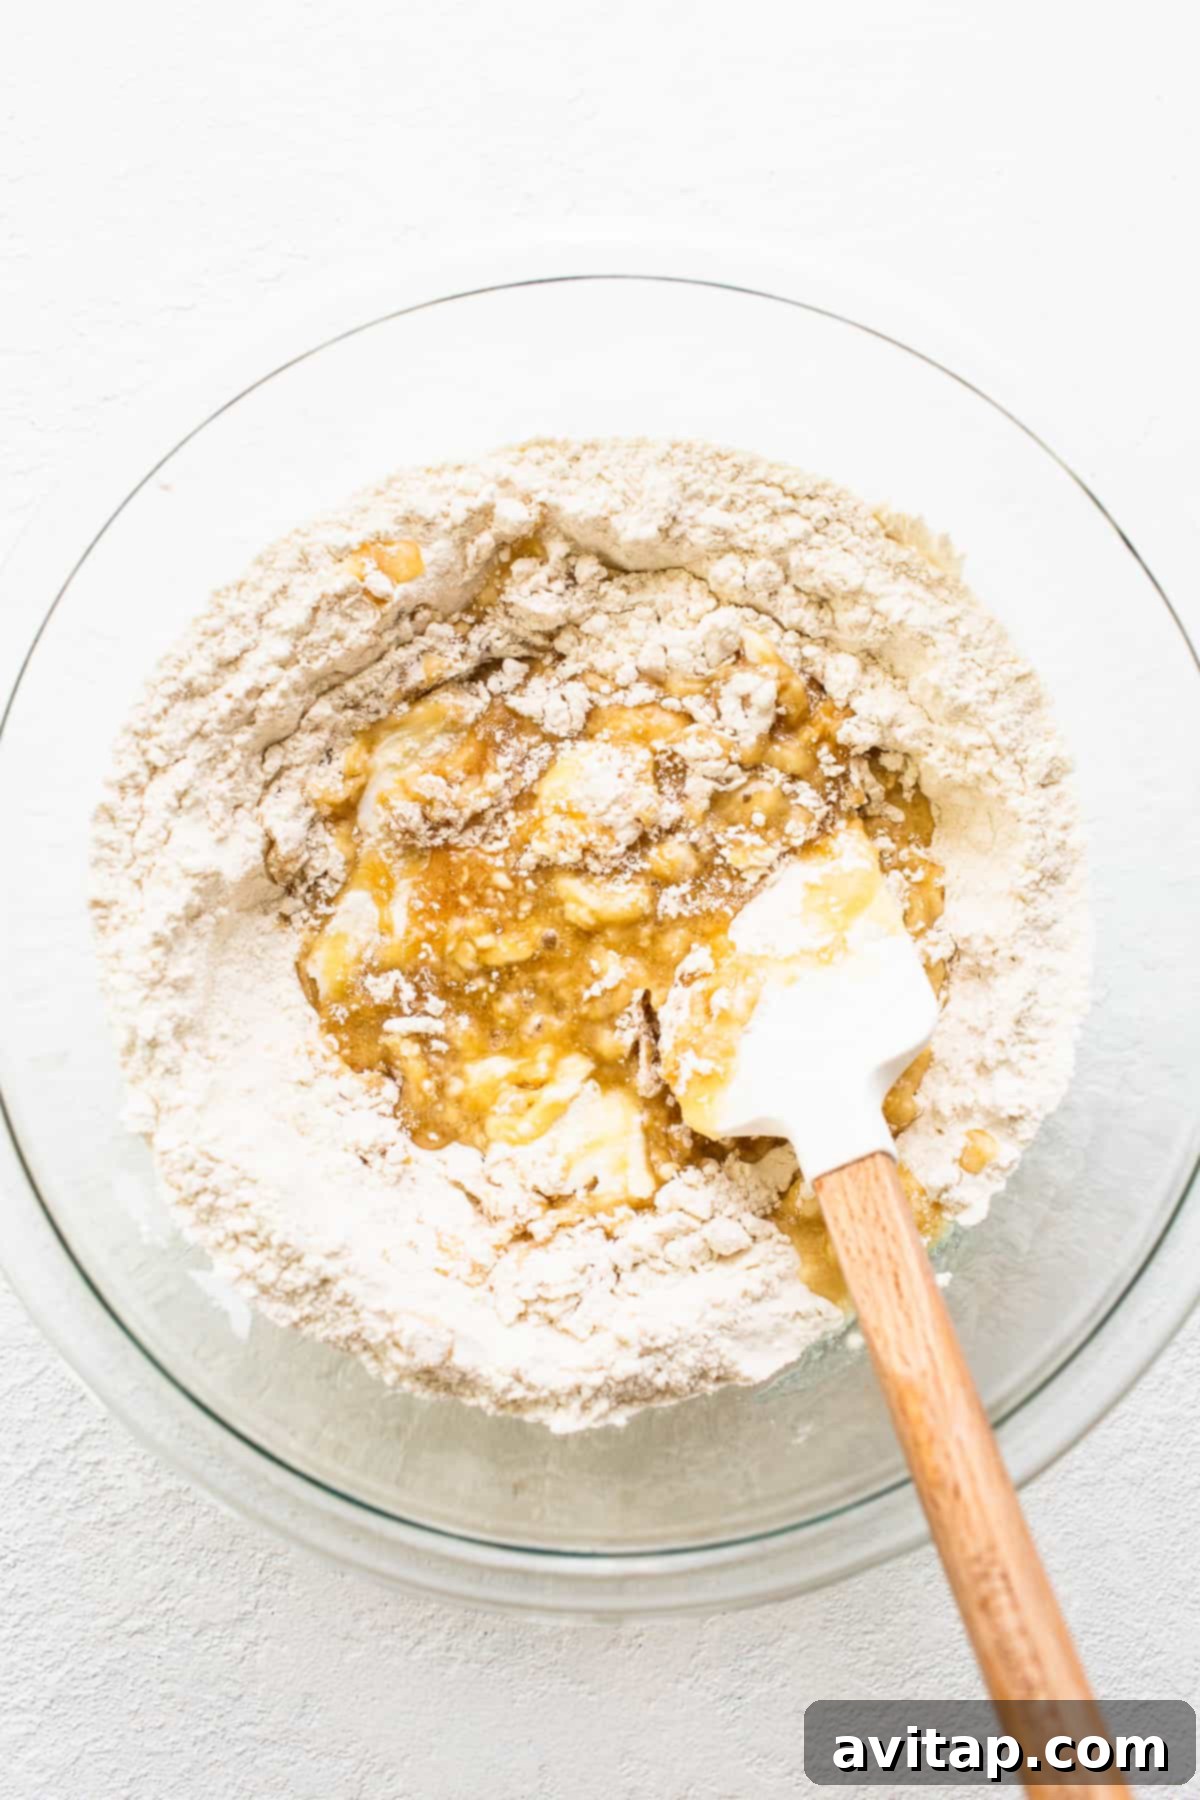
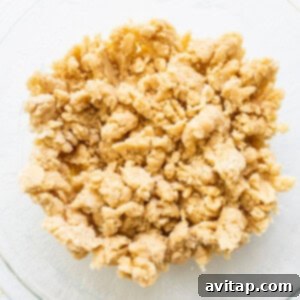
- Incorporate Wet Ingredients: Gradually add the melted unsalted butter, creamy plain Greek yogurt, and rich maple syrup to the dry mixture. Use a fork or a pastry blender to mix these ingredients until a coarse, crumbly dough forms. The texture should resemble wet sand, clumping slightly when pressed.
- Transfer & Firmly Press: Carefully transfer the prepared dough into your greased and parchment-lined 9×13-inch baking dish. Using the bottom of a flat-bottomed glass, your fingers, or a spatula, firmly and evenly press the dough across the entire bottom of the pan. It’s crucial to create a compact, solid layer for a sturdy crust.
- Blind Bake the Crust: Place the baking dish with the pressed crust into the preheated oven and bake for 20 minutes. This initial bake, known as blind baking, helps the crust crisp up and prevents it from becoming soggy when the wet filling is added.
- Pierce for Perfection: After 20 minutes, carefully remove the partially baked crust from the oven. Using a fork, gently pierce the entire surface of the crust multiple times. This step helps to prevent bubbling and ensures that the crust absorbs just the right amount of moisture from the lemon curd, leading to a perfectly set bar.
Creating the Irresistible Tangy Lemon Curd Filling
The heart of any truly great **lemon bar recipe** is its bright, tangy, and silky smooth lemon curd filling. This layer provides the signature citrus punch that makes these bars so refreshing and addictive. Precision in mixing and baking is key to achieving that perfect jiggle and set.
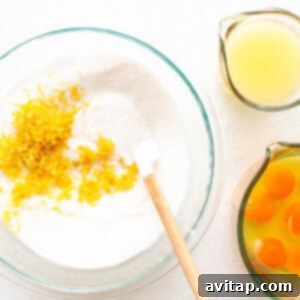
- Prepare Dry Ingredients for Filling: While your crust is blind baking, prepare the filling. In another large bowl, combine the granulated sugar, all-purpose flour, baking powder, and aromatic lemon zest. Whisk these dry ingredients thoroughly to ensure the flour and baking powder are evenly distributed, which prevents lumps and ensures proper setting.
- Add Wet Ingredients: To the dry mixture, add the freshly squeezed lemon juice and the whisked eggs (including the extra egg yolks for richness and color). Mix gently but thoroughly until all ingredients are just combined. Be careful not to overmix, which can introduce too much air.
- Pour Over Crust: Once the crust is out of the oven and has been pierced, immediately and carefully pour the lemon curd filling evenly over the warm, prepared crust. The slight warmth of the crust helps the filling set beautifully.
- Bake to Perfection: Return the baking dish to the preheated 350ºF (175ºC) oven and bake for an additional 20-25 minutes. The lemon bars are done when the edges are lightly golden and the center has a slight, delicate jiggle. It should not be completely firm, as it will continue to set as it cools.
- Crucial Cooling & Chilling: This step is non-negotiable for perfectly set **lemon bars**. First, let the freshly baked bars cool completely at room temperature for 1-2 hours. Then, transfer them to the refrigerator and chill for at least 2 hours, or ideally, overnight. Proper chilling allows the lemon curd to firm up to its ideal consistency, making for clean, beautiful slices.
Explore More Delicious Desserts!
Brown Butter Chai Rice Krispie Treats
Pumpkin Tiramisu (High-Protein Fall Dessert!)
Pumpkin Spice Protein Puppy Chow
Peanut Butter Chocolate Chip Protein Cinnamon Rolls (Small Batch)
Easy Homemade Cottage Cheese Donuts
Expert Tips for Flawless Lemon Bars Every Time
Achieving the perfect **classic lemon bar** is all about a few key techniques. Keep these expert tips in mind to ensure your homemade lemon squares turn out beautifully, with the ideal texture and vibrant flavor.
Crust Consistency is Key: Don’t be alarmed if your crust mixture seems too dry or crumbly after combining all the ingredients. This is the intended consistency. As you firmly press it into the baking dish, it will come together. More importantly, during the second baking process with the lemon curd on top, the crust will absorb moisture, resulting in a wonderfully tender yet sturdy base that won’t become soggy.
Embrace the Jiggle: When baking the lemon curd, resist the urge to overbake. The bars are perfectly done when the edges are lightly set and the center still has a slight, delicate jiggle, much like a perfectly set custard or cheesecake. A completely firm lemon curd, while still edible, will be denser and chewier than the intended light, silky texture. The residual heat will continue to set the curd as it cools.
Patience is a Virtue: It is absolutely essential to allow the **lemon bars** to cool completely at room temperature, then chill them in the refrigerator for the recommended time (at least 2 hours, ideally longer). This extended resting period allows the lemon curd to fully set and firm up. Attempting to cut or serve the bars before they are properly chilled will result in a messy, unset filling, diminishing the delightful experience of a perfectly structured bar.
Fresh Lemon is Non-Negotiable: For the most vibrant and authentic flavor, always use fresh lemon juice and zest. Bottled lemon juice simply won’t yield the same bright, tangy results. The zest contains essential oils that contribute significantly to the overall lemon aroma and taste.
Achieve Clean Cuts: Once fully chilled, use a sharp, warm knife to cut your lemon bars. For extra clean slices, wipe the knife clean with a damp cloth and warm it slightly under hot water between each cut. This prevents the curd from sticking and tearing, ensuring beautiful, defined squares or triangles.
Storing Your Delicious Lemon Bars
Proper storage is essential to maintain the freshness and delightful texture of your **classic lemon bars**. These bars are best enjoyed within a few days of baking, but can last longer with correct preservation methods.
Store any leftover lemon bars in an airtight container in the refrigerator for up to 3 days. We highly recommend simply covering the baking dish you used with plastic wrap or foil if you have bars remaining. This helps to keep them fresh and prevents them from drying out or absorbing other flavors from the fridge. For optimal flavor and texture, serve them chilled directly from the refrigerator.
Freezing Lemon Bars: Yes, you can freeze lemon bars! Once the bars are completely cooled and set, cut them into individual squares. Arrange the squares in a single layer on a baking sheet and freeze until solid (about 1-2 hours). Once frozen, transfer the individual bars to an airtight, freezer-safe container, separating layers with parchment paper to prevent sticking. They can be stored in the freezer for up to 2-3 months. To serve, simply thaw them in the refrigerator for a few hours or at room temperature for about 30-60 minutes. Dust with powdered sugar just before serving.
More of our Favorite…
Irresistible Lemon Recipes to Brighten Your Day
If you’re a fan of the bright and zesty flavor of lemon, you’ll love exploring these other delightful lemon-infused creations from our kitchen:
- Fluffy Lemon Ricotta Pancakes: Start your day with a burst of citrus and a wonderfully light texture.
- Moist Lemon Poppy Seed Muffins: A classic combination, perfect for breakfast or an afternoon snack.
- Delicious Lemon Poppy Seed Bread: This loaf cake is incredibly moist and packed with lemon flavor and delightful crunch.
- Refreshing Lemon Drop Martini: For those who enjoy a zesty cocktail, this classic is a must-try.
- Lemon Blueberry Scones: A delightful pairing of sweet blueberries and tart lemon in a flaky scone.
★
★
★
★
Classic Lemon Bars
Lee Funke
20 minutes
45 minutes
1 hour 5 minutes
24 servings
Print Recipe
Ingredients
For the Buttery Shortbread Crust:
- 2.5 cups all-purpose flour
- ½ teaspoon salt
- ⅓ cup powdered sugar
- ½ cup unsalted butter, melted
- ¼ cup plain Greek yogurt, we recommend 5% fat for richness
- ⅓ cup maple syrup
For the Tangy Lemon Curd Filling:
- 3 cups granulated sugar
- ½ cup all-purpose flour
- 1 teaspoon baking powder
- 3 tablespoons fresh lemon zest
- 1 cup fresh lemon juice, approximately 8 medium lemons
- 6 extra-large eggs plus 2 large egg yolks
Instructions
Preparing the Buttery Shortbread Crust
-
Preheat your oven to 350ºF (175ºC). Prepare a 9×13-inch ceramic baking dish by lightly coating it with cooking spray, then lining it with parchment paper, allowing some overhang on the longer sides. This will create a “sling” to easily lift the cooled bars out of the pan.
-
In a large mixing bowl, combine the flour, salt, and powdered sugar. Whisk these dry ingredients thoroughly until well combined.
-
Next, add the melted butter, Greek yogurt, and maple syrup to the dry flour mixture. Stir vigorously with a sturdy spoon or a fork until you achieve a very coarse, crumbly mixture. It should hold together when pressed, but still look like large crumbs.

-
Carefully pour the crumbly dough into the prepared baking dish. Using the back of a measuring cup, your hands, or a flat spatula, firmly press the dough down to create an even, solid crust across the entire bottom of the pan. Ensure it’s compact and level.
-
Bake the crust in the preheated oven for 20 minutes. After 20 minutes, remove the crust from the oven and, using a fork, carefully pierce it all over. This prevents air bubbles and helps the filling adhere.
Assembling and Baking the Lemon Curd Filling
-
While the crust is baking, begin preparing the lemon curd filling. In a separate large bowl, add the granulated sugar, flour, baking powder, and fresh lemon zest. Whisk these ingredients together until fully combined and no lumps of flour remain.
-
Next, pour the fresh lemon juice and the whisked eggs (including the extra egg yolks) into the sugar mixture. Stir everything together gently until just combined and smooth. Avoid overmixing to prevent excess air incorporation. Immediately pour this vibrant lemon filling evenly over the warm, pierced crust in the baking dish.
-
Return the lemon bars to the 350ºF (175ºC) oven and bake for another 20-25 minutes. The bars are ready when the edges are set and a very slight jiggle remains in the center. Do not overbake. Let the baked lemon bars cool completely at room temperature for 1-2 hours. After cooling, transfer them to the refrigerator and chill for at least 2 hours, or ideally, overnight, to allow the curd to fully set. Once thoroughly chilled, the bars can be easily cut into perfect squares or elegant triangles.
Helpful Tips & Substitutions
- For a slightly different flavor profile in the crust, you can substitute honey for maple syrup. Both options provide a delicious touch of sweetness.
- As mentioned, when you first mix the crust ingredients, the mixture will appear quite dry and crumbly. This is perfectly normal and desired. When you press it firmly into the baking dish, it will compact. It will absorb moisture during the second bake, resulting in a perfectly tender shortbread.
- Be mindful during the second baking cycle for the lemon curd. You’re aiming for a delicate jiggle in the center when you remove the bars from the oven, not a completely firm set. This ensures a wonderfully smooth and creamy curd texture. An overly firm curd can become chewy.
- Allowing the bars to cool completely at room temperature and then chilling them thoroughly in the refrigerator is a critical step. Skipping this will result in a runny, unset filling, making them difficult to slice and enjoy. Patience is key for perfectly structured **lemon bars**.
- Use fresh lemons! The flavor difference between fresh lemon juice and zest versus bottled alternatives is immense and makes all the difference in a **classic lemon bar recipe**.
Nutrition Facts (per serving)
Calories:
231 kcal
,
Carbohydrates:
43 g
,
Protein:
4 g
,
Fat:
6 g
,
Fiber:
1 g
,
Sugar:
30 g
Nutrition information is automatically calculated and should only be used as an approximation. It may vary based on specific ingredients and brands used.
We’d Love to Hear From You!
Love this **classic lemon bars recipe**? Don’t hesitate to leave a comment or a star rating below!
We absolutely adore seeing your culinary creations. Don’t forget to tag your posts on social media with the hashtag #fitfoodiefinds – we’d love to see what you’re up to in your kitchen!
Photography: All beautiful photos featured in this post are expertly captured by Ashley McGlaughlin from The Edible Perspective.