
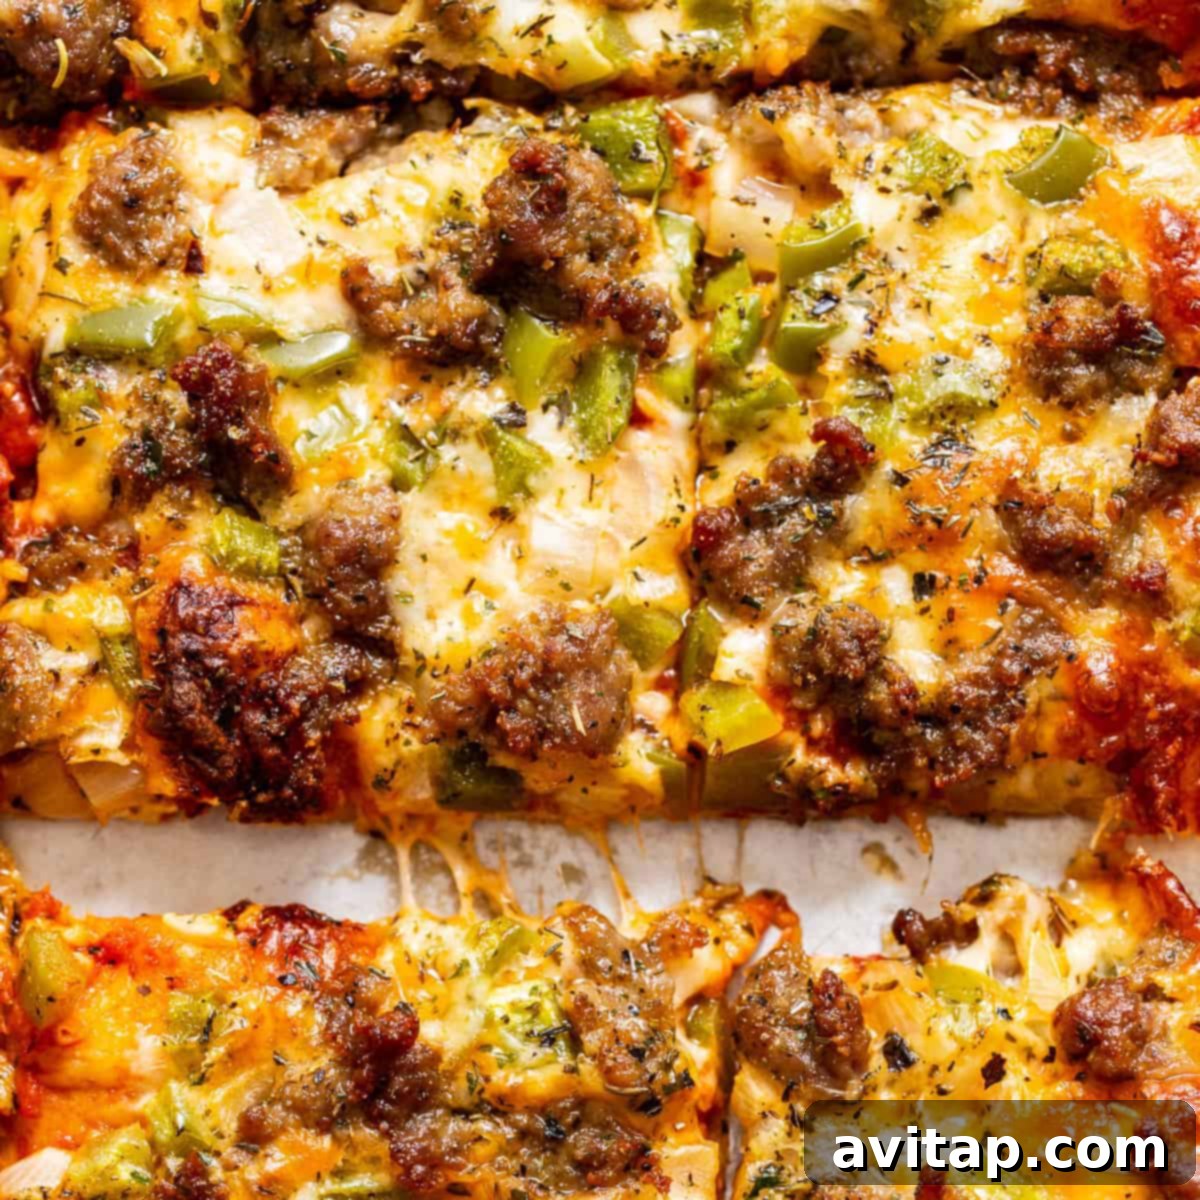
Some recipes are more than just a list of ingredients; they’re woven into the very fabric of family life, creating lasting memories. For me, that recipe is undoubtedly my Grandma Marie’s homemade pizza dough. Growing up, living states away meant our visits were cherished events, and without fail, Grandma Marie would greet us with her incredible, made-from-scratch pizza. The moment we stepped through her door, the warm, comforting aroma of baking dough and bubbling cheese instantly transported me to a place of pure joy and familial love.
I have vivid, heartwarming memories of helping her in the kitchen, my small hands sticky with dough as we mixed and kneaded. The most challenging part, I recall, was the agonizingly patient wait for the dough to rise – a miraculous transformation I found endlessly fascinating. What truly set Grandma Marie’s pizza apart, beyond its sheer deliciousness and endless customization possibilities, was its humble simplicity. No need for fancy gadgets or complicated techniques; just a reliable baking sheet and a recipe perfected over generations.
Grandma Marie’s Legacy: Your Guide to Foolproof Homemade Pizza Dough
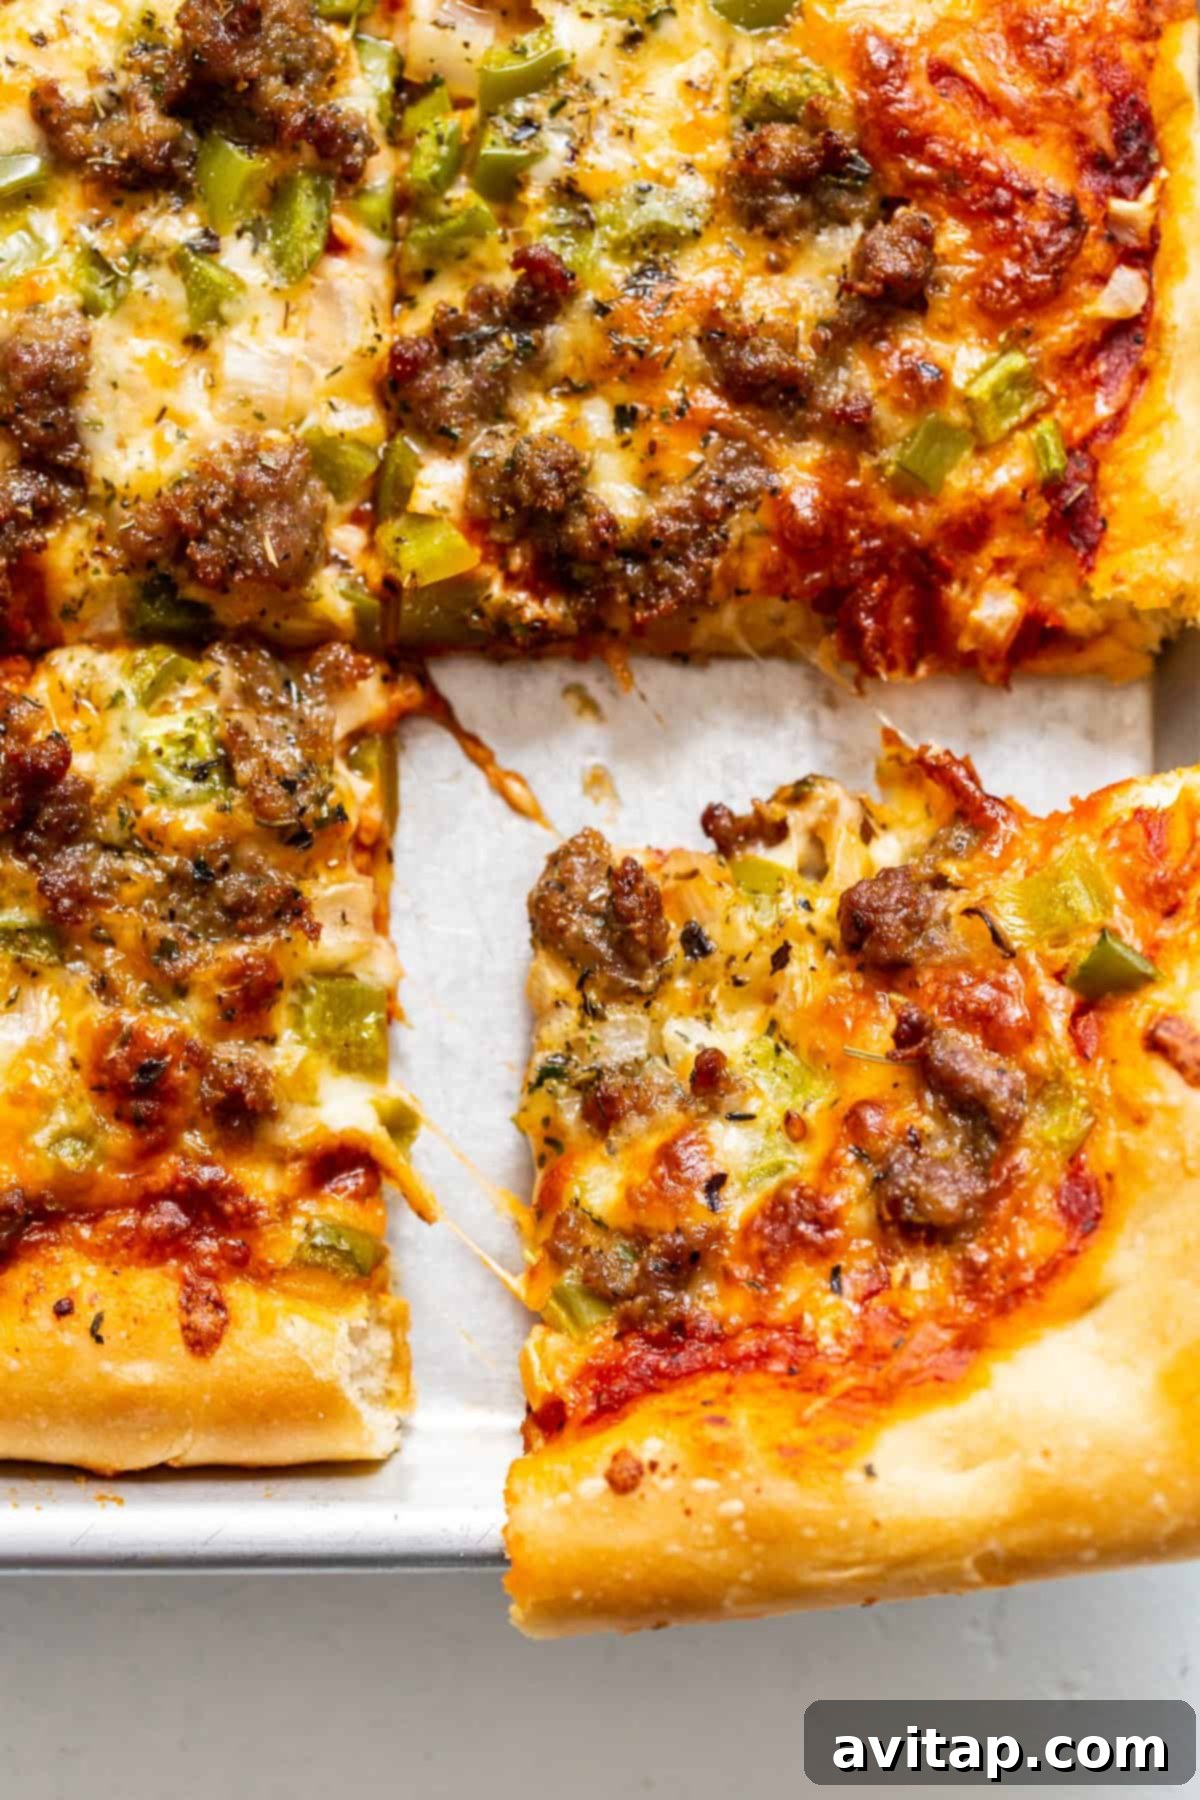
Today, I’m thrilled to share with you the cherished secret to my Grandma Marie’s pizza dough – a recipe that has been lovingly passed down through our family for generations. This isn’t just any pizza dough; it’s a truly foolproof guide designed to help you create two magnificent sheet pan pizzas, ideal for sharing with your entire family or a lively group of friends. Imagine the joy of serving a homemade pizza, knowing it carries the essence of Italian-American culinary heritage right into your home.
Growing up, we lived a few hours from my grandparents, making every visit a special occasion. My grandma Marie, a proud first-generation Italian American, inherited her profound knowledge of pizza making from her own mother, Antoniette. Her techniques were refreshingly basic and intuitive, which was a huge advantage when anywhere from four to ten excited grandchildren would descend upon her kitchen, eager to “assist” in the pizza-making process. I still vividly recall the delightful chaos, the flour dusting every surface, and Grandma Marie’s beloved vintage bowl, strategically placed in a warm corner for the dough to work its magic and rise.
One of the most endearing qualities about my grandma was her charming disregard for precise measurements. She’d often proclaim, “A little bit-a this and a little bit-a that,” accompanied by expressive hand gestures. Yet, despite her seemingly freehand approach, her pizzas were always consistently perfect, a testament to her innate culinary wisdom. Now, I’m excited to translate her instinctive genius into a clear, easy-to-follow recipe, ensuring that you too can achieve her legendary results.
In this comprehensive post, you’ll not only discover all of Grandma Marie’s time-honored secrets for making impeccably delicious pizza dough, but also a wealth of practical tips and tricks. We’ll explore how to handle the dough with confidence, offer advice for freezing portions for future convenience, and inspire you with a variety of mouth-watering topping ideas to transform your homemade pizzas into culinary masterpieces. Get ready to embark on a delicious journey into the heart of family tradition!
Essential Ingredients for Grandma Marie’s Perfect Pizza Dough
Crafting this incredible pizza dough requires just six fundamental ingredients, each playing a vital role in achieving that signature flavor and perfectly chewy-crisp texture. These are likely staples you already have in your pantry, making this recipe accessible and convenient:
- Warm Water: This is the crucial element for waking up your yeast. It should be comfortably warm, ideally between 105ºF and 115ºF (40-46ºC). Water that’s too hot will kill the yeast, rendering it inactive, while water that’s too cold won’t allow it to activate properly.
- Active Dry Yeast: The leavening agent that gives your pizza dough its wonderful rise and airy texture. When activated by warm water and sugar, yeast ferments, producing carbon dioxide bubbles that create a light, pliable dough.
- Granulated Sugar: A small amount of sugar acts as immediate fuel for the yeast, helping it to activate quickly and efficiently. It also contributes to the beautiful golden-brown color of your crust and provides a subtle balance to the savory toppings.
- All-Purpose Flour: For Grandma Marie’s classic recipe, all-purpose flour delivers the ideal balance of tenderness and structure. While some recipes might call for bread flour or a mix, the simplicity and consistent results of all-purpose flour are truly unmatched for this particular dough.
- Salt: A non-negotiable ingredient! Don’t be tempted to reduce the salt, as it’s vital for enhancing the overall flavor of the dough, regulating yeast activity, and strengthening the gluten structure, which contributes to the dough’s elasticity.
- Olive Oil: You’ll need a generous ½ cup of good quality olive oil. It imparts a delicious, authentic flavor to the dough, contributes to a tender interior, and helps create that desirable crispy exterior when baked. It also adds richness and pliability.
Indispensable Tools for Homemade Pizza Success
Having the right equipment at your fingertips can significantly enhance your pizza-making experience, making each step smoother and more enjoyable. Here are the essential tools you’ll want to have ready:
- Two Baking Sheets: Since this recipe generously yields two large pizzas, two standard baking sheets are essential for shaping, proofing, and baking both simultaneously. Lightly greasing them will ensure your crust doesn’t stick.
- Rolling Pin: A good rolling pin is crucial for evenly stretching and shaping your dough to fit the baking sheets, helping you achieve a consistent crust thickness.
- Large Mixing Bowl: You’ll need a spacious bowl not only for combining your initial ingredients but also, and most importantly, for allowing your pizza dough to proof and double in size comfortably.
- Clean Tea Towel: A simple tea towel serves as a perfect cover for your dough during its rising periods, creating a warm, humid, and draft-free environment that is ideal for yeast activity.
- Pizza Cutter or Sharp Kitchen Shears: For effortlessly slicing your perfectly baked homemade pizza into neat, manageable servings. A sharp tool ensures clean cuts through both crust and toppings.

Grandma Marie’s Foolproof Homemade Pizza Dough: Step-by-Step Guide
Creating delicious homemade pizza from scratch is a rewarding experience, and with Grandma Marie’s time-tested recipe, it’s also incredibly simple. Follow these steps for two amazing sheet pan pizzas that will delight everyone at your table:
- Activate the Yeast: In your large mixing bowl, combine the warm water (ensure it’s between 105-115ºF), the active dry yeast, granulated sugar, and 1 cup of all-purpose flour. Whisk these ingredients together thoroughly until they are well incorporated. Let this mixture rest for 5-10 minutes. This resting period allows the yeast to activate; you’ll know it’s ready when a foamy, bubbly layer forms on the surface, indicating the yeast is alive and well.
- Mix the Pizza Dough: To the yeast mixture, add the remaining 4 cups of all-purpose flour, the salt, and the olive oil. Begin mixing with a sturdy wooden spoon or your hands, stirring until a shaggy, somewhat sticky dough starts to form. If the dough feels overly sticky and unmanageable, gradually add the reserved ½ cup of flour, one tablespoon at a time, until the dough comes together. It should be soft and pliable, holding its shape without clinging excessively to your hands or the bowl.
- Knead the Dough: Lightly dust a clean, flat work surface (like a countertop or large cutting board) with flour. Transfer the dough onto this prepared surface. Now, it’s time to knead! Using the heel of your hand, push the dough away from you, then fold it back over itself. Rotate the dough a quarter turn and repeat the push-fold-rotate motion. Continue kneading for 8-10 minutes. The dough will transform from shaggy to smooth, elastic, and springy. If it still feels too sticky, lightly flour your hands or the surface. Once kneaded to perfection, form the dough into a smooth ball.
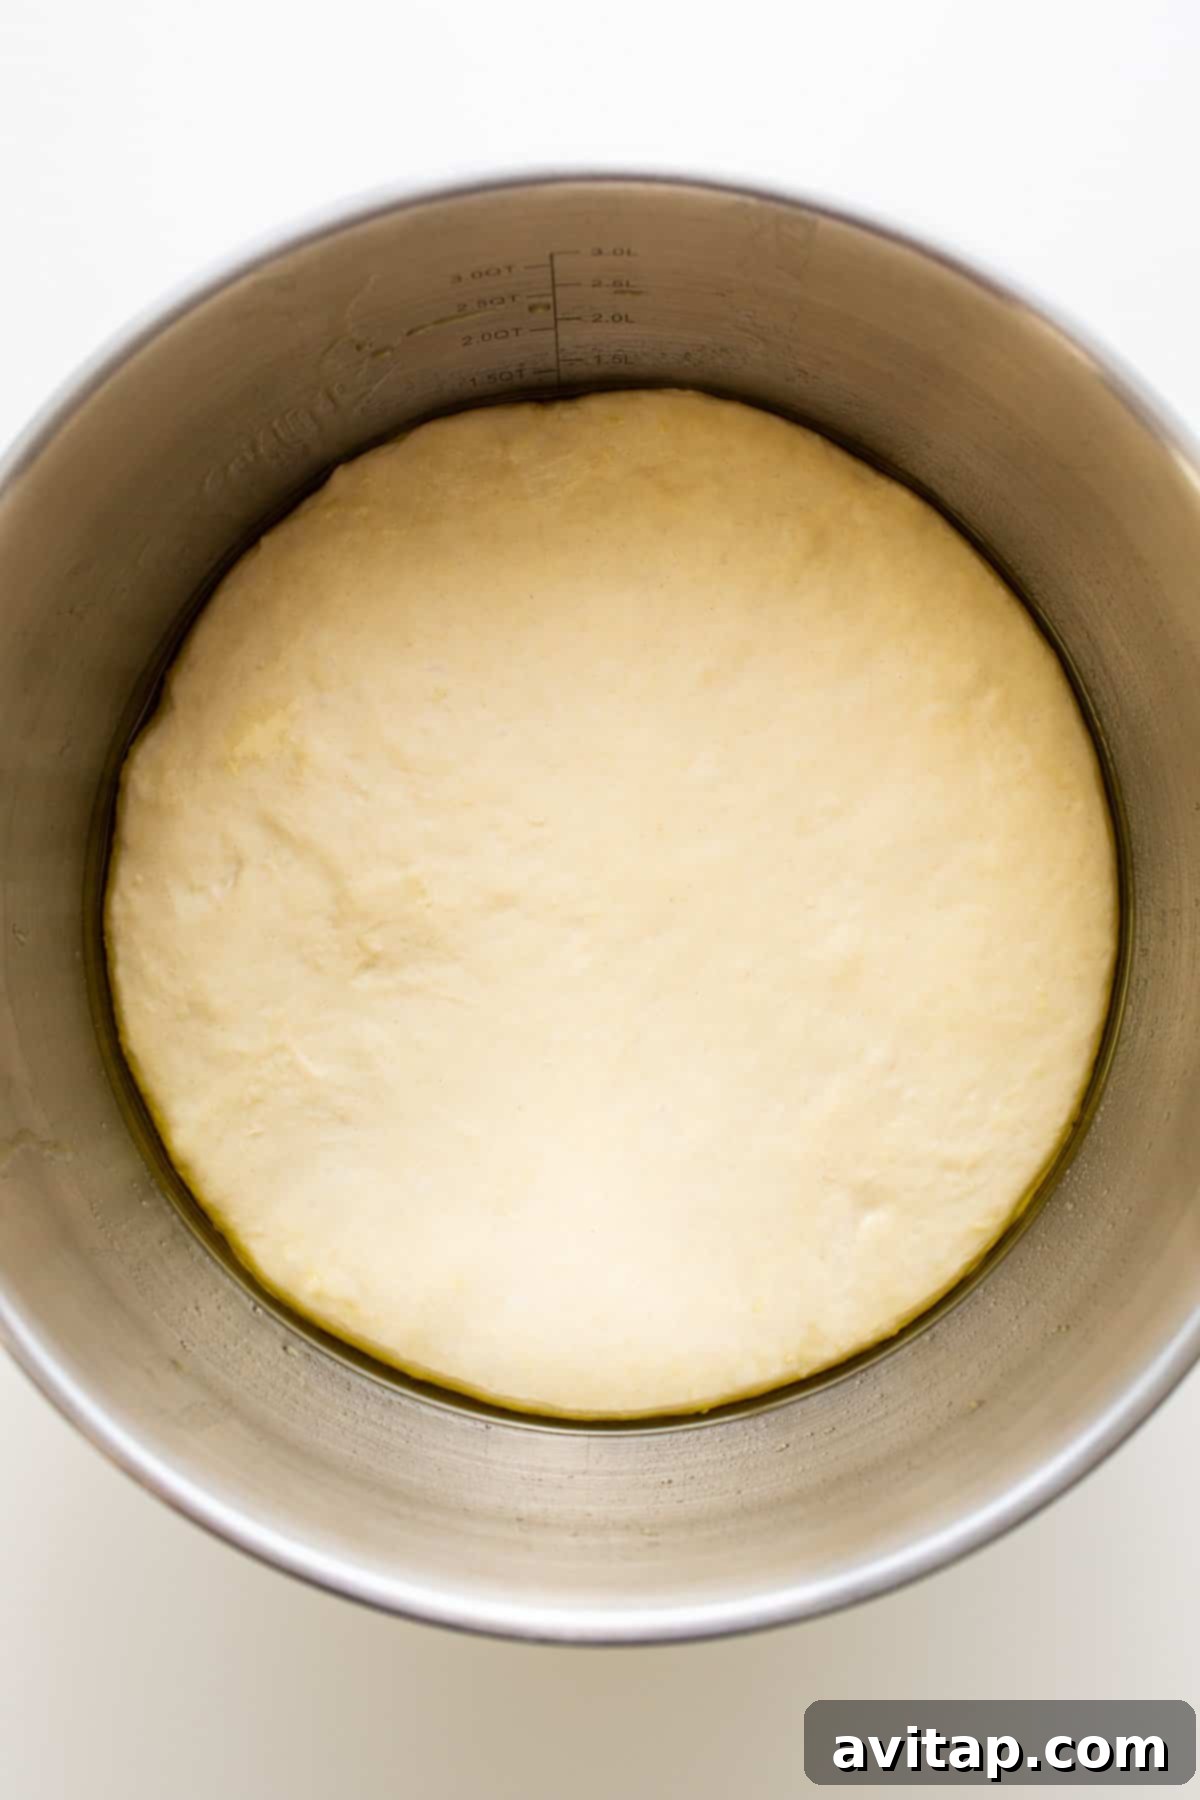
- First Proof of Pizza Dough: Drizzle a generous amount of olive oil into a clean, large bowl, ensuring the bottom and sides are thoroughly coated. Place the kneaded dough ball into the oiled bowl, turning it once to coat all surfaces with oil. This prevents the dough from sticking as it rises. Cover the bowl snugly with a clean tea towel. Find a warm, dark, and draft-free spot in your kitchen for the dough to rise. Allow it to proof for approximately 1 hour. During this crucial time, the dough should noticeably double in size, indicating successful yeast activity.
- Prepare Pans & Divide Dough: While the dough is proofing for the second time (or immediately after the first proof if you’re not doing a second bulk proof), lightly grease two standard baking sheets with olive oil. This is important to prevent sticking and to contribute to a crispy crust. After the first rise, gently punch down the dough to release the accumulated gases. Transfer the dough to a lightly floured surface. Since this recipe makes two pizzas, divide the dough in half using a sharp knife or a dough scraper.
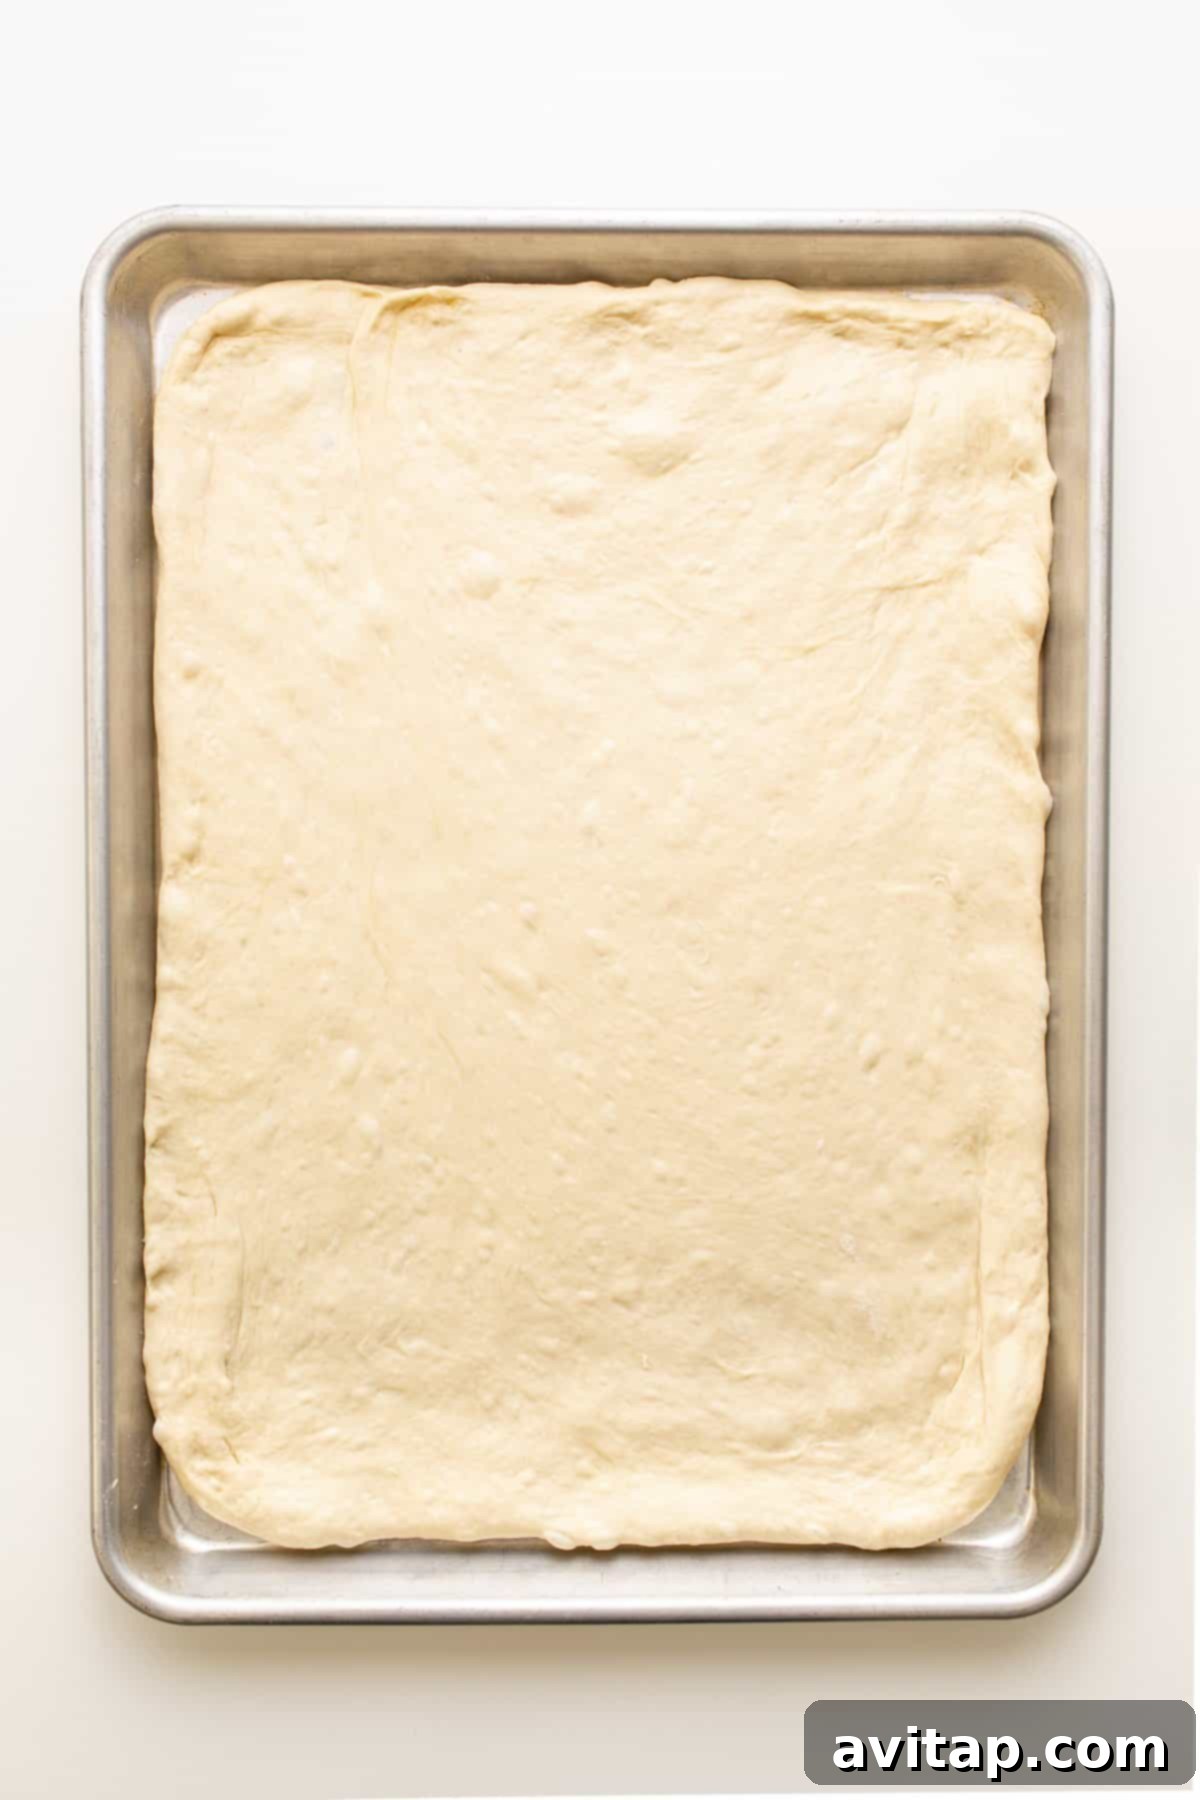
- Roll Out the Dough: Take one half of the dough. Using a rolling pin, carefully roll it out into a rectangular shape that roughly matches the dimensions of one of your baking sheets. Don’t strive for absolute perfection; a slightly rustic shape is part of the homemade charm! Gently transfer the rolled dough onto one of your prepared baking sheets. Carefully stretch and press the dough all the way to the edges of the pan, creating a slight, raised lip for the crust. Repeat this process with the second half of the dough on the other baking sheet.
- Second Proof of Pizza Crust: Once both dough portions are on their respective baking sheets, cover each pan with a clean tea towel. Return them to a warm, dark, and draft-free location for a second proofing period, lasting another 30 minutes to 1 hour. This second rise is vital for developing a wonderfully light, airy, and flavorful crust.
- Crust Preference (Optional): After the second rise, decide on your preferred crust thickness. If you desire a thicker, chewier crust, simply proceed to topping without punching the dough down again. If you prefer a thinner, crisper crust, you can gently punch the dough down once more with your hands to remove some of the air before adding your toppings.
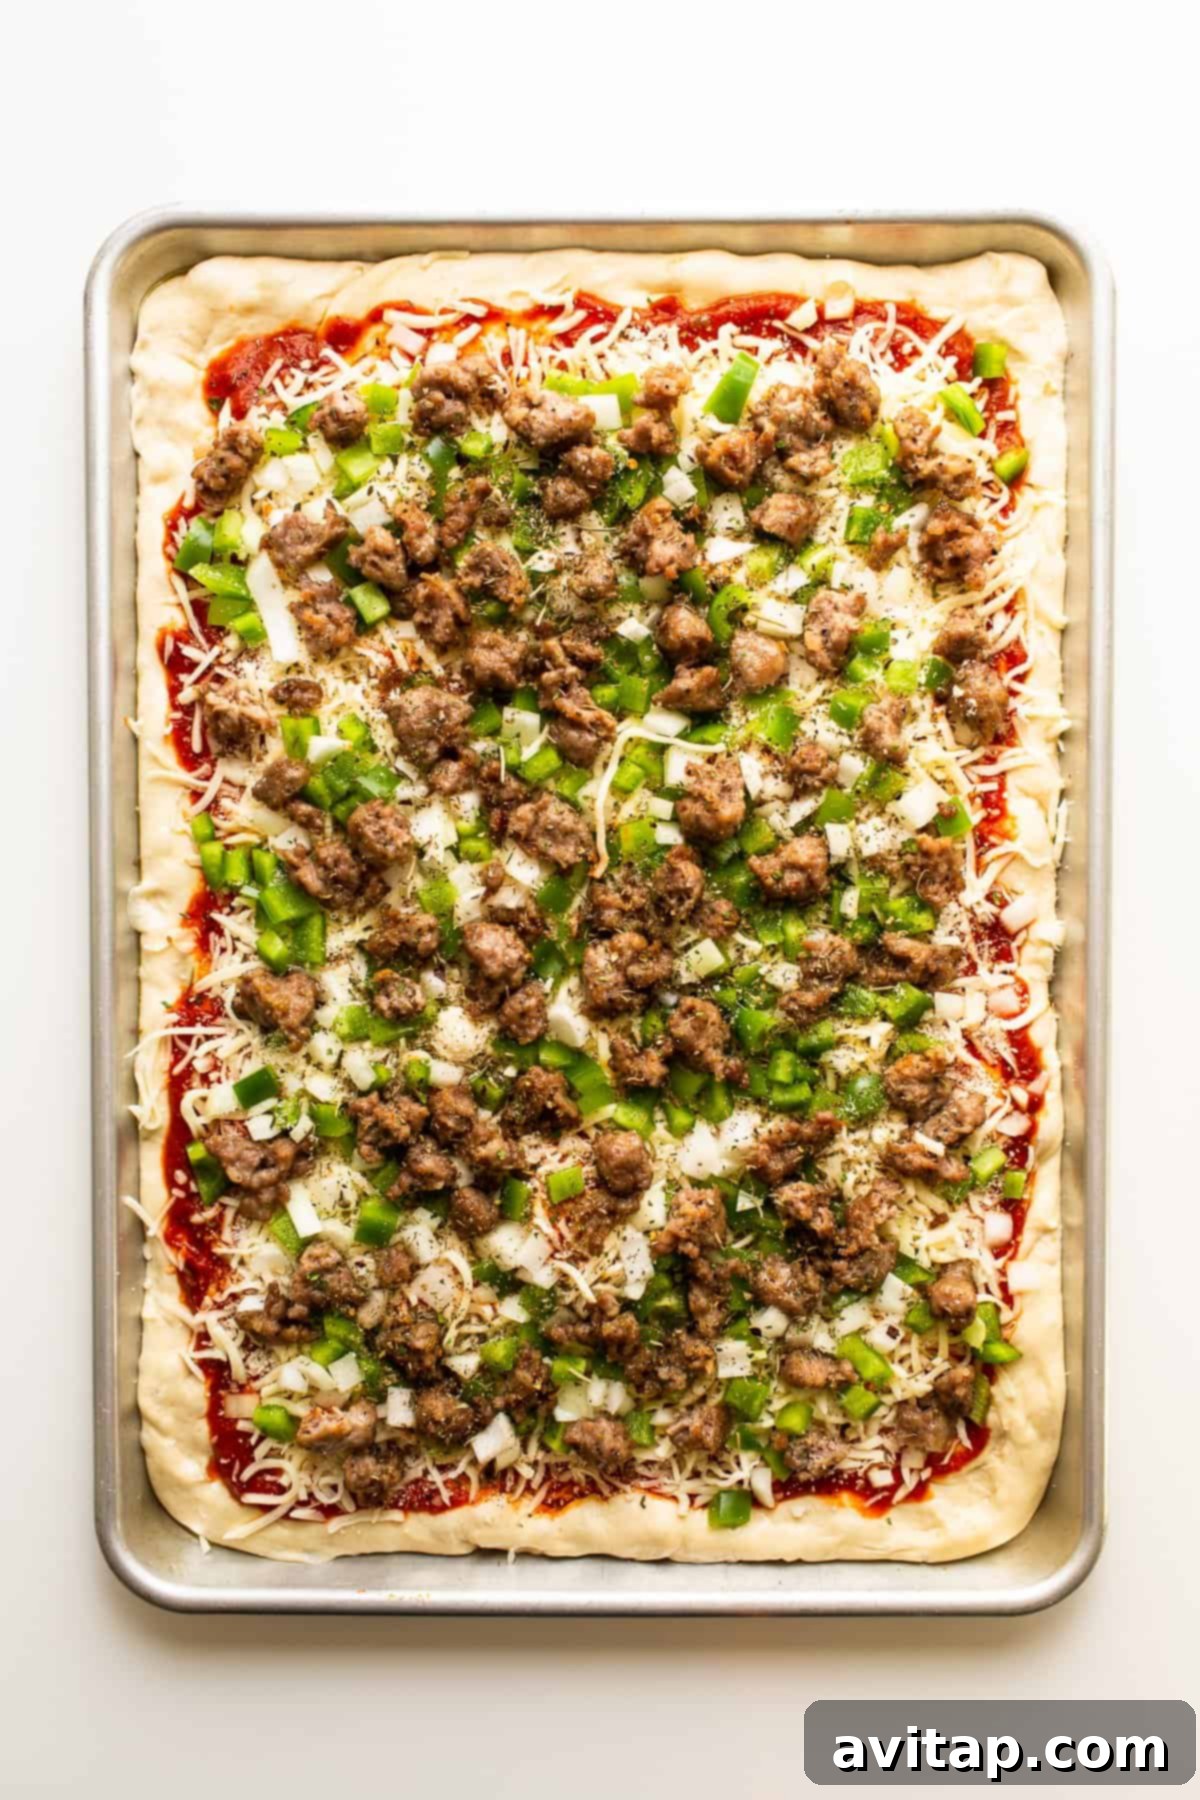
- Top Your Pizzas: The exciting part! Preheat your oven to 450ºF (232ºC). Evenly spread your favorite pizza sauce over the risen dough on each baking sheet, leaving about a one-inch border for the crust. Next, generously sprinkle with your chosen cheeses – typically mozzarella first for its melt, followed by Parmesan for flavor. Finally, add your preferred toppings (see our suggestions below!).
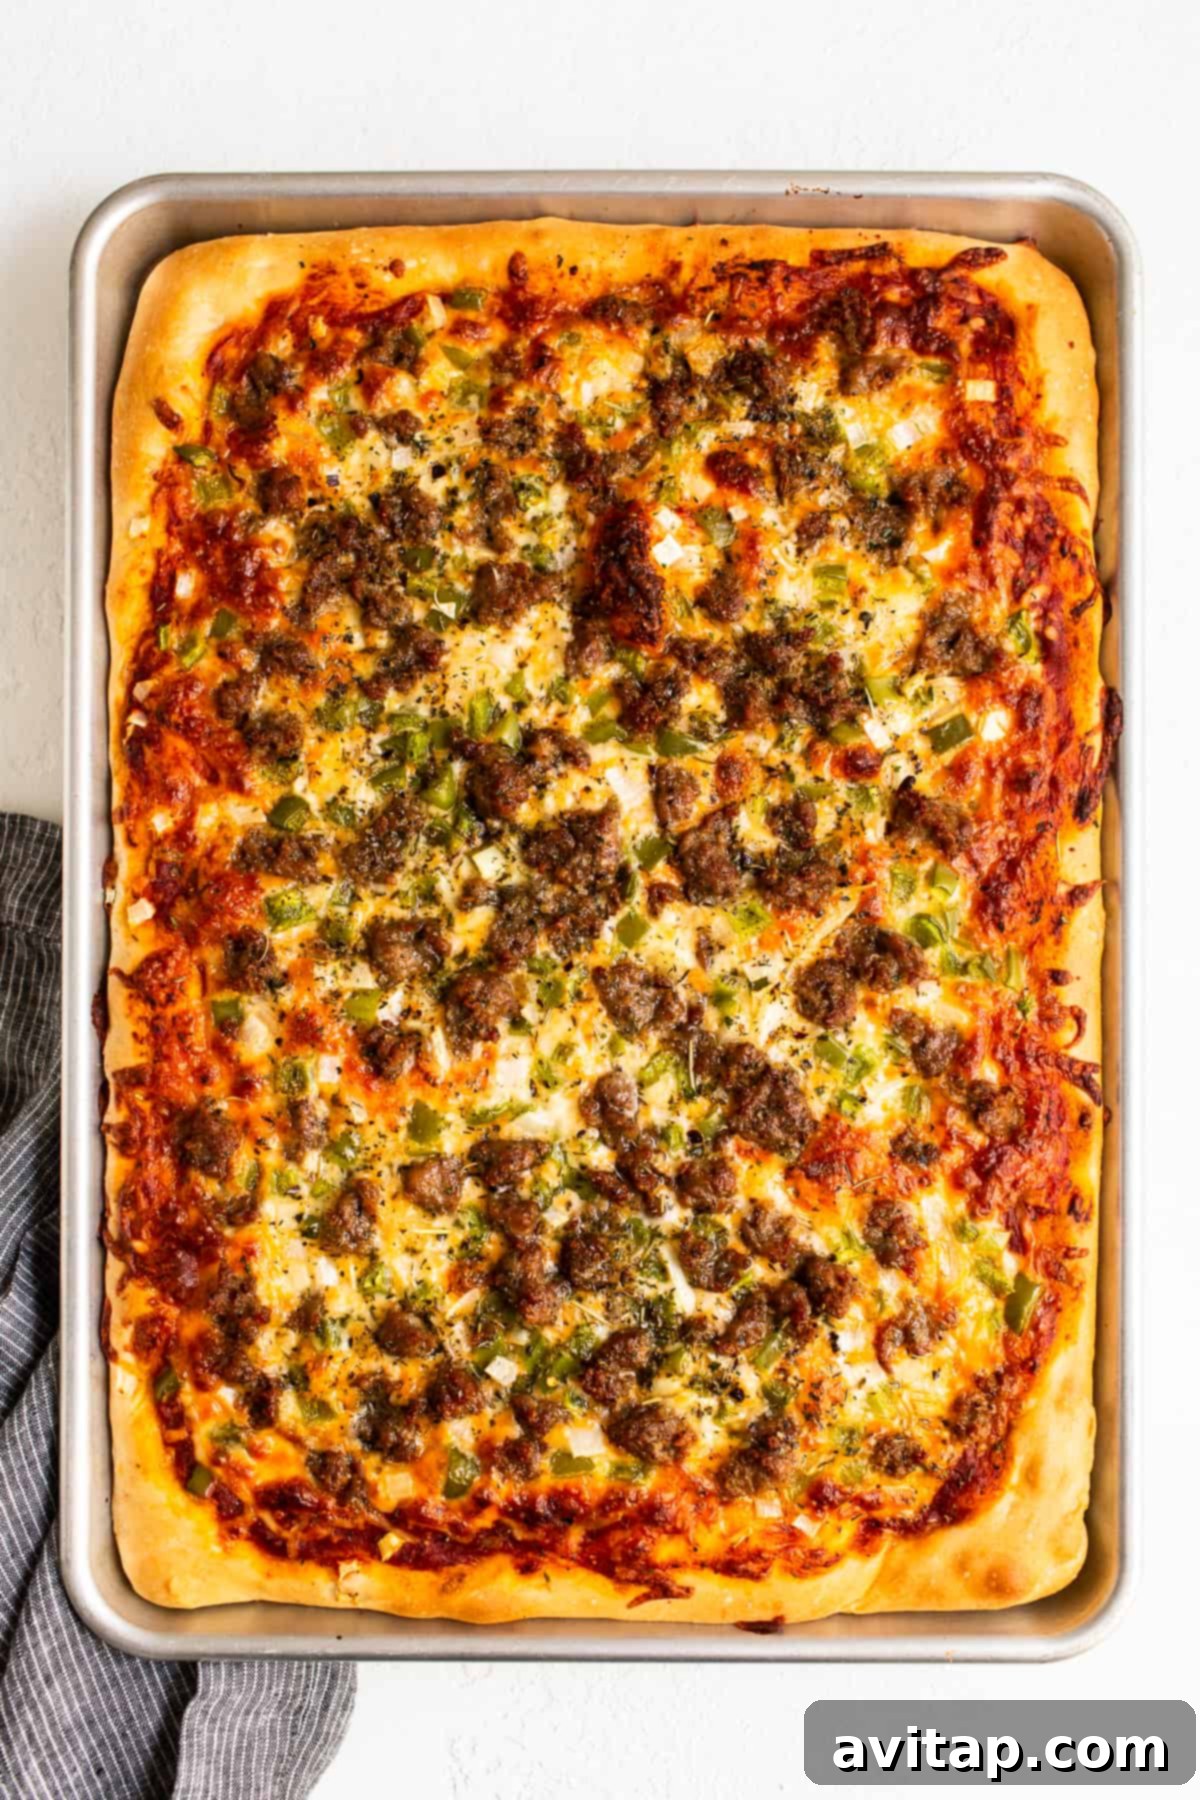
- Bake the Pizzas: Place both assembled pizzas in the preheated 450ºF (232ºC) oven. Bake for an initial 10 minutes. This high heat quickly sets the crust and begins the cooking process. After 10 minutes, reduce the oven temperature to 375ºF (190ºC) and continue baking for an additional 15-20 minutes, or until the bottom of the pizza crust is beautifully golden brown, the cheese is bubbly and melted, and the toppings are perfectly cooked.
- Serve and Enjoy: Once baked to perfection, carefully remove the pizzas from the oven. Allow them to cool on the baking sheets for about 5 minutes before slicing. This brief resting period helps the cheese set and prevents the toppings from sliding off. Slice your delicious creations with a pizza cutter or sharp kitchen shears and serve hot. Don’t forget to offer additional red pepper flakes and grated Parmesan cheese for those who love an extra touch!
Unraveling the Mystery of Pizza Dough Proofing
Proofing pizza dough is essentially the process of allowing the dough to rise. It’s a critical step where the yeast ferments the sugars, producing carbon dioxide gas that gets trapped within the gluten structure of the dough. This expansion is what gives your pizza crust its light, airy, and chewy texture, and it also contributes significantly to the development of its complex flavors.
Expert Tip for Optimal Proofing: The ideal environment for dough to rise is warm, humid, and free from drafts. If your kitchen is naturally warm, simply covering the bowl with a tea towel and leaving it on the counter should suffice. However, if you live in a colder climate (like we often do!), you can easily create a perfect proofing chamber in your oven. Begin by preheating your oven to its lowest setting (typically around 170ºF or 75ºC) for just a few minutes before you even start mixing your dough. Once it reaches that temperature, turn the oven *off*. Then, place your covered dough bowl inside the warm, turned-off oven for the required rising time (usually 1 hour for the first proof). This provides a consistent, gentle warmth that helps the yeast thrive and the dough rise beautifully.
Achieving the Perfect Bake: Optimal Pizza Oven Temperature
To achieve a truly restaurant-quality crust at home, a two-stage baking temperature is key for homemade pizza. Start by preheating your oven to a high temperature of 450ºF (232ºC). Bake your assembled pizza at this intense heat for the initial 10 minutes. This high temperature ensures a rapid rise of the crust and helps to create that coveted crispy exterior. After this initial blast, reduce the oven temperature to 375ºF (190ºC) and continue baking for an additional 15-20 minutes. This lower temperature allows the toppings to cook through evenly and the crust to develop a beautiful golden-brown color without burning, ensuring a perfectly cooked pizza from edge to center.
Pre-Baking Pizza Dough: Is It Ever Necessary?
For Grandma Marie’s traditional sheet pan pizza recipe, there is absolutely no need to pre-bake or par-bake your pizza dough before adding any toppings. The beauty of this recipe lies in its simplicity and efficiency. The dough is designed to cook perfectly with all the toppings applied from the very beginning, thanks to the carefully chosen two-stage baking temperature. Skipping this extra step not only saves you valuable time and effort but also ensures your homemade pizza experience is as enjoyable and straightforward as possible, delivering a fantastic result without unnecessary fuss.
Pre-Cooking Italian Sausage for Pizza: Our Grandma’s Method
This is a common query among home pizza makers, and my Grandma Marie’s approach was always definitive: she never pre-cooked her Italian sausage before adding it to the pizza dough. The high heat of the oven and the extended baking time are more than sufficient to fully cook the sausage, allowing its savory juices and rich flavors to permeate and meld beautifully with the cheese and sauce during baking. This method creates a deeply integrated flavor profile that’s truly delicious. However, culinary preferences can vary greatly! If you personally prefer your sausage to be well-browned and slightly crispy before baking, or if you have any reservations about cooking raw meat directly on the pizza, you are absolutely welcome to pre-cook it. Ultimately, the choice is entirely yours to suit your taste and comfort.
The Art of Layering: What Goes on First When Building a Pizza?
When it comes to assembling your masterpiece of a homemade pizza, the order in which you add your toppings can impact both the final appearance and how evenly everything cooks. The golden rule, and one Grandma Marie always followed, is to ensure the pizza sauce is spread directly onto the dough first. This base layer not only provides flavor but also helps to moisten the crust. After the sauce, you have a bit more flexibility: you can either apply a generous layer of cheese before adding your other toppings, or you can place your primary toppings directly on the sauce and then cover them with cheese. Many find that starting with a layer of cheese helps to “glue” the other ingredients in place and prevents smaller toppings from becoming soggy. Experiment with both methods to discover your preferred layering technique!
The Tell-Tale Signs of a Perfectly Cooked Pizza Crust
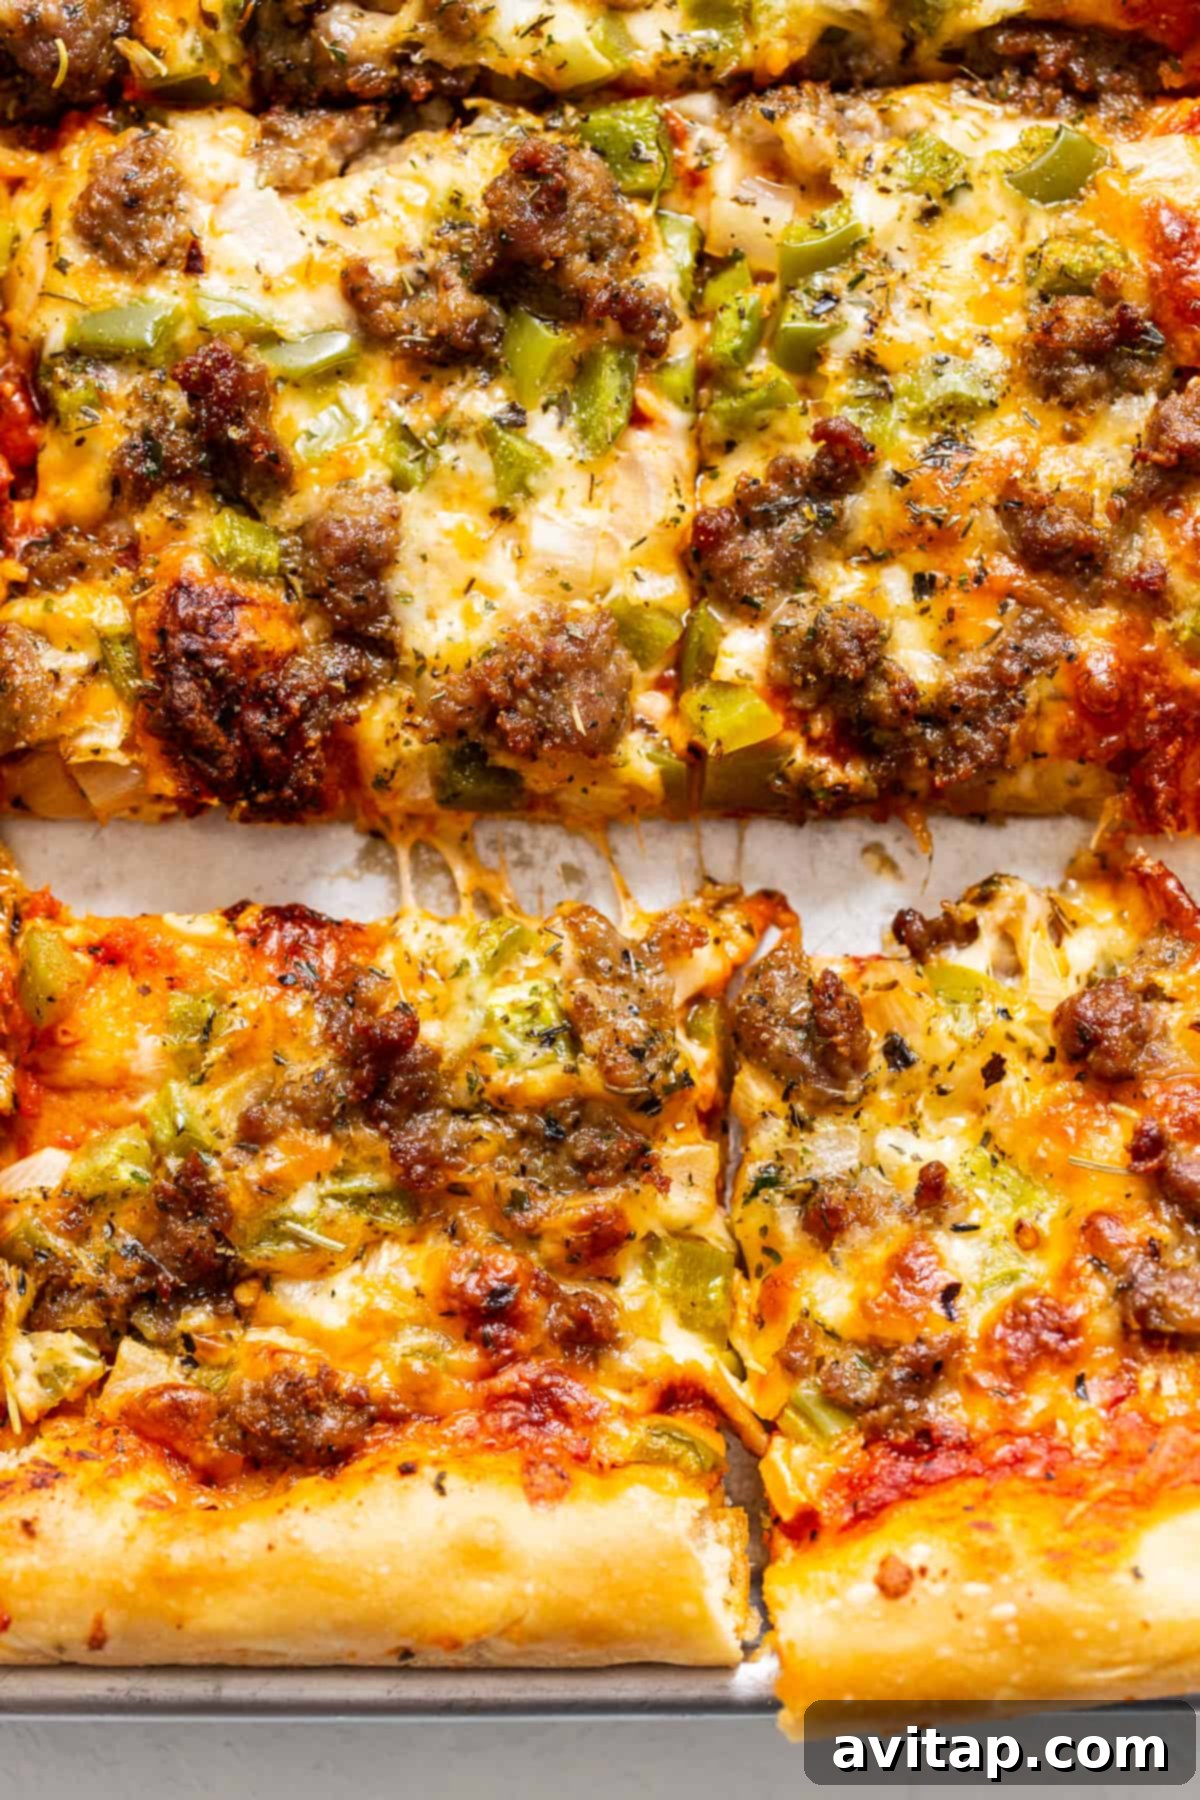
A perfectly cooked homemade pizza crust is a true triumph! You’ll know your pizza is done when you observe a few key indicators. First and foremost, the bottom of the crust should be a beautiful golden brown and feel firm and crisp when gently lifted with a spatula. The edges of the crust should be wonderfully puffed, airy, and golden, with a delightful crispness. While the edges are crispy, the center of the crust should still retain a slight chewiness, never appearing raw or overly dense. Additionally, keep an eye on your cheese; it should be thoroughly melted, bubbly, and exhibit some desirable golden-brown spots, particularly around the edges of the toppings. These signs together confirm that your pizza is ready to be pulled from the oven and enjoyed!
Grandma Marie’s Signature Toppings & Creative Ideas for Your Pizza
While the universe of pizza toppings is vast and exciting, there’s a reason some combinations stand the test of time. For our family, nothing quite beats the timeless classic of a sausage, green pepper, and onion pizza – a beloved staple directly from Grandma Marie’s kitchen. Here’s a closer look at these essential ingredients and a few more ideas to spark your culinary imagination:
- Pizza Sauce: You have excellent options here! For ultimate convenience, a high-quality store-bought pizza sauce is perfectly acceptable. However, for an extra layer of homemade goodness and depth of flavor, we highly recommend trying our own delicious homemade pizza sauce recipe.
- Italian Sausage: Whether your preference leans towards mild or spicy, Italian sausage infuses your pizza with an incredible depth of savory flavor. Our top tip, directly from Grandma Marie, is that you absolutely do NOT need to pre-cook the sausage before spreading it on your pizza. It will cook thoroughly and render its delicious fats into the cheese and sauce during baking, infusing every bite with rich taste. Just ensure it’s broken into small, even pieces for optimal cooking and distribution.
- Mozzarella Cheese: The quintessential pizza cheese! Plan for approximately 2 cups of shredded mozzarella cheese per sheet pan pizza to achieve that signature gooey, stretchy, and utterly irresistible layer.
- Parmesan Cheese: A generous sprinkle of grated Parmesan cheese adds a wonderful salty, umami kick and a delightful “bite” that elevates the overall flavor profile of your pizza. It’s fantastic both as a layer on top of the mozzarella before baking, and as a finishing garnish after the pizza emerges from the oven.
- Green Bell Pepper: These vibrant peppers contribute a fresh, slightly sweet crunch and a beautiful pop of color to your pizza. You can finely dice your green pepper for even distribution, or slice them into elegant strips or rounds for a more prominent visual and textural presence.
- Onion: Any variety of onion will work wonderfully, but yellow onions are a popular choice for their balanced flavor. You can opt for raw, finely diced onion, which will mellow and sweeten significantly as it bakes, or take your pizza to a gourmet level with rich, savory caramelized onions for a deeper, more complex flavor profile.
- Italian Seasoning: A blend typically comprising oregano, basil, thyme, rosemary, and marjoram, a generous dash of Italian seasoning enhances all the savory notes and imparts that authentic Italian aroma we all love in homemade pizza.
- Red Pepper Flakes: For those who appreciate a gentle warmth or a fiery kick, red pepper flakes are a must-have. Sprinkle them to taste before or after baking, or simply offer them at the table for individual customization.
Inspiring More Delicious Topping Combinations
Beyond the classics, feel free to unleash your culinary creativity with these additional ideas to customize your homemade pizza:
- Pepperoni: The beloved, timeless pizza topping that delivers a salty, savory, and slightly spicy kick with delightful crispy edges.
- Mushrooms: Sliced fresh mushrooms add an earthy depth and a wonderfully tender texture when baked, absorbing the flavors of the sauce and cheese.
- Fresh Basil: For a burst of bright, aromatic, and distinctly Italian flavor, tear and scatter fresh basil leaves over your pizza just after it comes out of the oven.
- Sliced Tomatoes: Thinly sliced fresh tomatoes can add a juicy, tangy element, especially when ripe and in season, creating a fresh contrast.
- Red Pepper Flakes: A simple yet effective way to add a customizable touch of heat.
- Shredded Chicken: Pre-cooked shredded chicken is a versatile protein that works beautifully with various sauces, such as for a BBQ chicken pizza or a creamy white sauce base.
- Black Olives: Sliced black olives contribute a briny, salty depth that pairs wonderfully with many other toppings.
- Spinach: Fresh spinach leaves wilt down beautifully under the cheese, adding a healthy green component and a subtle earthy flavor.
- Artichoke Hearts: Marinated artichoke hearts offer a distinct tangy, slightly briny flavor and a tender texture that enhances gourmet pizzas.
- Feta Cheese: Crumbled feta cheese provides a salty, tangy, and slightly creamy contrast to the richness of mozzarella, adding complexity.
Smart Ways to Store and Reheat Leftover Homemade Pizza
Even the most delicious homemade pizza can sometimes yield leftovers, and with these tips, you can ensure your extra slices remain fresh and tasty for another meal. Proper storage is key to preserving flavor and texture. You can either wrap individual slices snugly in aluminum foil, which provides a good barrier against air, or, for maximum freshness and streamlined convenience, place them in a freezer-safe gallon-sized bag. My personal preference leans towards the latter, as it effectively protects the pizza from freezer burn and makes for an incredibly easy, grab-and-go reheating option.
How to Reheat Leftover Pizza for Optimal Results: To revive your leftover pizza to its former crispy, cheesy glory, avoid the microwave if a crisp crust is your goal. Instead, lightly oil a baking sheet (or line it with parchment paper). Arrange the pizza slices on the sheet, ensuring they are not overlapping. Reheat in a preheated oven at 350ºF (175ºC) for 5-10 minutes, or until the cheese is beautifully melted and bubbly once more, and the crust has regained its desirable warmth and crispness. This method truly brings the pizza back to life!
A Handy Guide: How to Freeze Homemade Pizza Dough for Future Feasts
Grandma Marie’s recipe is wonderfully generous, yielding enough dough for two sizable pizzas – perfect for feeding a crowd! However, if you only need one pizza now, freezing the other half of the dough is an incredibly smart way to prepare for a quick, delicious homemade pizza night in the future. Freezing pizza dough is surprisingly simple and ensures you always have a head start on your next culinary adventure.
- Prepare the Dough for Freezing: After the first crucial rise and gently punching down the dough, proceed to divide your dough in half as per the recipe instructions. Take the portion you intend to freeze and carefully form it into a smooth, compact ball.
- Oil and Securely Seal: Lightly drizzle a small amount of olive oil over the dough ball and gently rub it around to ensure it’s evenly coated. This thin layer of oil acts as a protective barrier, helping to prevent freezer burn and keep the dough fresh. Next, carefully transfer the oiled dough into a freezer-safe bag, such as a gallon-size freezer bag, which works perfectly. Press out as much air as possible from the bag before sealing it tightly. For an extra layer of protection, you can also wrap the dough ball first in plastic wrap, then in aluminum foil, before placing it in the freezer bag.
- Freeze for Future Use: Place the securely sealed pizza dough in your freezer. It will maintain its quality and be ready for use for up to 3 months. Clearly label the bag with the date for easy tracking.
- Thawing and Revival of Frozen Dough: When you’re ready to enjoy your frozen pizza dough, the thawing process is straightforward. Transfer the frozen dough from the freezer to your refrigerator the night before you plan to use it, allowing at least 8-12 hours for it to thaw gradually and safely. Once thawed, remove it from the refrigerator and let it come to room temperature on your kitchen counter for approximately 30-60 minutes. After it has reached room temperature, you can then proceed with step 6 of the original instructions (rolling out the dough) and its second proof. You’ll find it’s just as pliable and delicious as freshly made dough!
Discover More of Our Favorite…
Expand Your Pizza Horizons: More Exciting Pizza Recipes
If you’ve loved mastering Grandma Marie’s classic pizza dough, we invite you to explore these other fantastic pizza creations from our culinary collection. There’s always a new way to enjoy this beloved dish!
- BBQ Chicken Pizza: A delightful blend of sweet and savory, featuring tender shredded chicken, tangy BBQ sauce, and rich, sweet caramelized onions, all on a crispy crust.
- Cauliflower Pizza Crust: A lighter, gluten-friendly alternative that’s packed with vegetables, offering a unique texture and a healthy twist on traditional pizza.
- Naan Breakfast Pizza: Quick, incredibly easy, and versatile! Perfect for a delicious weekend brunch, a speedy lunch, or a fast weeknight dinner when time is short.
- French Bread Pizza: A nostalgic favorite that comes together in mere minutes. Enjoy a satisfyingly crisp crust and all your favorite toppings without the fuss of making dough from scratch.
- Cast Iron Pizza: For an incredibly crispy, almost deep-dish style crust with a wonderfully chewy interior and a rich, deep flavor, baking pizza in a cast iron skillet is a must-try method.
Grandma Marie’s Homemade Pizza Dough Recipe
Grandma Marie’s authentic homemade pizza begins with her cherished and truly foolproof pizza dough. You only need a few basic ingredients to get started, and this recipe generously yields enough for two giant sheet pan pizzas, making it perfect for any family gathering or meal prep!
By: Lee Funke
Prep Time: 3 hours (includes essential rising time)
Cook Time: 30 minutes
Total Time: 3 hours 30 minutes
Servings: 12 slices (yields 2 large sheet pan pizzas)

Ingredients
Pizza Dough
- 2.5 cups warm water (~105-115ºF / 40-46ºC)
- 1 package active dry yeast (equivalent to 2 ¼ teaspoons)
- 1 tablespoon granulated sugar
- 5 – 5.5 cups all-purpose flour
- 1.5 teaspoons salt
- ½ cup olive oil
Recommended Pizza Toppings (for two sheet pan pizzas)
- 3 cups pizza sauce
- 3-4 cups shredded mozzarella cheese
- 1 cup grated Parmesan cheese (plus extra for serving)
- 1 lb. ground Italian sausage (uncooked, broken into small pieces)
- 1 medium yellow onion (finely diced)
- 2 medium green bell peppers (finely diced)
- 1 tablespoon Italian seasoning
- Red pepper flakes (to taste, for serving)
Instructions
- Activate Yeast: In a large mixing bowl, combine the warm water, active dry yeast, granulated sugar, and 1 cup of all-purpose flour. Whisk these ingredients together until well blended. Let the mixture sit for 5-10 minutes, or until it becomes foamy and bubbly, indicating the yeast is active.
- Mix Pizza Dough: Add the remaining 4 cups of flour, salt, and olive oil to the bowl. Use a sturdy wooden spoon or your hands to mix everything together until a shaggy dough forms. If the dough is still excessively sticky and difficult to handle, gradually add the final ½ cup of flour, a tablespoon at a time, until the dough is pliable but no longer super sticky.
- Knead the Dough: Lightly flour a clean, flat work surface. Transfer the dough onto this surface. Knead the dough vigorously for 8-10 minutes until it becomes smooth, elastic, and springy to the touch. If needed, you can add a tiny bit more flour to your hands or the surface during kneading if it remains too sticky. Form the kneaded dough into a smooth ball.
- First Proof of Pizza Dough: Drizzle a generous amount of olive oil into a clean large bowl to thoroughly grease the bottom and sides. Place the dough ball into the oiled bowl, turning it once to ensure all surfaces are coated. Cover the bowl snugly with a clean tea towel. Place the bowl in a warm, dark, and draft-free location. Allow the dough to rise for approximately 1 hour, or until it has visibly doubled in size.
- Prepare for Rolling & Divide Dough: Once the dough has completed its first rise, gently punch it down to release the trapped gases. Transfer the deflated dough onto a lightly floured surface. This recipe makes two pizzas, so use a sharp knife or dough scraper to divide the dough evenly in half. Meanwhile, lightly grease two standard baking sheets with olive oil and set them aside.
- Roll Out the Dough: Take one half of the dough and, using a rolling pin, carefully roll it out into a rectangular shape that is roughly the size of one of your baking sheets. Don’t worry about perfect edges. Carefully transfer the rolled dough onto one of your prepared baking sheets. Gently stretch and press the dough all the way to the edges of the pan, creating a slight, raised lip to form the crust. Repeat this process with the second half of the dough on the other baking sheet.
- Second Proof of Pizza Crust: Cover both sheet pans, each with its rolled-out dough, with clean tea towels. Return them to a warm, dark, and draft-free spot for a second proofing period. Let the dough rise again for another 30 minutes to 1 hour. This second rise contributes significantly to a light and airy crust.
- Choose Your Crust Thickness: After the second rise, you can determine your desired crust thickness. If you prefer a thicker, chewier crust, simply proceed to topping the dough without punching it down again. If you like a thinner, crispier crust, gently punch the dough down once more with your hands to release some air before adding your toppings.
- Assemble Your Pizzas: Preheat your oven to a high temperature of 450ºF (232ºC). Evenly spread your chosen pizza sauce over the risen dough on each baking sheet, making sure to leave about a 1-inch border for the crust. Next, generously sprinkle with mozzarella cheese, followed by Parmesan cheese. Then, add your favorite toppings such as onion, bell pepper, and the uncooked Italian sausage, along with a dash of Italian seasoning.
- Bake the Pizzas: Carefully place the assembled pizzas into the preheated 450ºF (232ºC) oven. Bake for an initial 10 minutes. This high heat jumpstarts the crust’s crisping. Then, reduce the oven temperature to 375ºF (190ºC) and continue baking for an additional 15-20 minutes, or until the bottom of the pizza crust is golden brown and fully cooked, and the cheese is bubbly and golden.
- Serve and Enjoy: Once baked, remove the pizzas from the oven and allow them to cool on the baking sheets for 5 minutes. This brief rest helps the cheese set. Then, slice with a pizza cutter or sharp kitchen shears. Garnish with red pepper flakes and extra grated Parmesan cheese, if desired, and serve immediately.
Tips & Notes for Success
- This recipe is specifically designed to yield enough homemade pizza dough for two generously sized sheet pan pizzas.
- The nutritional information provided below is calculated for the pizza dough only, per serving, and does not include toppings.
- Optimizing Dough Proofing: If you find your kitchen is on the cooler side, you can create an ideal warm environment for your dough to rise. Preheat your oven to 170ºF (75ºC) for a few minutes, then turn it off completely. Place your covered dough bowl inside the warm, turned-off oven for the required 1-hour rise.
- Freezing Dough for Later: To save half the dough for a future pizza night, lightly grease the formed dough ball with a bit of olive oil. Transfer it into a freezer-safe bag, ensuring as much air as possible is removed before sealing tightly. This dough can be stored in the freezer for up to 3 months. Thaw overnight in the refrigerator, then bring to room temperature before rolling and proofing again.
- Always ensure your pizza dough undergoes both the first (bulk) rise and the second (shaped) rise for the best flavor and texture.
- Remember that every oven can vary slightly in temperature. Keep a close eye on your pizzas during baking, especially during the second stage, to prevent any burning.
- Feel empowered to customize your pizza toppings to your heart’s content! This dough provides a fantastic base for virtually any combination.
Nutrition Information (Dough Only, per serving)
The following nutritional values are an approximation for one serving of the pizza dough, excluding any toppings you might add:
Calories: 285 kcal
Carbohydrates: 41 g
Protein: 6 g
Fat: 10 g
Fiber: 2 g
Sugar: 1 g
Did you love making this recipe?
Share Your Thoughts: Leave a Comment Below!
We’d absolutely love to see and hear about your homemade pizza creations! Don’t forget to tag your delicious posts on social media with the hashtag #fitfoodiefinds. Join our community and share your culinary successes!