
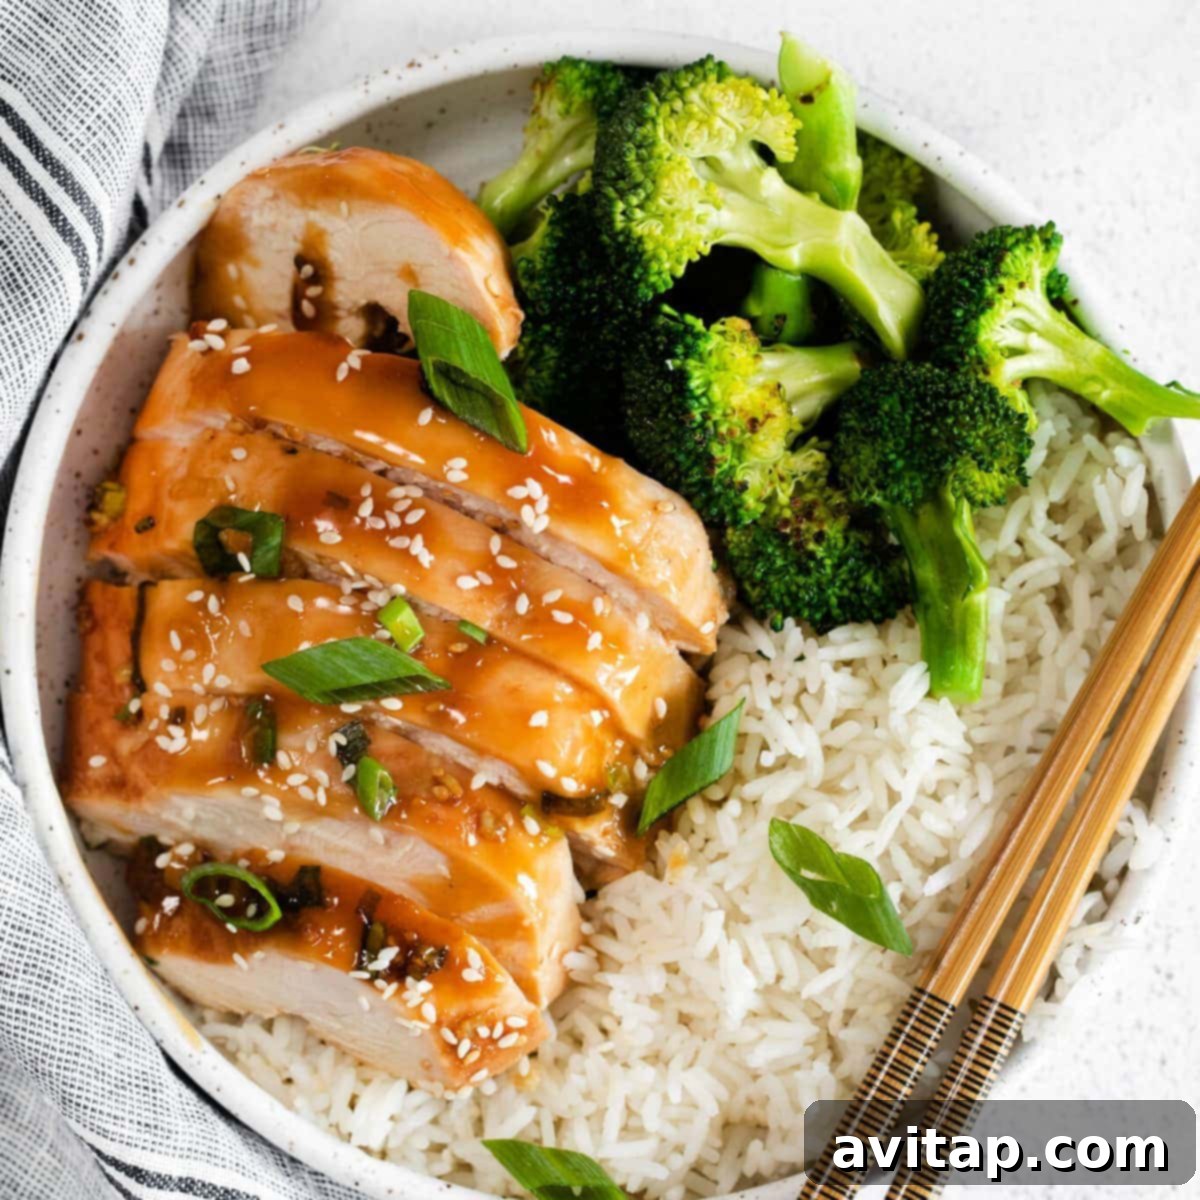
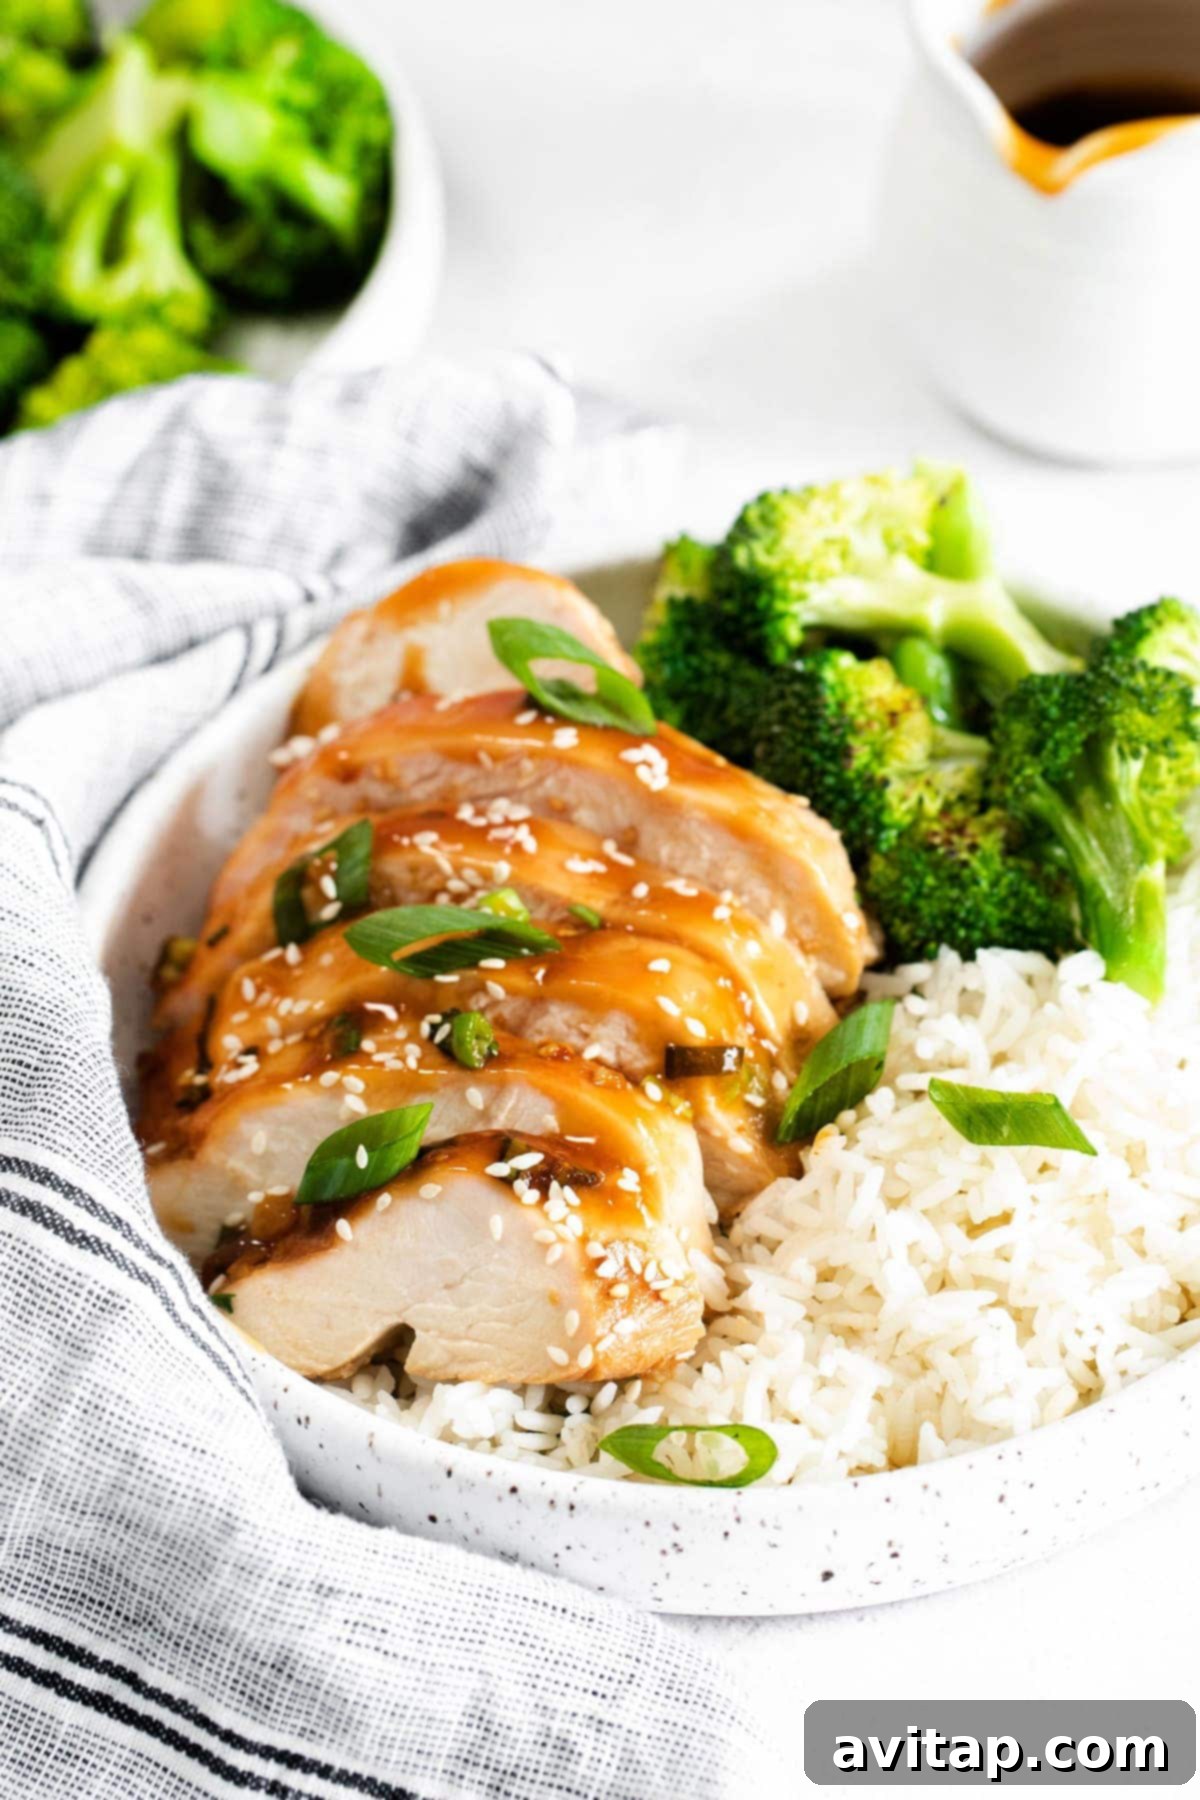
When you’re searching for a dinner solution that’s both effortless and incredibly delicious, look no further than this easy to prepare Baked Teriyaki Chicken Breast. This recipe features succulent chicken breast marinated in a simple, homemade teriyaki sauce, then perfectly baked in a casserole dish until it’s wonderfully tender, juicy, and coated in a rich, savory glaze. It’s a perfect weeknight meal that promises big flavor with minimal fuss.
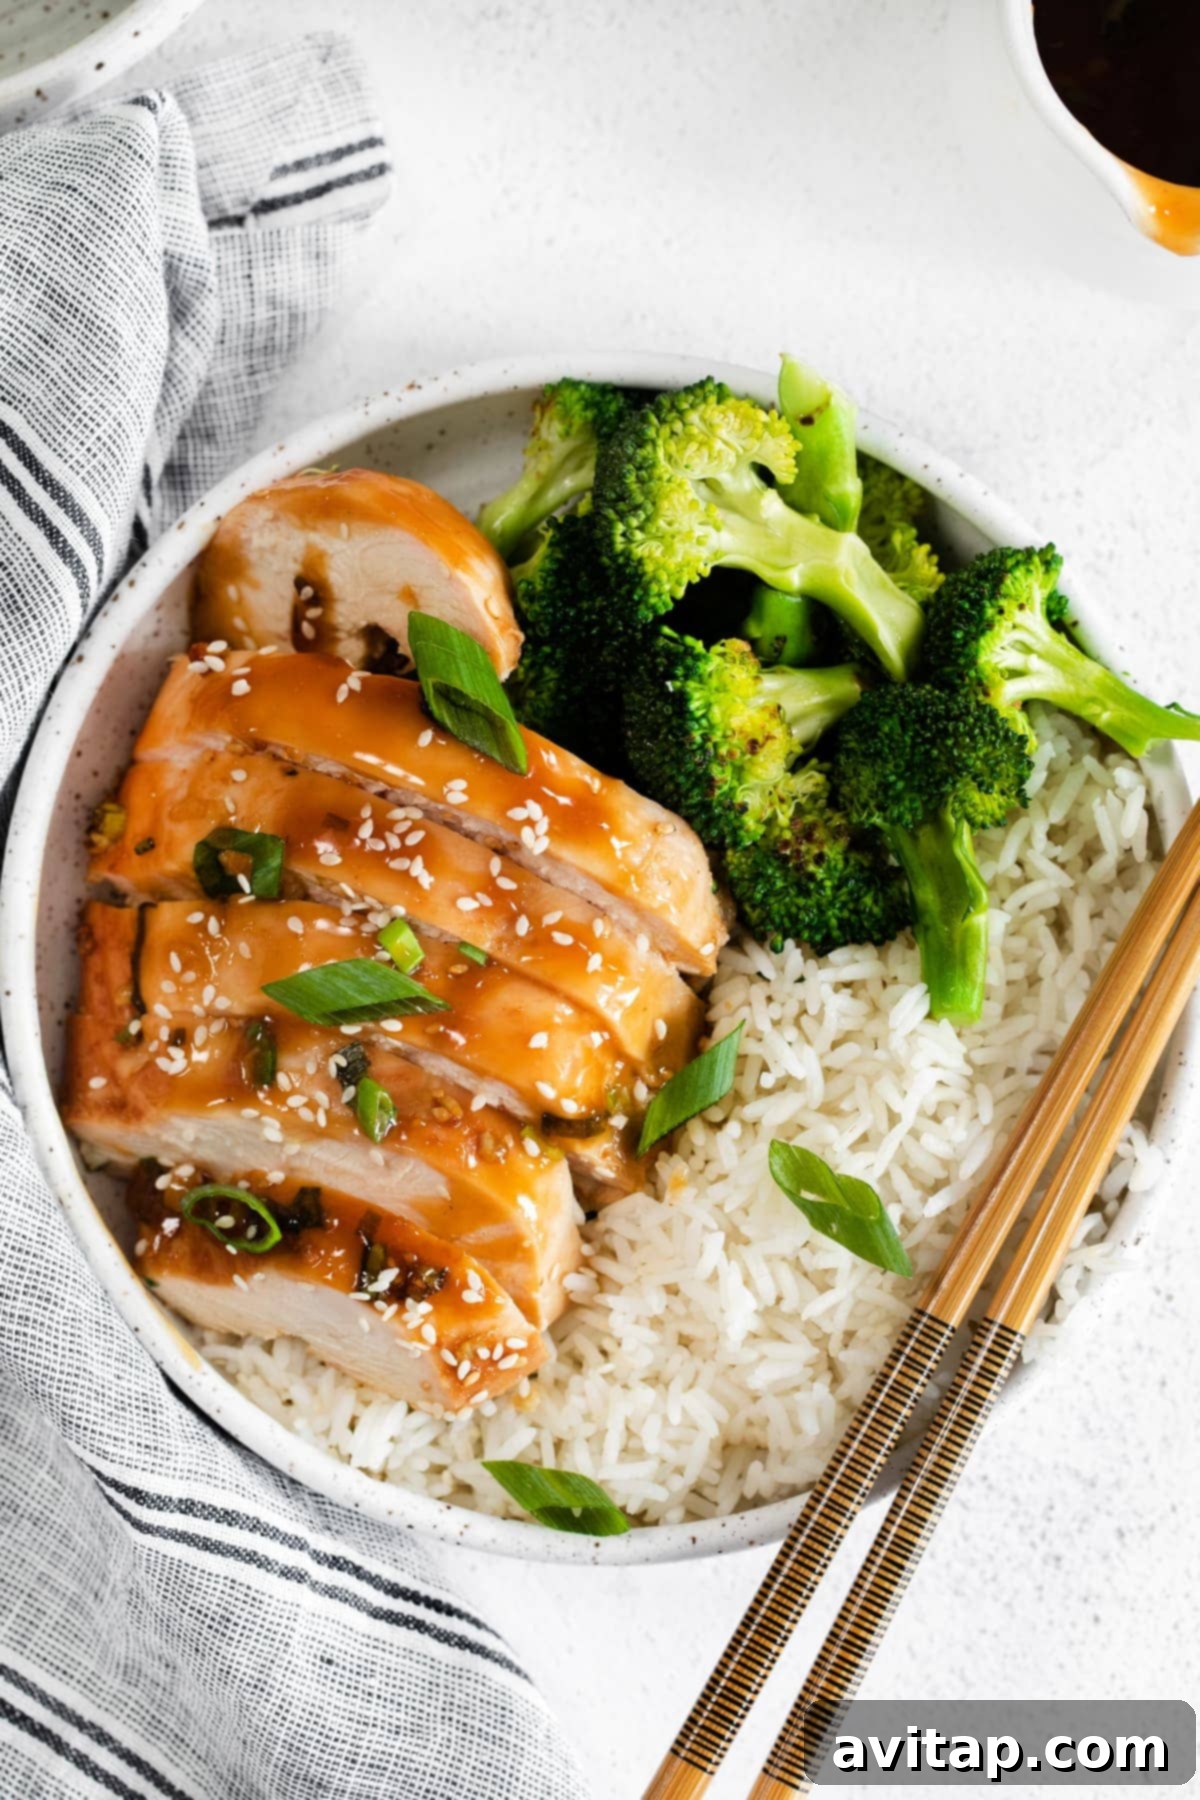
Experience the Irresistible Flavor of Baked Teriyaki Chicken Breast
There’s a special kind of magic in perfectly saucy baked teriyaki chicken, and this recipe captures it beautifully. It has become a cherished staple in countless homes, adored for its simplicity and the sheer abundance of its delectable sauce. We understand the love for a good sauce, and this homemade teriyaki chicken marinade delivers. It strikes an exquisite balance between sweet and savory, making it the ideal complement for tender chicken breast.
This remarkable meal comes together in under an hour, providing a quick yet deeply satisfying dinner. The chicken emerges from the oven incredibly tender and moist on the inside, enveloped in a generous layer of savory teriyaki glaze. The remaining sauce in the dish is perfect for drizzling over your favorite sides, ensuring every bite is packed with that irresistible umami flavor. Get ready to elevate your dinner routine with a dish that’s both comforting and exciting.
Why This Baked Teriyaki Chicken Recipe Will Be Your New Favorite
Discover the compelling reasons why this Baked Teriyaki Chicken Breast recipe is a must-try for your kitchen:
- Effortless One-Pot Preparation: Simplify your cooking and cleanup! This recipe allows you to prepare the flavorful teriyaki marinade and bake the chicken breast all in a single casserole dish. This means less scrubbing and more time enjoying your meal, making it ideal for busy weeknights or when you want to minimize kitchen work.
- A Guaranteed Kid-Friendly Hit: If you’re looking for a meal that will please even the pickiest eaters, this is it. The sweet and savory notes of the teriyaki sauce are universally appealing, ensuring your kids will give this dish a resounding 5-star review. It’s a delicious way to get protein on their plates without any fuss.
- Utilizes Simple, Accessible Ingredients: You won’t need to hunt for exotic items for this recipe. Our baked teriyaki chicken breast calls for minimal, everyday ingredients, many of which you likely already have stocked in your pantry and fridge. This makes spontaneous dinner planning easy and convenient.
- Nutrient-Rich and High-Protein: Each serving of this delightful chicken provides a robust 28 grams of protein, making it an excellent choice for supporting muscle growth, satiety, and overall health. It’s a flavorful way to meet your nutritional goals without sacrificing taste.
- Perfectly Freezer-Friendly for Meal Prep: This recipe is an absolute dream for meal prepping. You can easily prepare the chicken ahead of time, marinate it, and freeze it for later. When you’re ready to cook, simply thaw and bake, making quick and healthy meals a reality even on your busiest days. It’s convenience and flavor, perfectly preserved.
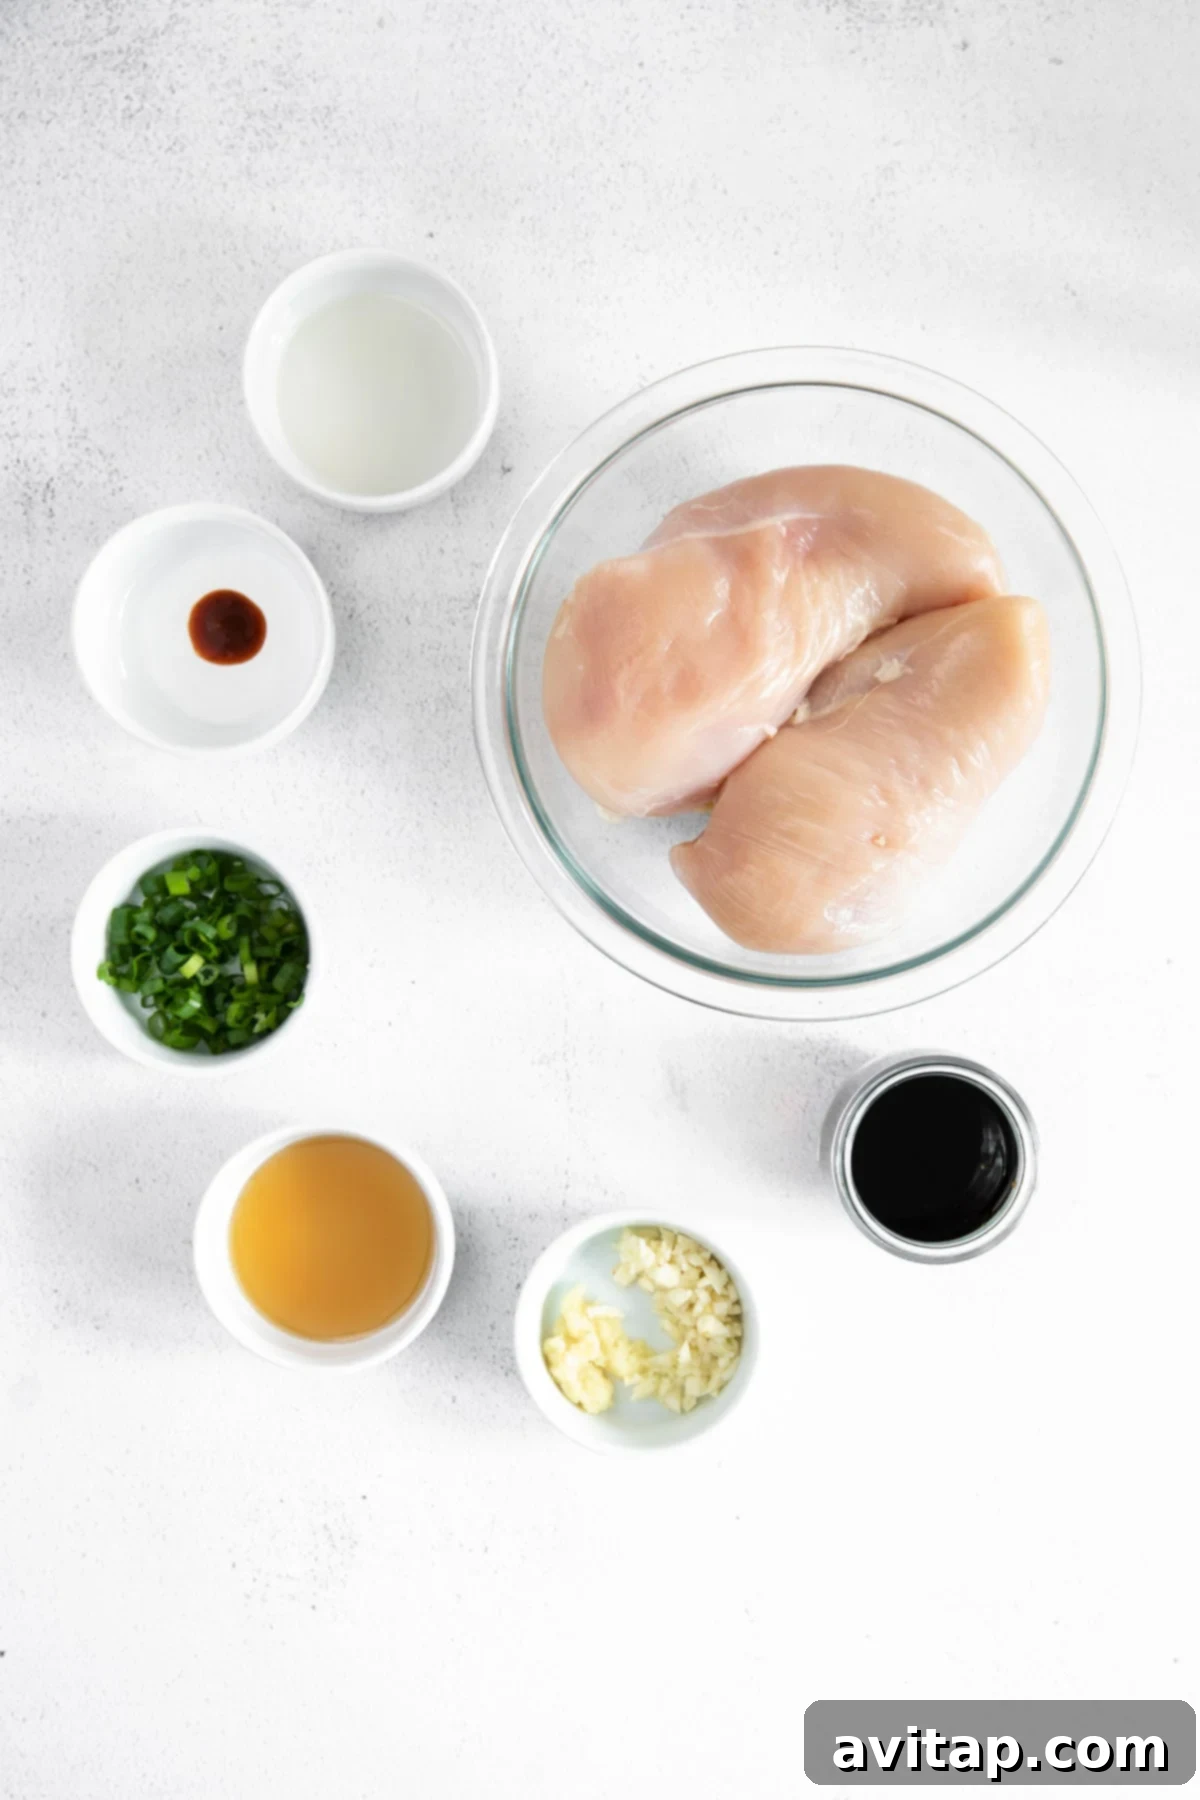
Crafting Your Own Easy Teriyaki Chicken Marinade
While store-bought teriyaki sauce offers undeniable convenience, creating a homemade teriyaki chicken marinade is surprisingly simple and yields a fresher, more vibrant flavor that truly elevates your dish. You’ll be amazed at how easily you can whip up this savory blend with just a few pantry staples. Here’s a closer look at the essential ingredients that make this marinade so special:
- Soy Sauce: The foundation of any great teriyaki, soy sauce brings that essential salty, savory, and umami depth. For dietary considerations, feel free to opt for tamari, a fantastic gluten-free alternative, or a low-sodium soy sauce if you’re managing your sodium intake.
- Fresh Grated Ginger: This is a non-negotiable ingredient for authentic teriyaki flavor. Freshly grated ginger provides a bright, pungent, and slightly spicy kick that distinguishes homemade from store-bought. If grating fresh ginger feels like a chore, consider keeping grated ginger in a tube in your fridge – it’s a convenient shortcut we often use!
- Sriracha: For those who appreciate a touch of heat, sriracha adds a wonderful complexity and a pleasant, subtle kick without overwhelming the other flavors. While not strictly mandatory, we highly recommend including it for an extra layer of deliciousness. Adjust the amount to your preferred spice level.
- Garlic: A classic aromatic, garlic adds a robust and savory essence to the marinade. You can use pre-minced garlic for convenience, or for the freshest flavor, mince a couple of cloves yourself.
- Maple Syrup (or Brown Sugar): We’ve chosen maple syrup as our preferred sweetener in this recipe. Beyond being an all-natural option, it imparts a unique warmth and depth to the sauce that brown sugar sometimes lacks. Its subtle caramel notes beautifully complement the savory elements, creating a richer, more balanced flavor profile. If maple syrup isn’t available, brown sugar is a perfectly suitable substitute.
- Green Onion: Thinly sliced green onion adds a fresh, slightly pungent, and vibrant herbaceous note. As it bakes with the chicken, it gently infuses the meat with its distinct flavor, enhancing the overall aromatic experience of the dish.
- Rice Vinegar: This mild, slightly sweet vinegar is crucial for balancing the richness of the soy sauce and sweetness of the maple syrup. It provides a subtle tang that brightens all the other flavors, making the marinade incredibly well-rounded and irresistible.
Understanding the Difference: Teriyaki Sauce vs. Teriyaki Chicken Marinade
While often used interchangeably, there’s a slight distinction between teriyaki sauce and teriyaki marinade, primarily concerning their consistency rather than their core flavor profile. Both share a similar blend of savory, sweet, and umami ingredients.
The main difference lies in thickness: teriyaki sauce is essentially a thickened version of the marinade, typically achieved by incorporating a thickening agent like cornstarch. This gives the sauce a glossy, clingy texture perfect for coating cooked dishes. A marinade, on the other hand, is usually thinner, designed to penetrate and tenderize the meat, infusing it with flavor before cooking. You can easily adapt either for your needs. Explore our homemade recipes below for both applications:
- Homemade Teriyaki Sauce
- Teriyaki Chicken Marinade
Choosing the Best Chicken for Your Teriyaki Masterpiece
While our recipe specifically highlights the use of boneless, skinless chicken breast for its lean profile and quick cooking time, this versatile teriyaki marinade truly shines with various cuts of chicken. You are absolutely welcome to adapt this method for other favorites like chicken thighs or even drumsticks, depending on your preference and what you have on hand.
For optimal results, especially with chicken breast, consider pounding the thicker parts slightly to achieve a more uniform thickness. This ensures even cooking, preventing thinner sections from drying out while thicker areas cook through. If you opt for chicken thighs, bone-in, skin-on thighs will result in richer flavor and juicier meat, though they will require a longer cooking time. Boneless, skinless thighs offer a quicker cook and are easier to slice.
Quick tip: For every 1/2 cup of teriyaki chicken marinade, aim to use 1 to 1.5 lbs. of chicken breast. This ratio ensures your chicken is perfectly coated and infused with flavor without being overly saturated.
Check it out!
Unlock More Flavor with These 6 Chicken Breast Marinades
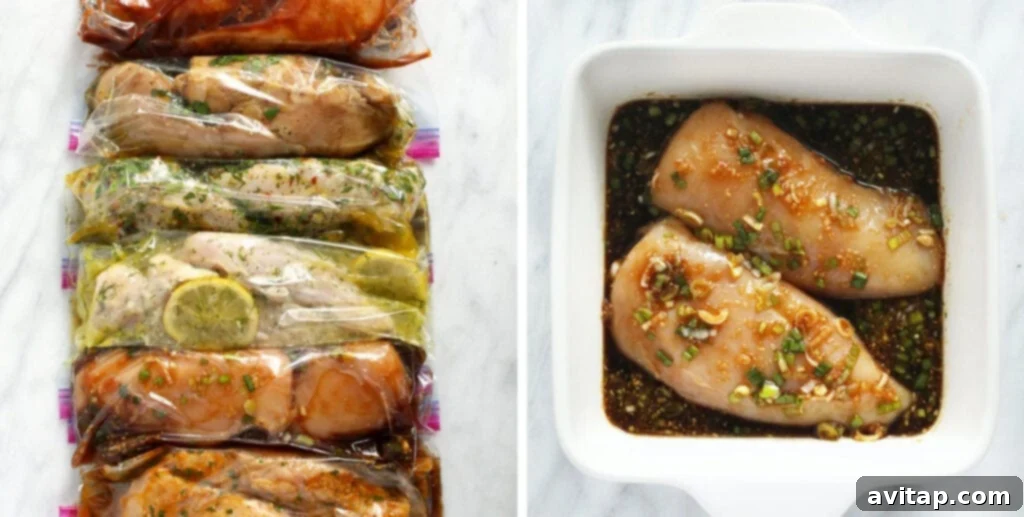
If you love infusing your chicken with incredible flavor, you are going to adore these 6 Easy Chicken Marinades. They’re simple to prepare and guarantee tender, delicious chicken breast every time, perfect for expanding your meal repertoire beyond teriyaki!
Your Step-by-Step Guide: How to Make Baked Teriyaki Chicken Breast
Creating this flavorful baked teriyaki chicken breast is incredibly straightforward. Follow these simple steps to achieve a perfectly tender and saucy dish:
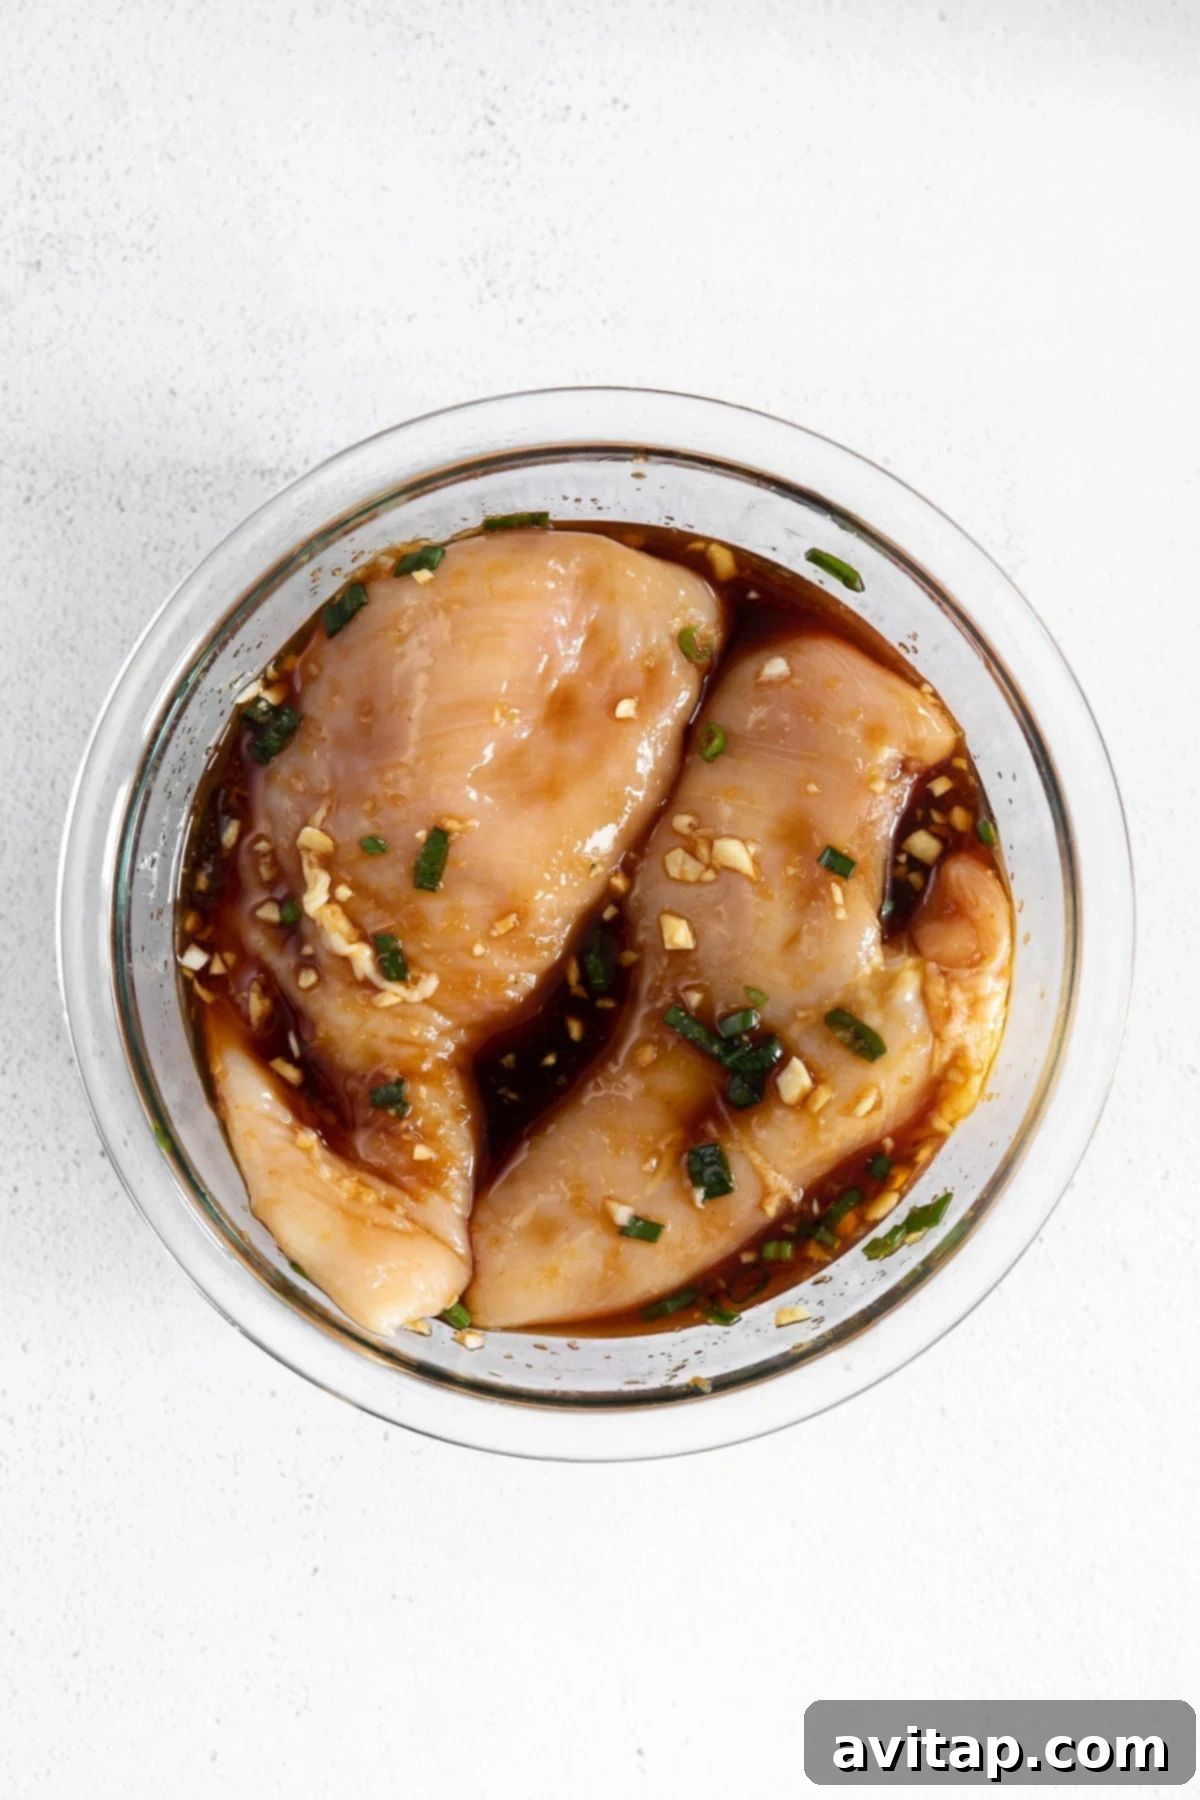
- Prepare the Marinade: Begin by combining all the ingredients for your homemade teriyaki chicken marinade in a large mixing bowl or a Pyrex measuring cup. Whisk everything together thoroughly until all the ingredients are well incorporated and the mixture is smooth. This ensures an even distribution of flavors.
- Marinate the Chicken for Maximum Flavor: Place your boneless, skinless chicken breasts into either a durable plastic freezer bag or directly into the casserole dish you intend to use for baking. Pour the freshly prepared marinade over the chicken, making sure each piece is fully submerged and coated. Seal the bag (if using) and gently massage the chicken to ensure every surface is touched by the delicious marinade. Refrigerate for a minimum of 30 minutes, allowing the flavors to penetrate the meat. For the most intense and tender results, marinate overnight (up to 24 hours).
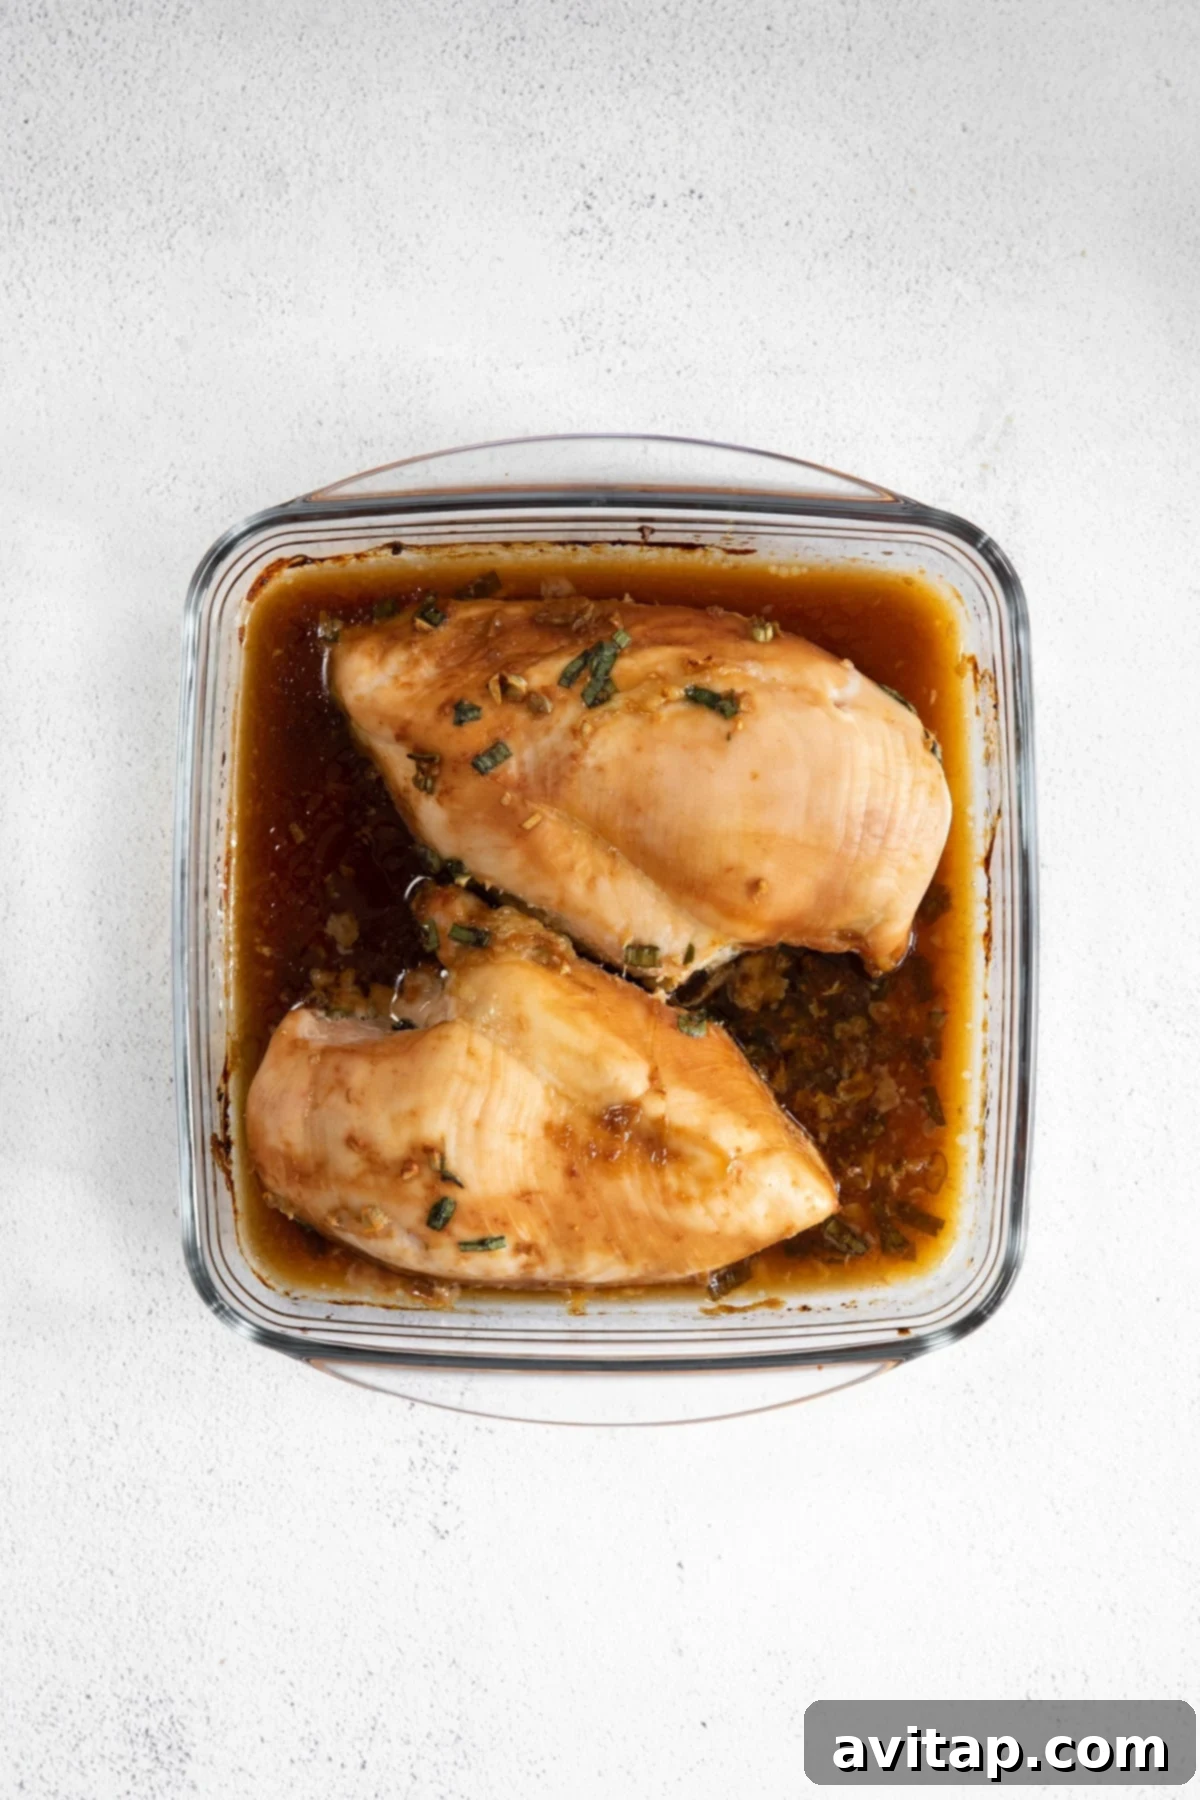
- Bake to Perfection: When you’re ready to cook, preheat your oven to 375ºF (190ºC). Lightly spray a 9×9-inch casserole dish with cooking spray to prevent sticking. Carefully transfer the marinated chicken and all the luscious marinade into the prepared dish, arranging the chicken in an even layer. Bake for approximately 20-25 minutes, or until the internal temperature of the thickest part of the chicken reaches 165ºF (74ºC) when measured with a meat thermometer.
- Rest and Thicken the Sauce (Optional): Once baked, remove the chicken from the oven and let it rest on a cutting board or separate plate for 5-10 minutes before slicing. This allows the juices to redistribute, ensuring maximum tenderness. If you desire a thicker, more spoonable sauce for serving, proceed immediately to the next step while the marinade in the dish is still hot.
Achieving the Perfect Sauce Consistency: How to Thicken The Sauce
If you prefer a rich, glossy, and slightly thicker teriyaki sauce to generously coat your chicken and sides, this optional step is a game-changer. It’s crucial to perform this immediately after the dish comes out of the oven, as the residual heat is essential to activate the cornstarch slurry. Here’s how to do it:
- Prepare the Cornstarch Slurry: In a small bowl, whisk together 1 teaspoon of cornstarch with 2 tablespoons of cold water until a smooth, lump-free paste forms. This is your slurry. Using cold water prevents the cornstarch from clumping.
- Incorporate the Slurry: Pour the cornstarch slurry directly into the hot, leftover marinade in the baking dish. Vigorously whisk the mixture for about 30 seconds to a minute. You’ll notice the sauce will begin to thicken almost immediately as it heats.
- Allow to Set: Let the sauce sit for a few minutes. As it cools slightly, it will continue to thicken to a beautiful, luscious consistency, perfect for spooning over your sliced chicken and accompanying dishes.
Versatile Cooking: Exploring Other Cook Methods for Teriyaki Chicken
While baking offers an incredibly convenient and consistent method for preparing this teriyaki chicken, you’re not limited to just the oven. This adaptable recipe can be easily transformed to suit various cooking appliances, each imparting its own unique texture and flavor. Don’t feel like turning on your oven? Try these fantastic alternative cooking methods for your teriyaki chicken:
Grilled: Infuse your teriyaki chicken with a smoky char by taking it to the grill. Utilizing our grilled chicken breast recipe guidelines, preheat your grill to a medium-high temperature, around 400ºF (200ºC). Grill the marinated chicken for approximately 15-20 minutes, flipping halfway through, until a beautiful sear develops and the internal temperature reaches 165ºF. The high heat caramelizes the teriyaki glaze, creating a delightful sticky coating.
Instant Pot: For a quick and hands-off approach, the Instant Pot is your best friend. Following our Instant Pot chicken breast recipe, simply transfer the marinated chicken breast and all the marinade into your Instant Pot, preferably on a trivet to prevent sticking. Cook on high pressure for about 8 minutes, followed by a natural pressure release for 5 minutes, then quick release. This method yields exceptionally tender and juicy chicken, with a flavorful sauce that can be easily thickened afterward.
Slow Cooker: If you love coming home to a fully cooked meal, the slow cooker is ideal. With our slow cooker chicken breast recipe as a guide, transfer the marinated chicken breast and marinade into your slow cooker. Cook on high for 2-3 hours or on low for 6-8 hours. The low and slow cooking process ensures the chicken becomes incredibly fall-apart tender, and the flavors meld beautifully into a rich, deeply satisfying sauce.
Always ensure: Regardless of your chosen cooking method, the most crucial step is to always verify that the internal temperature of your chicken breast reaches a safe 165ºF (74ºC). This guarantees not only safety but also perfectly cooked, tender results. A reliable meat thermometer is an indispensable kitchen tool for this purpose.

Pro Tip!
The Indispensable Thermoworks Thermapen
We wholeheartedly endorse using a high-quality meat thermometer whenever you’re cooking any cut of meat. It’s the only way to guarantee your food is cooked perfectly and safely every time. The Thermapen is our absolute go-to meat thermometer, known for its lightning-fast and accurate readings that never let us down.
Essential Tips & Frequently Asked Questions
Absolutely, and it’s highly recommended for maximizing flavor! Baking the chicken directly in its marinade allows the meat to continuously absorb those delicious sweet and savory notes throughout the cooking process. Simply transfer both the chicken breast and its marinade into a greased baking dish and bake at 375ºF (190ºC) for approximately 20-25 minutes, or until fully cooked. This method ensures your chicken is incredibly juicy and flavorful, with a built-in sauce.
When baking chicken breast at 375ºF (190ºC), you should plan for a cooking time of about 20-25 minutes. However, the most accurate way to determine doneness is by checking the internal temperature with a reliable meat thermometer. The chicken is safely cooked and perfectly tender once it reaches an internal temperature of 165ºF (74ºC) at its thickest part.
Yes, you can easily swap chicken breast for chicken thighs in this recipe! Both boneless, skinless chicken thighs and bone-in, skin-on chicken thighs work wonderfully. Chicken thighs often provide a richer flavor and stay incredibly moist due to their higher fat content. Just be aware that bone-in thighs might require a slightly longer baking time, so always rely on your meat thermometer to ensure they reach the safe internal temperature of 165ºF (74ºC).
Absolutely! Once the chicken has been thoroughly cooked to 165ºF (74ºC), the marinade it baked in is completely safe and highly recommended for serving. It transforms into a rich, flavorful sauce that’s perfect for spooning over your chicken and sides. For an even more luxurious experience, feel free to thicken this delicious sauce with a cornstarch slurry, as described in our instructions, to achieve a glossy, clingy consistency.
Check it out!
Explore More: 6 Mouthwatering Baked Chicken Breast Recipes
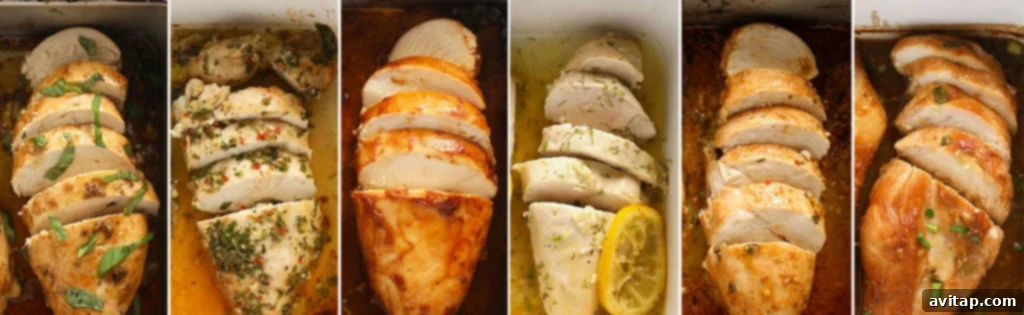
If you’ve enjoyed this teriyaki chicken, you are going to fall in love with these 6 oven baked chicken breast recipes. Learn the secrets to baking chicken breast perfectly every single time, and discover six delicious flavor variations to keep your meals exciting and diverse!
Delightful Serving Suggestions for Baked Teriyaki Chicken
The beauty of this baked teriyaki chicken recipe lies in its versatility, making it a fantastic centerpiece for a variety of meals. Our absolute favorite way to serve it is alongside a simple yet satisfying combination of fluffy white rice and vibrant, crisp stir-fried or steamed broccoli. The mild flavors of these sides perfectly complement the rich teriyaki sauce, creating a balanced and wholesome meal. However, the possibilities for delightful pairings are truly endless! Here are some other fantastic ideas to inspire your culinary creations:
- Cauliflower Rice: For a low-carb alternative, cauliflower rice soaks up the teriyaki sauce beautifully and adds a subtle texture.
- Quinoa: A complete protein, quinoa offers a nutty flavor and wholesome texture that pairs wonderfully with the chicken and sauce.
- Brown Rice: Opt for brown rice for added fiber and a slightly chewier texture that contrasts nicely with the tender chicken.
- Vegetarian Fried Rice: Elevate your meal with a side of savory fried rice, packed with vegetables, making for a truly satisfying Asian-inspired dinner.
- Cauliflower Fried Rice: Another excellent low-carb option, cauliflower fried rice combines the goodness of vegetables with the comforting flavors of fried rice.
- Chicken Fried Rice: Double down on chicken goodness by serving your baked teriyaki chicken with a flavorful chicken fried rice for a hearty and delicious meal.
- Noodle Bowls: Serve your sliced teriyaki chicken over a bed of ramen, udon, or rice noodles, tossed with some fresh vegetables and a generous drizzle of the remaining sauce for a complete noodle bowl experience.
- Fresh Salad: For a lighter meal, slice the chicken and serve it atop a crisp salad with a light sesame dressing.
Quick Tip for Serving!
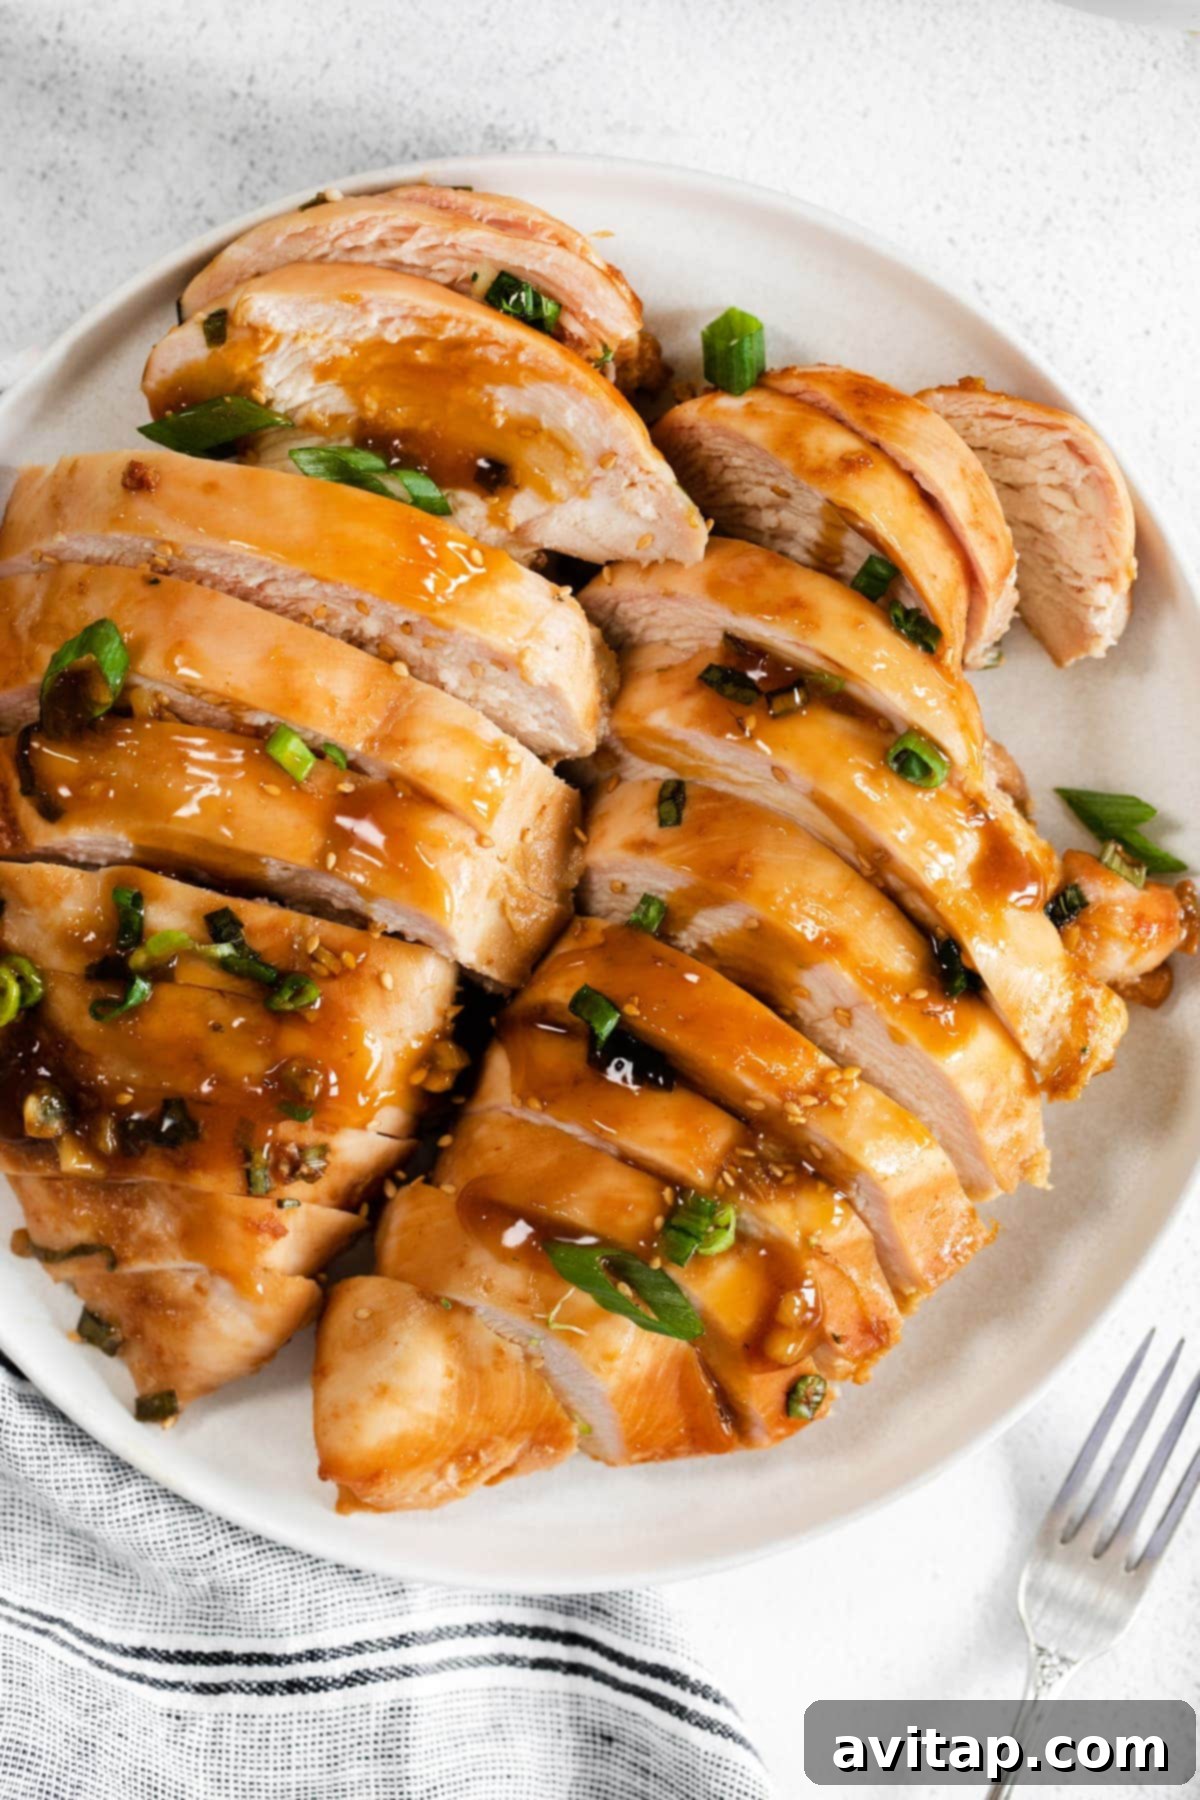
The wonderful thing about this baked chicken breast is how incredibly tender it becomes. This versatility allows you to either elegantly slice it into uniform pieces, as showcased in our photographs, or effortlessly use two forks to shred it into succulent, bite-sized strands. Both options are perfect for different presentations and meal types, whether you’re serving it over rice or in a sandwich.
Storage Guidelines for Baked Teriyaki Chicken
To ensure your delicious baked teriyaki chicken breast remains fresh and flavorful, allow it to cool completely to room temperature before storing. Once cooled, transfer the chicken and any leftover sauce into an airtight container. Properly sealed, it can be safely refrigerated for up to 3-5 days. This makes it a fantastic option for meal prepping healthy lunches or quick dinners throughout the week.
Freezer Instructions for Future Meals
Planning ahead for busy days? Freezing your teriyaki chicken is a brilliant idea! For the best quality and flavor, we actually recommend freezing it *before* baking. This method locks in the freshness and ensures the chicken cooks perfectly when you’re ready to enjoy it.
- Prepare the Freezer Bag: Place the raw chicken breast and the freshly made teriyaki chicken marinade into a freezer-safe, gallon-size bag.
- Seal and Freeze: Remove as much air as possible from the bag before sealing it tightly. This helps prevent freezer burn and preserves the chicken’s quality. Lay the bag flat in your freezer for efficient storage.
- Duration: The marinated chicken can be stored in the freezer for up to 3 months, offering a convenient ready-to-bake meal whenever you need it.
When you are ready to cook, remember to thaw the chicken completely in the refrigerator, ideally overnight. Once fully thawed, follow the baking directions outlined in our main recipe card for this baked teriyaki chicken recipe to achieve tender, flavorful results just like fresh.
More of our Favorite…
Explore More Delicious Teriyaki Chicken Recipes
If you can’t get enough of that incredible teriyaki flavor, you’re in luck! We have a collection of other fantastic teriyaki chicken recipes designed for various cooking methods and preferences. Broaden your culinary horizons with these delectable options:
- Teriyaki Chicken Stir Fry: A quick and colorful meal packed with fresh vegetables and succulent teriyaki chicken, perfect for a lightning-fast dinner.
- Grilled Teriyaki Chicken: Experience the smoky char and caramelized glaze of grilled teriyaki chicken, especially delicious with a side of grilled pineapple for a tropical twist.
- Crock Pot Teriyaki Chicken: For those days when you need dinner to cook itself, our slow cooker teriyaki chicken recipe delivers unbelievably tender chicken with minimal effort, allowing you to come home to a delicious meal.
Baked Teriyaki Chicken
Prep: 35 minutes
Cook: 20 minutes
Total: 55 minutes
Ingredients
- 1 to 1.5 lbs. boneless skinless chicken breast
- 1/4 cup soy sauce, or tamari for gluten-free
- 2 teaspoon fresh grated ginger
- 1/2 teaspoon sriracha
- 2 cloves garlic, minced
- 3 tablespoons maple syrup
- 2 tablespoons chopped green onion
- 2 tablespoons rice vinegar
- Optional sauce thickener: 1 teaspoon cornstarch + 2 tablespoons water
- Optional toppings: sesame seeds and more chopped green onions
Instructions
-
In a medium bowl or Pyrex, combine all marinade ingredients (soy sauce, grated ginger, sriracha, minced garlic, maple syrup, chopped green onion, and rice vinegar). Whisk thoroughly until well combined.
-
Place the chicken breast into a gallon-size plastic bag or directly into your casserole dish. Pour the prepared marinade over the chicken, ensuring all pieces are fully coated. Remove as much air as possible from the bag and seal, or cover the dish tightly. Gently massage the bag to distribute the marinade evenly.
-
Allow the chicken to marinate in the refrigerator for at least 30 minutes. For the most tender and flavorful results, marinate for 24 hours.
-
When ready to bake, preheat your oven to 375ºF (190ºC). Lightly spray a 9×9-inch baking dish with nonstick cooking spray. Transfer all the contents from your marinade bag or bowl (including the chicken and all the marinade) into the prepared baking dish.
-
Bake the chicken breasts at 375ºF (190ºC) for 20-25 minutes, or until the internal temperature of the thickest part of the chicken reaches 165ºF (74ºC) when measured with a meat thermometer.
-
Carefully remove the chicken breast from the oven and immediately transfer it to a plate or cutting board. Allow the chicken to rest for 5-10 minutes before slicing or shredding. This resting period helps redistribute the juices, ensuring a more tender and moist result.
-
Optional Sauce Thickening: If you wish to thicken the remaining sauce for serving, this step must be done immediately after removing the baking dish from the oven while the sauce is still very hot, as the heat activates the cornstarch. In a small bowl, create a cornstarch slurry by whisking together 1 teaspoon of cornstarch with 2 tablespoons of cold water until smooth. Pour this slurry into the hot sauce remaining in the baking dish and whisk continuously until it dissolves and begins to thicken. The sauce will continue to thicken slightly as it sits for a few minutes.
-
Serve the tender chicken breast, sliced or shredded, with plenty of the delicious teriyaki sauce drizzled over it. Garnish with an optional sprinkle of sesame seeds and additional chopped green onions for extra flavor and visual appeal.
Tips & Notes
- Please note that the exact cook time for your chicken may vary depending on the specific thickness and size of your chicken breast. Always use a meat thermometer for accurate results.
- The provided nutrition information was calculated using 1.5 lbs. of chicken breast and is based on a serving size of 6 people.
Watch It
For a visual guide on preparing a fantastic teriyaki chicken marinade, please refer to our helpful video tutorial.
Nutrition
Nutrition information is automatically calculated, so should only be used as an approximation.
Love this recipe? Share your thoughts below!
Don’t forget to tag your culinary creations on social media with the hashtag #fitfoodiefinds – we’re always excited to see what you’re cooking up!