
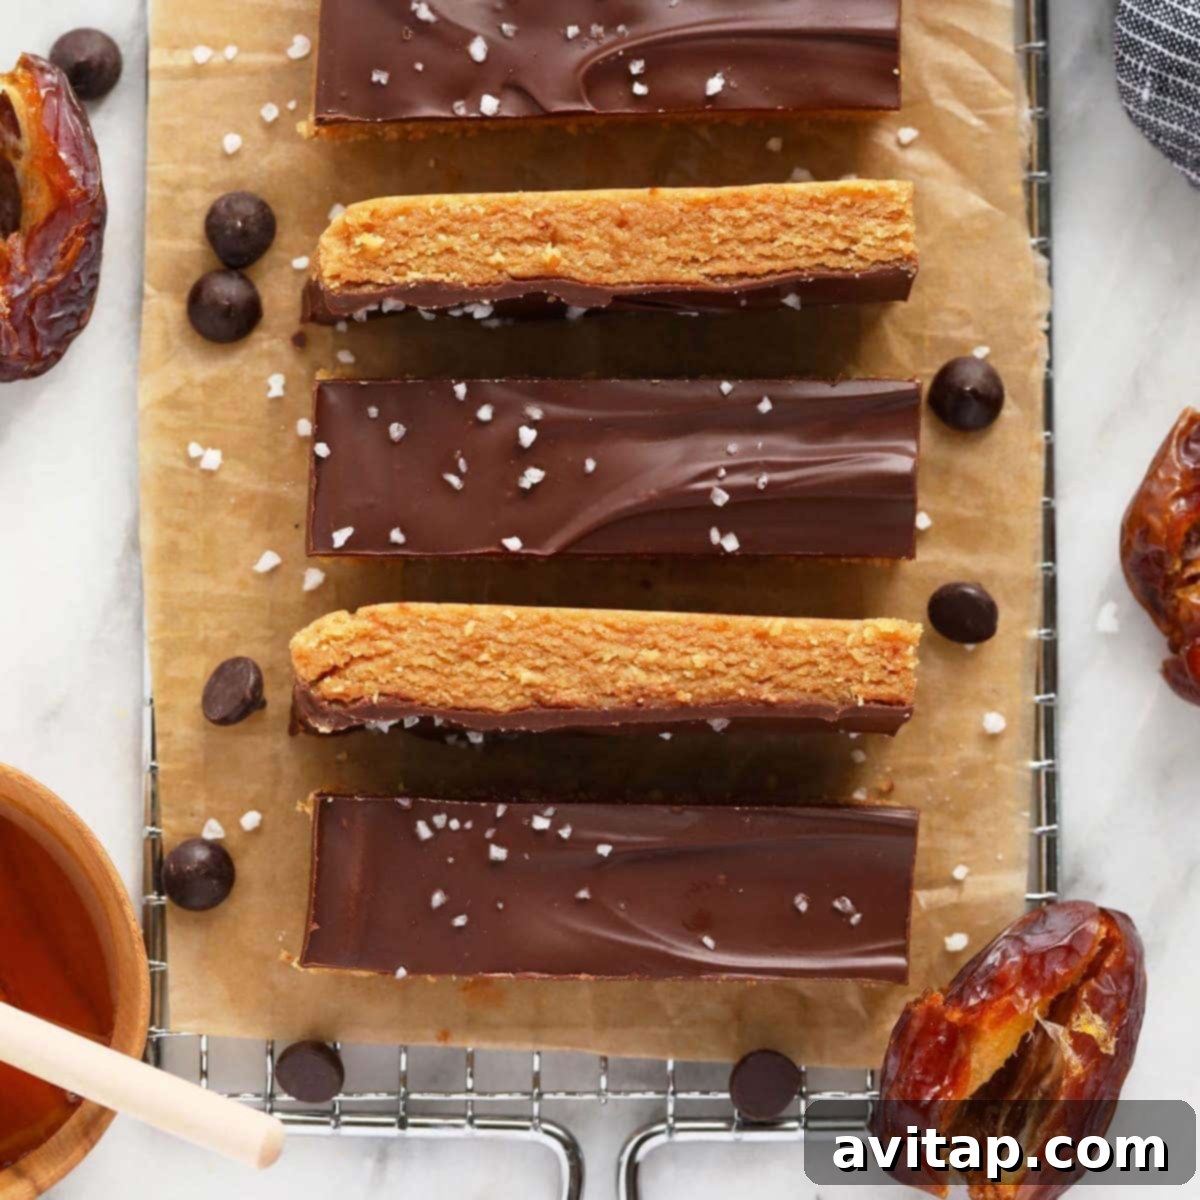
Prepare to discover the internet’s absolute best homemade peanut butter protein bars. Forget store-bought options filled with unpronounceable ingredients; our recipe utilizes a food processor and wholesome components you can trust, such as creamy peanut butter, nutrient-rich Medjool dates, finely ground oat flour, and your favorite protein powder. These bars are not just incredibly easy to make, they’re also packed with flavor, fiber, and muscle-building protein, making them an ideal snack for any time of day.
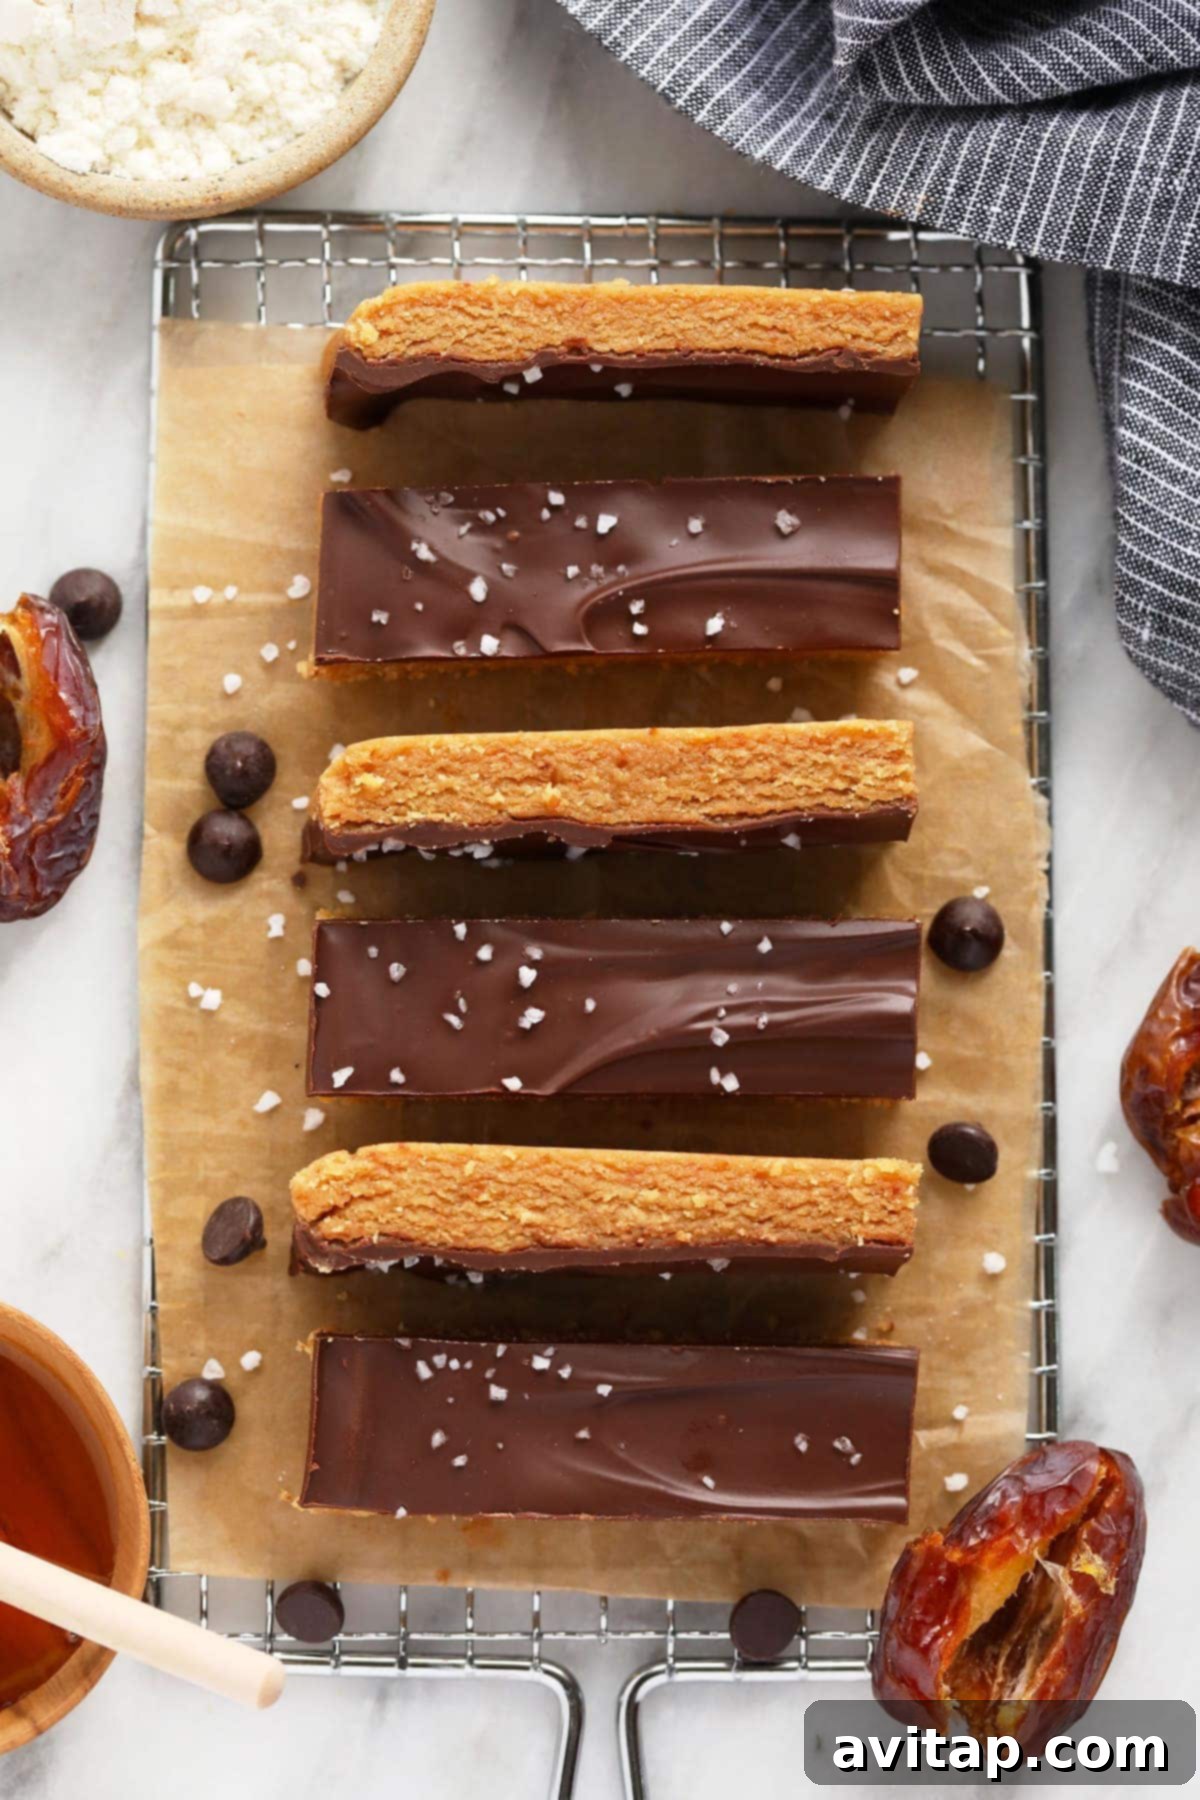
If you’re already a fan of our peanut butter protein balls, you’re guaranteed to fall in love with these delightful peanut butter protein bars! They boast a taste and texture remarkably similar to popular Perfect Bars, yet are crafted with straightforward, real-food ingredients, entirely free from the obscure additives often found in commercial products. This recipe empowers you to enjoy a nutritious, satisfying treat without compromising on taste or quality.
One of the greatest advantages of these homemade protein bars is their versatility and convenience. Whipping up a batch and storing them in the freezer ensures you always have a quick, effortless, and nourishing snack readily available. They are perfectly suited as a revitalizing post-workout refuel, a quick on-the-go breakfast, or even a surprisingly satisfying and healthy dessert whenever a sweet craving strikes. They are a true game-changer for mindful meal prep.
Pro Tip from Our Community
“These bars are fantastic! I’ve made them four or five times already. My top recommendation is to pit and then soak the Medjool dates in warm water for about 10 minutes to ensure they’re extra soft. Also, grind your oats into flour first, transfer the flour to a separate bowl, and then process the softened Medjool dates before adding any other ingredients. This sequence makes the blending process significantly smoother and easier, resulting in a perfectly consistent dough.” – Josh, a valued reader
Understanding the Key Ingredients in Our Protein Bar Recipe
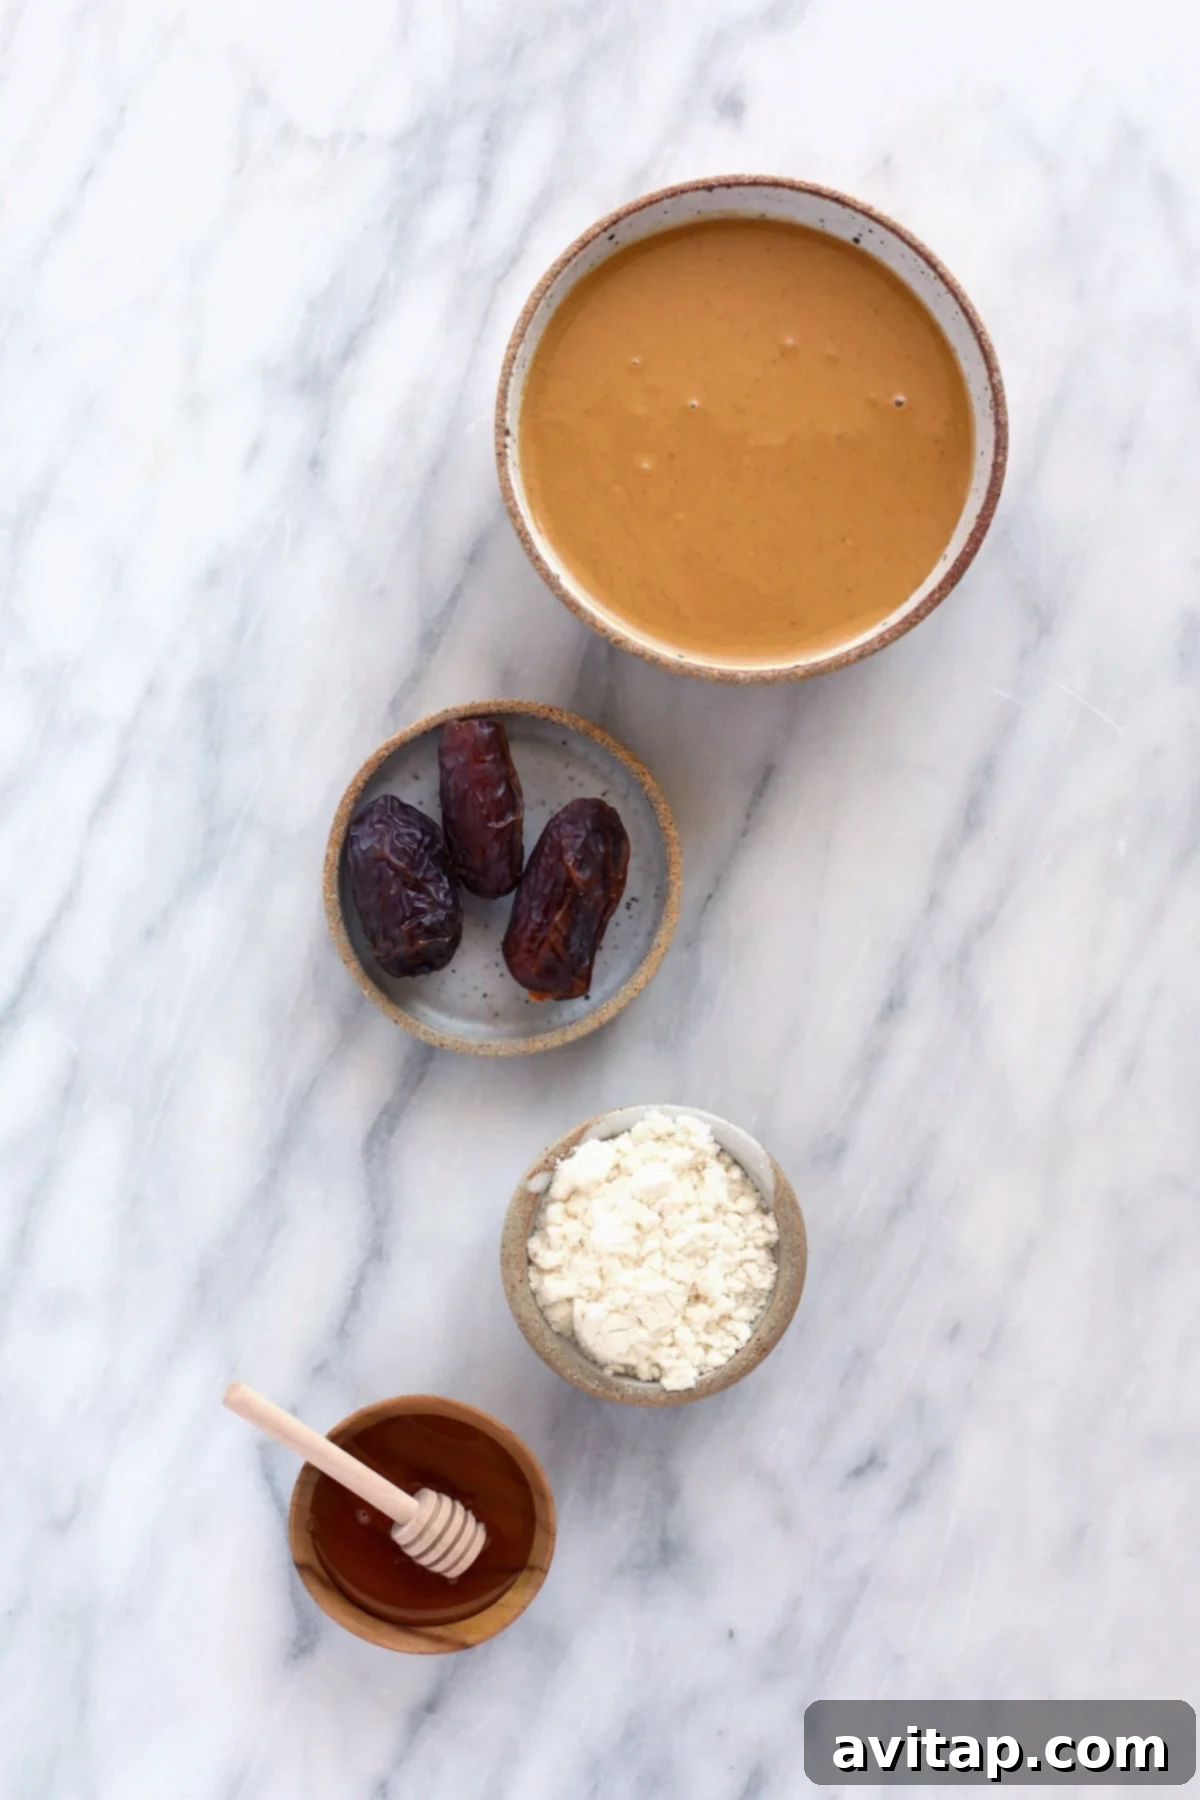
The magic of these homemade protein bars lies in their thoughtfully selected, simple ingredients. Each component plays a crucial role in achieving the perfect balance of flavor, texture, and nutritional value. Here’s a closer look at what goes into making these sensational snacks:
- Medjool Dates – These natural sweeteners are the backbone of our bars, providing a rich, caramel-like sweetness and an essential sticky binder. For optimal results, always ensure your Medjool dates are soft and pliable. If they feel firm or a bit dry, a quick soak in warm water for a few minutes will soften them up, making them much easier for your food processor to handle and integrate smoothly into the dough.
- All-Natural Peanut Butter – The creamy, rich flavor of all-natural peanut butter is central to this recipe. It’s vital to use a drippy variety, as the natural oils contribute to the perfect dough consistency and help bind all the ingredients together. Brands like Smucker’s Natural or Trader Joe’s are excellent choices, typically containing just peanuts and salt. Avoid overly stiff or sugar-laden peanut butters, as they will alter the texture and sweetness.
- Honey – Beyond adding natural sweetness, honey is indispensable for its exceptional stickiness. This property is crucial for binding all the dry and wet ingredients into a cohesive, bar-like consistency. Unfortunately, we don’t recommend swapping honey for substitutes like maple syrup or agave nectar in this particular recipe, as their less viscous nature won’t provide the necessary binding power for these no-bake bars to hold their shape effectively.
- Vanilla Protein Powder – This ingredient is key for boosting the protein content, making these bars truly effective for post-workout recovery or sustained energy. While we personally used whey protein for its smooth texture and mild flavor, feel free to use your preferred type of protein powder, whether it’s casein, pea protein, or a plant-based blend. Vanilla flavor adds a subtle, complementary sweetness, but other flavors like chocolate can also be experimented with for exciting variations.
- Ground Oat Flour – As a whole grain, oat flour contributes healthy carbohydrates and fiber to these bars, aiding in satiety and digestive health. It’s incredibly easy to make at home by simply pulverizing rolled oats in your food processor until a fine, flour-like consistency is achieved. This ensures a smooth dough and avoids any gritty texture.
- Vanilla Extract – A splash of vanilla extract elevates the overall flavor profile, adding a warm, aromatic depth that beautifully complements the peanut butter and dates. It’s a small addition that makes a big difference in taste.
- A Pinch of Salt – While often overlooked, a tiny pinch of salt is vital for balancing the sweetness from the dates and honey, enhancing all the other flavors in the bar.
- Water – Added gradually, water helps achieve the perfect cookie-dough-like consistency, ensuring the bars are neither too dry and crumbly nor too wet and sticky. The amount may vary based on your specific peanut butter and dates.
Flexible Ingredient Swaps and Smart Substitutions
One of the joys of making homemade protein bars is the flexibility to customize them to your preferences or dietary needs. While our classic peanut butter recipe is a favorite, there are several effective substitutions you can make:
The most straightforward swap in this recipe is undoubtedly the nut butter. If you have a peanut allergy, prefer a different flavor, or simply don’t have peanut butter on hand, feel free to experiment. Cashew butter offers a milder, slightly sweeter profile, while almond butter provides a distinct nutty taste. Both work wonderfully, just ensure they are natural and drippy for the best consistency. Other options include sunflower seed butter for a nut-free alternative.
Regarding protein powder, while we typically prefer the smooth texture and easy mixability of whey protein, nearly any kind of protein powder will work. This includes casein, soy protein, or various plant-based proteins like pea, rice, or hemp. Don’t hesitate to get creative with flavors too; a chocolate protein powder can transform these into a rich, fudgy treat, while a flavored protein (like birthday cake or strawberry) could add an exciting twist!
Feeling a little pressed for time or just prefer bite-sized snacks? You can easily adapt this protein bar recipe into protein balls! Instead of pressing the mixture into a pan, simply use a 1-tablespoon cookie scoop to portion the batter, then roll it between your palms to form perfect, pop-able spheres. This makes them even more convenient for quick snacks or kids’ lunchboxes.
For those looking for a gluten-free option, ensure your oat flour is certified gluten-free, or simply use a gluten-free all-purpose flour blend. For a vegan version, substitute honey with an equal amount of pure maple syrup or agave nectar. Be aware that these might make the bars slightly less sticky, so you might need to reduce the water slightly or add a touch more oat flour to maintain the desired consistency.
Discover Our Top Protein Powder Recommendations
Explore our comprehensive guide to the best protein powder options, perfect for baking, blending into smoothies, and everything in between, to help you make informed choices.
Garden of Life
Raw Organic Protein
Simply Tera’s
Pure Whey Protein
Sun Warrior
Protein Powder
Garden of Life
Organic Whey Protein
Aloha
Organic Protein Powder
Top Tips for Crafting Perfect Homemade Protein Bars
Achieving perfectly textured and delicious protein bars is easy with a few key strategies. Follow these expert tips to ensure your homemade protein bars turn out beautifully every time:
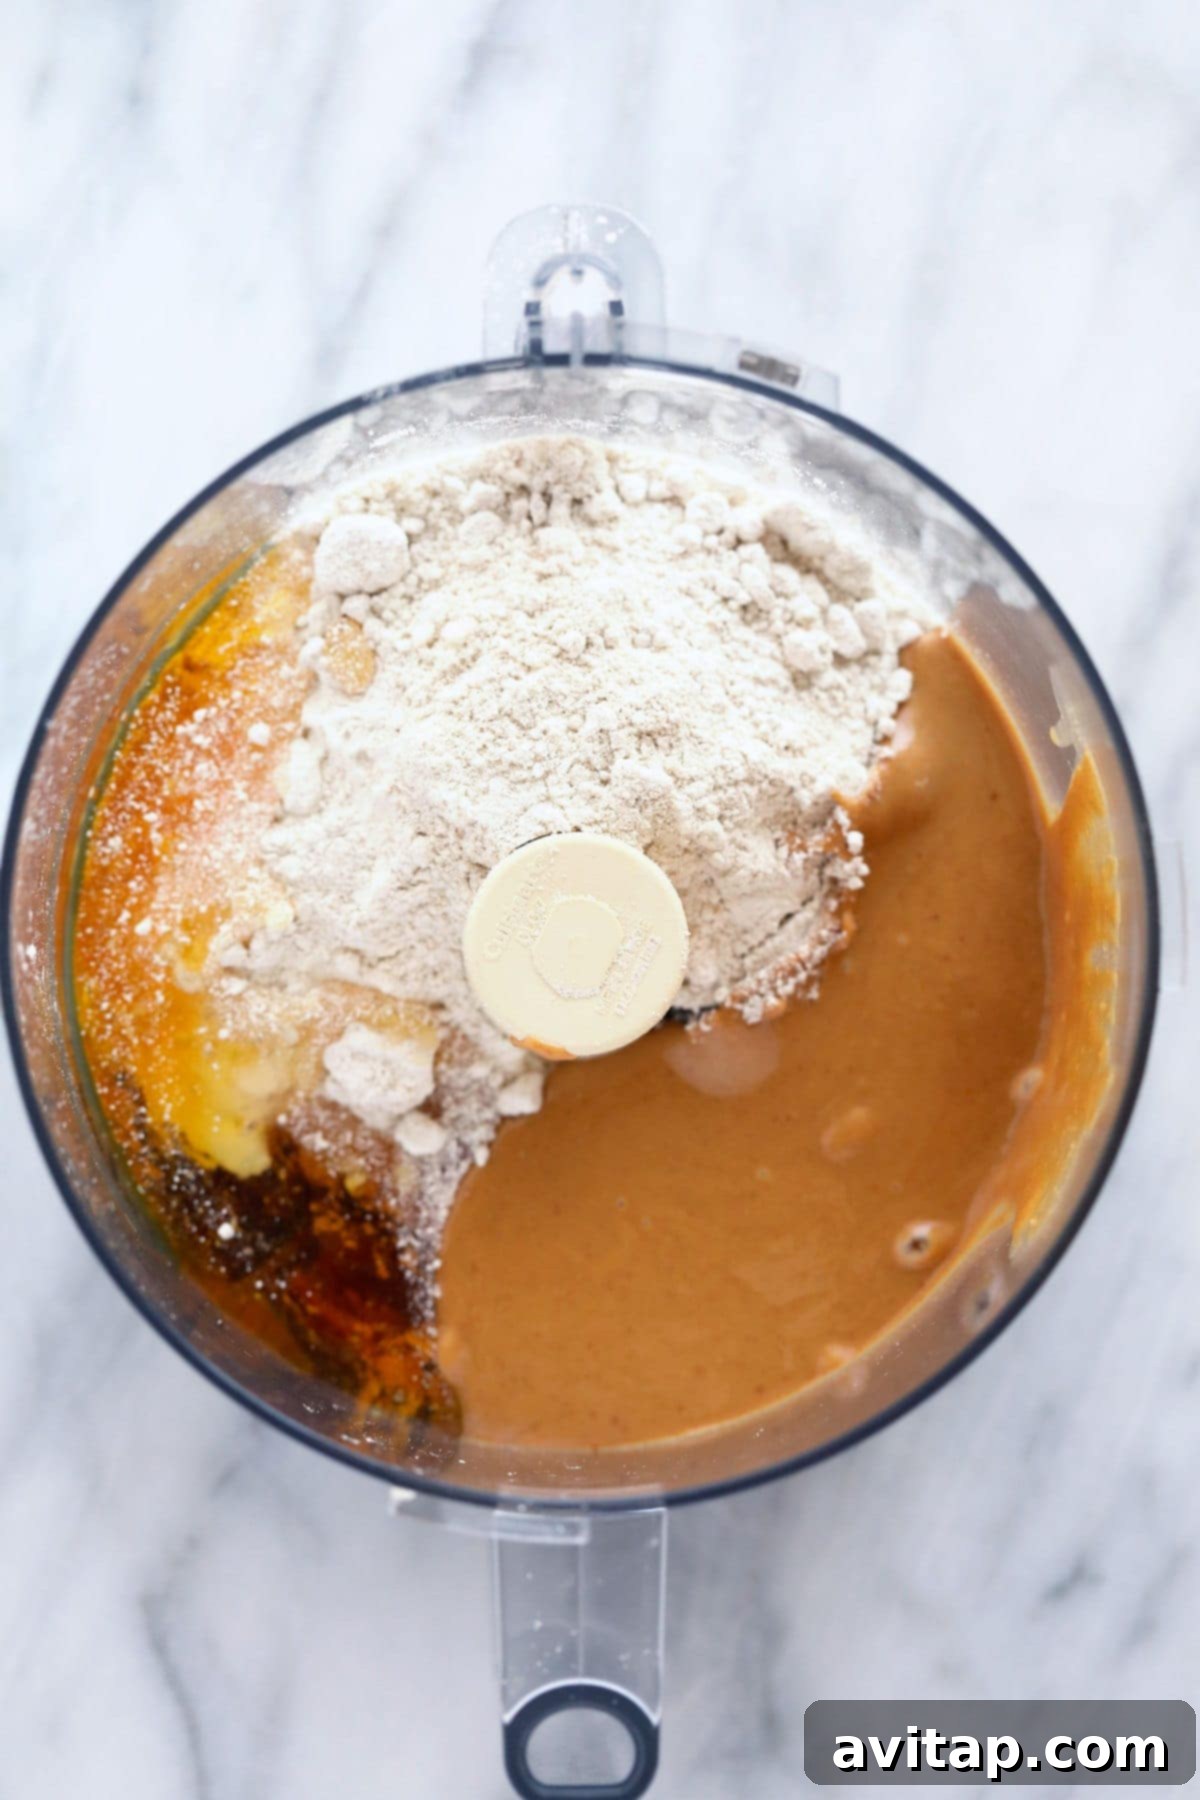
Invest in a High-Quality Food Processor – This is arguably the most crucial tip for this recipe. A powerful, high-speed food processor is indispensable for success. It effortlessly pulverizes the sticky Medjool dates into a smooth paste and thoroughly combines all ingredients into a uniform, cohesive dough. A less powerful machine might struggle, leaving chunky bits or an uneven texture. This tool is your best friend for no-bake recipes!
Consistency is Everything – The ultimate goal is to achieve a cookie dough-like consistency that is firm enough to hold its shape but soft enough to press easily. This is precisely why the recipe specifies drippy, all-natural peanut butter and sticky honey. These liquid ingredients are essential for binding the dry components together.
- If your mixture is too dry: It will be crumbly and won’t stick together. Add water, one tablespoon at a time, and continue processing until it reaches the desired consistency.
- If your mixture is too wet: It will be overly sticky and hard to handle. Gradually add more oat flour, one tablespoon at a time, until the dough firms up. Remember, slight adjustments can make a big difference!
Any Pan Size Works – Don’t fret if you don’t own a specific 9×13-inch baking pan. Since these are no-bake protein bars, the pan size is quite flexible! You can use a square 8×8 or 9×9-inch pan for thicker, more substantial bars, or even two standard loaf pans for a different shape. The beauty of this recipe is that you have complete control over the final dimensions – cut your bars smaller, longer, thicker, or thinner to suit your preference. The possibilities are endless!
Parchment Paper is Your Friend – Always line your pan with parchment paper, leaving an overhang on the sides. This makes lifting the compacted bar mixture out of the pan incredibly easy once it’s set, making slicing a breeze and cleanup minimal.
Chill Thoroughly – While no-bake, these bars require sufficient chilling time in the refrigerator or freezer. This allows the ingredients to firm up, making the bars easier to slice cleanly and ensuring they hold their shape at room temperature. Don’t rush this step!
Elevate Your Bars with an Optional Chocolate Topping
When the opportunity arises for an optional chocolate topping, the answer is almost always a resounding YES! Adding a luscious chocolate layer takes these already delicious peanut butter protein bars to an entirely new level, transforming them into an indulgent, yet still healthy, treat. All you need are two simple ingredients:
To create this irresistible topping, simply combine your chosen chocolate chips with coconut oil in a microwave-safe bowl. Gently melt them together in short intervals, stirring frequently, until the mixture is completely smooth and glossy. The coconut oil helps to create a silky texture and allows the chocolate to harden beautifully when chilled.
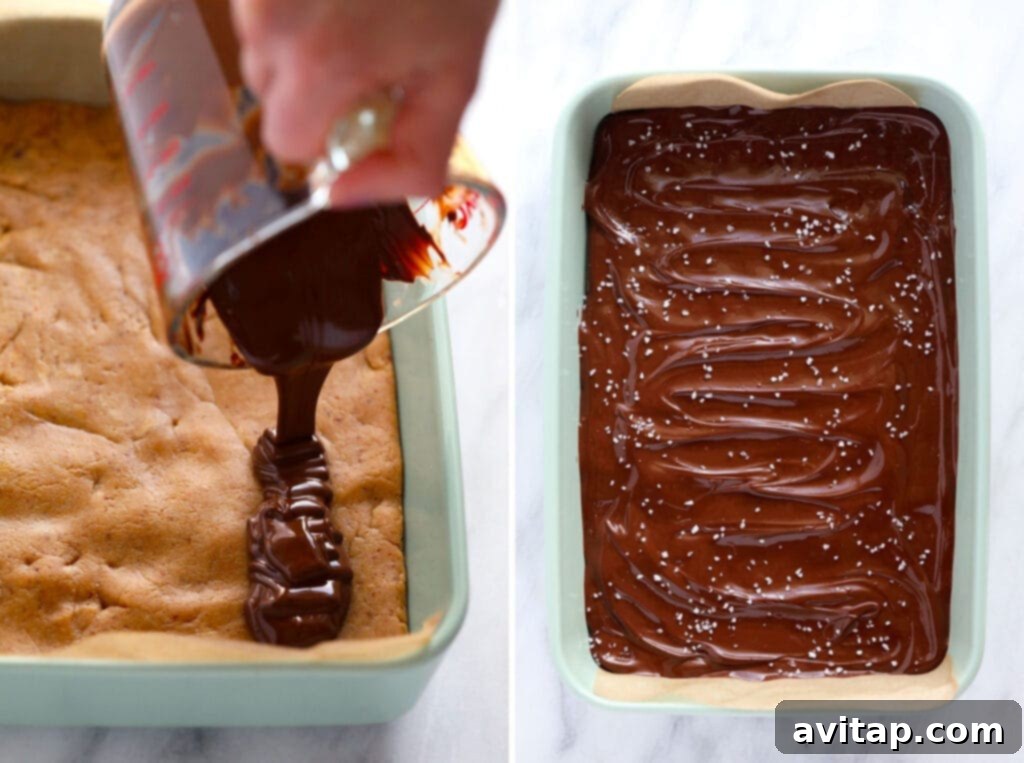
Once melted, generously pour the smooth chocolate mixture over the pressed protein bars in your pan. Use a spatula or the back of a spoon to spread it out evenly, covering the entire surface. For an extra touch of gourmet appeal and a delightful crunch, sprinkle a pinch of coarse sea salt over the wet chocolate. The salt crystals provide a wonderful contrast to the sweetness of the chocolate and peanut butter.
Allow the chocolate-topped bars to set in the freezer for at least 30 minutes, or until the chocolate has fully hardened and is firm to the touch. This crucial step ensures a clean, crisp slice and prevents the chocolate from melting too quickly when handled. Once set, they are ready to be sliced and enjoyed!
Frequently Asked Questions About Homemade Protein Bars
Many commercial protein bars are loaded with artificial sweeteners, added sugars, or sugar alcohols primarily to mask the often earthy or bitter flavors of concentrated protein powders. This can lead to an overly sweet taste and sometimes digestive discomfort. When you make homemade protein bars, you have complete control over the sweetness level, opting for natural sweeteners like dates and a modest amount of honey.
Absolutely! Protein is a fundamental macronutrient essential for muscle repair, recovery, and growth. Consuming protein bars, especially after a workout, provides your body with the necessary amino acids to kickstart muscle protein synthesis. They serve as an excellent, convenient option for fueling your muscles when whole food sources aren’t immediately available.
While protein bars can be a good option in a pinch, they are generally not designed to be a complete meal replacement. For optimal nutrition, a balanced meal should include a wider variety of macronutrients, micronutrients, and whole foods. However, on those hectic days when you can’t prepare or access a proper meal, a well-formulated protein bar (like these homemade ones, which offer fiber and healthy fats) can certainly tide you over as a temporary solution.
There’s generally nothing inherently wrong with eating two protein bars in a day, especially if they are homemade with wholesome ingredients and fit into your overall dietary goals and calorie intake. Our philosophy, however, remains “everything in moderation.” Listen to your body and ensure you’re getting a diverse range of nutrients from other food sources throughout your day.
Without a doubt, making your own homemade protein bars is significantly more cost-effective than regularly purchasing commercial varieties. A single store-bought protein bar can range anywhere from $0.99 to $3.99. This entire recipe, yielding 16 generous bars, will likely cost you less than $5 in total, especially if you already have staple ingredients like peanut butter and oats on hand. The savings truly add up over time!
Yes, homemade protein bars are generally considered a healthy daily snack option, provided they’re made with whole grains, natural sweeteners, and balanced ingredients like ours. They offer a good source of protein, fiber, and healthy fats. However, as with any food, variety is key for optimal nutrition. We still adhere to our motto: “everything in moderation!”
When stored properly, these peanut butter protein bars can last up to 7 days in the refrigerator and up to 3 months in the freezer, making them perfect for meal prepping and having healthy snacks on hand.
Absolutely! To make these bars vegan, simply substitute the honey with an equal amount of pure maple syrup or agave nectar, and ensure your protein powder is plant-based (like pea, rice, or soy protein). All other ingredients in this recipe are naturally vegan-friendly.
Proper Storage for Maximum Freshness
Once your homemade peanut butter protein bars have been neatly sliced and the delicious chocolate topping has fully hardened, proper storage is key to maintaining their freshness and texture. Transfer the individual bars into an airtight container or a large gallon-size plastic bag. Store them in the refrigerator for up to 7 days. Keeping them chilled prevents them from becoming too soft and helps preserve their quality and taste.
Effortless Freezer Instructions
For extended freshness and ultimate convenience, we actually prefer to store these homemade protein bars in the freezer. Freezing allows them to last significantly longer, making them perfect for long-term meal prep and ensuring you always have a healthy snack ready whenever a craving strikes.
To freeze, simply place the sliced bars into a freezer-safe gallon-size bag or an airtight container, ensuring they are separated by parchment paper if stacking multiple layers to prevent sticking. They will keep beautifully in the freezer for up to 3 months. When you’re ready to enjoy one, simply pull it out of the freezer and let it thaw for a few minutes at room temperature, or enjoy it chilled for a firmer texture.
Discover More of Our Favorite…
Inspiring Protein Bar & Snack Recipes
If you loved making these peanut butter protein bars, you’ll definitely want to explore these other delicious and healthy snack ideas from our collection:
- 3-Ingredient Cashew Date Bars
- PB Chocolate Chip Larabars
- Chocolate Coconut Energy Bars
- Monster Cookie Protein Balls
- Peanut Butter Protein Balls
- Homemade Granola Bars
Homemade Peanut Butter Protein Bars
Prep: 1 hour
Cook: 0 minutes
Total: 1 hour
Want to save this recipe for later? You can easily print it or pin it to your Pinterest board!
Ingredients
- 5 Medjool dates, pitted*
- 1 cup all-natural peanut butter, drippy*
- 1.5 cups ground oat flour
- 1/3 cuphoney
- 1 teaspoonvanilla extract
- 1/2 cup vanilla protein powder, we used whey
- pinch of salt
- 1/4 cup water, or more depending on how thick your batter is
Optional Chocolate Topping
- 3/4 cups dark chocolate chips
- 2 teaspoons coconut oil
- coarse sea salt, to taste
Instructions
-
First, prepare your baking dish by lining either a 9×9-inch or 9×13-inch dish with parchment paper, allowing an overhang on the sides. This will make it much easier to lift the bars out later. The choice of pan size will determine the thickness of your finished bars: a smaller dish yields thicker bars, while a larger one results in thinner bars.
-
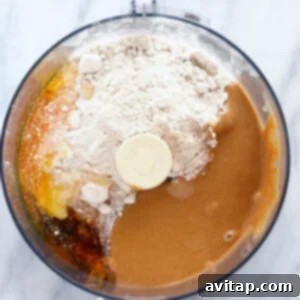
Next, gather all your core ingredients: the pitted Medjool dates, all-natural drippy peanut butter, finely ground oat flour, honey, vanilla extract, and protein powder. Place all these into the bowl of a high-speed food processor.

-
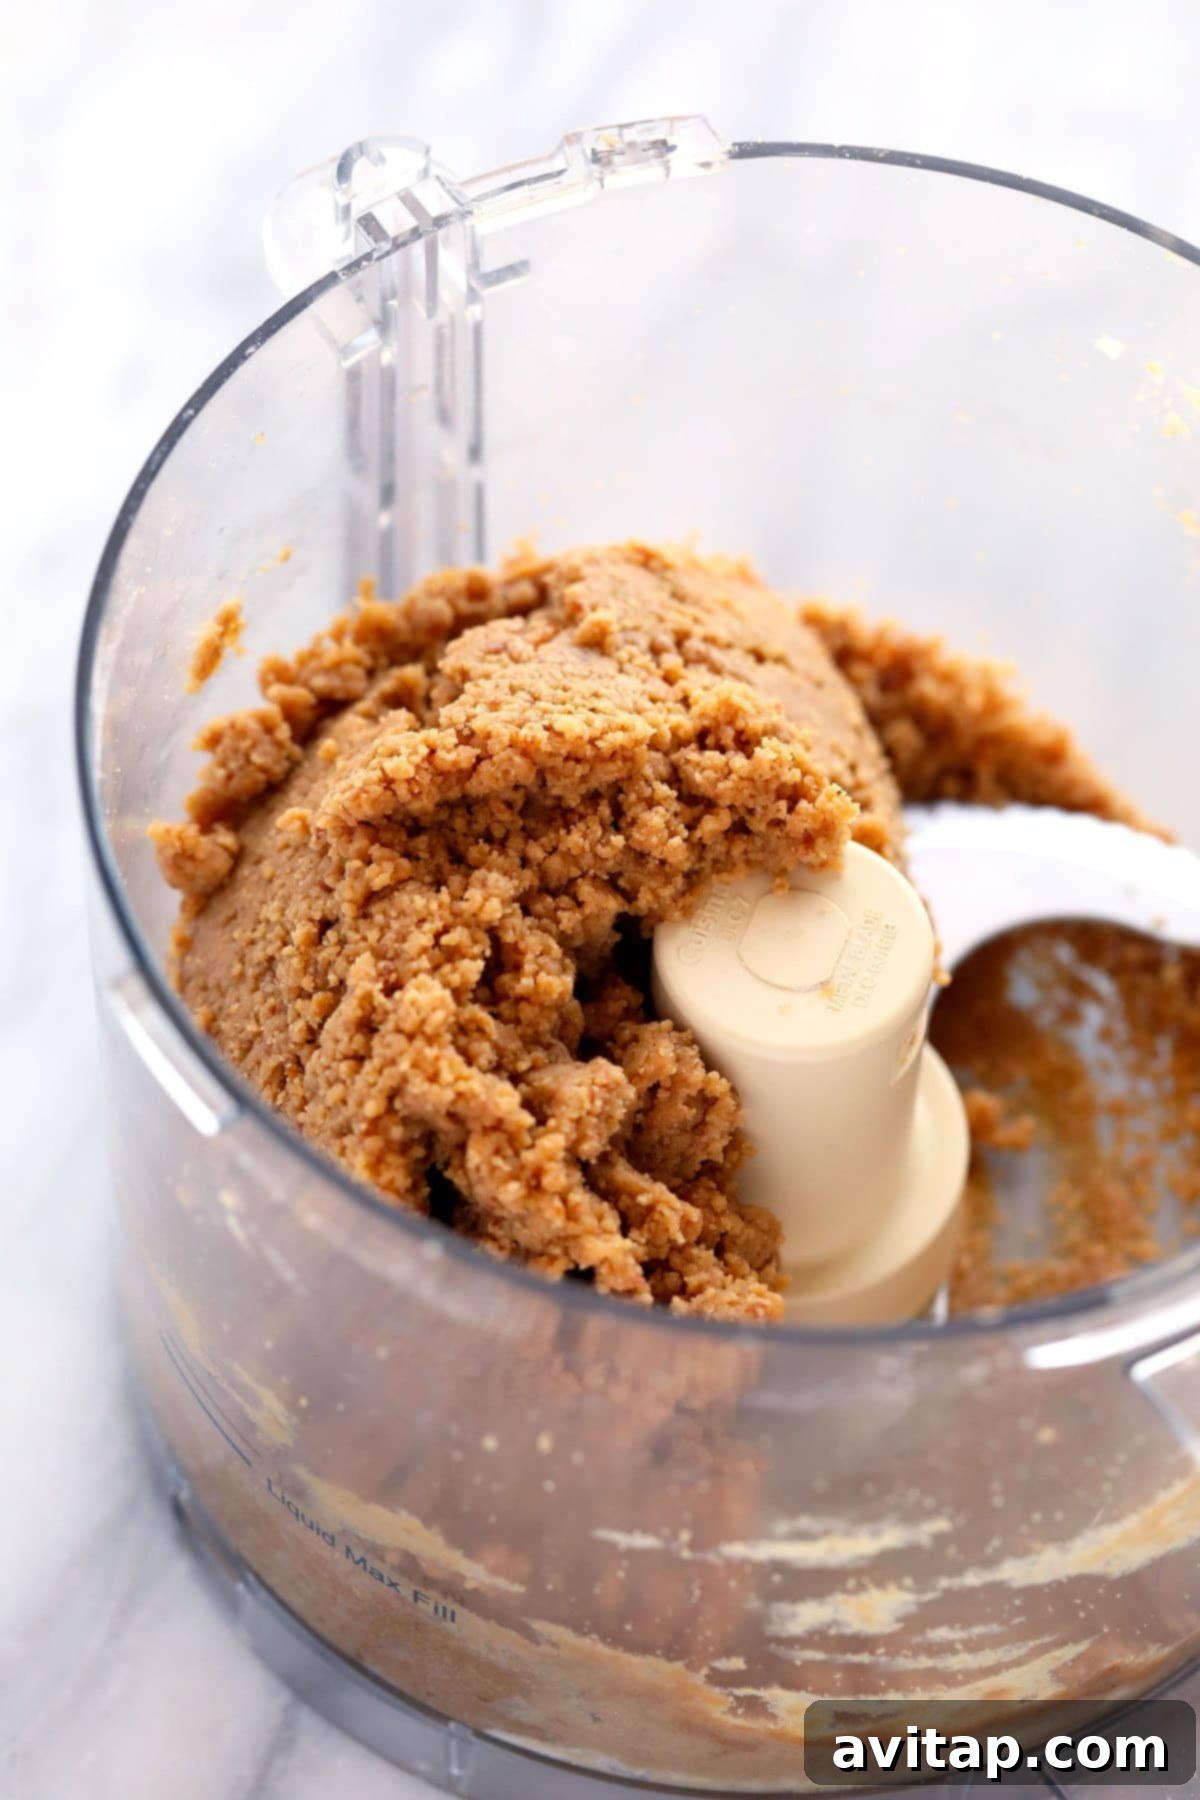
Process on high speed for 2-3 minutes. During this time, the ingredients will begin to break down and combine. Be sure to stop the food processor occasionally to scrape down the sides of the bowl with a spatula, ensuring all ingredients are thoroughly incorporated.
-
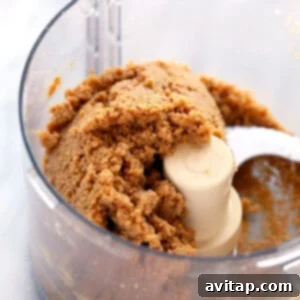
Once the mixture is somewhat combined, start adding water, one tablespoon at a time. Continue to process on high until a cohesive, cookie dough-like batter has formed. The Medjool dates should have completely disappeared into the dough, leaving no large chunks. The ideal consistency is one that holds its shape when pressed but isn’t overly sticky or runny. The exact amount of water needed can vary depending on the natural oil content of your peanut butter and the moisture level of your dates, so adjust as necessary. You may need slightly less or more than 1/4 cup.
-
Once your perfect dough has formed, transfer it evenly into your prepared parchment-lined baking dish. Press the mixture down firmly and evenly across the entire surface. You can use your hands, the back of a spoon, or a flat bottomed glass to ensure a compact, uniform layer. Set the pan aside.
-
Now, prepare the optional chocolate topping. Place the dark chocolate chips and coconut oil into a microwave-safe bowl. Microwave in 15-second increments, stirring well after each interval, until the chocolate is fully melted and the mixture is smooth and glossy. Be careful not to overheat the chocolate.
-
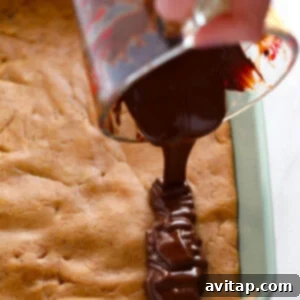
Carefully pour the melted chocolate topping onto the pressed protein bars. Use a spatula to spread it out evenly across the entire surface. For an extra touch of flavor and visual appeal, sprinkle a pinch of coarse sea salt over the wet chocolate.
-
Place the entire pan of bars into the freezer to set. Allow them to chill for 30 minutes to an hour, or until the chocolate topping has fully hardened. This step is crucial for achieving clean cuts.
-
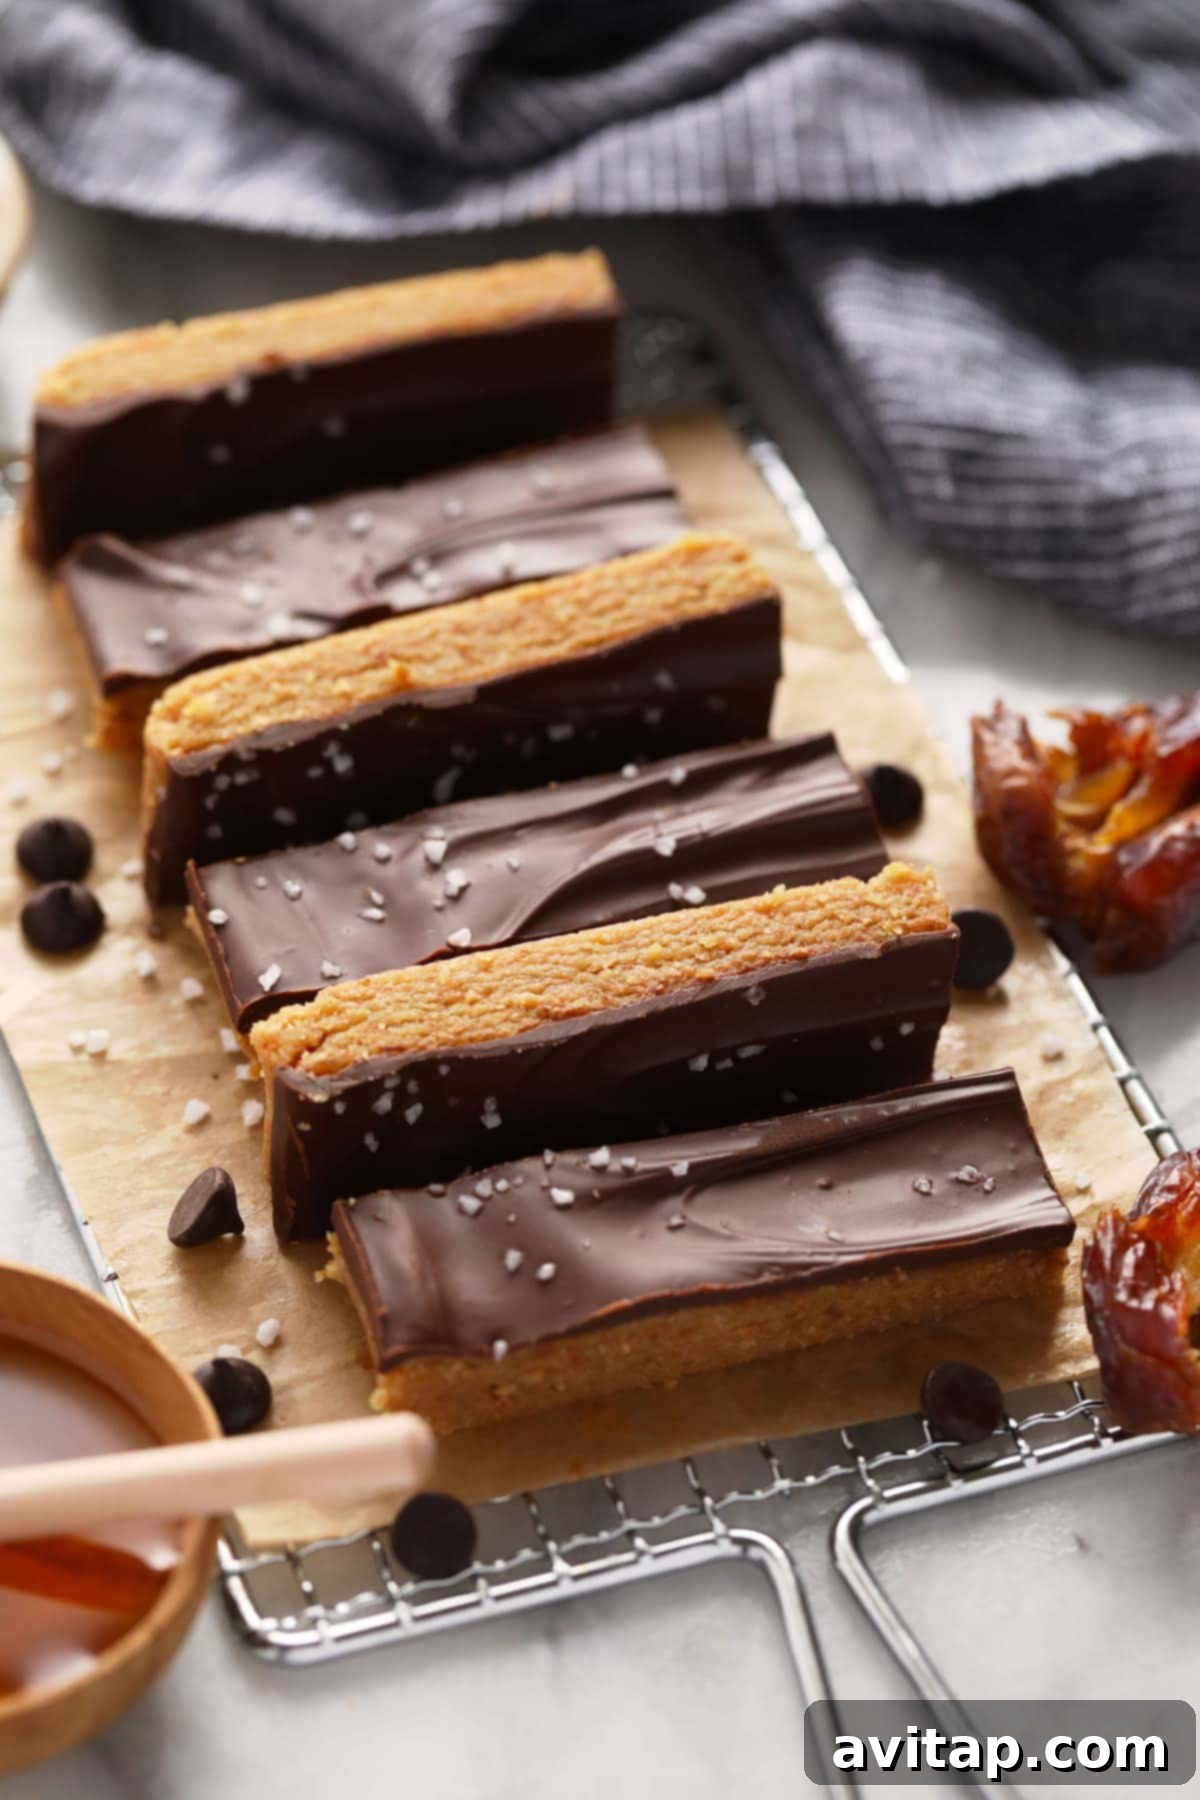
Once fully set, lift the block of bars out of the pan using the parchment paper overhang. Place it on a cutting board and slice into your desired bar size. Store the sliced bars in an airtight container in the fridge for up to 7 days, or transfer to a freezer-safe bag and freeze for up to 3 months for longer storage.
Helpful Tips & Notes
- This recipe was last updated on January 16, 2021. For an archive of the original recipe, click HERE.
- Medjool Dates: The softness of your Medjool dates is paramount. Hard or dry dates will not break down properly in the food processor. If your dates are not soft, soak them in hot water for 5-10 minutes, then drain thoroughly before using.
- Peanut Butter: The success of the texture heavily relies on a drippy, all-natural peanut butter. We highly recommend brands like Kirkland, Smucker’s All-Natural, or Good & Gather All Natural, which typically contain only peanuts and salt, ensuring the right consistency.
- Nutrition Information: Please note that the provided nutrition information does not include the optional chocolate topping. If you add the topping, the nutritional values will increase.
- Food Processor Power: A high-speed, robust food processor is your best tool for this recipe. It’s essential for pulverizing dates and achieving a smooth, uniform batter.
- Pan Flexibility: Any pan size will work! Whether you use a 9×9-inch pan for thicker bars or a 9×13-inch pan for thinner ones, the no-bake nature of these bars means you can easily adapt. You can even use loaf pans and cut them into smaller, custom sizes.
- Dough Consistency: Aim for a cookie dough-like consistency that is firm but pliable. This balance is achieved through the drippy peanut butter and honey. If the dough is too dry, add water sparingly; if too wet, add a little more oat flour.
Nutrition
Carbohydrates: 25 g,
Protein: 6 g,
Fat: 8 g,
Fiber: 2 g,
Sugar: 13 g
Nutrition information is automatically calculated and should be used as an approximation only. Individual results may vary based on specific ingredients and preparation methods.
Loved this recipe? Leave a comment below!
Don’t forget to tag your posts on social media with the hashtag #fitfoodiefinds – we’d absolutely love to see your delicious creations!