
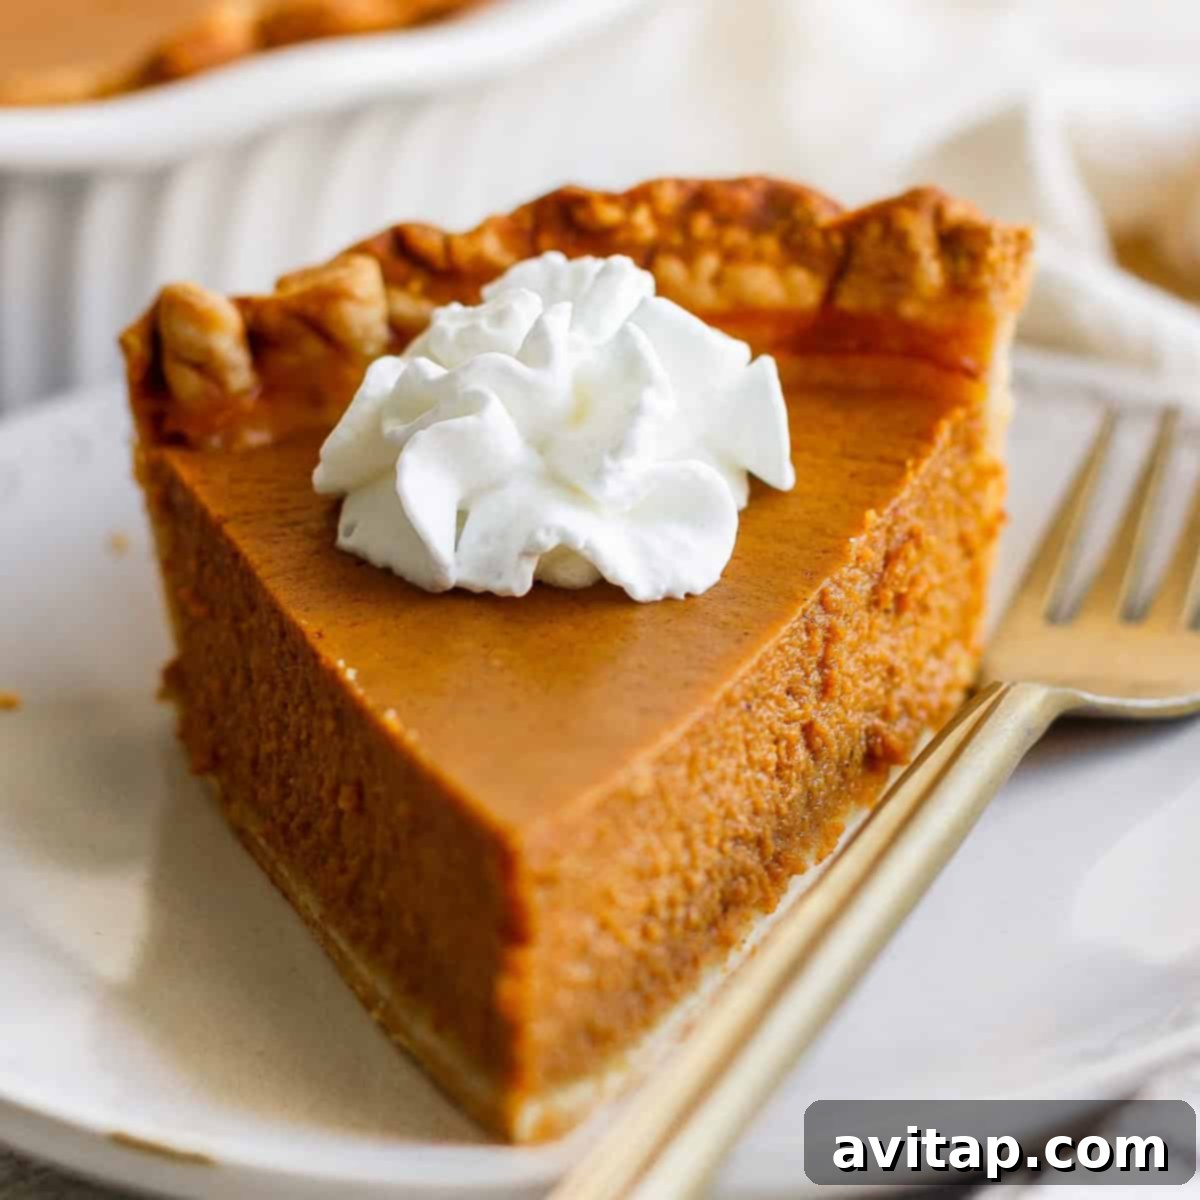
Effortlessly Delicious Classic Pumpkin Pie: Your Go-To Holiday Recipe
The annual tradition of baking a magnificent pumpkin pie can often feel like a daunting task, especially amidst the hustle and bustle of the holiday season. Visions of perfect, flaky crusts and silky, spiced fillings can quickly turn into anxiety-inducing kitchen nightmares. But what if we told you it doesn’t have to be? With a few smart shortcuts and expert tips, crafting a show-stopping pumpkin pie can become the easiest, most enjoyable part of your festive preparations. Forget the stress of meticulously making a homemade crust from scratch – modern, high-quality store-bought options have come a long way. They are incredibly convenient, deliver fantastic results, and will undoubtedly save you precious time and a lot of unnecessary anxiety!
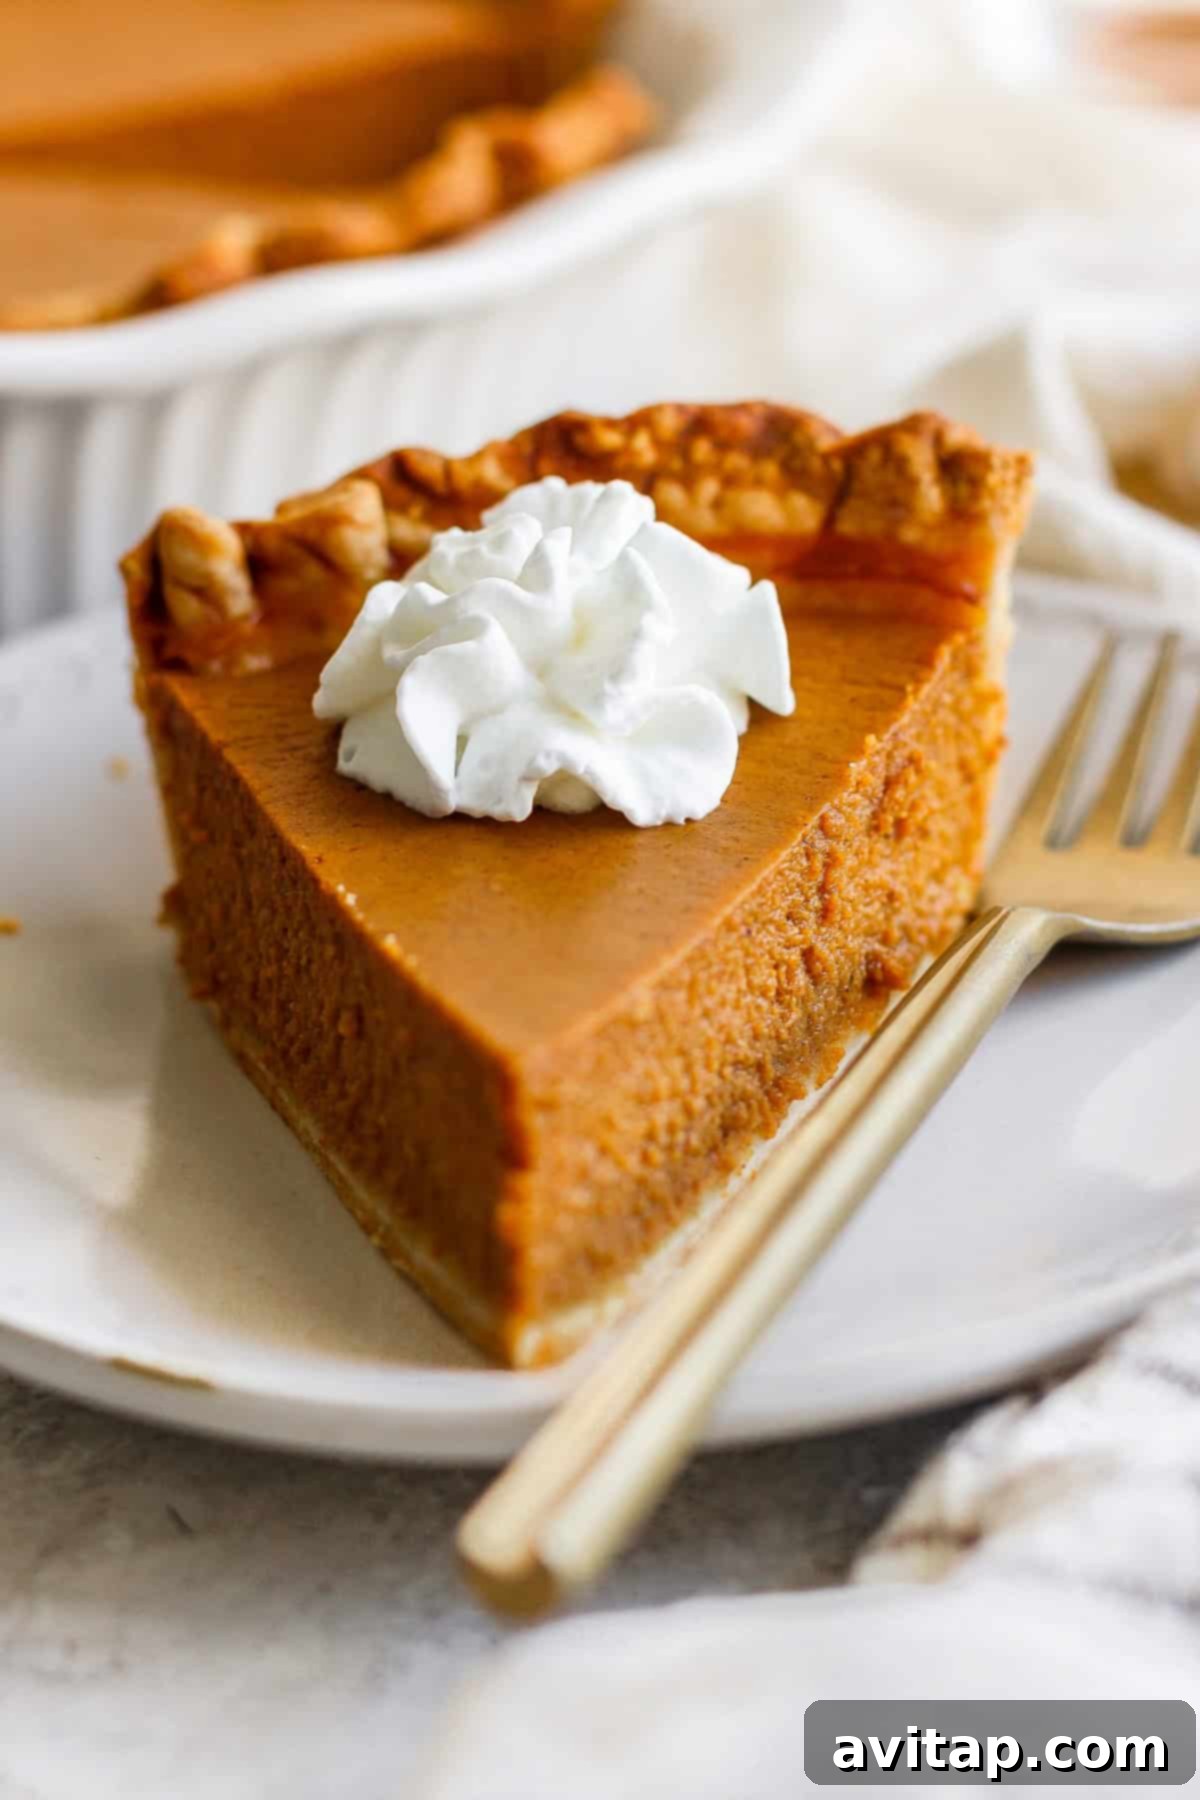
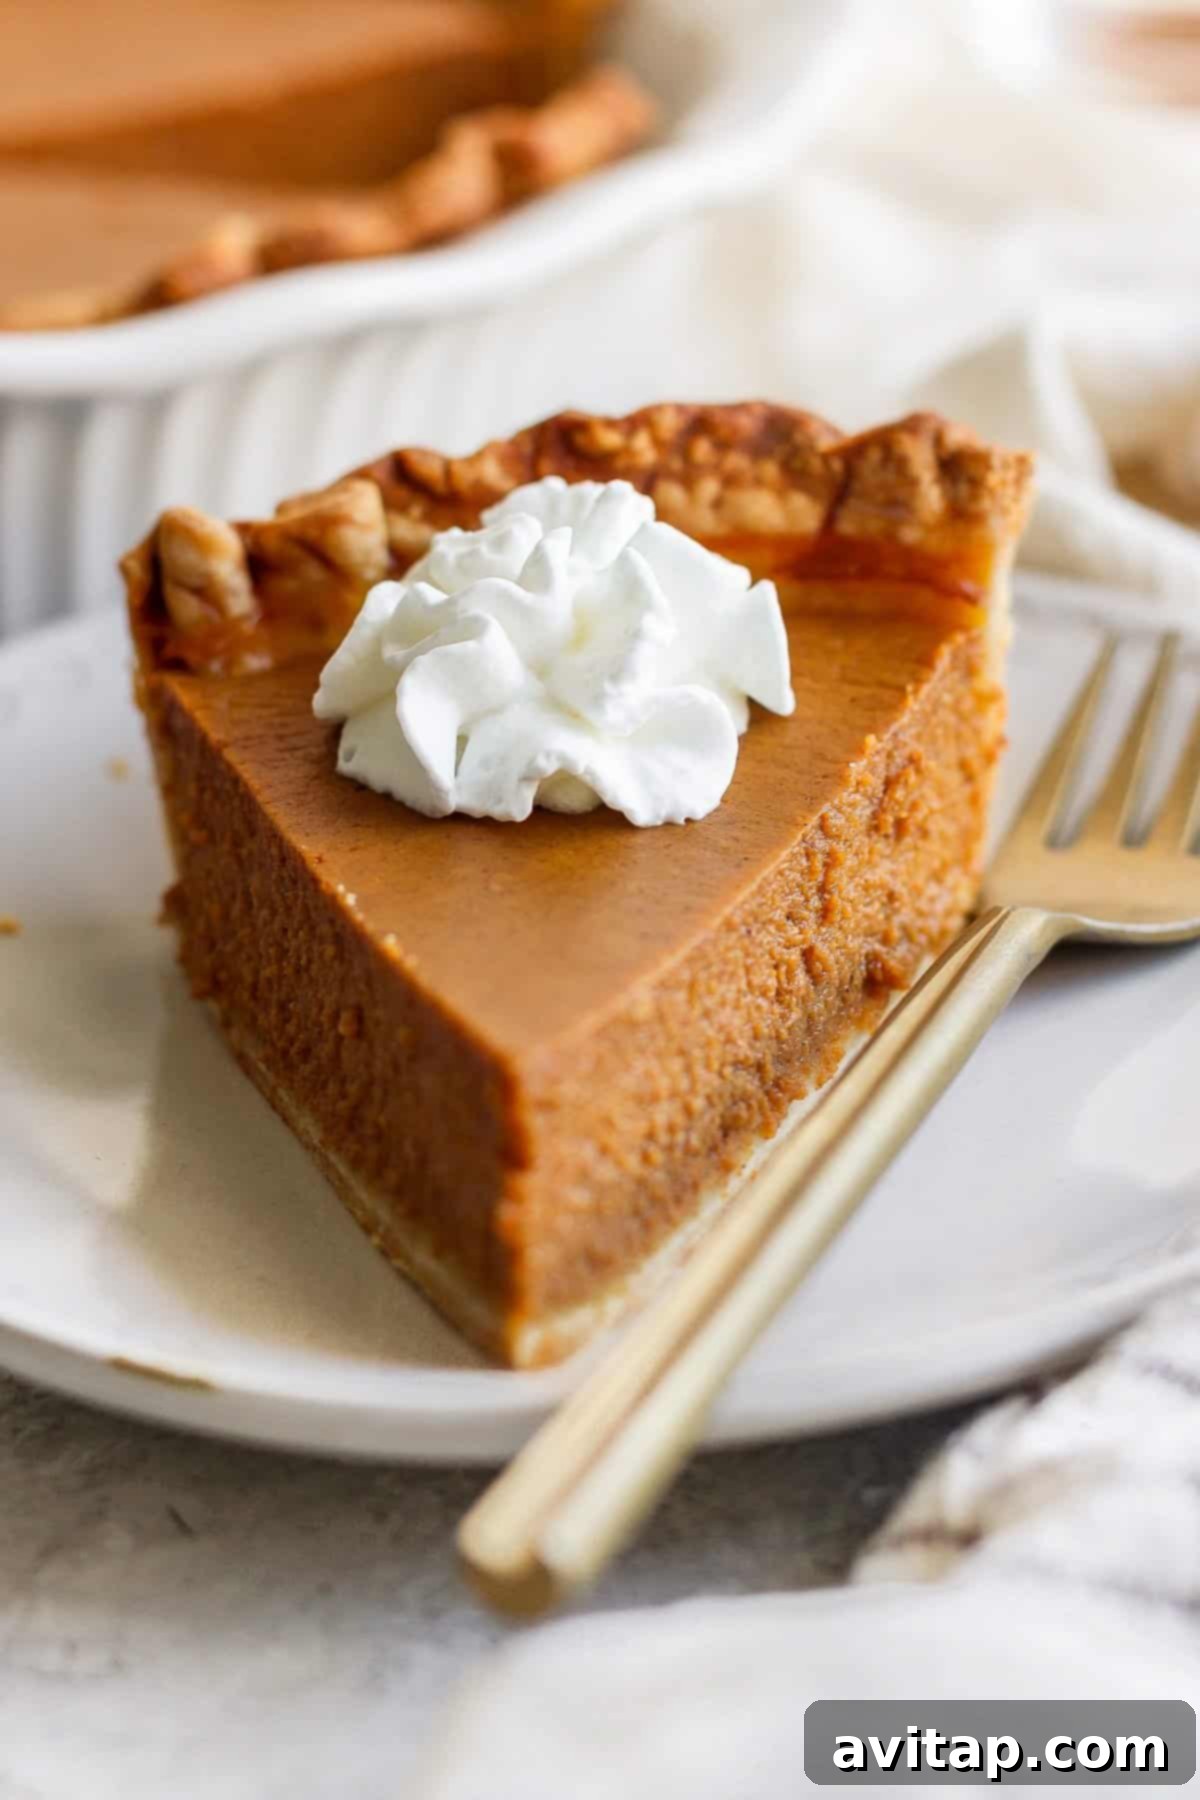
This recipe promises a wonderfully silky smooth and richly spiced pumpkin pie that embodies the quintessential flavors of autumn. Despite its gourmet taste and luxurious texture, it’s surprisingly simple and quick to assemble, making it perfect for both novice and experienced bakers alike. Our approach focuses on efficiency without compromising on flavor, which is why we wholeheartedly recommend leveraging the convenience of a good quality store-bought crust. However, if you’re a “go-big-or-go-home” type of baker and relish the challenge, by all means, use your favorite homemade crust recipe! The core steps remain straightforward and manageable: pre-bake your chosen pie crust to prevent sogginess, prepare the luscious pumpkin filling by whisking together a handful of ingredients, and then let your oven work its magic to bake it to golden perfection. A generous dollop of freshly whipped cream is the only final touch needed before you dive into this delightful dessert. Yes, my darling, that is truly all it takes to create a pie that tastes like a dream!
The Irresistible Allure of Classic Pumpkin Pie: A Timeless Fall Tradition
Pumpkin pie holds a truly special place in the hearts and homes of many, symbolizing warmth, comfort, and the joyous spirit of holiday gatherings. Its creamy texture, fragrant medley of spices, and earthy sweetness make it an undeniable, iconic centerpiece for any fall or winter celebration. This particular recipe is designed to simplify the baking process, ensuring that you can achieve that beloved, nostalgic taste without any of the usual fuss. We’ve meticulously crafted a filling that is both indulgent and perfectly balanced, guaranteeing that every single bite is a harmonious blend of rich pumpkin, subtle caramel notes from brown sugar and maple syrup, and the comforting warmth of aromatic spices. By embracing these smart, time-saving shortcuts, our goal is to help you spend less time toiling away in the kitchen and more quality time enjoying the cherished company of your loved ones, all while savoring a dessert that tastes like pure autumn bliss.
Essential Ingredients for Your Perfect Classic Pumpkin Pie
Crafting an exceptional pumpkin pie begins with selecting high-quality ingredients. Each component plays a vital role in achieving that perfect balance of flavor and texture, contributing to the overall success of this beloved fall dessert. Here’s a detailed look at the featured ingredients that make this classic pumpkin pie truly special and utterly irresistible:
- Pillsbury Pie Crust (or your preferred brand): This is our top recommendation for its consistent flakiness, delicious buttery flavor, and, most importantly, its incredible time-saving convenience during prep. Pre-baking the crust, a crucial step discussed in detail later, is essential to prevent a soggy bottom and ensure a crisp, golden foundation for your rich filling. We typically use a 1-14 oz. package, which usually contains one standard pie crust.
- Canned Unsweetened Pumpkin Puree: The absolute heart and soul of your pie! It is paramount to always choose pure pumpkin puree, not pumpkin pie filling. Pumpkin pie filling often contains additional ingredients, such as added sugars and a pre-mixed blend of spices, which would undoubtedly alter the carefully balanced flavors of this recipe. Always look for cans clearly labeled “100% Pure Pumpkin” to ensure the freshest, most natural pumpkin flavor.
- Light Brown Sugar: More than just a simple sweetener, light brown sugar acts as a profound flavor enhancer in this recipe. It contributes a wonderful, deep molasses-like complexity and subtle caramel notes that beautifully complement the natural sweetness of the pumpkin and the warmth of the spices. This addition creates a richer, more nuanced and complex taste profile than granulated sugar alone.
- Pure Maple Syrup: Introducing pure maple syrup alongside brown sugar adds yet another exquisite layer of natural sweetness and an incredible depth of flavor. Its distinctive, woodsy notes marry perfectly with the pumpkin, truly evoking the quintessential essence of fall. For the best and most authentic taste, ensure you use only pure maple syrup; imitation syrups will simply not deliver the same rich, robust flavor.
- Pumpkin Pie Spice Blend: This iconic spice mix is what gives pumpkin pie its characteristic autumnal aroma and undeniably comforting taste. Typically, it’s a harmonious combination of ground cinnamon, ginger, nutmeg, and cloves – the magical blend that brings all the individual elements together into one cohesive, fragrant experience. If you don’t happen to have a store-bought blend on hand, don’t worry! We’ve included an easy homemade recipe further down to ensure you can still capture that perfect spice profile.
- Plain, Unsweetened Almond Milk: To keep the filling deliciously creamy yet pleasantly light and dairy-free, we utilize plain, unsweetened almond milk. It provides the necessary liquid component without adding excessive richness or dairy, making this a fantastic option for those seeking a lighter dessert or individuals with dairy allergies or specific dietary restrictions. While almond milk is our preference, other milk types can certainly be used, and we discuss those options in our FAQ section below.
- Large Eggs (Two whole eggs and one extra yolk): Eggs are absolutely crucial for the structure and luxurious, velvety texture of your pumpkin pie. They act as a natural binder, helping the filling set into that desired smooth, custard-like consistency. The strategic addition of an extra egg yolk enriches the pie even further, contributing significantly to its velvety mouthfeel, vibrant color, and overall decadent appeal.
Frequently Asked Questions About Crafting the Perfect Pumpkin Pie
Which Brand of Pie Crust is Best for Pumpkin Pie?
Choosing the right pie crust can significantly impact both your baking experience and the final taste and texture of your pumpkin pie. While we personally find the 1-14 oz. Pillsbury pie crust to be an excellent choice for its consistent quality, delightful flakiness, and sheer ease of use, many other brands offer equally excellent pre-made crusts. When selecting a store-bought crust, look for brands that are well-regarded for their flaky texture, rich flavor, and good structural integrity. If you’re feeling particularly ambitious and truly enjoy the art of baking from scratch, a homemade pie crust will certainly yield an even more personalized and deeply delicious result, adding an extra layer of love and care to your classic pumpkin pie. Ultimately, the “best” crust is the one that brings you the most joy and least stress!
Can I Use a Different Kind of Milk for this Pumpkin Pie Recipe?
Absolutely! This pumpkin pie recipe is wonderfully versatile and adaptable when it comes to your choice of milk. We’ve chosen to use plain, unsweetened almond milk because it provides a lighter, often healthier profile compared to traditional heavy cream or whole milk. It also makes this pie a fantastic dairy-free option for those with allergies, lactose intolerance, or specific dietary restrictions. However, if you desire a richer, more traditional and denser pie, you are more than welcome to use whole milk, half-and-half, or even evaporated milk for a classic, robust custard. Be aware that using richer milks might slightly alter the final texture, giving it a heavier mouthfeel, and will naturally increase the calorie count. Regardless of your choice, the core delightful flavor of the pumpkin pie will undoubtedly shine through.
Elevate Your Flavor with Homemade Pumpkin Pie Spice!
Found yourself without any store-bought pumpkin pie spice on hand just when the baking inspiration strikes? Fret not! Crafting your very own spice blend from scratch is incredibly simple, economical, and allows you to customize the intensity of each flavor to your exact preference. Furthermore, making your own ensures that your spices are at their peak freshness and potency, which translates directly to a more aromatic and flavorful pie. Here’s our easy-to-follow recipe for a wonderfully fragrant, homemade pumpkin pie spice blend:
Ingredients:
- ½ cup ground cinnamon
- 2.5 tablespoons ground ginger
- 4 teaspoons ground nutmeg
- 4 teaspoons ground cloves
Instructions:
- Carefully measure and combine all the ground spices into a small, clean jar or any other airtight container.
- Close the jar tightly with a lid and shake vigorously for at least 30 seconds, or until all the individual ingredients are thoroughly and uniformly mixed. This ensures an even distribution of flavor.
- Store your fresh, homemade pumpkin pie spice in a cool, dark, and dry place, away from direct sunlight and heat. When stored properly, it will retain its full potency and vibrant aroma for several months, making it readily available for your next batch of delightful fall baking!
This versatile homemade blend is not only perfect for your classic pumpkin pie but also adds a fantastic autumnal kick to lattes, muffins, cookies, quick breads, and numerous other seasonal treats!
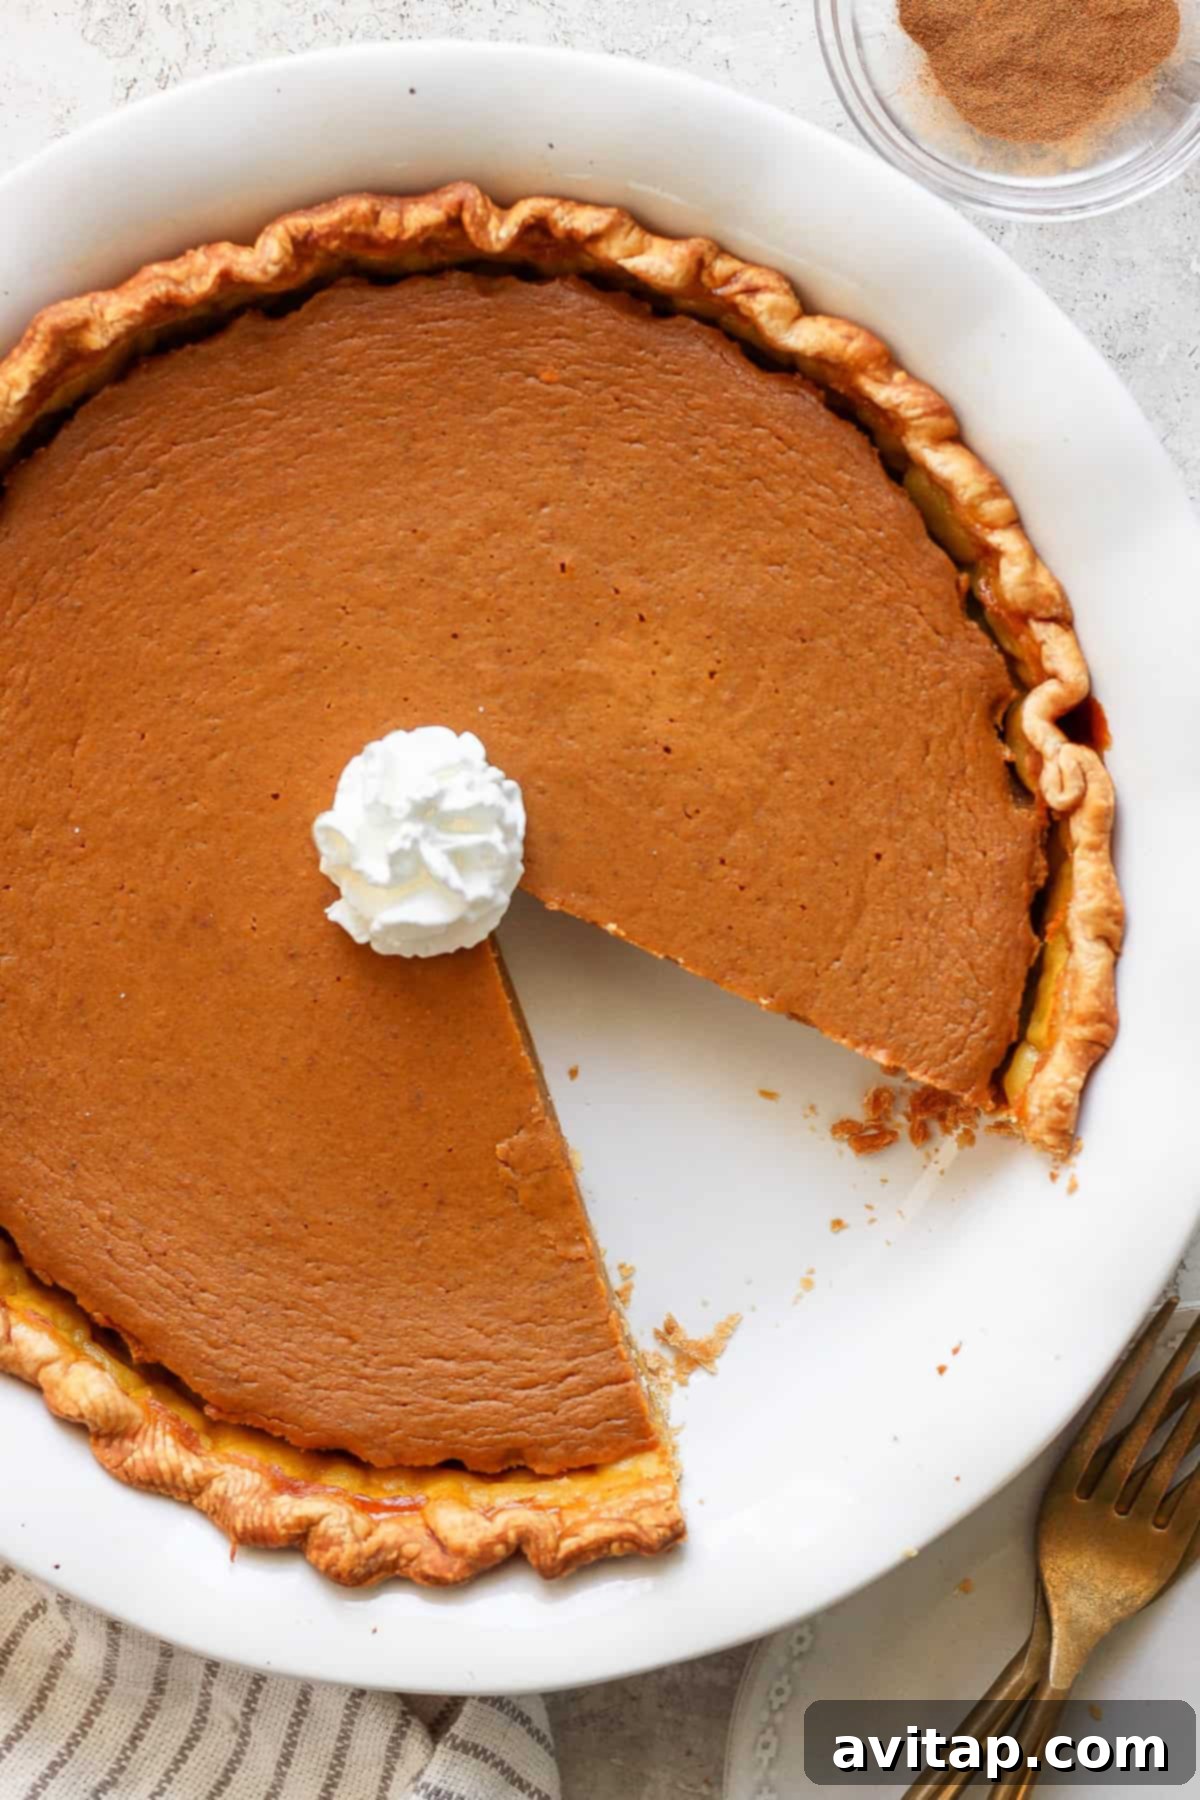
What’s the Secret to a Truly Perfect Pumpkin Pie?
Achieving a truly perfect pumpkin pie involves mastering a few key elements that go beyond simply using good ingredients. The first secret lies in ensuring your filling is incredibly smooth and flawlessly mixed. Take your time to whisk all the components thoroughly until the mixture is completely uniform, preventing any lumps and guaranteeing a consistent, luscious texture throughout the entire pie. The second, and arguably most critical, secret is to rigorously avoid overbaking. Overbaked pumpkin pie can quickly become dry, develop unsightly cracks on its surface, and lose its signature creamy, delicate custard texture. Keep a very close eye on your pie as it bakes; it’s done when the edges are set and slightly firm, but the center still has a slight, gentle jiggle when the pie is lightly shaken. Remember, the pie will continue to set and firm up significantly as it cools, so a little jiggle is exactly what you’re looking for to ensure that perfect, melt-in-your-mouth consistency.
Expert Tip: Prevent a Soggy Pie Crust!
A common and frustrating pitfall in pie baking, particularly with custard-based fillings like pumpkin pie, is a soggy bottom crust. To guarantee a delightfully crisp, golden, and flaky foundation for your creamy filling, we emphatically recommend blind-baking your pie crust for approximately 10 minutes before adding the filling. Here’s a detailed, step-by-step guide on how to achieve this crucial step:
- After you’ve carefully placed the pie crust into your pie pan and artfully crimped the edges, gently prick the entire bottom and sides of the crust with a fork. This vital step, known as docking, allows steam to escape during baking, which in turn prevents the crust from puffing up unevenly or creating large bubbles.
- Line the entire crust with a piece of parchment paper, ensuring it completely covers the bottom and extends up the sides. This barrier prevents your weights from directly touching the dough.
- Fill the parchment paper-lined crust with baking weights. If you don’t have specialized ceramic pie weights, common kitchen staples like dried rice or dried beans work perfectly as effective alternatives. These weights are essential for keeping the crust from shrinking down the sides of the pan or puffing up excessively during the blind-baking process.
- Bake the weighted crust as directed in the recipe (400°F for 10 minutes). Once baked, remove the pie crust from the oven, carefully lift out the parchment paper along with the baking weights. Set the par-baked crust aside to cool slightly before pouring in your filling. This crucial step provides a robust barrier between the wet pumpkin filling and the delicate crust, consistently resulting in a perfectly flaky, non-soggy foundation every single time.
How Long Does Pumpkin Pie Last in the Refrigerator?
Proper storage is absolutely essential to keep your homemade pumpkin pie fresh, safe, and tasting its very best for as long as possible. Once your baked pie has completely cooled down to room temperature (this usually takes about 1 to 2 hours), it must be refrigerated. To store leftover pumpkin pie, simply cover it loosely with aluminum foil or plastic wrap. This helps to protect it from absorbing other odors in the fridge and prevents it from drying out. When stored correctly in the refrigerator, your pumpkin pie will maintain its quality, texture, and delicious taste for approximately 3 to 4 days. For optimal safety and enjoyment, always avoid leaving the pie at room temperature for extended periods, especially after the initial cooling phase, as the egg-based custard filling is perishable and can spoil.
How Do You Reheat Pumpkin Pie?
While many individuals relish their pumpkin pie chilled, served straight from the refrigerator, you might find that you prefer it slightly warm, which can enhance its aromatic spices and creamy texture. To gently and effectively reheat your pumpkin pie, first preheat your oven to 350°F (175°C). Place individual slices, or the entire pie (if it’s still largely intact), on a baking sheet. Warm it for approximately 10-15 minutes, or until it is just heated through. It is important to be careful not to overheat the pie, as this can unfortunately dry out the luscious filling and affect its texture. Alternatively, for a quicker reheat, a single slice can be warmed in the microwave for about 20-30 seconds, though the oven method typically provides a more even and gentle warmth. If you plan to serve your pie with whipped cream, always add it after reheating for the best presentation and texture.
Discover More of Our Favorite Indulgent
Delicious Pie-Inspired Recipes
If you’ve truly fallen in love with the comforting, rich flavors of this classic pumpkin pie, we warmly invite you to explore more of our delightful and innovative pie-inspired creations. These recipes ingeniously capture the beloved essence of your favorite desserts, transforming them into new and exciting forms that are perfect for any occasion, from casual gatherings to elegant celebrations:
- Pecan Pie Bars: Experience all the rich, nutty goodness and gooey caramel charm of traditional pecan pie, cleverly reimagined in a convenient and easy-to-serve bar form. Often featuring a delightful date caramel twist for added depth.
- Pumpkin Pie Bars: A fantastic, often lighter and healthier take on classic pumpkin pie. Baked in a sheet pan, these bars are incredibly easy to prepare, serve, and are a great option for make-ahead desserts or meal prepping your sweet treats.
- Banana Cream Pie Chia Seed Pudding: A wholesome, satisfying, and refreshingly nutritious breakfast or dessert that brilliantly captures the creamy, fruity essence of a classic banana cream pie, packed with superfood chia seeds.
- Coconut Key Lime Pie Popsicles: A vibrant, refreshing, and tropical twist on the beloved key lime pie. These popsicles are perfect for warm weather, offering a dairy-free indulgence that is both tangy and sweet, with a hint of coconut.
Classic Pumpkin Pie Recipe
This incredibly easy pumpkin pie recipe will have you gliding through the holiday season stress-free! It’s famously creamy, wonderfully indulgent, and tastes absolutely like a fall dream in every single bite.
Prep Time: 15 minutes |
Cook Time: 1 hour 5 minutes |
Total Time: 1 hour 20 minutes |
Servings: 10
Ingredients
- 1 Pillsbury pie crust, or your favorite homemade pie crust (standard 9-inch size, typically a 1-14 oz. package)
- 15 oz. canned unsweetened pumpkin puree (ensure it’s not pie filling)
- ½ cup light brown sugar, packed
- ½ cup pure maple syrup
- 2 teaspoons pumpkin pie spice (see our homemade recipe above!)
- 1 cup plain, unsweetened almond milk
- 2 large eggs
- 1 large egg yolk (for extra richness)
Instructions
- Preheat your oven to a steady 400℉ (200°C).
- Carefully place the Pillsbury pie crust into a standard 9-inch pie pan, gently pressing it to fit the contours of the pan and crimping the edges decoratively. Using a fork, generously poke holes all over the bottom and sides of the crust. This technique, known as docking, is essential as it allows steam to escape during baking, preventing the crust from bubbling up or becoming uneven. Place a piece of parchment paper directly on top of the crust and fill it with baking weights (such as dried rice, beans, or ceramic pie weights).
- Bake the weighted pie crust for exactly 10 minutes. This crucial blind-baking step is key to preventing a soggy bottom once the wet filling is added. After 10 minutes, remove the pie crust from the oven and carefully lift out the parchment paper along with the baking weights. Set the par-baked crust aside to cool slightly while you prepare the filling.
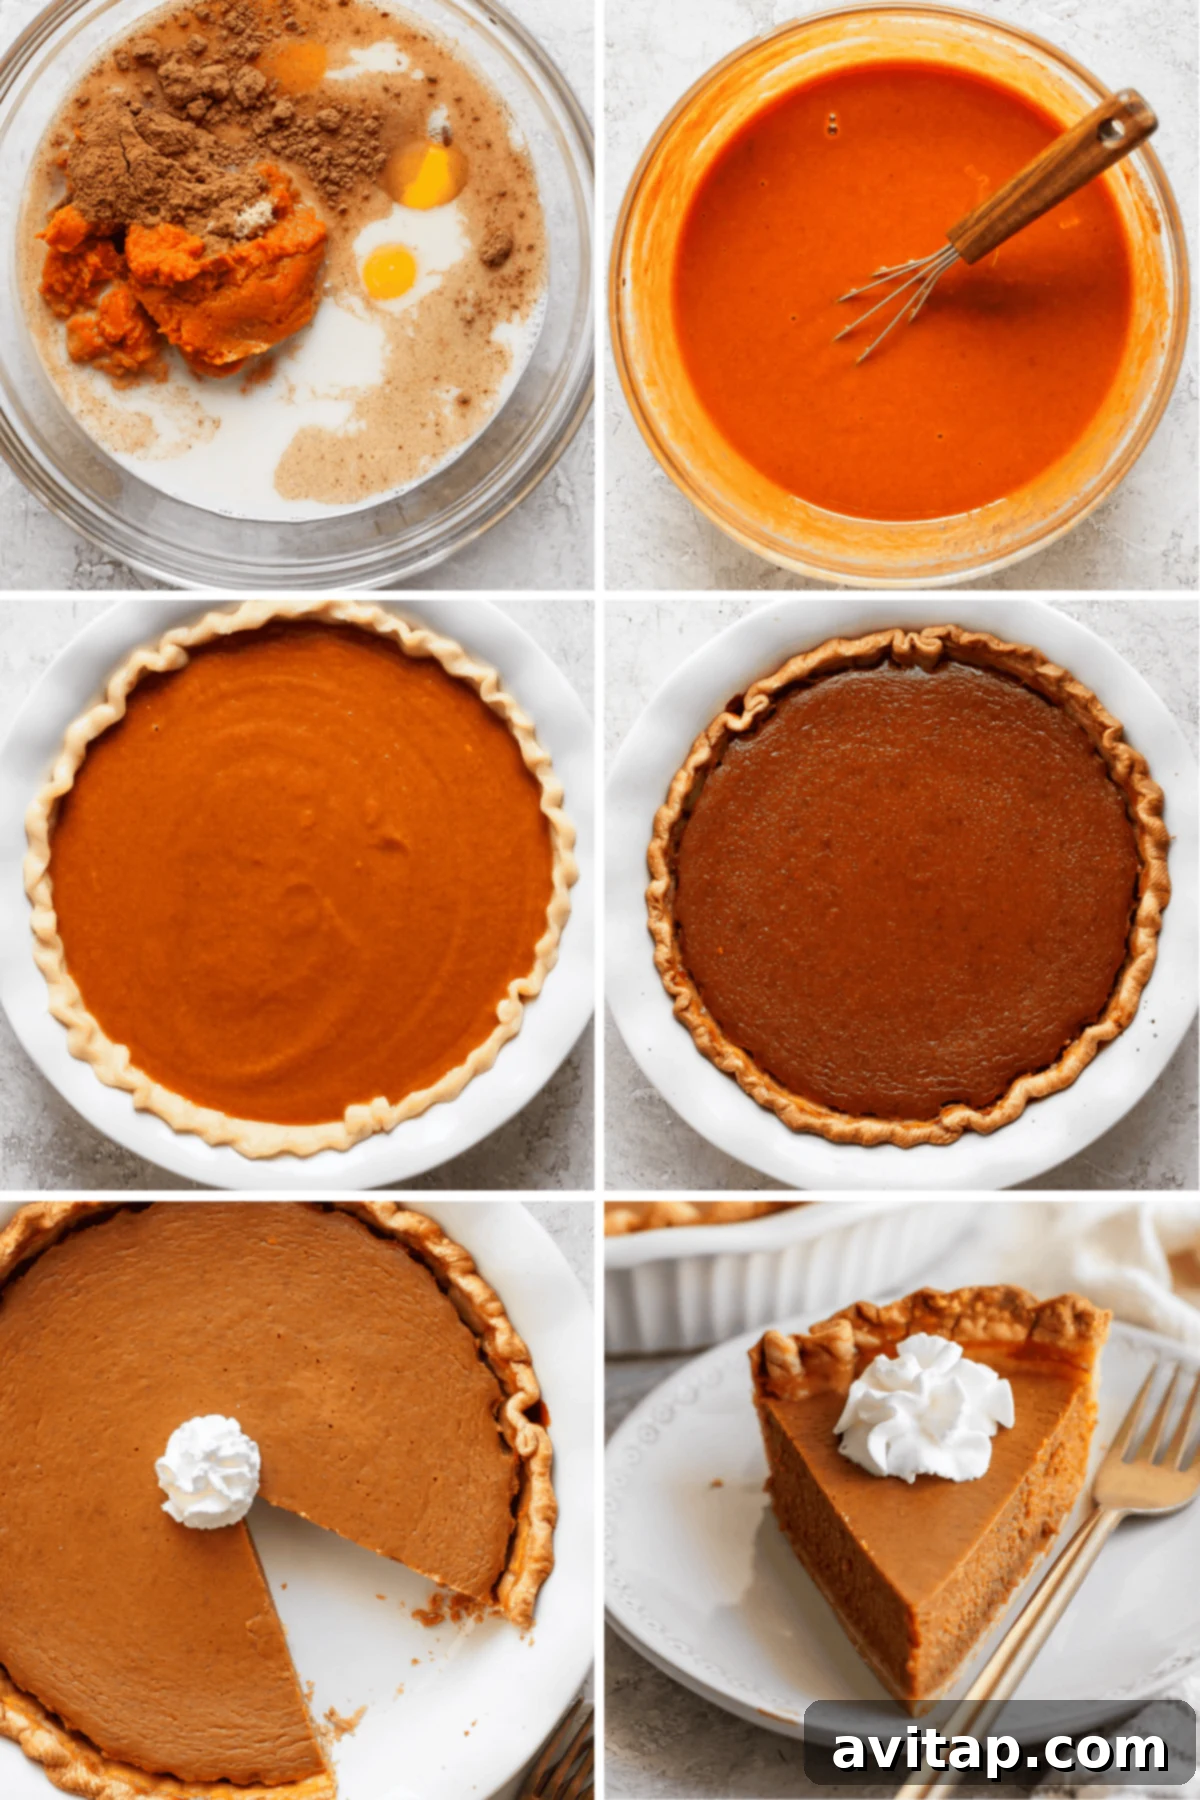
- While the crust is cooling, it’s time to prepare the luscious pumpkin filling. In a large mixing bowl, combine the canned unsweetened pumpkin puree, packed light brown sugar, pure maple syrup, pumpkin pie spice, plain unsweetened almond milk, the two large eggs, and the extra large egg yolk. Whisk all these ingredients thoroughly and vigorously until the mixture is completely smooth, beautifully uniform, and all ingredients are well combined, ensuring no lumps remain for a truly silky texture.
- Carefully pour the prepared pumpkin mixture into the par-baked pie shell. Gently spread the filling evenly across the crust to ensure consistent baking.
- Place the pie back into the preheated oven and bake for approximately 45-55 minutes. The pie is perfectly done when the edges are set, firm to the touch, and the center still has a slight, gentle jiggle when the pie is lightly shaken. A thin knife inserted near the edge of the filling should come out clean.
- Once baked, remove the pumpkin pie from the oven. Allow it to cool completely at room temperature for at least 1 hour. After this initial cooling phase, transfer the pie to the refrigerator and chill for a minimum of 5 hours, or ideally, overnight. This extended cooling period is absolutely essential for the pie to fully set, develop its rich flavor, and achieve its perfect, creamy custard texture.
Tips & Notes for the Best Pumpkin Pie
- Refrigeration is Key: For optimal freshness, food safety, and to maintain its delightful creamy texture, especially with the egg-based custard, it is highly recommended to refrigerate pumpkin pie after it has cooled. While it can be left at room temperature for a very short period (up to 2 hours), longer storage absolutely requires refrigeration to prevent spoilage.
- Milk Variety: Feel free to experiment with different types of milk to suit your preference. Whole milk, evaporated milk, or even full-fat coconut milk (for an even richer, dairy-free alternative with a subtle tropical hint) can be used. Each choice will impart a slightly different richness and flavor profile. Remember to adjust the amount of added sugar if you choose a sweetened milk variant.
- Ensuring Smoothness: To guarantee an impeccably smooth filling, ensure your pumpkin puree is free of any lumps before mixing. While thorough whisking usually suffices, you can optionally pass the pumpkin puree through a fine-mesh sieve for an extra-silky result.
- Protecting the Crust: If you notice the edges of your pie crust browning too quickly during baking, you can easily prevent burning. Loosely cover the edges with strips of aluminum foil or use a dedicated pie shield to protect them for the remainder of the baking time.
Watch Our Easy Pumpkin Pie Tutorial
For a visual guide that walks you through each step, watch our easy-to-follow video tutorial on how to make this classic pumpkin pie!
Click Here to Watch the Pumpkin Pie Video Tutorial!

Nutrition Information
Please note: Nutrition information is an estimation automatically calculated by a third-party tool and should only be used as an approximation. Actual values may vary significantly based on specific ingredients, brands used, preparation methods, and serving sizes.
- Calories: 201 kcal
- Carbohydrates: 34 g
- Protein: 3 g
- Fat: 6 g
- Fiber: 2 g
- Sugar: 22 g
Did you love this classic pumpkin pie recipe? We would be absolutely thrilled to hear about your experience!
Leave a Comment Below and Share Your Thoughts!
Don’t forget to tag your beautiful pumpkin pie creations on social media with the hashtag #fitfoodiefinds. We genuinely love seeing what you’re baking and celebrating your culinary successes!
Photography by: The Wooden Skillet