
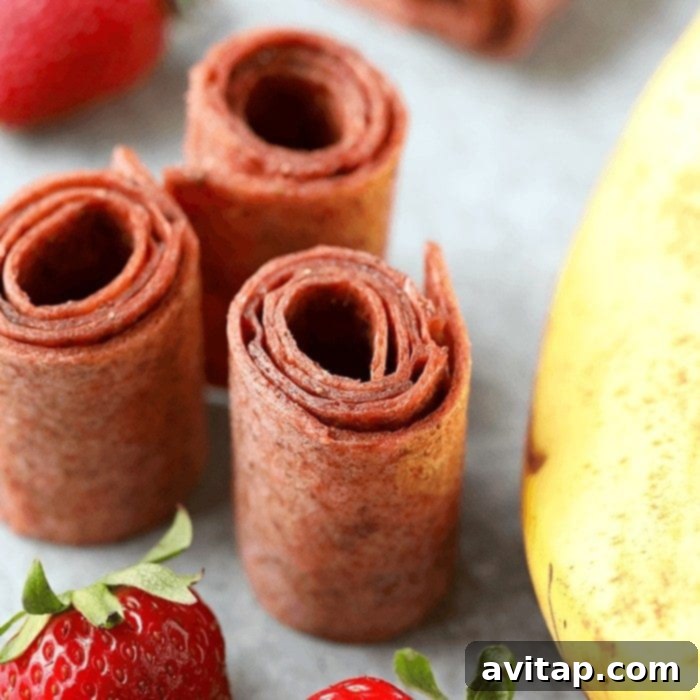
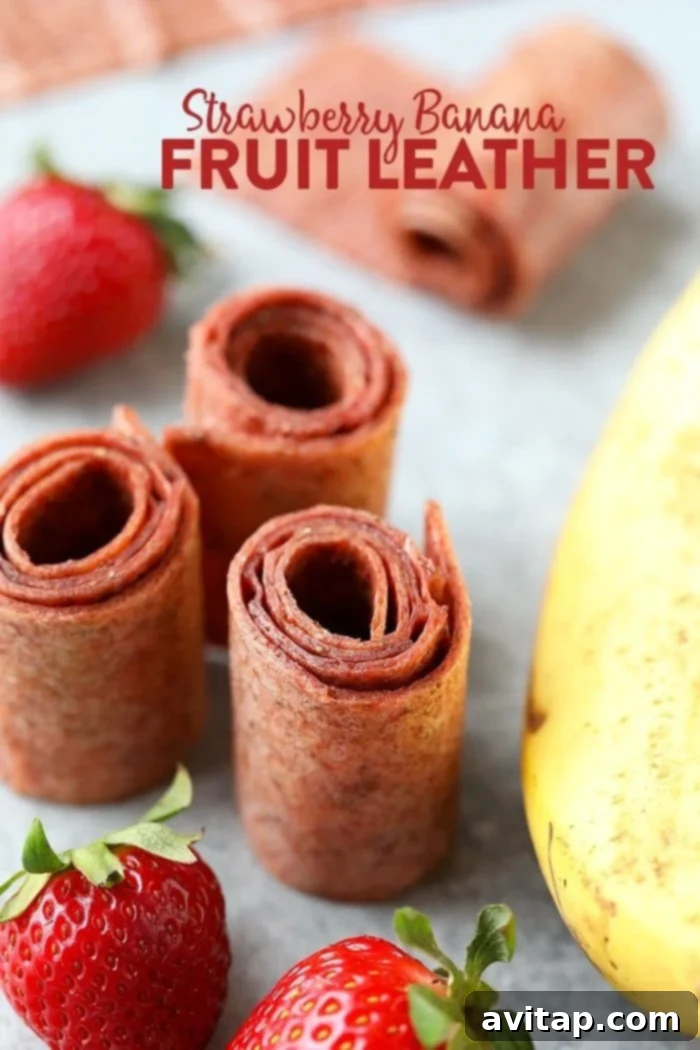
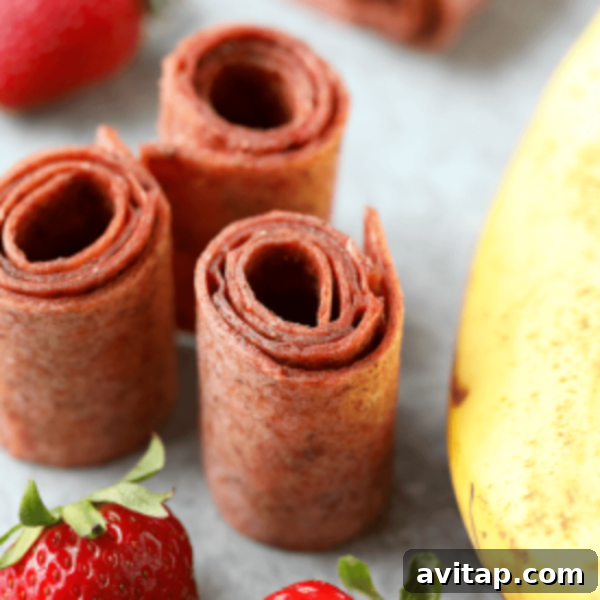
Homemade Strawberry Banana Fruit Leather: A Healthy Snack Revolution
Are you searching for a genuinely healthy, delicious, and easy-to-make snack that satisfies your sweet tooth without the guilt? Look no further! This incredible recipe empowers you to create your very own **strawberry banana fruit leather** right in your kitchen, requiring only four basic ingredients and your trusty oven – no specialized dehydrator needed. Say goodbye to artificial flavors, preservatives, and refined sugars often found in store-bought fruit snacks, and embrace the pure, natural goodness of homemade fruit leather. It’s a game-changer for anyone seeking a wholesome, convenient treat.
The Undeniable Charm of Homemade Fruit Leather
Let’s be honest, who doesn’t love a good fruit snack? The chewy, sweet satisfaction of a fruit leather brings back a wave of childhood nostalgia. While commercial options often tempt us with their convenience, they frequently come packed with high-fructose corn syrup, artificial colors, and a laundry list of unpronounceable ingredients. Making your own fruit leather, however, completely transforms this classic treat into a powerhouse of natural flavor and nutrition.
This recipe is designed for simplicity and accessibility. We understand that not everyone owns a food dehydrator, which is why we’ve perfected a method using only a standard oven. This means anyone can enjoy the benefits of homemade fruit leather with minimal equipment. The process is incredibly straightforward: blend, spread, bake, and enjoy! It’s an ideal project for a weekend afternoon and yields a batch of delightful snacks that will keep you and your family energized and satisfied for days.
Why Homemade is Always Better: The Benefits Unpacked
Choosing to make your own fruit leather offers a myriad of advantages that extend far beyond just taste.
- Uncompromised Health: The biggest draw is the complete control over ingredients. You dictate what goes into your fruit leather, ensuring it’s free from undesirable additives, artificial colors, and excessive refined sugars. We use natural sweeteners like honey, providing a healthier alternative.
- Nutrient Retention: By using real, whole fruits, your homemade leather retains essential vitamins, minerals, and dietary fiber that are often stripped away or diminished in highly processed snacks. It’s a fantastic way to sneak more fruit into your daily diet, especially for picky eaters.
- Cost-Effective Snacking: Specialty healthy snacks can be surprisingly expensive. By making your own, you save money, especially when fruits are in season or on sale. A small investment in fresh produce goes a long way.
- Customization Galore: This recipe serves as a perfect foundation for endless flavor experiments. You can easily swap out fruits, add spices, or adjust sweetness levels to suit your personal preferences.
- Educational and Fun for Families: Involving children in the process of making fruit leather can be a fun and educational activity. They learn about healthy eating, where their food comes from, and gain a sense of accomplishment by creating their own delicious treats.
- Allergy-Friendly: If you or your family members have specific food allergies or dietary restrictions, making it yourself ensures it meets those needs perfectly.
The Core Ingredients: Simple, Pure, and Powerful
The beauty of this **easy fruit leather recipe** lies in its incredibly short and recognizable ingredient list. You’ll be amazed at the deliciousness that springs from these kitchen staples:
- Strawberries: These vibrant berries bring a burst of natural sweetness and a refreshing tang. They’re also packed with Vitamin C and antioxidants, contributing to the overall health benefits of your snack. For this recipe, we recommend fresh, ripe strawberries for the best flavor and texture.
- Bananas: The unsung hero of fruit leather, bananas provide a creamy base and a significant amount of natural sweetness. They also contribute to the smooth, pliable texture of the finished product, making it easy to roll and enjoy. Plus, they’re a great source of potassium!
- Honey: Instead of refined sugar, we use honey to enhance the sweetness. Honey offers a more complex flavor profile and is a natural sweetener. For a vegan alternative, maple syrup works beautifully as well.
- Lemon Juice: A splash of fresh lemon juice is crucial. It brightens the flavors of the fruits, adds a subtle tartness that balances the sweetness, and acts as a natural preservative, helping to prevent the fruit from browning during the drying process.
- Pinch of Salt: A tiny pinch of salt (not listed in the original bullet points but in the recipe card, it’s a great flavor enhancer) can surprisingly elevate the fruit flavors, making them pop even more.
As you can see, every ingredient is straightforward, natural, and contributes to both the taste and nutritional value of your homemade fruit leather. No mysterious chemicals or artificial components here!
Crafting Your Healthy Fruit Leather: A Step-by-Step Guide for Oven-Baking
Creating this delicious **strawberry banana fruit leather** is surprisingly simple, especially with our no-dehydrator method. Follow these steps for a perfect batch every time:
1. Prepare Your Workspace and Oven
- Begin by preheating your oven to a low temperature of 180°F (approximately 82°C). The key to successful fruit leather is a slow, gentle drying process, not baking.
- Line a standard-size, rimmed baking sheet with parchment paper. This is essential to prevent the fruit leather from sticking and to ensure easy removal once it’s dried. Make sure the parchment paper covers the entire surface of the pan, including up the sides if possible.
2. Blend Your Ingredients to Perfection
- Gather all your ingredients: sliced strawberries, bananas, honey, and lemon juice (and the pinch of salt).
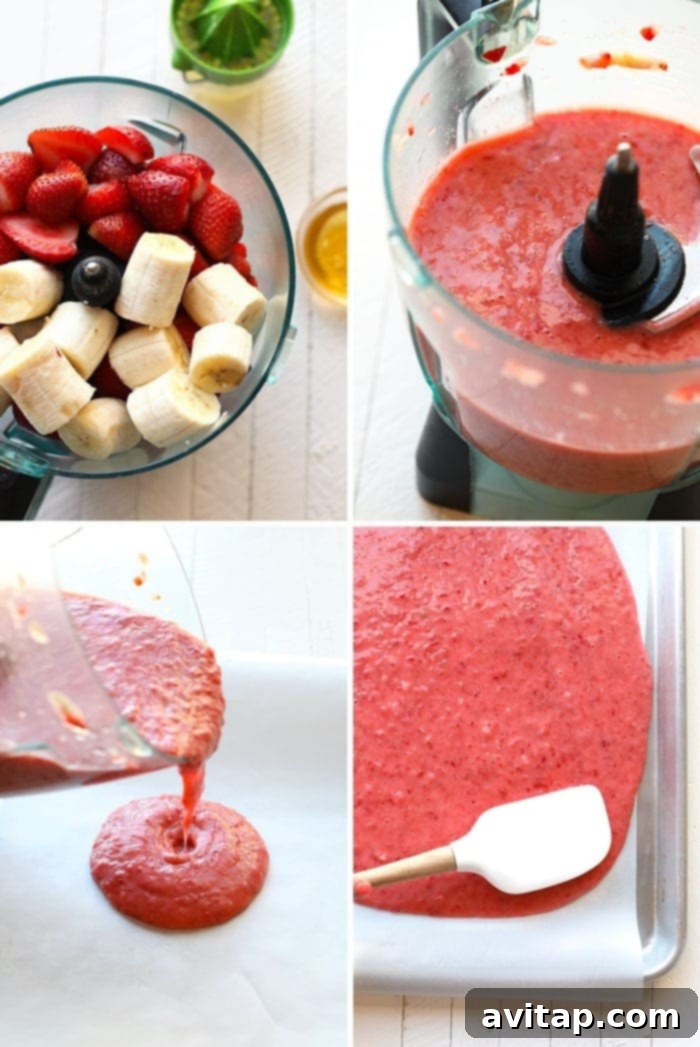
- Add all the prepped ingredients into a food processor or a high-speed blender.
- Process until the mixture is completely smooth and free of any chunks. You want a consistent, pourable puree. Scrape down the sides of the processor or blender as needed to ensure everything is fully incorporated. The smoother the puree, the more uniform your fruit leather will be.
3. Evenly Spread the Fruit Puree
- Carefully pour the strawberry banana puree onto the parchment paper-lined baking sheet.
- Using a spatula or the back of a spoon, gently spread the mixture across the entire surface of the parchment paper. The goal is to achieve an even thickness, ideally around 1/4 of an inch (about 0.6 cm). Pay special attention to the corners and edges to ensure they are not too thin, as these areas will dry faster.
- For extra assurance of evenness, you can gently lift the baking sheet and lightly tap it a few times on your counter. This helps to settle the puree and eliminate any air bubbles or uneven spots.
4. The Low-and-Slow Drying Process
- Place the baking sheet with the spread puree into your preheated 180°F oven.
- Bake for approximately 6 to 8 hours. The exact time will vary depending on your oven’s calibration and how thick you spread your puree. The goal is to slowly evaporate the moisture from the fruit without actually cooking or browning it. Keep the temperature low to achieve this dehydration effect.
5. Checking for Doneness
- Your fruit leather is ready when it is no longer sticky to the touch and easily peels away from the parchment paper. It should feel pliable and leathery, not brittle or wet.
- Carefully lift a corner to test. If it’s still soft or gummy in spots, continue baking for another 30-60 minutes and recheck.
- Be vigilant! Every oven is different, so it’s crucial to keep an eye on your fruit leather, especially during the last hour, to prevent over-drying. Overcooked fruit leather will become hard and brittle.
6. Cool, Cut, and Store
- Once done, remove the baking sheet from the oven and allow the fruit leather to cool completely on the sheet. This allows it to firm up further.
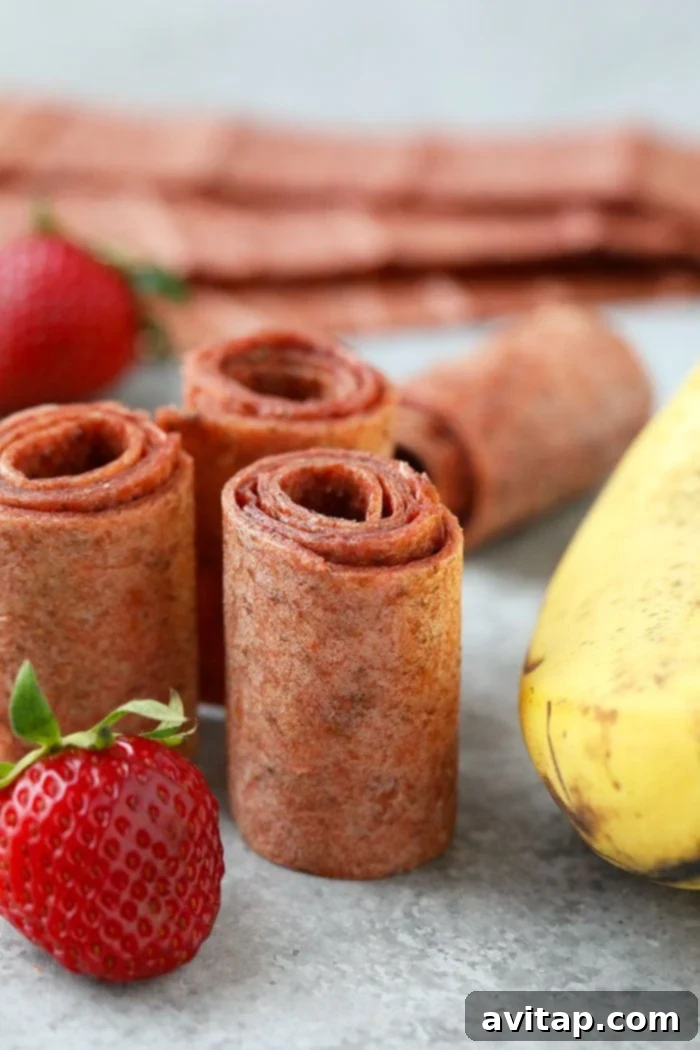
- Once cool, carefully peel the fruit leather off the parchment paper. You can then lay it back on the parchment paper and use kitchen scissors or a sharp knife to cut it into desired strips or shapes. Leaving the parchment paper attached to each strip makes for easy grab-and-go snacking and prevents sticking.
- Store your freshly cut fruit leather in an airtight container.
Expert Tips for Fruit Leather Perfection
Achieving the perfect homemade fruit leather is simple once you know a few tricks. These tips will help ensure every batch is a success:
- Consistency in Thickness is Key: We cannot stress this enough – an even spread of the fruit puree is paramount. If some areas are thicker than others, they will take longer to dry, leaving you with parts that are perfectly pliable and others that are still wet and sticky, or even worse, over-dried and brittle. Use an offset spatula to smooth the puree consistently across the parchment paper.
- Embrace the Low Temperature: Resist the urge to crank up the heat to speed up the process. Fruit leather is a dehydration process, not a baking one. A low oven temperature (180°F or lower if your oven allows) is crucial for slowly drawing out the moisture without cooking the fruit. This preserves the vibrant color and natural flavors. Patience is a virtue here!
- Know Your Oven: Ovens vary widely. A convection oven, which circulates hot air, will typically dry fruit leather faster (often in 4-5 hours) than a conventional oven (which might take 6-8 hours). If you’re using a convection setting, start checking for doneness earlier. Get to know how your oven performs with this recipe, and adjust baking times accordingly for future batches.
- Avoid Overbaking: While it needs to be dry, fruit leather should remain pliable and slightly chewy. If it becomes hard, brittle, or crumbles when you try to bend it, it’s likely overbaked. Keep a close eye on it, especially towards the end of the suggested drying time.
- Explore Flavor Combinations: This strawberry banana recipe is fantastic, but it’s just the beginning! Experiment with other fruits like raspberries, blueberries, mangoes, peaches, apples (with a touch of cinnamon), or a mix of several. Just ensure the fruit puree consistency is similar. You can also add a pinch of cinnamon or vanilla extract to enhance certain flavors.
- Quality of Fruit Matters: Use ripe but not overly mushy fruit. Ripe fruit offers the best natural sweetness, reducing the need for additional sweeteners.
Storing Your Homemade Delights for Lasting Freshness
Once your delicious fruit leather is cooled and cut, proper storage is essential to maintain its freshness and texture. For optimal longevity, store your fruit leather in an airtight container in the refrigerator. It will remain fresh and chewy for up to one month. Alternatively, if you plan to consume it within one to two weeks, you can store it in a cool, dark cabinet outside of the fridge. Always ensure it’s completely dry before storing to prevent mold.
More Wholesome Snack Ideas for Kids and Adults
If you’re looking to expand your repertoire of healthy, homemade snacks beyond fruit leather, here are some other fantastic kid-friendly (and adult-approved!) options that are equally delicious and nutritious:
- Healthy Edible Cookie Dough Dip – 3 Ways: A safe and scrumptious way to enjoy the taste of cookie dough.
- Coconut Chocolate Energy Balls: Perfect for a quick energy boost, packed with wholesome ingredients.
- Cinnamon Crock Pot Applesauce: A warm, comforting, and naturally sweet snack or side dish.
Strawberry Banana Fruit Leather
Pin
Ingredients
- 1 lb. strawberries, ~4 cups, halved
- 2 medium bananas, ~2 cups sliced
- 1/4 cup lemon juice
- 2 tablespoons honey
- pinch of salt
Instructions
- Preheat oven to 180ºF. Prep a standard-size, rimmed baking sheet by covering it with parchment paper.
- Next, place all ingredients in a food processor or high-speed blender and process until everything is pureed together and smooth.
- Pour strawberry banana mixture evenly over the baking sheet. Use a spatula to spread into the corners and then lift the sheet up and pound a few times to really make sure everything is even*. It should be around 1/4 of an inch thick.
- Bake at 180ºF for 6-8 hours.*
- Fruit leather is done when it easily separates from the parchment paper and is not soft in any places. Be careful not to overcook depending on how hot your oven runs.
- Cut fruit leather into 12 strips using scissors. Store in an airtight container in the refrigerator for up to 2-4 weeks.
Tips & Notes
- Make sure puree is as evenly spread out as possible so that it bakes evenly. If some parts are thicker than others, the leather will be done in some spots and still sticky in others.
- Every oven is different. If you have a convection oven, your fruit leather will cook faster (4-5 hours). If you have a standard oven (6-8 hours).
Nutrition
Serving: 1 /12, Calories: 61 kcal, Carbohydrates: 16 g, Protein: 1 g, Fat: 0 g, Fiber: 2 g, Sugar: 10 g
Nutrition information is automatically calculated, so should only be used as an approximation.
Don’t forget to tag your posts on social media with the hashtag #fitfoodiefinds, we’d love to see what you’re up to!