
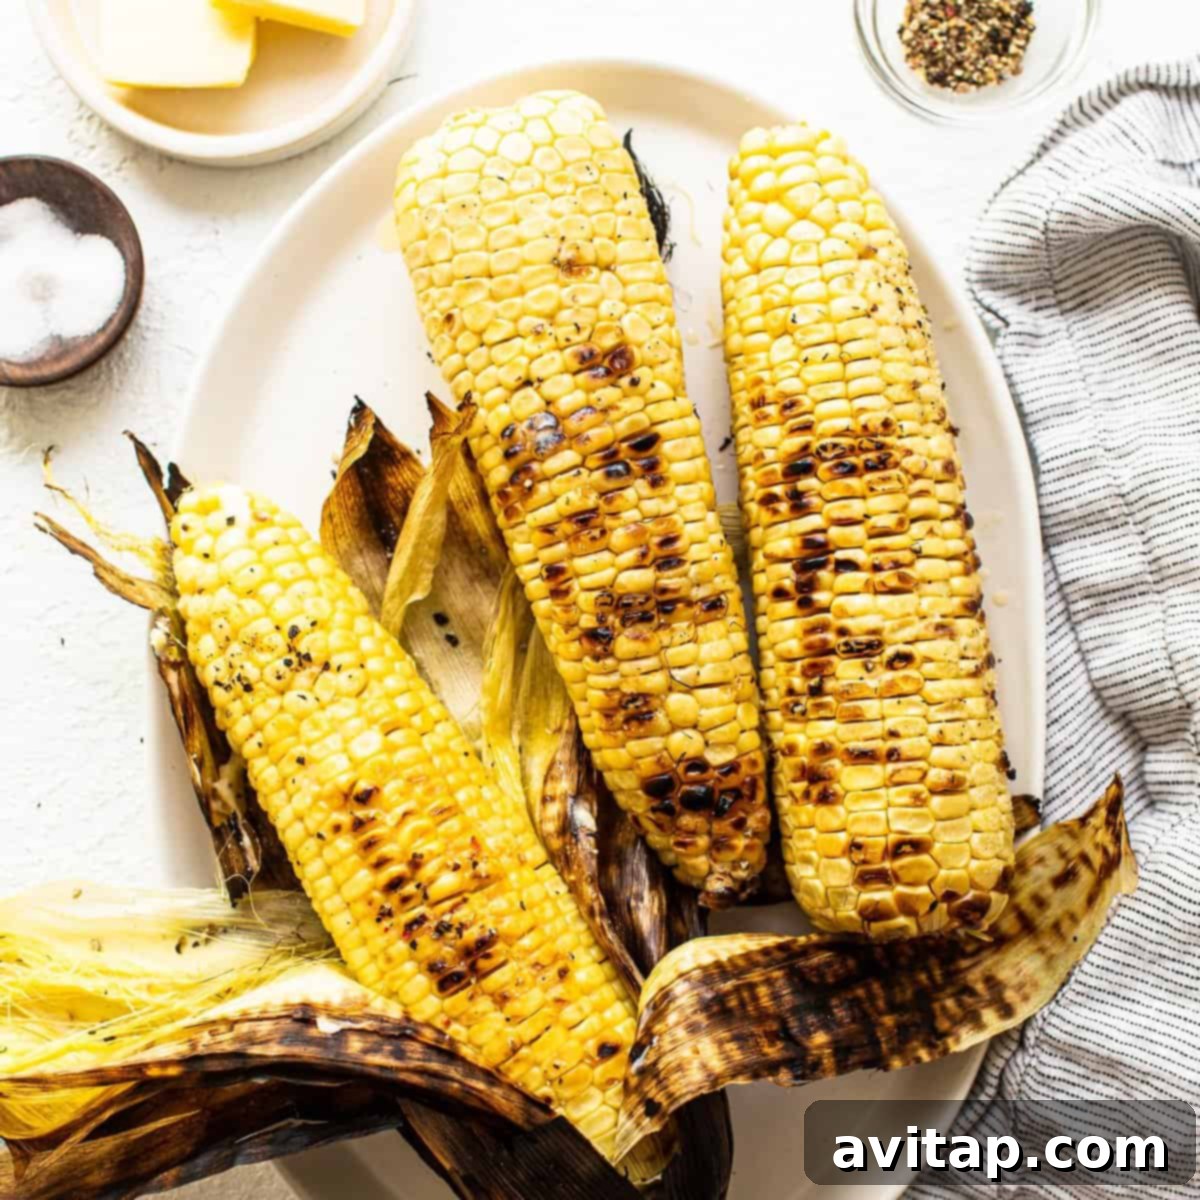
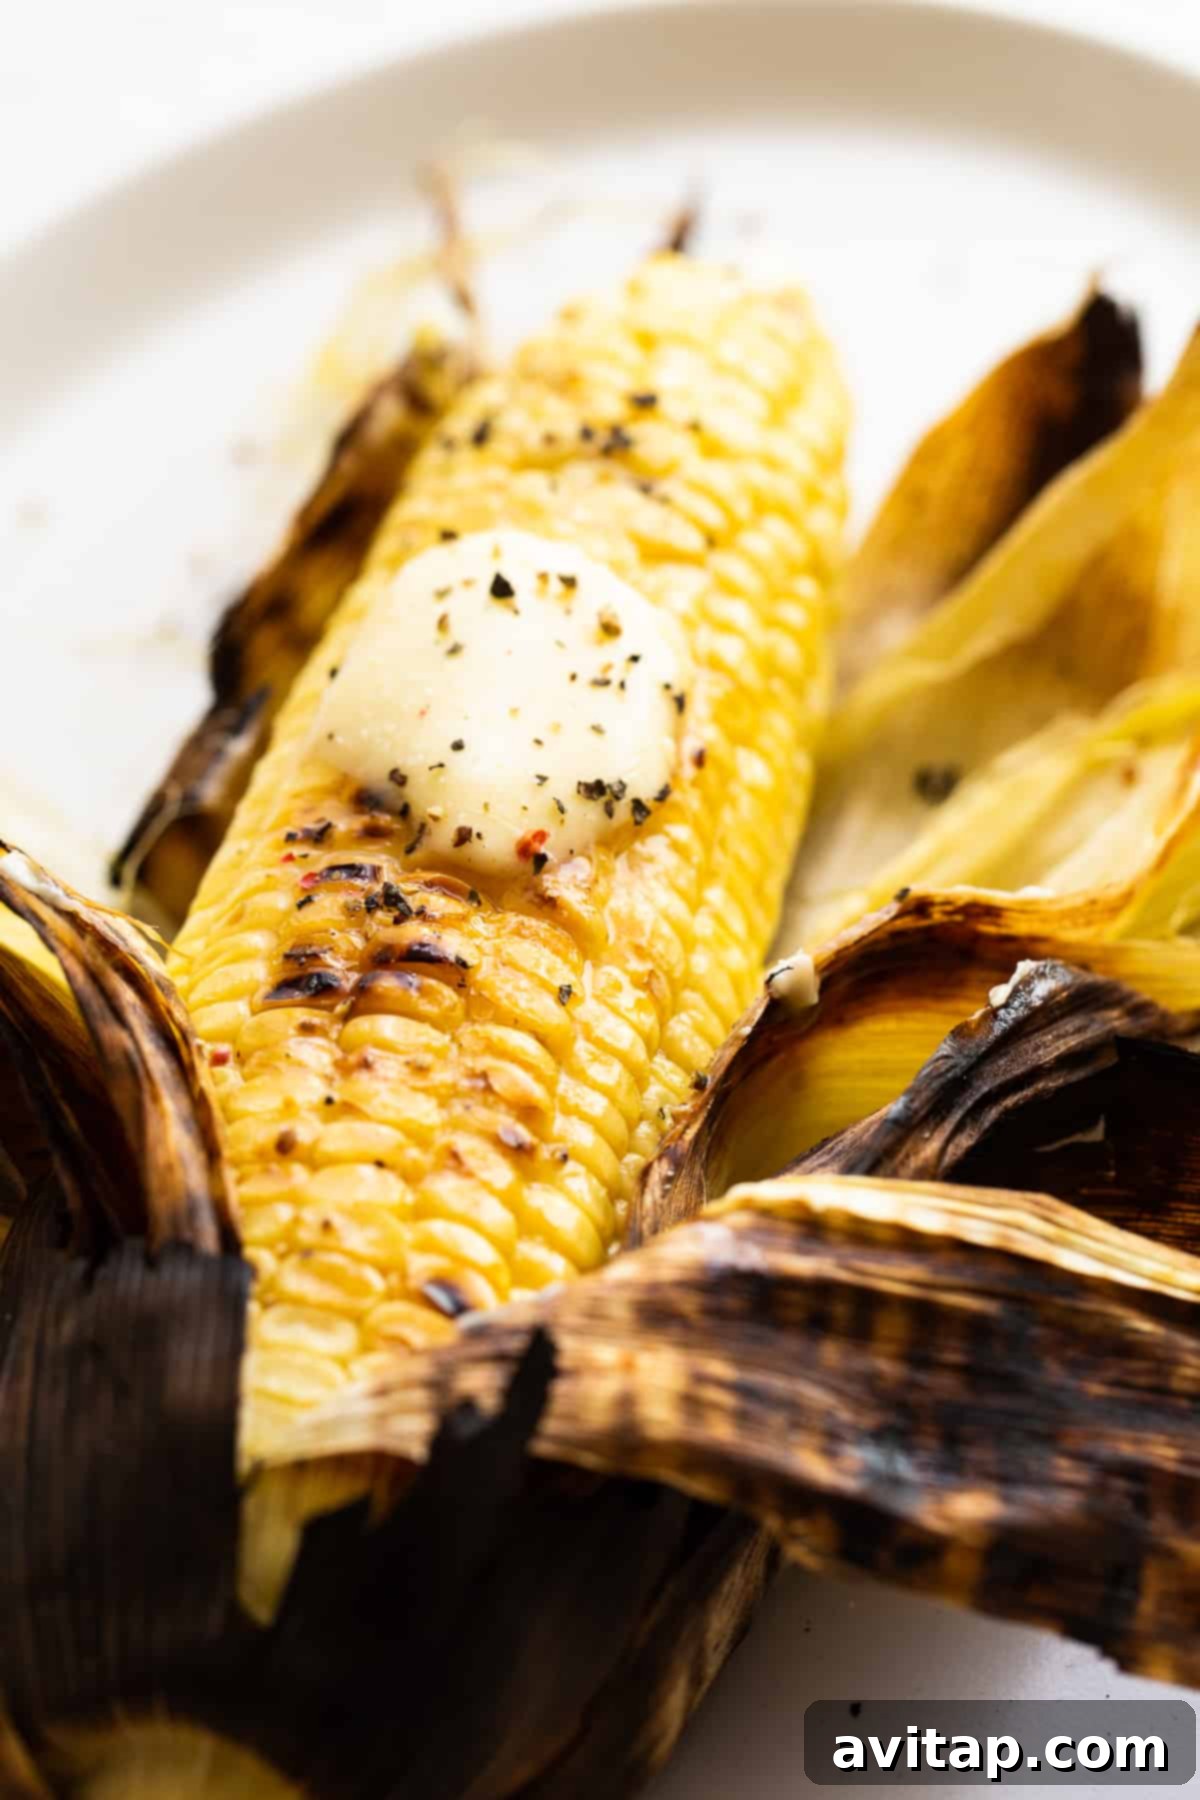
Discover how to prepare the most delicious grilled corn on the cob using two distinct methods – one retaining the husk for ultimate juiciness and another shucked for a perfect char. All you need is fresh sweet corn, a touch of butter, salt, and pepper to create this quintessential summer side dish.
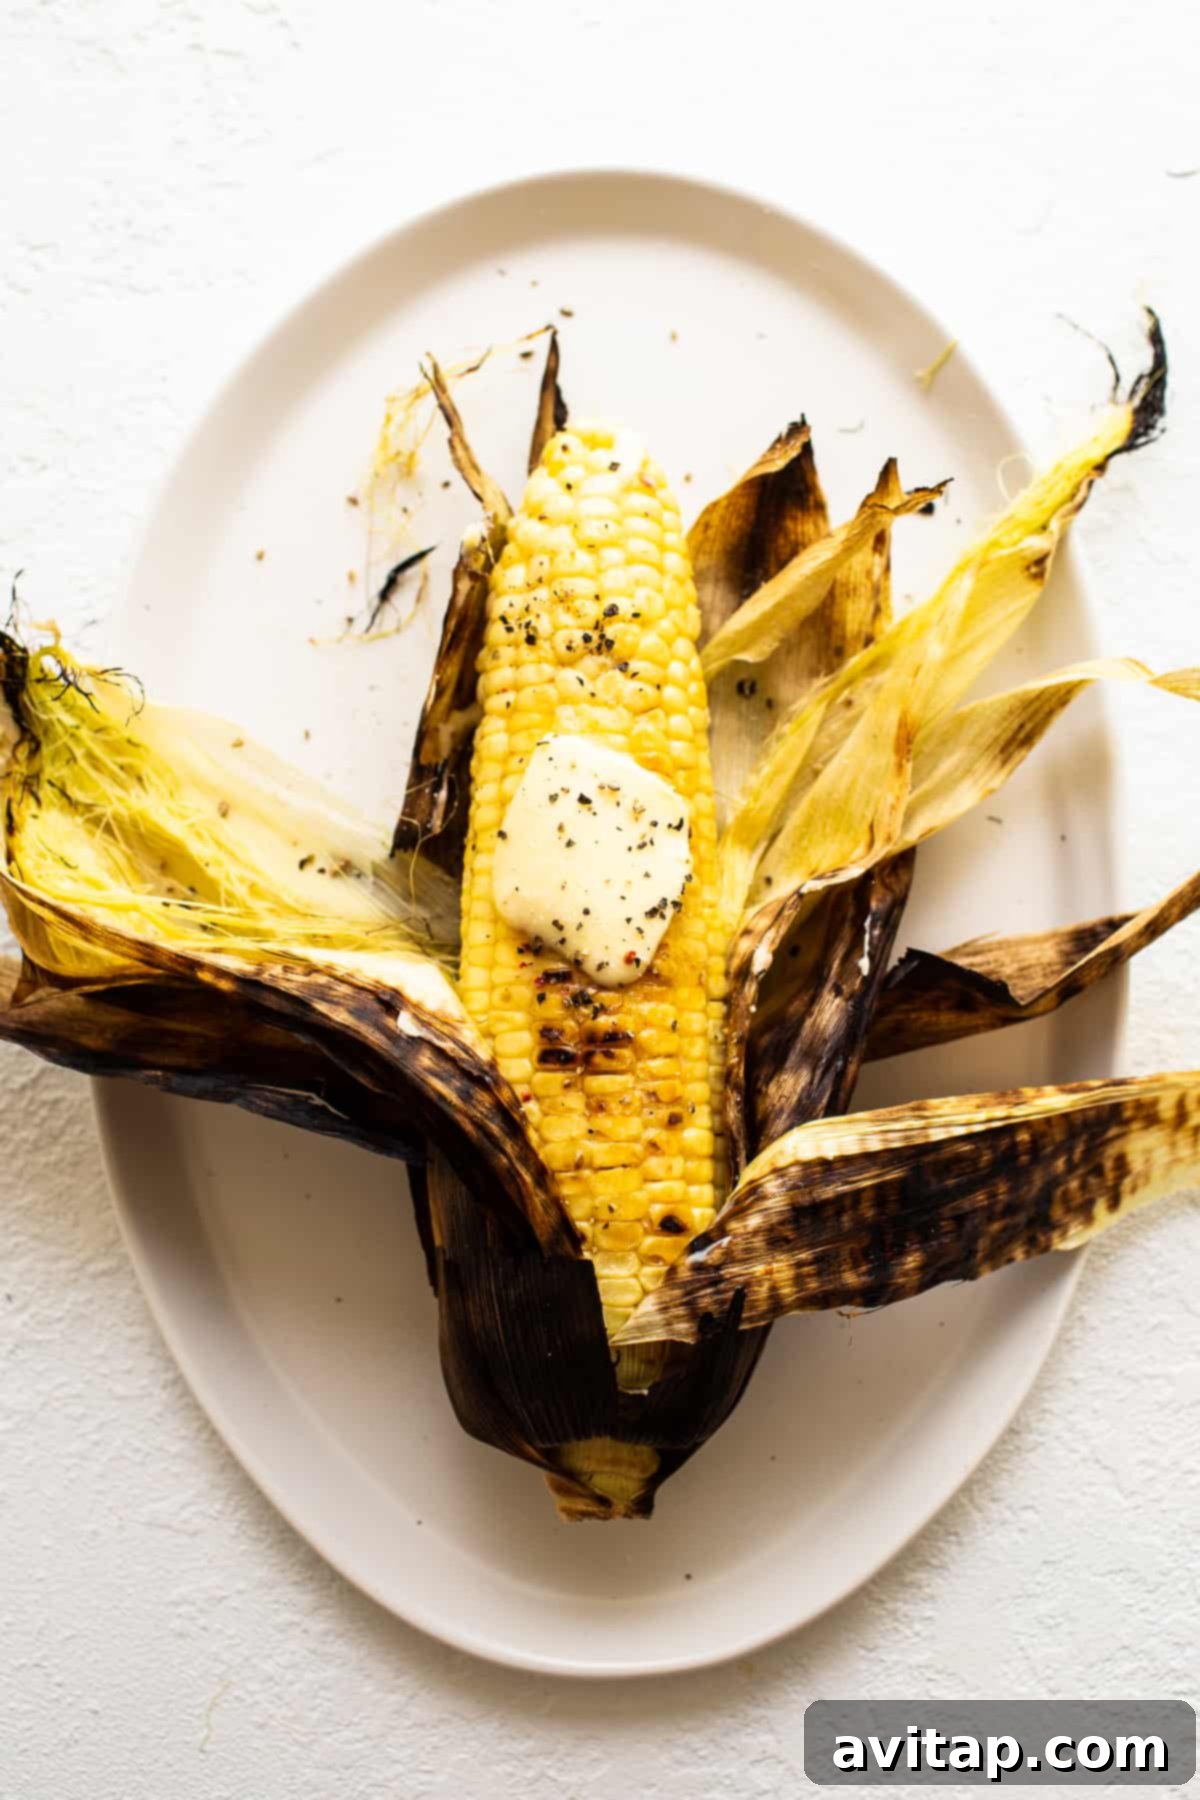
Grilled Corn on the Cob: Your Ultimate Summer Side
For many, the taste of perfectly grilled corn on the cob is synonymous with summer. Hailing from regions renowned for their sweet corn, like Wisconsin and Minnesota, I’ve savored this vibrant vegetable since childhood. Grilling truly elevates corn, locking in its natural sweetness and moisture while imparting a delightful hint of smoky char.
This guide will walk you through two popular methods for grilling corn: in its natural husk and completely shucked. Both approaches yield fantastic results and are incredibly simple to master, promising a juicy, flavorful outcome every time. Just add a generous pat of butter, a sprinkle of salt, and a dash of pepper, and you’re ready to enjoy.
Husk On vs. Husk Off: A Detailed Comparison for Grilling Corn
The choice between grilling corn in the husk or shucking it first is often a matter of personal preference, as both methods deliver delicious results. Each technique has unique benefits that influence the final texture and flavor of your grilled sweet corn.
Grilling Corn in the Husk: For Unrivaled Tenderness
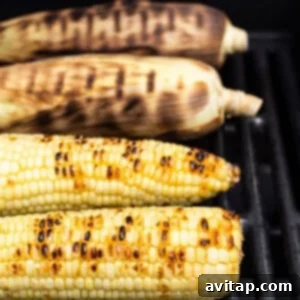
When you grill corn in its husk, you’re essentially steaming it. The husk acts as a natural protective layer, trapping moisture and allowing the kernels to cook evenly and thoroughly. This method results in exceptionally tender, juicy corn with a delicate, less pronounced char. It’s a fantastic choice if you prioritize a succulent bite and maximum moisture.
Grilling Shucked Corn: For Smoky Char and Speed
Opting to grill corn without the husk speeds up the cooking process significantly, as there’s no need for pre-soaking. This direct exposure to the grill grates allows for beautiful caramelization and smoky grill marks, enhancing the corn’s natural sweetness with a lovely charred flavor. If you love that distinct smoky taste and a quicker preparation time, shucking your corn before grilling is the way to go.
Regardless of your preferred method, rest assured that your grilled corn will be a crowd-pleaser. Both techniques are straightforward and guarantee a memorable summer side.
Why You’ll Love This Grilled Corn Recipe!
The Quintessential Summer Side: Grilled corn is the epitome of summer, perfect for BBQs, picnics, and any warm-weather gathering.
Effortlessly Easy: With minimal ingredients and simple steps, anyone can master these grilling techniques.
Naturally Wholesome: Sweet corn is a nutritious vegetable, offering a healthy and delicious addition to your meal.
Loved by All Ages: Its sweet, smoky flavor makes it a guaranteed hit with both kids and adults.
Incredible Flavor: The grill enhances corn’s natural sweetness, adding a smoky depth and satisfying char that’s simply irresistible.
Essential Ingredients for Perfectly Grilled Corn
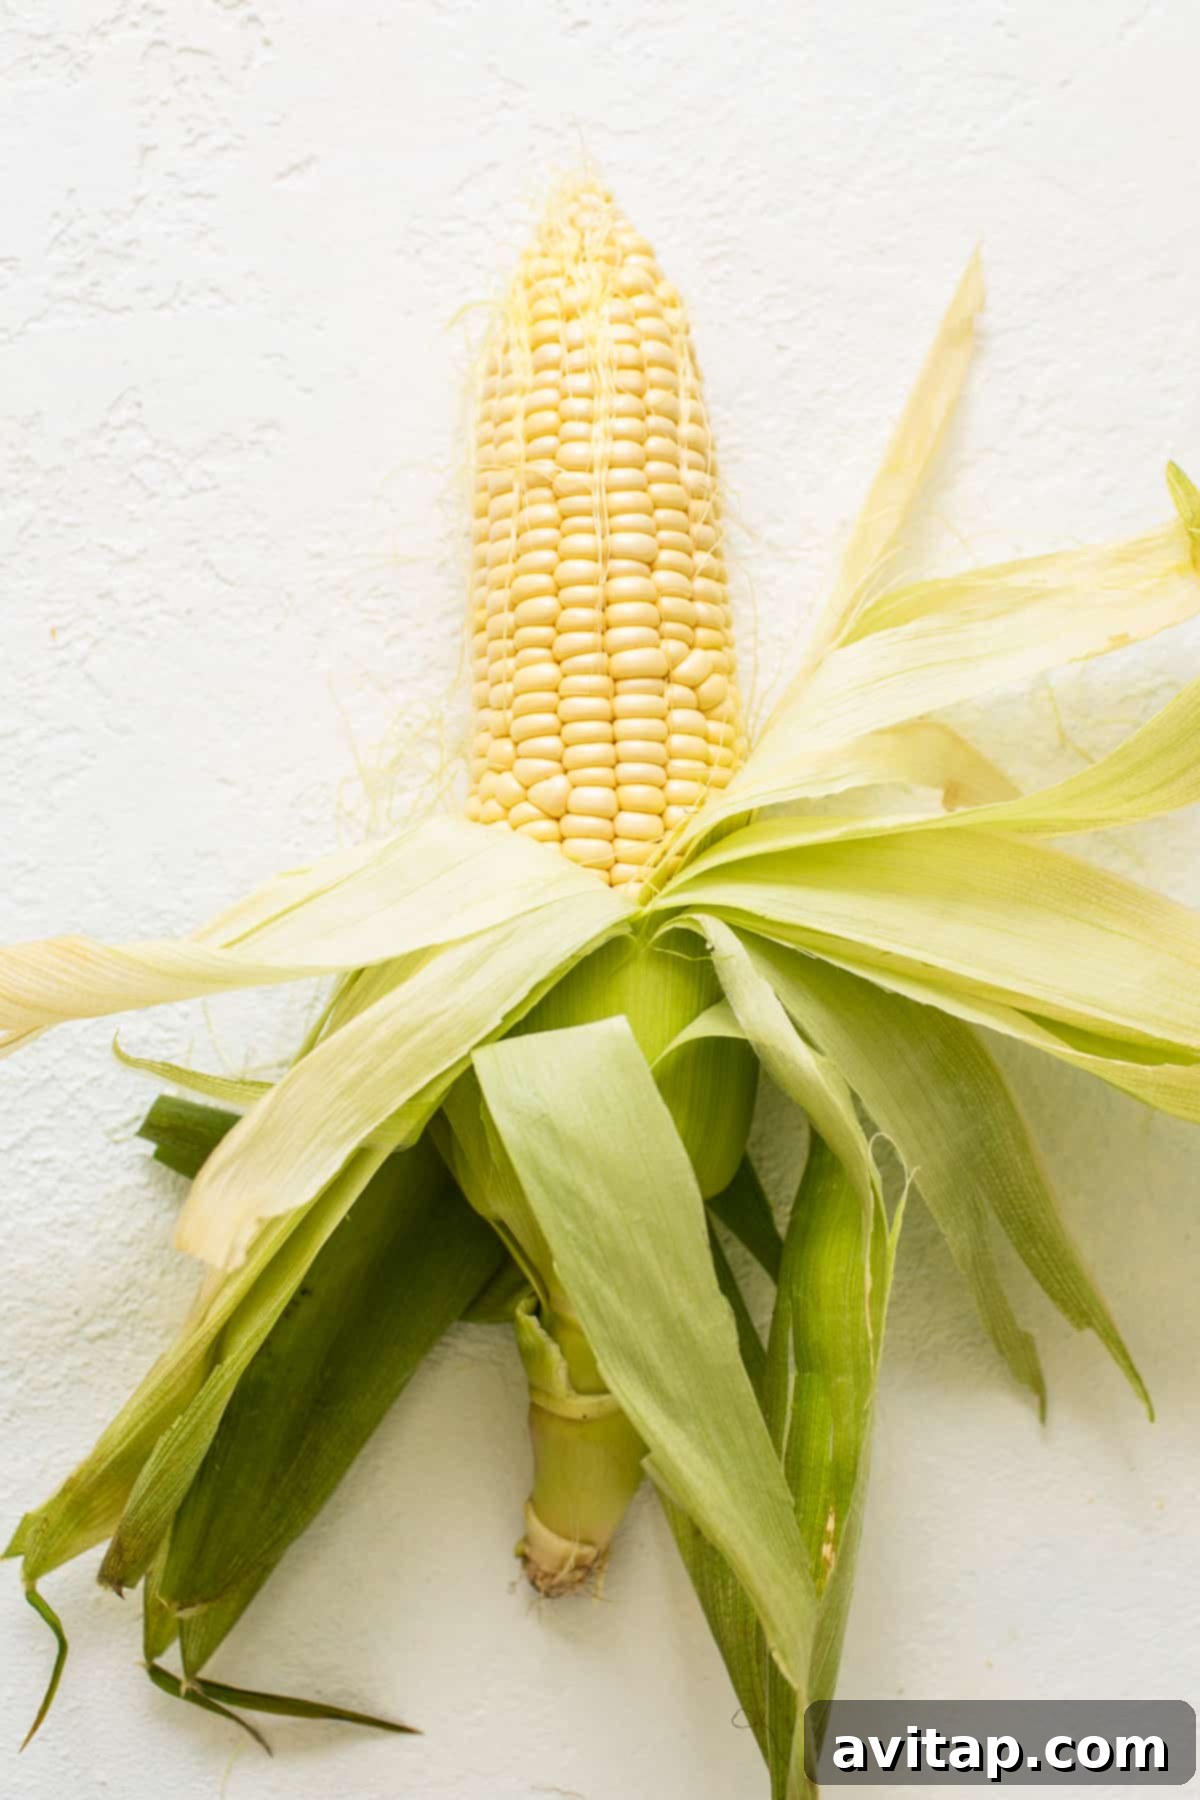
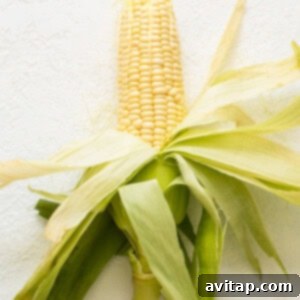
Fresh Sweet Corn: This recipe calls for 4 ears of sweet corn. You can purchase corn in the husk (often more economical) or pre-shucked. Both yellow and white varieties, or even bi-color corn, work beautifully. When selecting corn, look for bright green, tightly wrapped husks, moist silks, and firm kernels when lightly squeezed. The heavier the ear, the juicier it typically is.
Maximize Flavor: Shop In-Season!
For the freshest and most flavorful experience, we highly recommend buying sweet corn when it’s in season. This generally runs from late July through early September in many regions. Fresh, in-season corn is bursting with natural sugars and moisture, making it exceptionally juicy and perfect for grilling.
Unsalted Butter: A generous slather of butter is non-negotiable for grilled corn on the cob! It adds richness and enhances the corn’s natural sweetness. While unsalted is preferred for better control over seasoning, salted butter works too. Feel free to get creative by mixing herbs (like chives or parsley) or spices (like chili powder or smoked paprika) into softened butter for a gourmet touch.
Salt and Freshly Ground Black Pepper: These essential seasonings act as the finishing touch, elevating the corn’s flavor profile. Always season to your personal taste. Consider using coarse sea salt or kosher salt for a pleasant textural crunch.
Try this too!
Grilled Corn in Foil: A Convenient Method
For another easy summer staple, try grilling corn wrapped in foil! This method ensures perfectly cooked, tender corn with minimal cleanup. It’s a fantastic alternative when you want a hands-off approach to grilling.
Mastering Grilled Corn: Step-by-Step Methods
Before you begin, ensure your grill is clean and preheated. For both methods, aim for a medium-high heat, approximately 350-400°F (175-200°C).
Method 1: Grilling Corn on the Cob In Its Husk
This method ensures incredibly tender, steamed corn with a hint of grill flavor. It requires a bit more prep time due to soaking, but the results are worth it for juicy kernels.
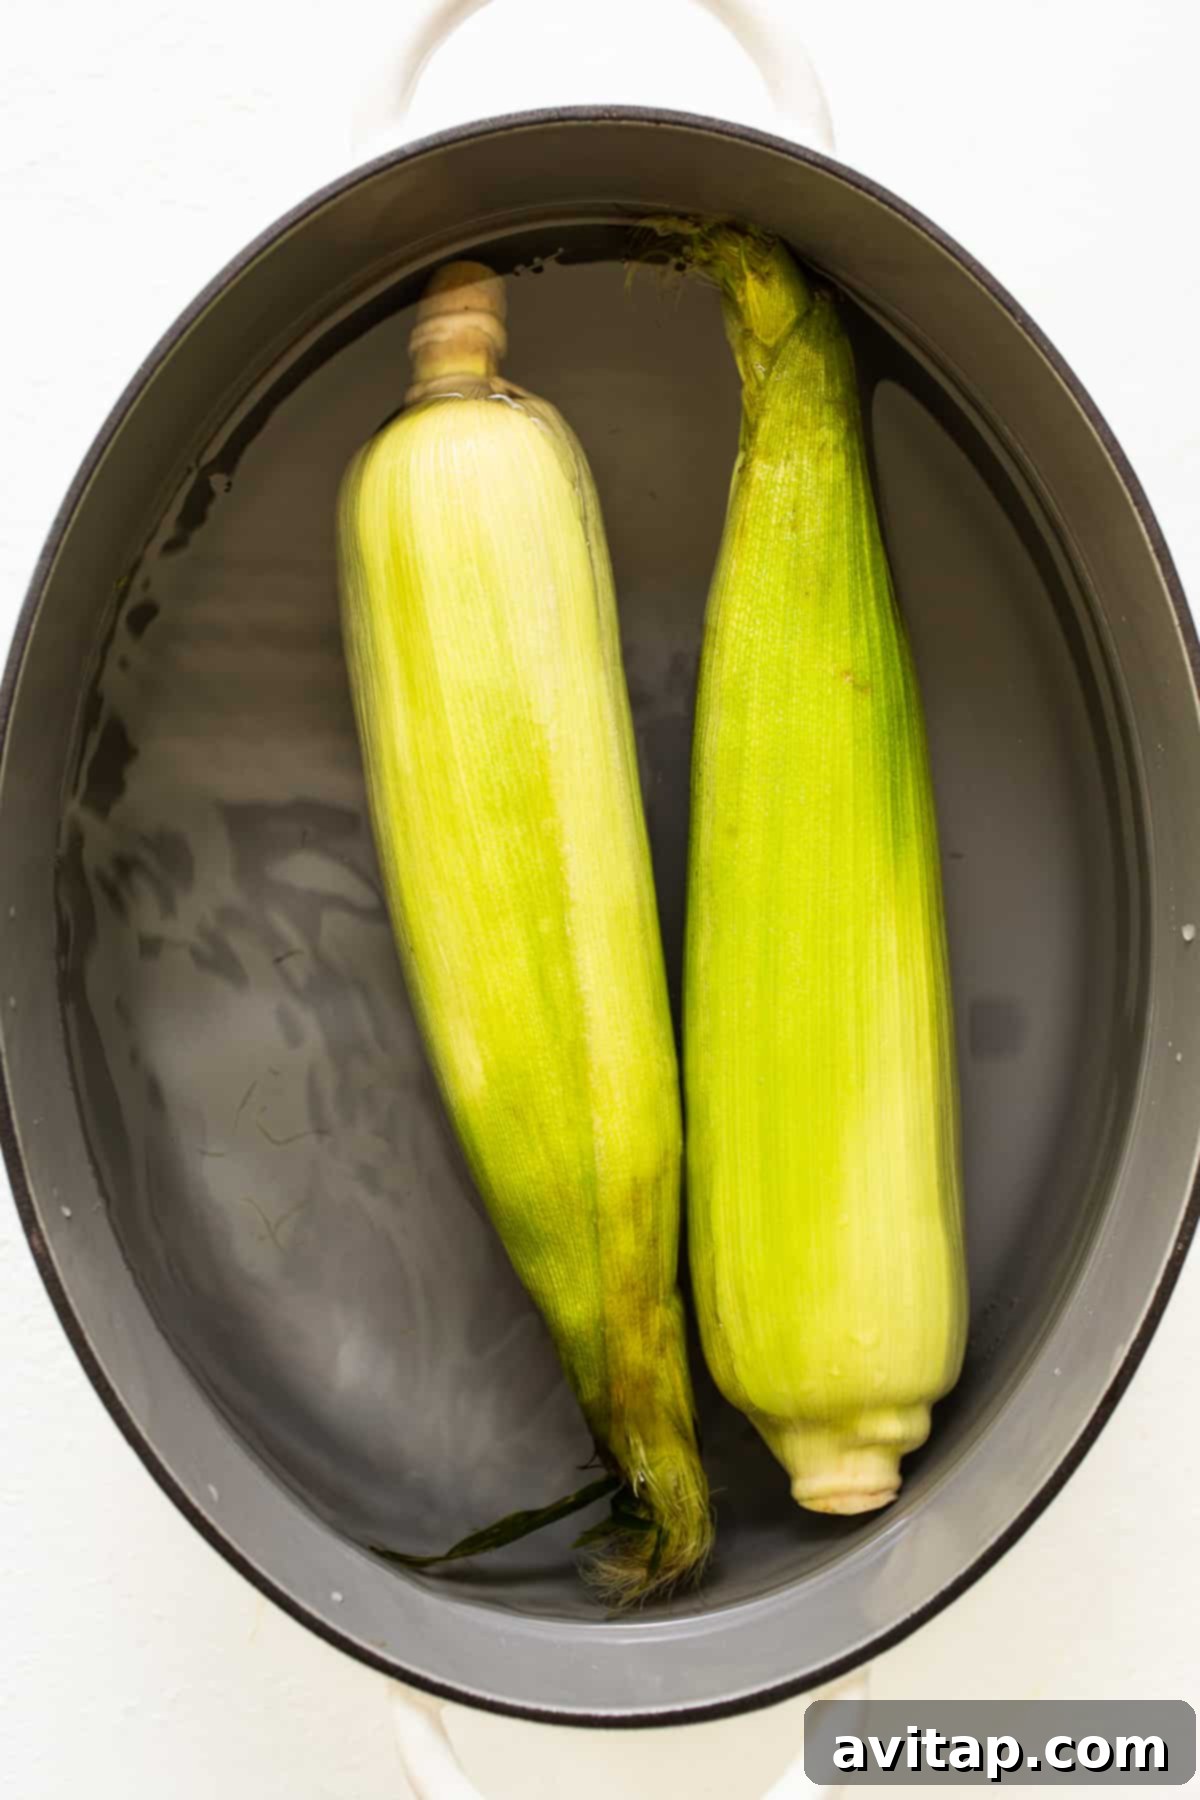
- Soak the Corn: Fill a large pot, cooler, or bucket with cold water. Submerge the ears of corn (husk and all) and let them soak for at least 15-20 minutes. This prevents the husks from burning directly on the grill and helps steam the corn from within. After soaking, shake off any excess water from the husks.
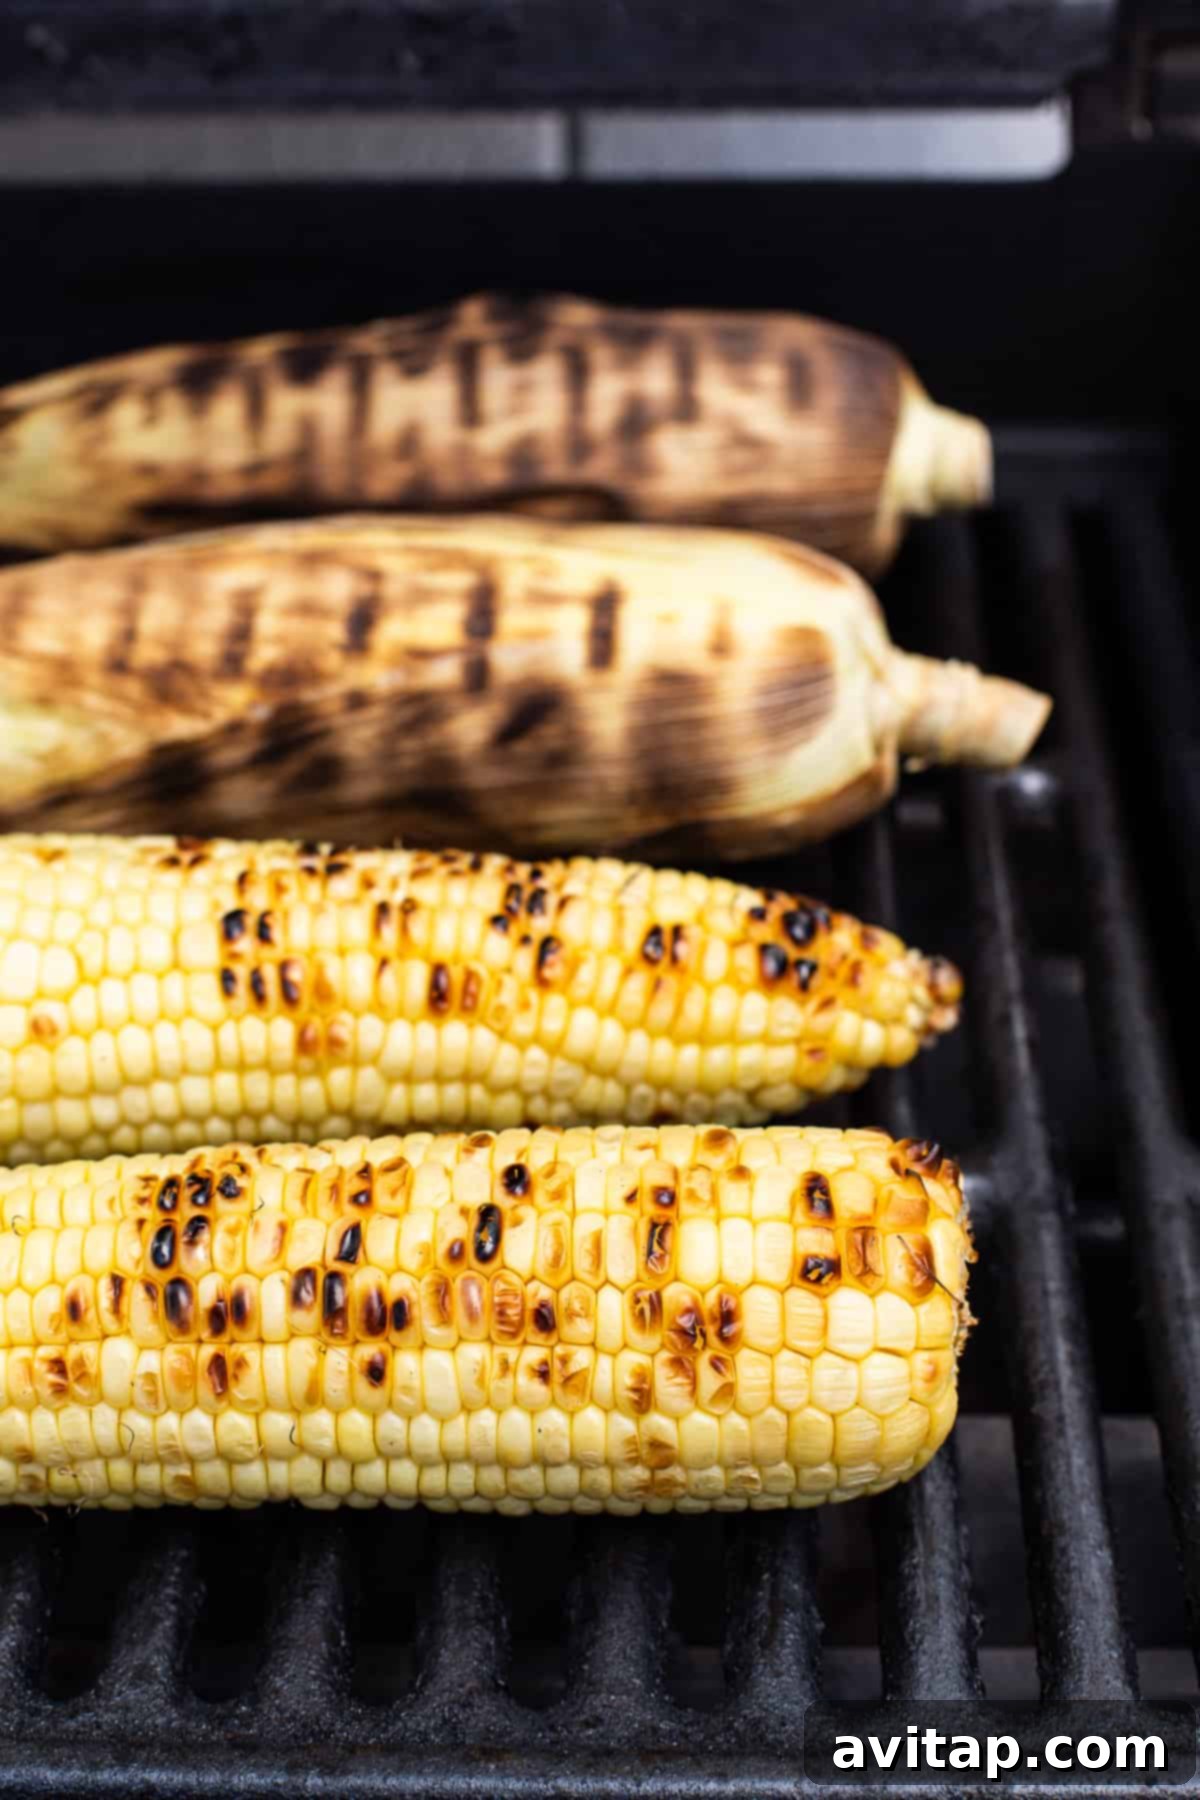
- Preheat and Grill: Preheat your grill to a medium-high temperature (around 350-400ºF or 175-200°C). Once hot, place the soaked corn directly over the heat. Grill for 20-25 minutes, rotating each ear every 5-7 minutes to ensure even cooking and light charring on all sides of the husk. The husks will turn dark and smoky.
- Cool and Remove Husk: Carefully remove the grilled corn from the heat. Let it cool for 3-5 minutes – the husks will be very hot. Once cool enough to handle, peel back the husks. You can use them as a handle or remove them entirely along with the silk.
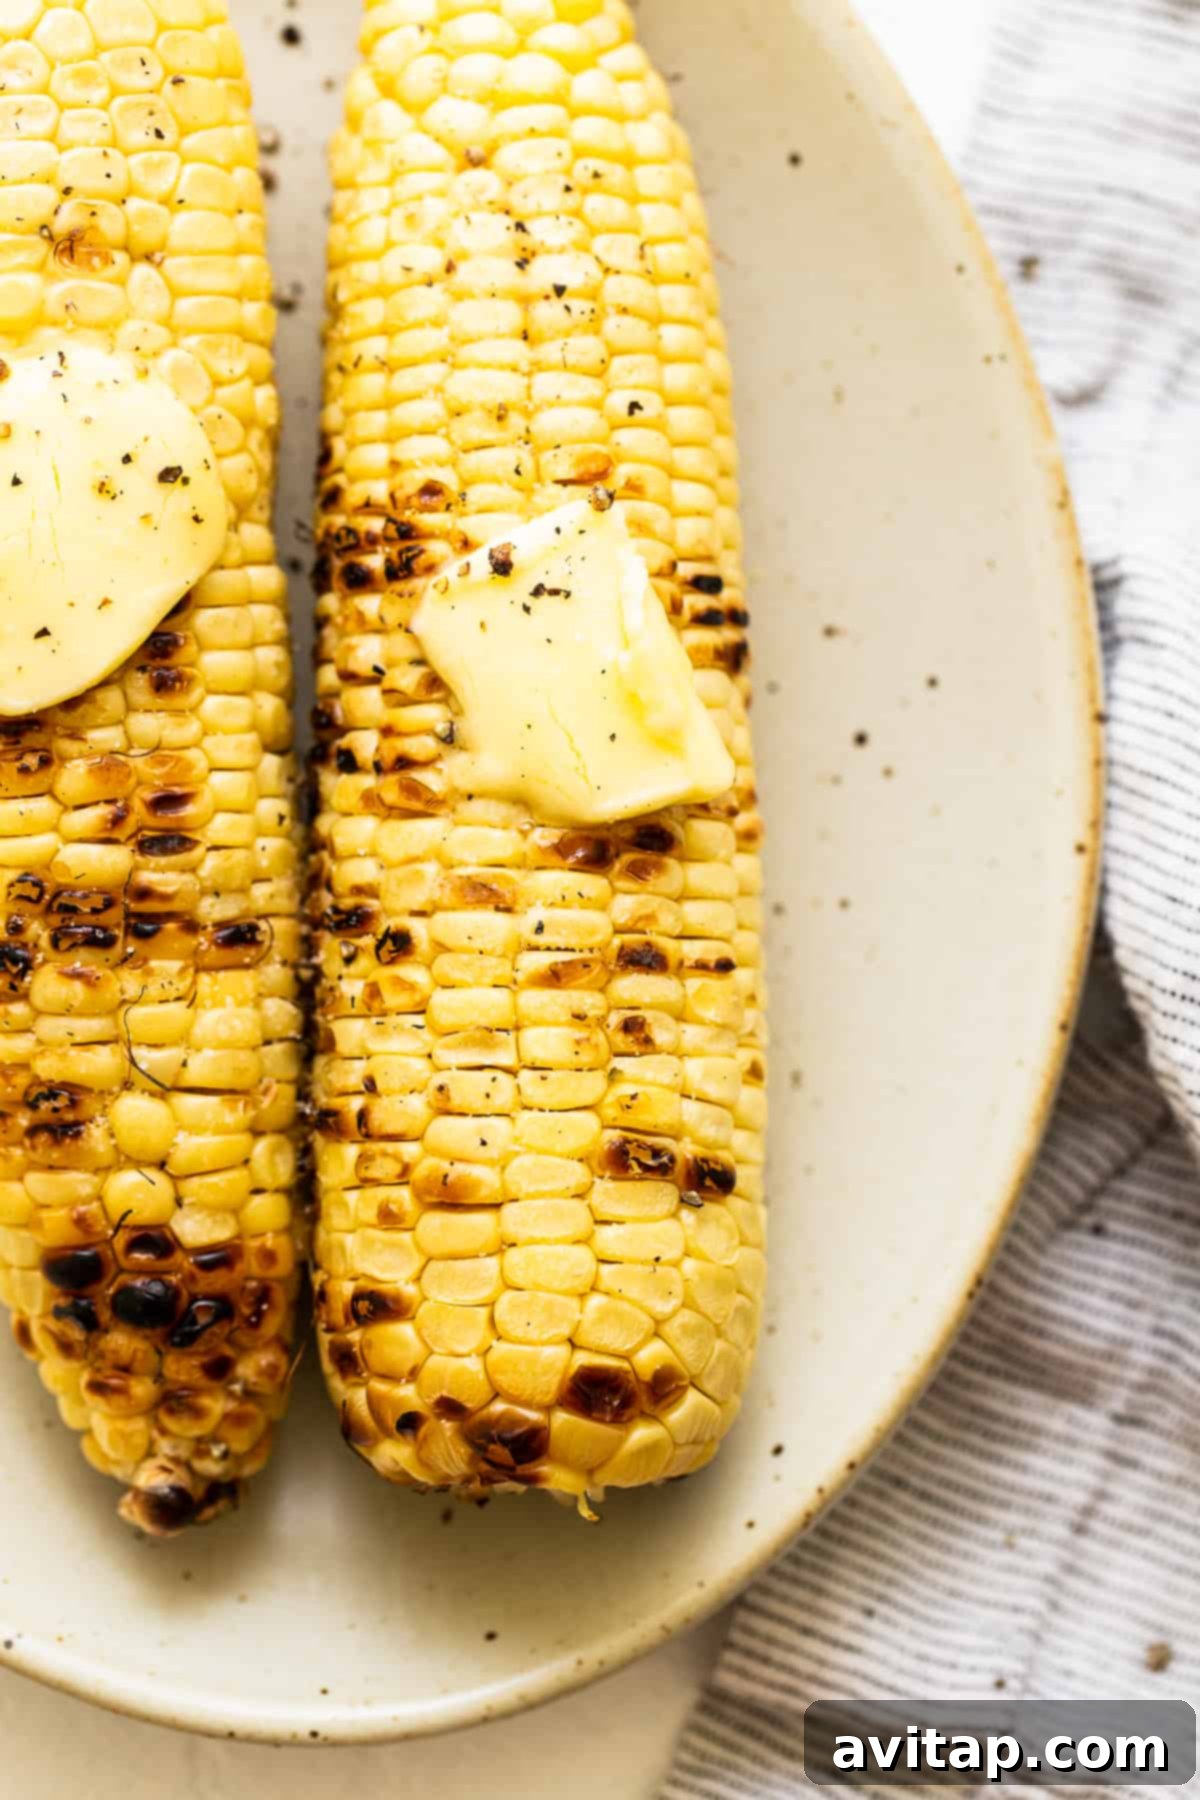
- Season and Serve: Generously slather your hot, tender grilled corn with butter, then season with salt and freshly ground black pepper to taste. Enjoy immediately!
Method 2: Grilling Corn on the Cob Without the Husk (Shucked)
This method is quicker and delivers delightful caramelization and prominent grill marks, perfect for those who love a smoky char.
- Prepare the Corn: Begin by carefully removing the husks and all the silk from each ear of corn. The easiest way is to peel back the husk layers and then grab the silk firmly near the base of the ear to pull it off. You can also use a brush to remove stubborn silks. Discard the husks and silk.
- Optional: Lightly Oil or Butter: For enhanced flavor, to prevent sticking, and to encourage more even browning, you can lightly brush the shucked corn with olive oil or melted butter before grilling. This step is optional but recommended for best results.
- Preheat and Grill: Preheat your grill to medium-high heat (around 350-400ºF or 175-200°C). Place the shucked corn directly onto the hot grill grates. Grill for 10-15 minutes, rotating every 3-4 minutes until the kernels are tender-crisp and you see beautiful golden-brown grill marks and slight charring on all sides.
- Season and Serve: Remove the grilled corn from the heat. Let it cool for just 1-2 minutes, then slather it with butter and season generously with salt and pepper. Serve hot.
Expert Grilling Tips for Perfect Corn Every Time
In the Husk for Steamed Tenderness: Grilling corn with the husk on acts like a natural steam pouch, ensuring the kernels remain incredibly moist and tender. This method typically results in fewer distinct grill marks but a wonderfully crisp-tender bite. Be cautious not to overcook, as prolonged grilling in the husk can cause the corn to over-steam and become mushy.
Without the Husk for Maximum Char: Choosing to grill corn shucked provides a quicker cooking time and allows for direct contact with the grill grates. This is ideal for achieving those coveted smoky flavors and pronounced grill marks that many adore. Keep a close eye on it to prevent burning, as exposed kernels can char quickly.
Achieving Signature Grill Marks: For those appealing, distinct grill marks, ensure your grill is preheated to medium-high heat (350-400°F). Place the corn over direct heat and resist the urge to move it immediately. Allow a few minutes for the marks to form before rotating. Patience is key!
Don’t Overcrowd the Grill: Give each ear of corn enough space on the grill for even cooking and proper air circulation. Overcrowding can lead to uneven cooking and prevents proper charring.
Test for Doneness: A simple way to check if your corn is done is to carefully pull back a few kernels from one ear (if in the husk) or use a fork to test a kernel (if shucked). It should be tender-crisp and sweet, but not mushy.
Flavor Boosters: Beyond butter, salt, and pepper, consider experimenting with flavors. A squeeze of lime juice, a sprinkle of chili powder, smoked paprika, or a dash of fresh chopped herbs like cilantro or parsley can elevate your grilled corn even further. For a Mexican Street Corn twist, try cotija cheese and a crema sauce!
Frequently Asked Questions About Grilling Corn
Generally, corn takes around 15-25 minutes to cook at 350-400ºF (175-200°C) on the grill. If grilling shucked corn, it’s usually quicker, about 10-15 minutes. Corn grilled in the husk may take slightly longer, around 20-25 minutes, due to the steaming effect.
Soaking corn is highly recommended if you plan to grill it in the husk. This process infuses moisture, preventing the husk from burning too quickly and allowing the corn kernels to steam perfectly within their natural wrapper, resulting in incredibly juicy corn. If you’re grilling shucked corn, soaking is not necessary.
When grilling corn in the husk at 350-400ºF (175-200°C), it typically takes about 20-25 minutes. Remember to soak the corn beforehand for optimal results and rotate the ears every 5-7 minutes for even cooking.
For corn grilled in the husk, the husks will become charred and dark, and you can feel the kernels soften slightly when squeezed. For shucked corn, the kernels will appear plump, tender-crisp, and have visible grill marks with some light browning or charring. You can always carefully taste a kernel to check for desired tenderness.
Yes, you can grill frozen corn on the cob! Thaw it first, then pat it dry before grilling shucked. If grilling in the husk, ensure it’s fully thawed and soaked as usual. Cooking times might be slightly longer for frozen corn.
Delicious Pairings: What to Serve with Grilled Corn
Grilled corn on the cob is a versatile side dish that complements almost any summer meal. Here are some fantastic ideas to complete your feast:
- Succulent Grilled Chicken Thighs
- Flavorful Grilled Shrimp Skewers
- Light and Zesty Lemon Pasta Salad
- Classic Creamy Red Potato Salad
- Refreshing Summer Punch
- Juicy Burgers or Hot Dogs
- Smoked Brisket or Ribs
Storing and Reheating Grilled Corn
Should you be lucky enough to have leftovers, store cooled grilled corn on the cob in an airtight container or a large, resealable bag in the refrigerator. It will stay fresh for up to 3-4 days. For reheating, you can warm it gently in the microwave, briefly on the grill, or in a 350°F (175°C) oven until heated through. Alternatively, cut the kernels off the cob and add them to salads, salsas, or stir-fries for a quick meal!
Make More!
Mexican Street Corn Salad
Have leftover grilled corn? Transform it into our highly-rated Mexican Street Corn Salad! It’s an explosion of flavors and textures, making it ideal for summer barbecues and potlucks.
Grilled Corn on the Cob (2 Ways)
Corn on the cob on the grill is an easy summer side to make that only requires a few ingredients. Learn how to grill corn on the cob in the husk and without it for perfectly cooked results every time!
Print Recipe
Ingredients
- 4 ears of corn
- 3 tablespoons unsalted butter
- Salt, to taste
- Ground black pepper, to taste
Instructions
-
Preheat the grill between 350-400ºF (175-200°C). Clean the grill grates thoroughly and close the lid to allow it to heat evenly.
Grilling Corn in the Husk
-
Place the corn in a large pot or bucket and completely cover the corn with water. Allow the corn to soak for 15-20 minutes before grilling. After soaking, gently shake off as much water as possible from the corn husk.

-
Place the soaked corn directly over medium-high heat on the preheated grill. Grill for 20-25 minutes, rotating the corn every 5-7 minutes to ensure even cooking. The husks will char and darken, indicating the corn inside is steaming.
-
Remove the corn from the grill and let it cool for 3-5 minutes before carefully removing the charred husk and any remaining silk. The corn will be very hot.
-
Generously smear butter onto the hot corn and season with salt and pepper to taste. Serve immediately.
Grilling Corn without the Husk
-
First, carefully remove all the husk and silk from each ear of corn. Discard the husk and silk. Optionally, lightly brush the shucked corn with olive oil or melted butter.
-
Place the shucked corn directly over medium-high heat on the preheated grill. Grill for 10-15 minutes, rotating every 3-4 minutes until the kernels are tender-crisp, and you see appealing grill marks and light charring on all sides.
-
Remove the corn from the grill and let it cool for 1-2 minutes. Then, smear butter on the corn and season generously with salt and pepper before serving.
Tips & Notes
- Grilling the corn in the husk steams the corn, resulting in a very tender and juicy texture with fewer grill marks. Be careful not to overcook, or it can become mushy.
- Grilling the corn without the husk offers a quicker cooking time and yields significantly more pronounced grill marks and a smoky char.
- For stubborn corn silk on shucked corn, use a clean kitchen brush or paper towel to rub it off after removing the husk.
Watch How It’s Made
Nutrition Information
Carbohydrates: 17 g
Protein: 3 g
Fat: 10 g
Fiber: 2 g
Sugar: 6 g
Nutrition information is automatically calculated and should only be used as an approximation.
Explore More of Our Favorite…
Delicious Corn Recipes
- Authentic Grilled Mexican Street Corn
- Crispy Corn Fritters
- Hearty Corn Chowder
- Refreshing Black Bean Corn Salad
Photography: All beautiful photos in this post are expertly captured by Ashley McGlaughlin from The Edible Perspective.