
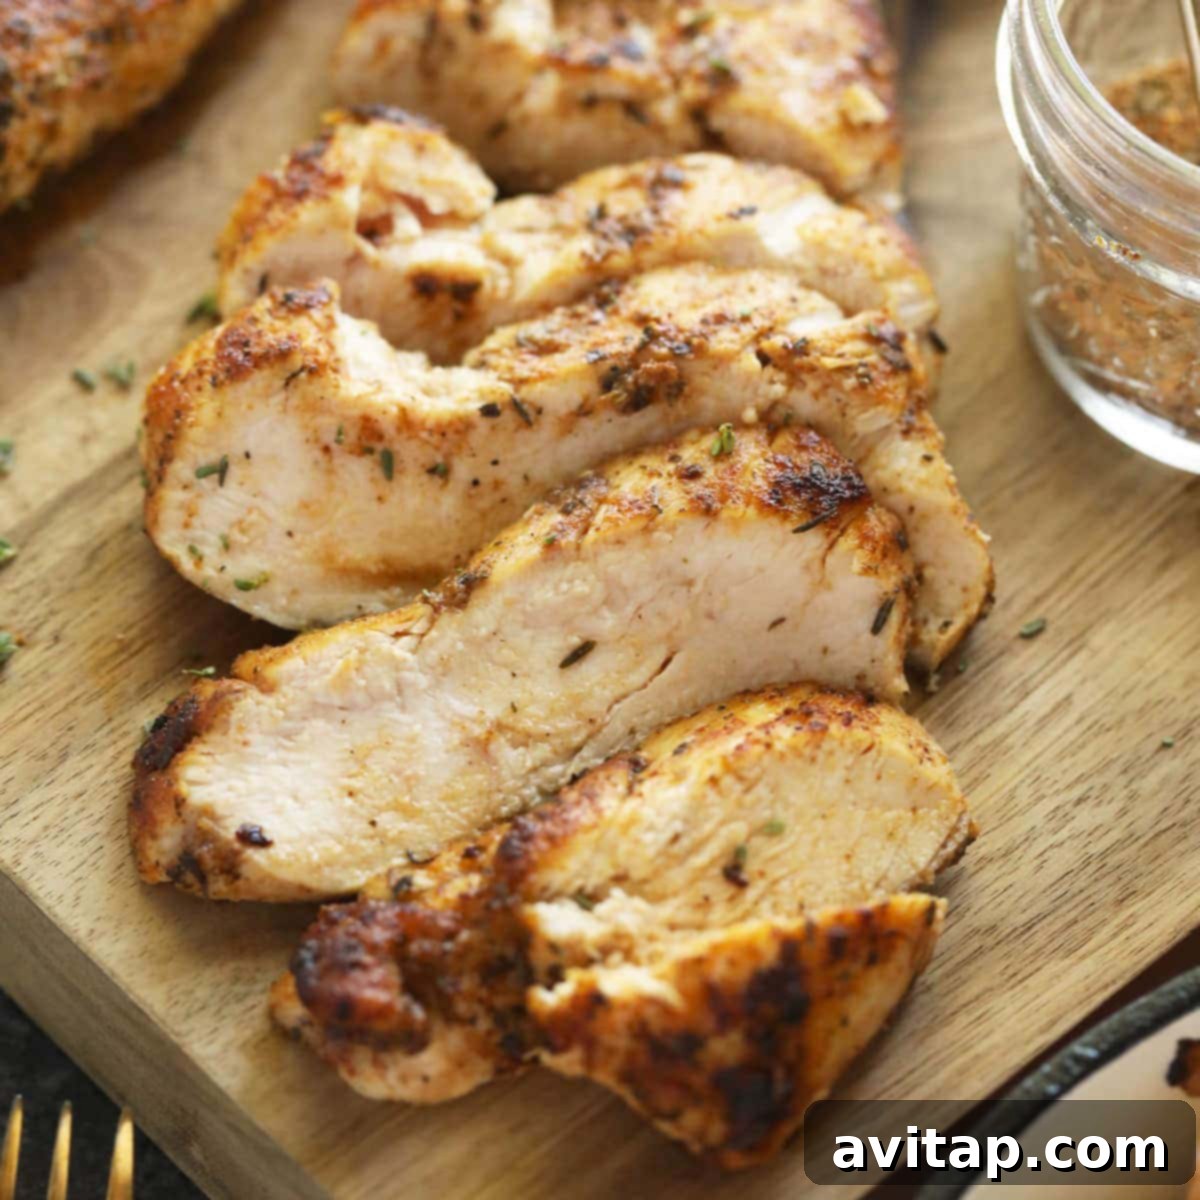
Perfectly Pan-Seared Chicken Breast: Your Ultimate Guide to Juiciness and Flavor
Transform your weeknight dinners with this incredible pan-seared chicken breast recipe! Ready in under 30 minutes, this culinary gem requires just a few staple ingredients: succulent chicken breasts, rich butter, and a robust chicken seasoning blend. This method promises a golden-brown exterior and an unbelievably juicy, tender inside, making it an instant family favorite.
The magic happens quickly on the stovetop. You’ll sear your chicken breast in hot butter over high heat for a mere few minutes to develop that coveted crust. Then, a quick flip and a slight reduction in heat ensure it cooks through perfectly, locking in all the natural moisture and flavor.
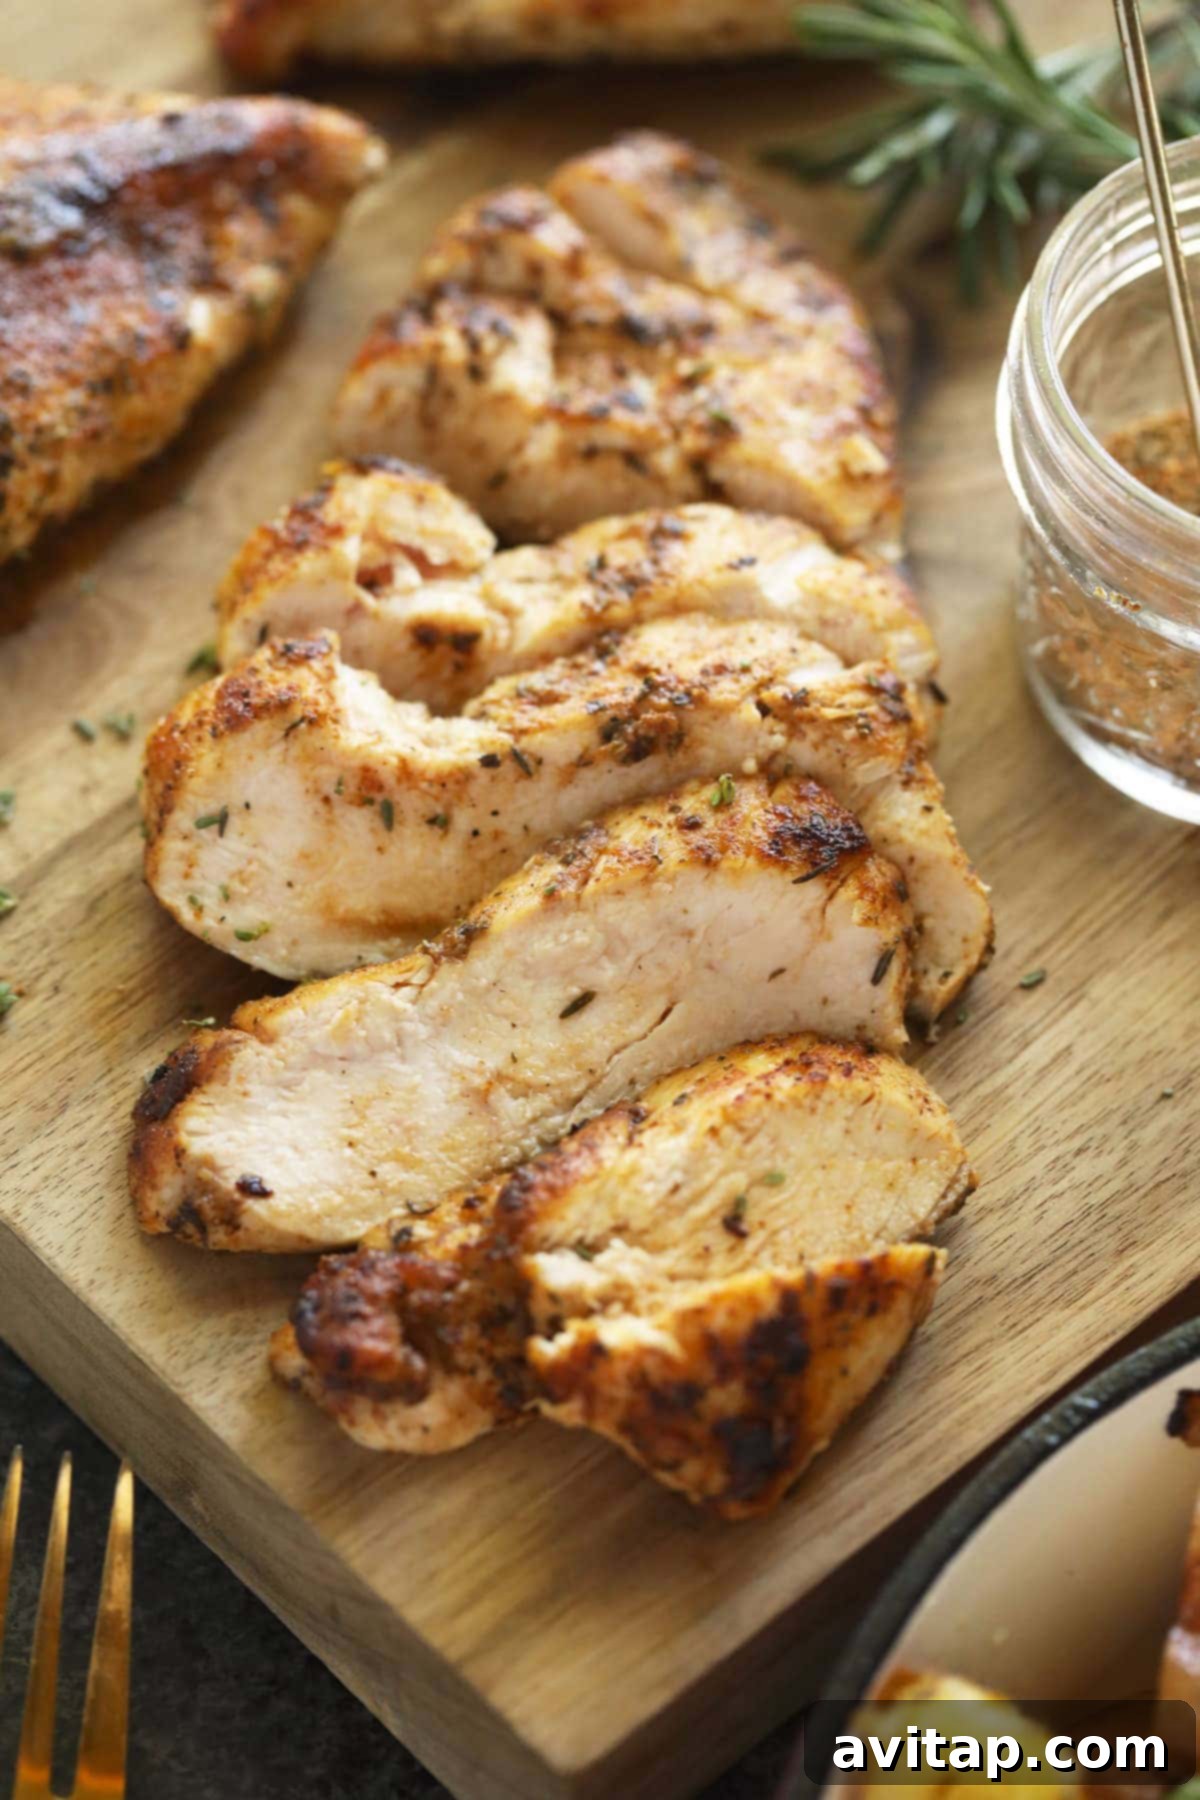
Pan-fried chicken breast truly stands out as one of my go-to chicken recipes. There’s something incredibly satisfying about achieving super juicy results right on your stovetop in such a short amount of time. It’s a testament to simple techniques yielding extraordinary flavor.
Growing up, chicken breast was a constant on our dinner table – a big shout out to my mom! It’s an excellent source of lean protein and remarkably versatile to cook. My mom frequently prepared pan-seared chicken, and today, I’m excited to share her foundational approach. We’re elevating it with an epic homemade seasoning blend and exploring various fat options for frying, ensuring every bite is packed with deliciousness.
The Ultimate Secret to a Perfectly Seared Chicken Breast
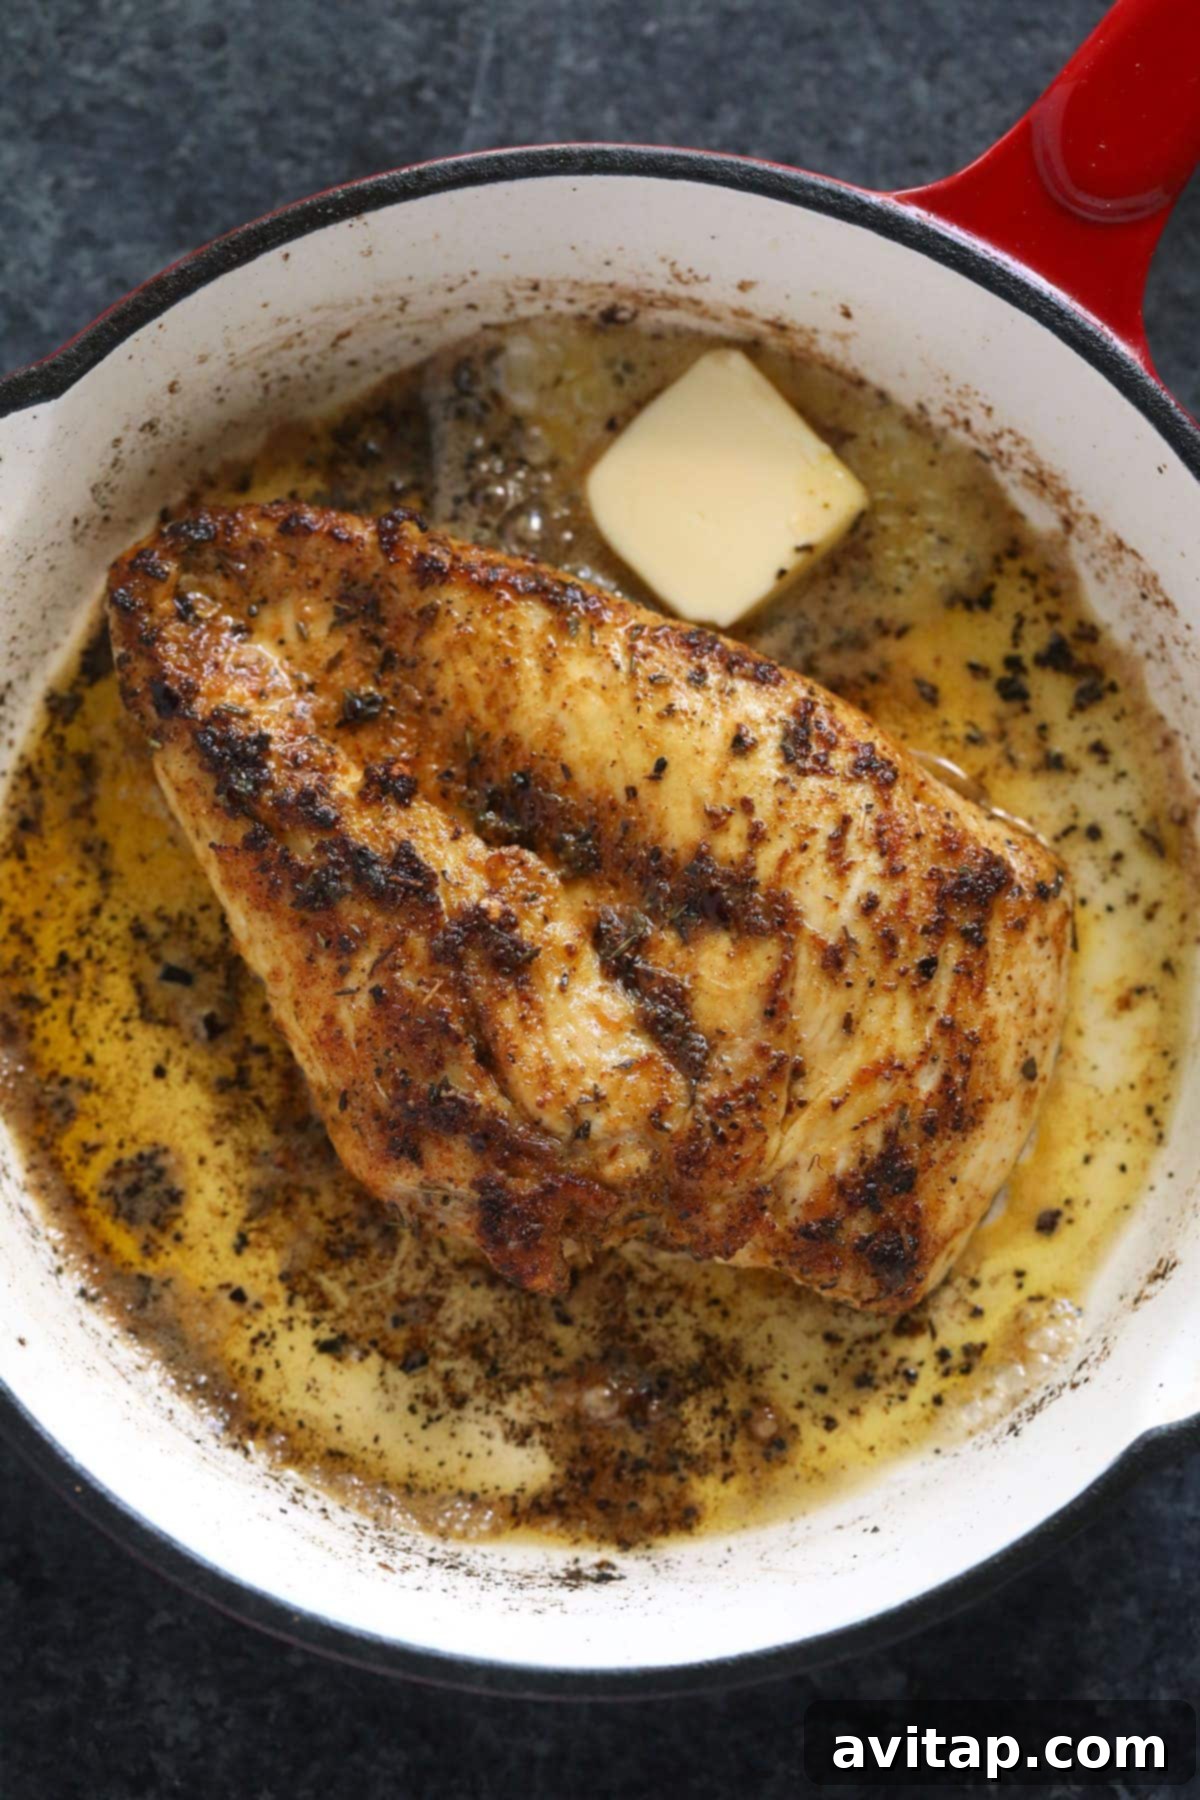
Achieving that restaurant-quality sear on your chicken breast is simpler than you might think. The key lies in initial high-heat searing, followed by a controlled finish. Start by searing your chicken breast over high heat for just a few minutes per side. This rapid exposure to intense heat creates a beautiful, caramelized, golden-brown crust. Once adequately seared, reduce the heat to medium and allow the chicken to finish cooking through. This two-stage process ensures a gorgeous exterior while meticulously preserving the interior’s moisture, guaranteeing a succulent and juicy result every time. For optimal juiciness, always aim for an internal temperature of 165°F (74°C).
Elevate Your Dish: How to Flavor Your Pan-Seared Chicken Breast
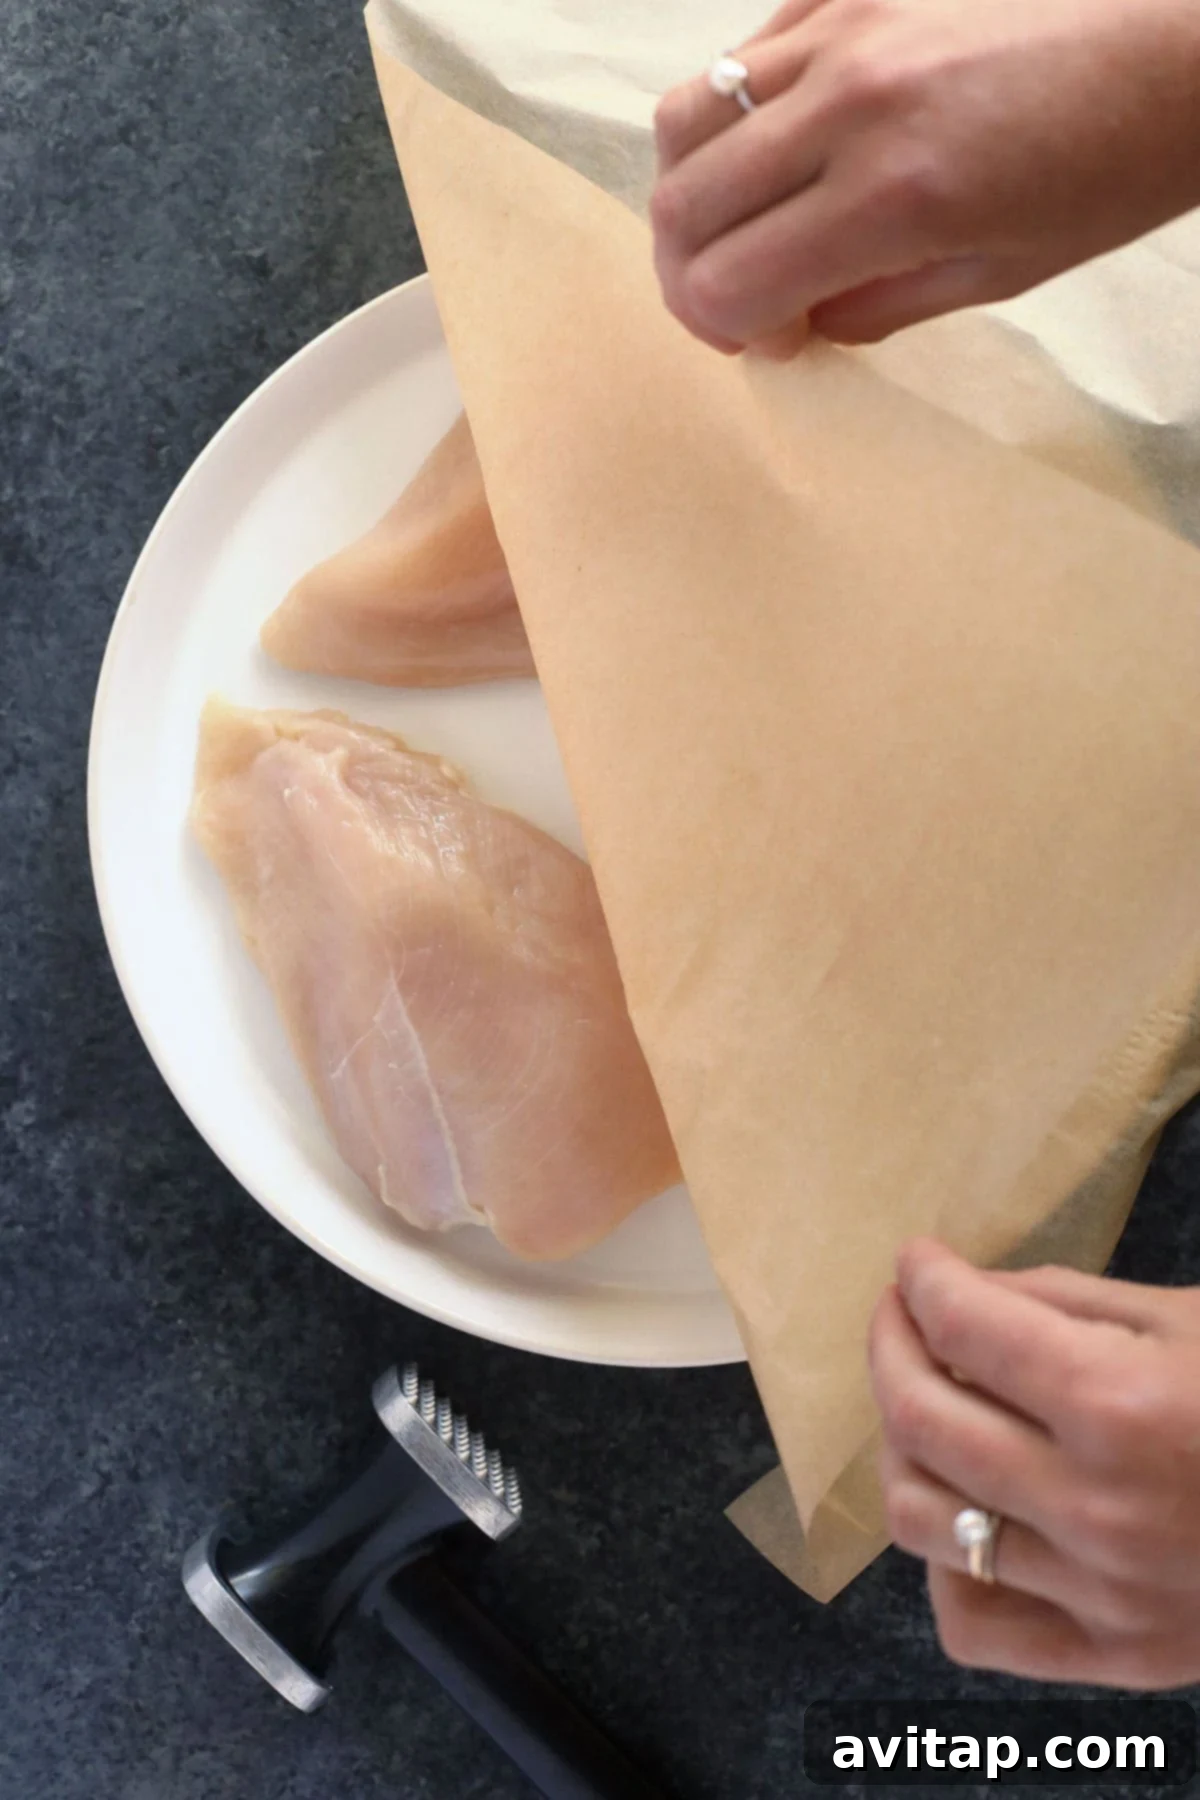
While this recipe features our renowned chicken seasoning—a masterful blend of garlic powder, chili powder, ground mustard, and salt—this is where your culinary creativity can truly shine! Seasoning is crucial for infusing flavor and enhancing the overall experience of your pan-seared chicken. Don’t hesitate to experiment and make this dish uniquely your own. Below are some fantastic ideas for seasoning swaps, allowing you to tailor the chicken to your personal taste preferences or match it with various global cuisines:
- Classic Salt and Pepper: Sometimes, simplicity is best. A generous seasoning of coarse salt and freshly ground black pepper can highlight the natural flavors of the chicken beautifully.
- Italian Seasoning: Transport your taste buds to the Mediterranean with a blend of oregano, basil, thyme, rosemary, and marjoram. Perfect for serving with pasta or a fresh caprese salad.
- Everything Bagel Seasoning: For a delightful crunch and savory kick, this blend of sesame seeds, poppy seeds, dried garlic, dried onion, and salt is a surprisingly delicious choice.
- Ranch Seasoning: A popular choice that adds a creamy, zesty flavor profile with herbs like dill, chives, and parsley, alongside garlic and onion powder. Great for a casual weeknight meal.
- Cajun or Creole Seasoning: For a bold, spicy, and smoky flavor, try a Cajun or Creole blend. It pairs wonderfully with rice dishes or corn on the cob.
- Lemon Herb Blend: Combine dried dill, parsley, and a good amount of lemon zest for a bright, refreshing taste that’s perfect for lighter meals.
Optimal Chicken to Seasoning Ratio
For approximately 1.5 lbs. of boneless, skinless chicken breast, you’ll generally need about 1.5 tablespoons of your chosen seasoning blend. Adjust to taste, ensuring both sides of the chicken are generously coated for maximum flavor penetration.
Butter vs. Oil: What’s Best for Pan-Seared Chicken?
The choice between butter and oil can significantly impact the flavor and texture of your pan-seared chicken. We personally lean towards butter for its rich, dairy-forward flavor that imparts a beautiful golden-brown finish and contributes to a wonderfully moist chicken. The milk solids in butter caramelize, adding depth and a nutty aroma that is hard to beat.
However, we’ve also successfully prepared this chicken using both olive oil and avocado oil. When considering oils, it’s crucial to understand their smoke point. Olive oil, especially extra virgin, has a lower smoke point (around 375°F / 190°C), meaning it can start to burn and impart a bitter taste at higher temperatures often used for searing. This makes it a less ideal choice for the initial high-heat sear unless you’re very careful with temperature control.
Between the two oils, we highly recommend avocado oil. With a much higher smoke point (up to 520°F / 270°C), avocado oil can withstand the high heat required for a perfect sear without breaking down or developing off-flavors. It’s also neutral in taste, allowing the chicken and its seasonings to truly shine. Coconut oil (refined for a neutral flavor) is another excellent option with a high smoke point that can also add a subtle richness. Ultimately, you can use a combination: start with a high-smoke point oil for the initial sear, then add a pat of butter towards the end of cooking for flavor and color.
The Importance of Tenderizing Chicken Breast Before Pan-Frying
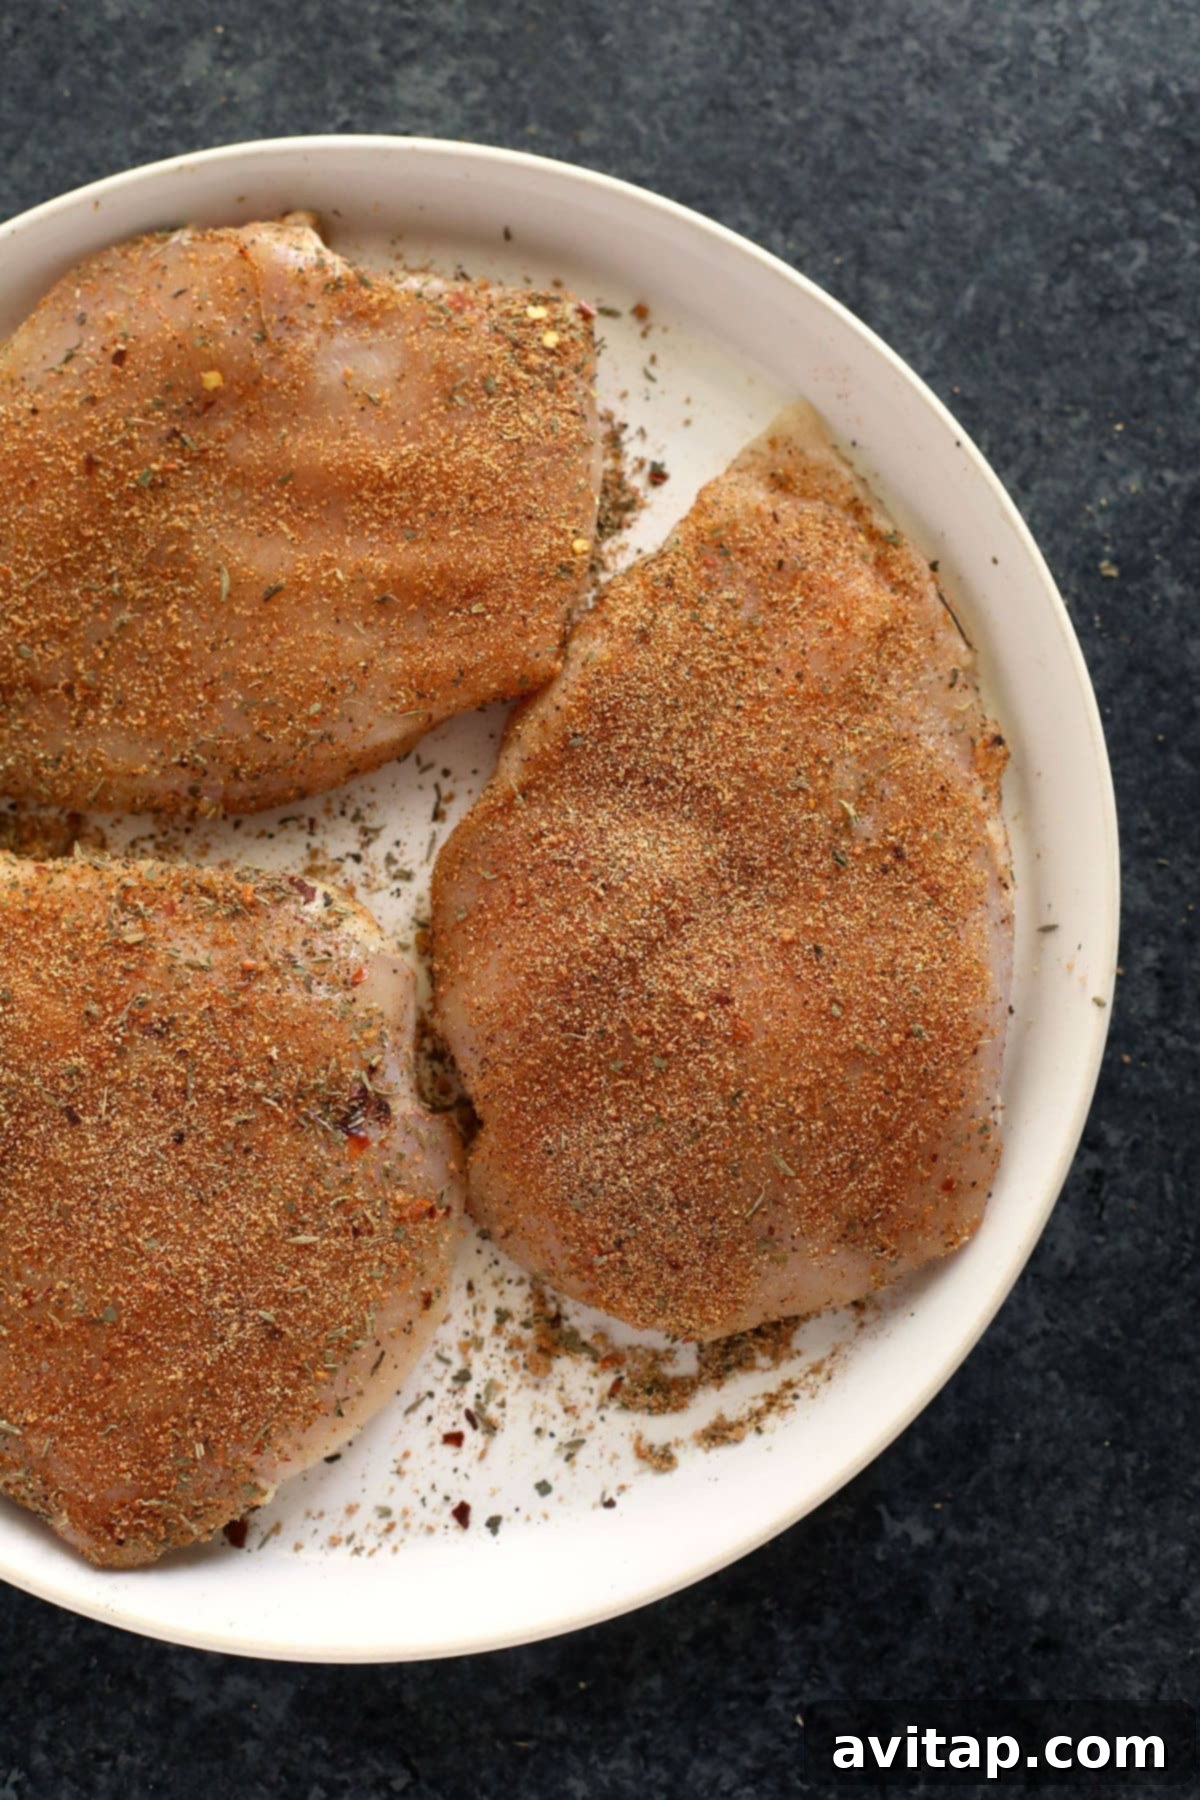
For consistently cooked, incredibly juicy results, we strongly recommend tenderizing your chicken breast to an equal thickness throughout before pan-frying. This step is not just about making the meat more tender, but primarily about ensuring even cooking. Chicken breasts naturally vary in thickness; one part might be as thick as 2.5 inches, while another section is only 1 inch. Without tenderizing, the thinner parts will overcook and dry out by the time the thicker sections are cooked through.
To tenderize effectively, place each chicken breast on a sturdy cutting board. Cover them with a sheet of parchment paper or plastic wrap to prevent splattering and tearing. Then, use a meat tenderizer (the flat side is usually best) or a rolling pin to gently pound the chicken breast until it achieves a uniform thickness. Aim for about 1 to 1.5 inches thick across the entire piece. The more evenly you pound it, the faster and more consistently it will cook, leading to a much more satisfying eating experience. This simple technique is a game-changer for stovetop chicken!

Pro Tip!
Reliable Meat Thermometer
We absolutely swear by using a high-quality meat thermometer when cooking any cut of meat. It’s the most reliable way to ensure your food is cooked to a safe internal temperature without overcooking. A fast and accurate thermometer, like the Thermapen, is our go-to tool, providing accurate readings every time.
Storing Leftover Pan-Seared Chicken for Maximum Freshness
Proper storage of your cooked chicken is essential to maintain its quality and ensure food safety. Once your pan-seared chicken breast has cooled completely to room temperature, transfer it to an airtight container. Store it in the refrigerator for up to 3-5 days. This method helps prevent bacterial growth and keeps the chicken fresh and flavorful for your next meal prep or spontaneous craving.
To reheat: For best results and to prevent drying out, slice the chicken breast before reheating. Place the slices on a microwave-safe plate, add a tablespoon of water or broth, and cover loosely. Microwave on high for 60-90 seconds, or until heated through. Alternatively, you can reheat in a skillet over medium-low heat with a small amount of butter or oil, flipping occasionally, until warm.
Freezing Cooked Chicken: Your Guide to Meal Prep & Longevity
Yes, you can absolutely freeze cooked chicken breast, making it an excellent option for future meal planning! After cooking, allow the chicken breast to cool completely to room temperature. This is crucial to prevent condensation and ice crystal formation in the freezer. Then, transfer the cooked chicken breast into a freezer-safe gallon-size bag or an airtight freezer-safe container. Before sealing, remove as much air as possible from the bag to prevent freezer burn. Label with the date, and freeze for up to 3 months.
To cook from frozen: The safest and most effective way to thaw frozen chicken is to transfer it to the refrigerator overnight. Once thawed, you can reheat it as described above. If you’re in a hurry, you can reheat thawed chicken directly from the microwave. Place the chicken breast on a microwave-safe plate and microwave on high for 60-90 seconds, or until heated through. For larger or thicker pieces, you might need to adjust the timing or flip the chicken halfway through.
Elevate Your Meal: What to Serve with Pan-Seared Chicken Breast
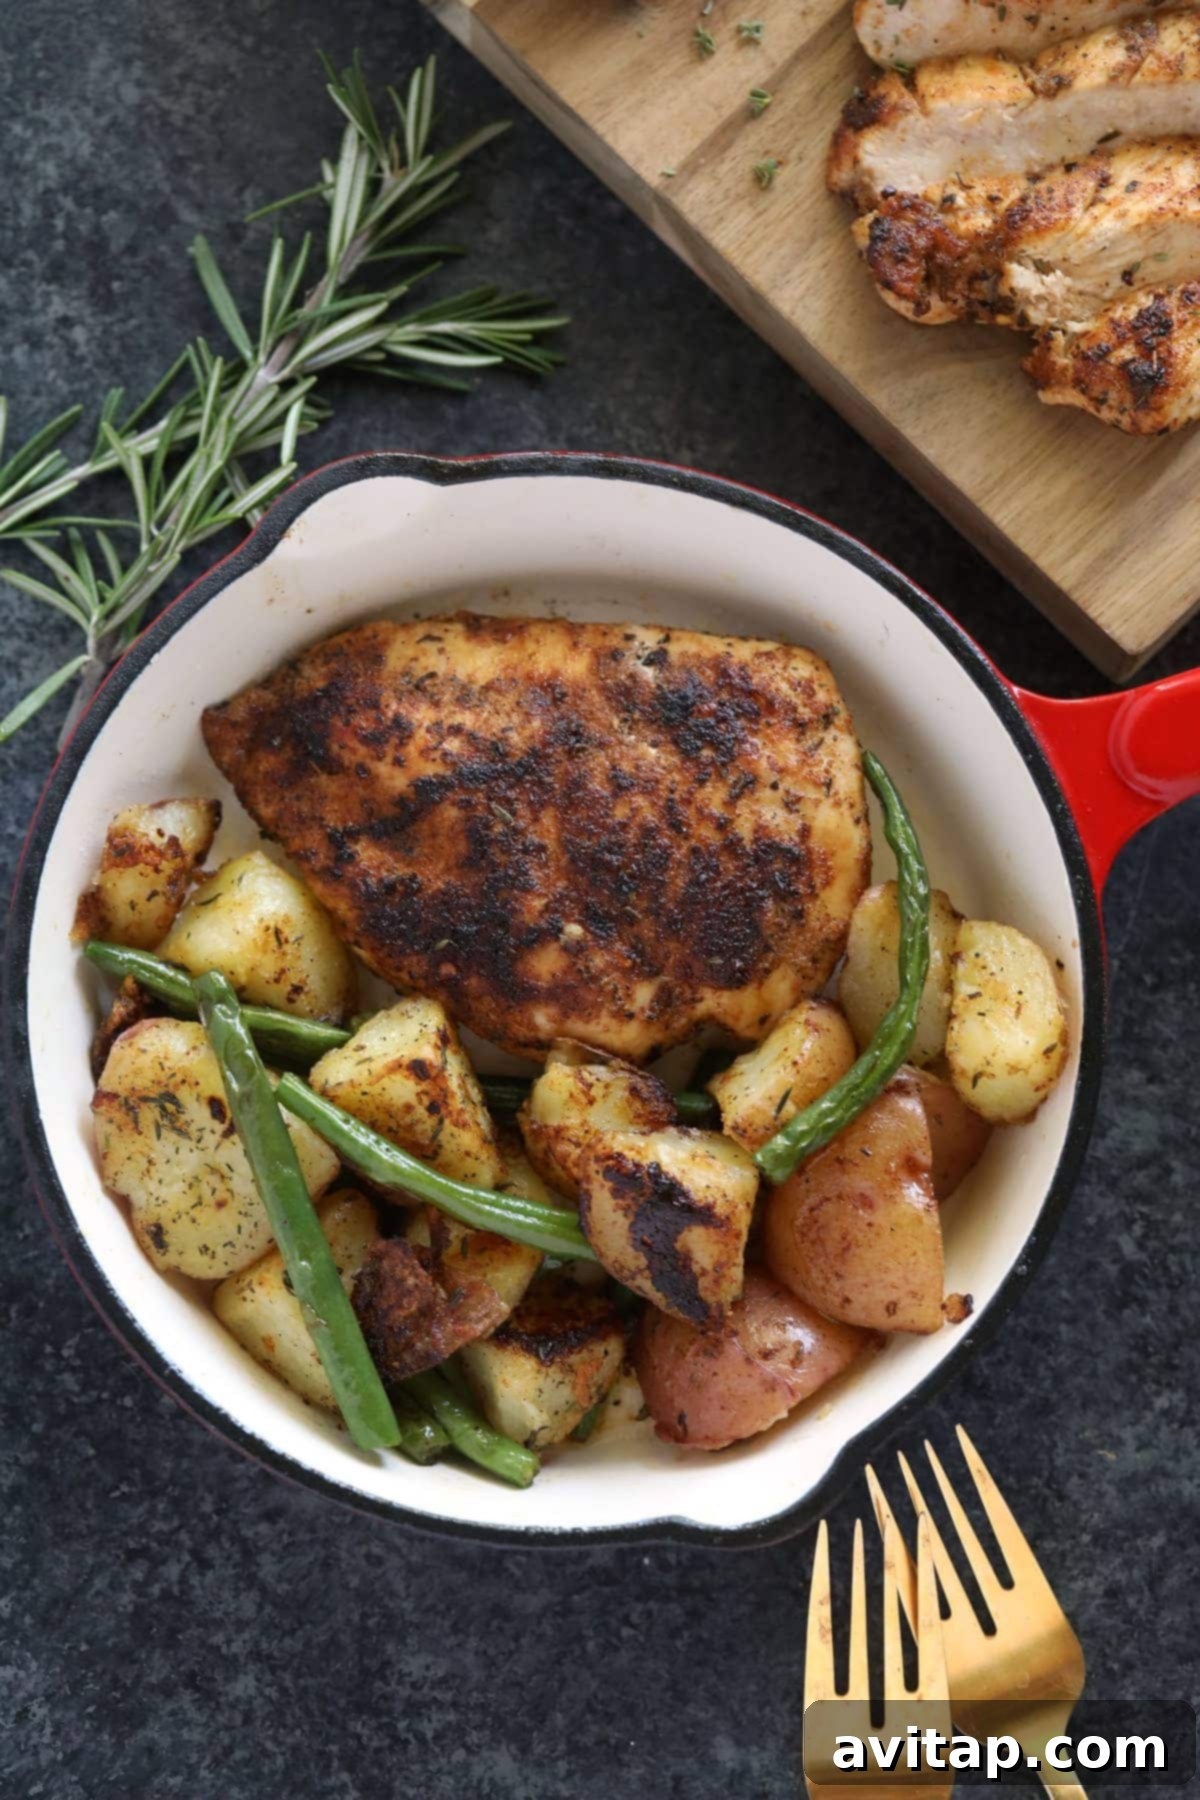
The beauty of this perfectly pan-seared chicken breast lies in its incredible versatility. Its simple yet delicious flavor profile makes it a fantastic canvas for a wide array of side dishes and culinary applications. Here are some fantastic serving ideas to really elevate your meal and inspire your next dinner:
- Add it to Hearty Soups: Cooked chicken breast is an excellent addition to almost any soup. Use two forks to easily shred the chicken breast, then stir it into your favorite warming bowl. Try it in our comforting Minestrone, a rich Black Bean Soup, a zesty Simple Green Chili, or our nourishing Chicken Quinoa Soup for an extra boost of protein and flavor.
- Taco Night Transformation: Make taco night even better! This pan-seared chicken is perfect for creating savory tacos. Shred or dice the cooked chicken and use it as the star filling. Whether you’re making a fun walking taco or following our recipe for delectable salsa chicken tacos, this stovetop chicken adapts beautifully.
- Perfect Pairing with Veggies & Starches: Sometimes, keeping things simple is the best way to enjoy a delicious meal. Serve this pan-seared chicken alongside your favorite vegetables and a wholesome starch. We highly suggest our crispy roasted red potatoes, delightfully sweet crispy sweet potato fries, or perfectly cooked roasted asparagus for a balanced and satisfying plate.
- Salad Sensations: Chicken breast is the ultimate salad topper. Whether you prefer to shred or dice your cooked chicken, it adds substance and flavor to any salad creation. Explore possibilities with our refreshing chicken salad recipes, a vibrant quinoa salad, or a festive Mexican street corn salad.
- Delectable Grain Bowls: Got leftovers? Sliced or cubed pan-fried chicken is an excellent addition to any grain bowl. It provides a lean protein that complements a variety of flavors and textures. Try it in our wholesome Mediterranean Buddha bowls, nourishing harvest grain bowls, or flavorful taco bowls for a complete and satisfying meal.
Juicy Pan-Seared Chicken Breast Recipe
Ingredients
Chicken Seasoning
- 1 teaspoon garlic powder
- 1/2 teaspoon chili powder
- 1/2 teaspoon cumin
- 1/2 teaspoon dried thyme
- 1/2 teaspoon ground mustard
- 1/2 teaspoon dried basil
- 1/4 teaspoon ground pepper
- 1/4 teaspoon red pepper flakes
- 1/4 teaspoon sea salt
- 1/4 teaspoon paprika
- 1/2 teaspoon brown sugar
Pan-Seared Chicken
- 1.5 lbs. boneless, skinless chicken breast, 3-4 chicken breasts
- 2-3 tablespoons butter, ~1 tablespoon/breast
Instructions
-
First, begin by preparing your custom chicken seasoning. Combine all the listed seasoning ingredients into a small bowl and mix thoroughly until well combined. Set this fragrant blend aside, ready for use.

-
Next, prepare the chicken breasts for even cooking. Place each boneless, skinless chicken breast on a cutting board and cover with parchment paper or plastic wrap. Using a meat tenderizer, pound the chicken until each piece reaches a uniform thickness of approximately 1 to 1.5 inches throughout. This ensures even cooking and prevents dry spots.
-
Once tenderized, generously season both sides of the chicken breasts with the prepared chicken seasoning blend. Ensure an even coating to infuse maximum flavor into every bite.
-
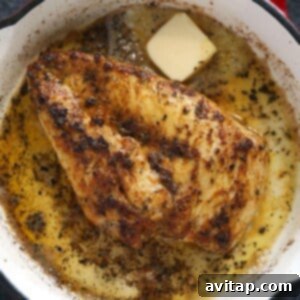
Heat about 1/2 tablespoon of butter in a nonstick pan over medium-high heat. Once the butter has fully melted and is shimmering, carefully transfer the seasoned chicken breast to the hot pan. Sear for 2-3 minutes on one side, or until it develops a rich, golden-brown crust. Flip the chicken breast, and if desired, add another 1/2 tablespoon of butter to the pan before covering it. Reduce the heat to medium and continue to cook for approximately 6 minutes, or until the chicken breast reaches an internal temperature of 160ºF (71ºC).
-
Once cooked, remove the chicken from the heat and transfer it to a plate or cutting board. Allow it to rest for about 5 minutes. This crucial resting period allows the juices to redistribute throughout the meat, ensuring a maximally tender and juicy result. The chicken will continue to cook slightly, increasing its internal temperature by approximately 5ºF as it rests.

Tips & Notes for Success
- Seasoning Flexibility: Feel free to customize your chicken’s flavor profile! While our signature blend is fantastic, you can substitute it with about 1.5 tablespoons of our all-purpose chicken seasoning, or any other spice blend that suits your taste. Mediterranean, Mexican, or even just simple lemon-pepper are great alternatives.
- Alternative Fats: If you prefer not to use butter, olive oil or avocado oil work wonderfully for searing. Remember, avocado oil has a higher smoke point, making it excellent for high-heat cooking without burning.
- Pan Selection: Because chicken breast is a lean cut, using a quality nonstick pan is highly recommended to prevent sticking and ensure a beautiful crust. However, a well-seasoned cast iron pan can also achieve excellent results, imparting a fantastic sear.
- Don’t Overcrowd the Pan: For the best sear, ensure there’s enough space between chicken breasts in the pan. If your pan isn’t large enough, cook the chicken in batches to prevent steaming, which results in a less crispy exterior.
- Resting is Key: Don’t skip the resting step! It’s essential for a juicy chicken breast. Cutting into the chicken too soon will cause all the precious juices to run out.
Watch It
Watch our step-by-step video guide to master the perfect pan-seared chicken breast and see how easy it is to achieve juicy, flavorful results every time!
Nutrition Information (Approximate per serving)
Carbohydrates: 2 g,
Protein: 49 g,
Fat: 8 g,
Fiber: 0 g,
Sugar: 1 g
Nutrition information is automatically calculated and provided for convenience. It should only be used as an approximation and may vary based on specific ingredients and preparation methods.
Love this recipe? Leave a comment below!
We’d love to see your delicious creations! Don’t forget to tag your posts on social media with the hashtag #fitfoodiefinds.
Discover More of Our Favorite…
More Delicious Chicken Breast Dinner Ideas
If you’re eager to explore more incredible stovetop chicken recipes or simply need fresh inspiration for your next meal, check out some of our most popular and flavorful options below. These recipes are perfect for expanding your culinary repertoire and keeping your dinners exciting and delicious!
- Crispy Parmesan Crusted Chicken: A delightful recipe featuring chicken breasts coated in a savory Parmesan crust, pan-fried to golden perfection for an irresistible crunch.
- Classic Chicken Marsala: Tender chicken cutlets bathed in a rich, earthy mushroom and Marsala wine sauce, offering a taste of Italian elegance right at home.
- Bright and Zesty Chicken Piccata: Lightly breaded chicken breasts pan-fried and served with a vibrant lemon-caper sauce, delivering a burst of tangy flavor.
- Creamy Chicken Alfredo: An ultimate comfort food, featuring tender chicken strips tossed with fettuccine in a decadent, homemade Alfredo sauce.
- Crunchy Pan-Fried Chicken Breast: A simple yet satisfying recipe for chicken breasts with an extra crispy coating, perfect for a quick and comforting meal.
- Honey Garlic Chicken: Sweet and savory chicken breasts glazed in a sticky honey garlic sauce, ideal for a quick Asian-inspired dinner.
- Lemon Herb Roasted Chicken: While not pan-seared, this oven-roasted option provides incredibly flavorful and tender chicken infused with fresh lemon and aromatic herbs.
We hope these expanded ideas and our detailed guide to pan-seared chicken breast inspire you to create amazing meals in your kitchen. Happy cooking!