
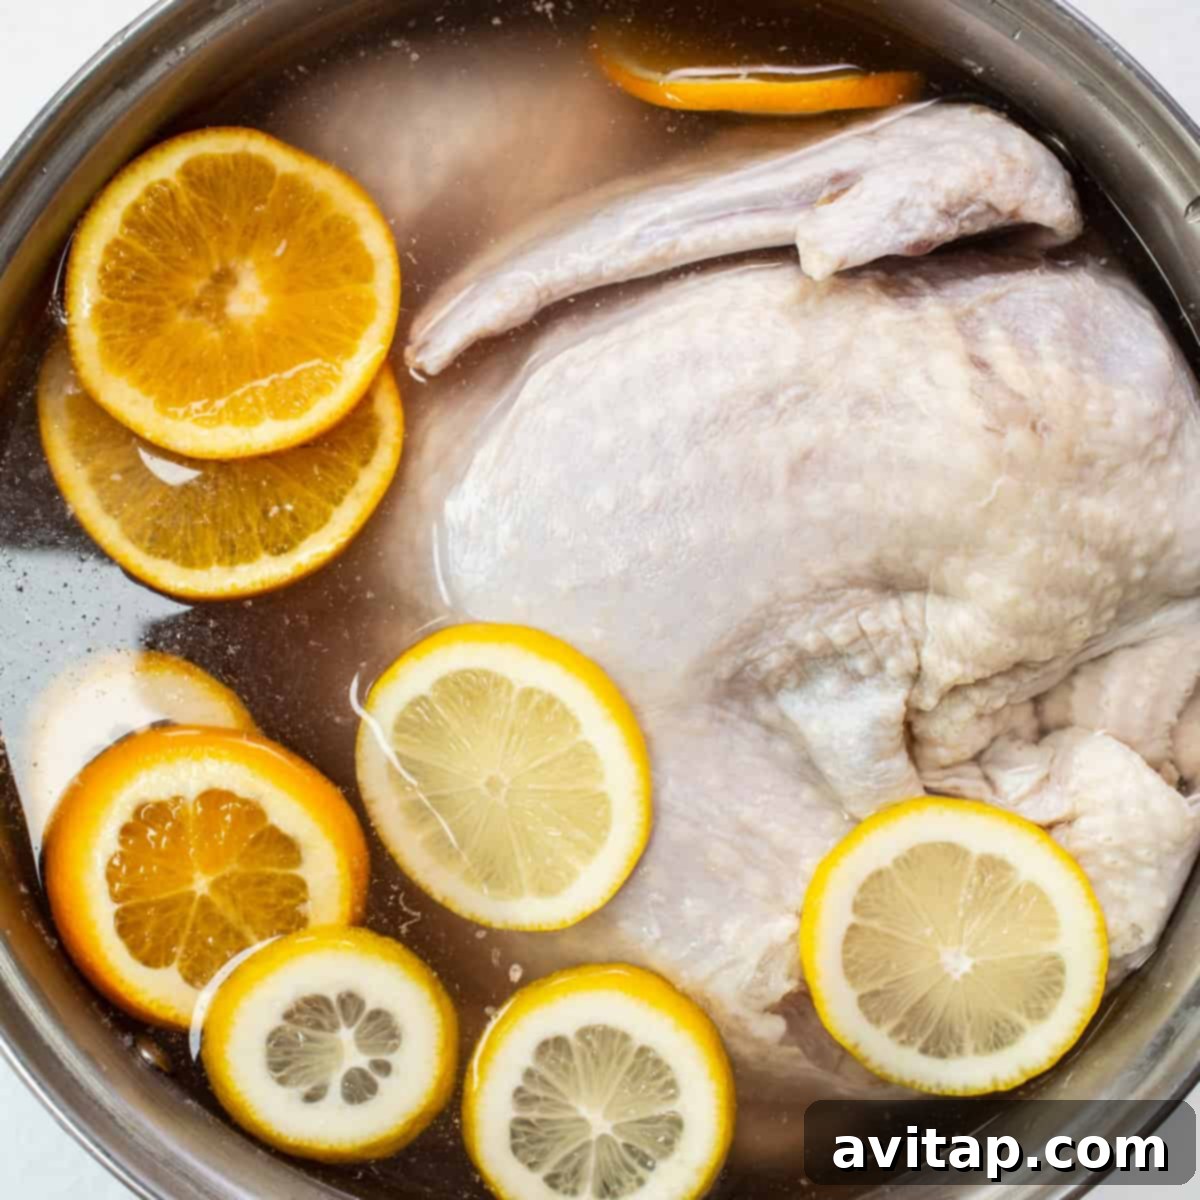
Transform your holiday feast or any special meal with the secret to an incredibly moist, tender, and flavorful turkey: brining. This comprehensive guide will walk you through everything you need to know about preparing the ultimate turkey brine, ensuring you achieve the juiciest, most delicious bird you’ve ever tasted. Say goodbye to dry, bland turkey forever and prepare to impress your guests with a truly succulent centerpiece!
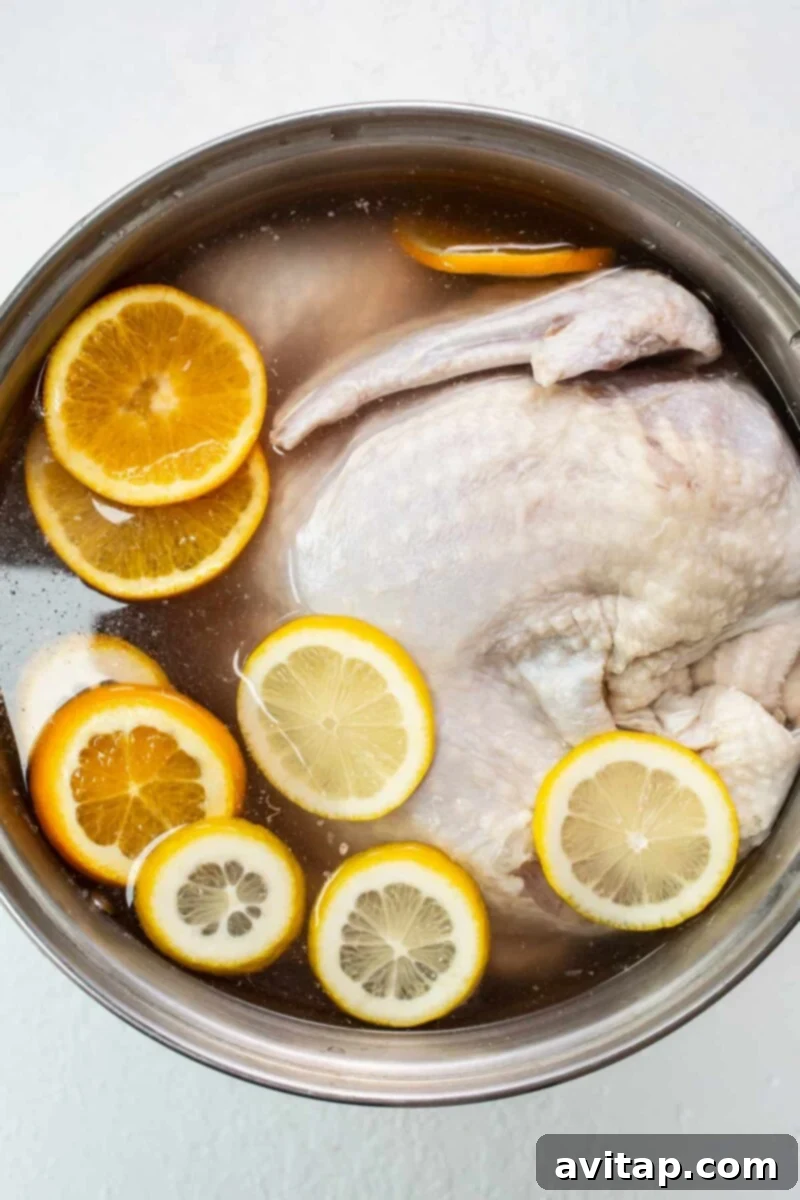
Why Brine a Turkey? Unlock Unbeatable Flavor and Moisture
Brining isn’t just a culinary technique; it’s a game-changer for any lean meat, especially turkey. The process significantly enhances the quality of your roast, making it nearly impossible to end up with a dry or flavorless bird. Beyond simply adding salt, brining initiates a scientific process that ensures every bite is a delightful experience. Here are the three main reasons why we passionately recommend incorporating brining into your turkey preparation:
- Unrivaled Flavor Infusion: Brining essentially acts as an intense flavor bath for your turkey. The seasoned liquid, rich with salt and aromatics, penetrates deep into the meat fibers through osmosis. This infusion not only seasons the turkey from the inside out but also carries the delicious essence of herbs, citrus, and spices throughout every bite. Unlike a simple surface rub, brining ensures a profound, natural marination that transforms the bird’s inherent taste, creating a truly memorable flavor profile.
- Tender, Silky Texture: The salt in a brine works its magic by gently denaturing the proteins in the turkey’s muscle fibers. This process causes the proteins to unwind and relax, preventing them from seizing up and becoming tough during the high heat of the cooking process. Without brining, muscle fibers can contract tightly, squeezing out moisture and leaving the meat chewy. The result of brining is an incredibly smooth, tender texture that practically melts in your mouth, offering a luxurious mouthfeel far superior to an unbrined turkey.
- Exceptional Moisture Retention: Perhaps the most celebrated benefit of brining is its ability to ensure a moist and succulent turkey. Through osmosis, the salt solution helps the turkey’s muscle cells absorb and retain more liquid than they typically would. This “plumping” effect means that the meat holds onto its natural juices more effectively during cooking. Consequently, even if you slightly overcook your turkey, it will still remain remarkably juicy and forgiving, preventing the dreaded dry, chalky texture. The salt helps the meat hold onto this moisture, making for an unforgettable eating experience that will leave your guests asking for your secret!
You’ll often notice that brining is predominantly recommended for leaner cuts of meat like chicken, turkey, or pork chops. This is precisely because their low-fat content makes them more susceptible to drying out during cooking. The brining process, therefore, acts as a crucial safeguard, ensuring these lean cuts emerge from the oven or smoker wonderfully moist and flavorful, every single time!
Dry Brine vs. Wet Brine: Choosing Your Method for a Perfect Turkey
When embarking on the brining journey, you generally have two highly effective methods to choose from: wet brining and dry brining. Both techniques aim to achieve a juicy, flavorful turkey, but they employ distinct approaches and offer unique advantages that might sway your preference.
Our featured recipe here focuses on a wet brine, the traditional method that involves fully submerging the turkey in a solution of water, salt, and various aromatics. This approach is excellent for infusing a significant amount of moisture directly into the meat, ensuring a tender and succulent result, especially beneficial for preventing dryness in breast meat. The liquid also acts as an ideal carrier for a wide array of flavors from herbs, spices, and citrus, allowing them to permeate every fiber of the turkey. Wet brines are fantastic for achieving a very plump and juicy texture, making them a popular choice for large holiday birds.
Conversely, a dry brine uses only salt, often mixed with other dry seasonings, applied directly to the surface of the turkey. There’s no added liquid; instead, the salt draws out the turkey’s natural moisture to the surface, mixes with it, creating its own concentrated brine, and then that seasoned liquid is reabsorbed into the meat. The key advantages of a dry brine include significantly less mess, no need for a massive brining container (which saves precious refrigerator space), and often results in exceptionally crispy skin because the turkey’s surface isn’t waterlogged. It’s a fantastic option if you prioritize a golden, crackling skin or if you have limited space in your refrigerator. Dry brining is generally considered simpler and requires less equipment.
We encourage you to explore both methods to discover which best suits your preferences, kitchen setup, and desired outcomes. Each method has its merits, and trying both can broaden your culinary horizons. If you’re curious about the dry brine technique, we also have a fantastic recipe dedicated to it that yields equally delicious results. Feel free to check it out for another path to a perfectly seasoned bird!
Recipe Spotlight
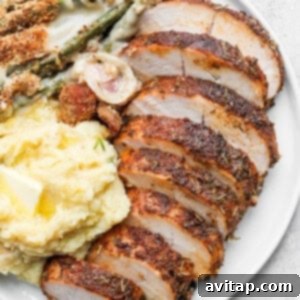
Turkey Dry Brine
Discover an incredibly flavorful turkey dry brine that simplifies your holiday prep and delivers exceptional results, especially for crispy skin lovers.
Turkey Brine Ingredients: Crafting Your Flavorful Solution
The beauty and effectiveness of a wet turkey brine lie in its simple yet powerful combination of ingredients. While the core principle revolves around a balanced salt-water solution, the additional aromatics you choose can dramatically elevate the flavor profile of your turkey, making it uniquely yours. Our classic recipe provides a fantastic, time-tested base, featuring fresh citrus for a bright, zesty note. However, remember that the salt solution is non-negotiable, but nearly everything else is an opportunity for culinary creativity!
Essential Ingredients for Our Classic Wet Brine:
- Water: This forms the essential liquid base for your brine. Ensure you have enough to fully submerge your turkey; the quantity provided in our recipe is a good starting point for a 10-13 lb bird.
- Kosher Salt: The true hero of the brine! Kosher salt is universally preferred over standard table salt due to its larger crystal size, which makes it easier to measure accurately and dissolves well without imparting any off-flavors or the metallic taste sometimes associated with iodized table salt. Precision in your salt-to-water ratio is key for a perfectly seasoned, not overly salty, turkey.
- Sliced Oranges: Adds a delightful sweet, tangy, and aromatic citrus note that beautifully complements the richness of turkey. The zest and juice both contribute to the brine’s complexity.
- Sliced Lemons: Provides a bright, zesty acidity that helps to cut through the richness of the meat, adding a refreshing counterpoint to the savory flavors.
- Smashed Garlic Cloves: Infuses deep, savory, and pungent flavors. Gently smashing the cloves before adding them releases more of their aromatic compounds, enhancing the brine’s overall depth.
- Chopped White Onion: Contributes a foundational aromatic sweetness and subtle pungency to the brine, building a robust flavor base for your turkey.
- Sprigs Fresh Thyme: Offers earthy, subtly floral, and peppery notes that are a classic and beloved pairing with poultry. For variation, consider other fresh herbs like rosemary, sage, or bay leaves.
- Whole Turkey: The magnificent centerpiece of your meal, patiently waiting to be transformed into a succulent masterpiece!
Optional Enhancements and Flavor Variations:
Don’t be afraid to personalize your brine to match your taste or the occasion! Consider adding these ingredients to further customize your turkey’s flavor:
- Brown Sugar or Maple Syrup: A touch of sweetness can balance the saltiness, enhance the overall flavor, and contribute to a beautiful, caramelized, golden-brown skin during roasting.
- Whole Black Peppercorns: These add a subtle, spicy warmth and complexity to the brine.
- Bay Leaves: Offering a slightly minty, earthy, and subtly floral aroma, bay leaves are a wonderful addition to any poultry brine.
- Apple Cider or Vegetable Broth: For an even deeper flavor profile, you can replace a portion of the water with unsweetened apple cider or a good quality vegetable broth.
- Whole Cloves or Star Anise: For a more exotic and warm spice profile, particularly around the holidays, these can add a unique aromatic dimension.
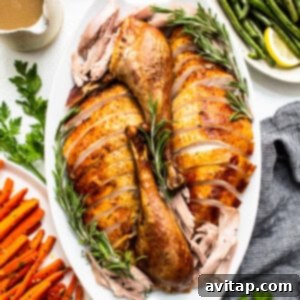
Main Course
Thanksgiving Turkey
Once your turkey is perfectly brined, follow our ultimate Thanksgiving turkey recipe for a show-stopping roast, complete with golden skin and rich homemade gravy.
Choosing and Preparing Your Whole Turkey for Brining
The success of your perfectly brined turkey begins with selecting the right bird. This turkey brine recipe is formulated for a 10-13 lb. whole turkey, a size that typically fits well into most standard brining containers and refrigerators. It’s absolutely crucial that your turkey is fully thawed before brining. A frozen or partially frozen turkey will not absorb the brine effectively, leading to uneven seasoning and moisture. More importantly, extending the time in liquid while thawing can create an unsafe environment for bacterial growth.
If you’re planning to brine a larger bird (say, 15 lbs or more), remember that the entire turkey needs to be completely submerged in the brine for even flavor and moisture distribution. You will likely need to adjust the brine recipe proportionally, potentially doubling the liquid and salt, to ensure you have enough solution to cover your bird. Always check the packaging of your turkey to ensure it hasn’t been “pre-brined” or injected with a sodium solution. Many commercially processed turkeys come treated with up to 10-15% of their weight in a salt and water solution, and brining these can lead to an excessively salty, unpalatable result. Opt for an untainted, natural, or organic turkey for the best and most controlled brining experience. Remove the neck and giblets from the cavity before brining.
Enhance Flavor
Homemade Turkey Seasoning
After brining, enhance your turkey’s flavor even further with our incredible homemade turkey seasoning. It’s crafted from simple, natural ingredients like garlic powder, brown sugar, and kosher salt.
How to Brine a Turkey: A Simple Step-by-Step Guide for Succulent Results
Brining a turkey might sound like a gourmet chef’s secret, but it’s an incredibly straightforward process that is 100% worth the minimal extra effort. Following these detailed steps will ensure your whole turkey emerges perfectly juicy, tender, and bursting with flavor. The key to success is planning ahead and carefully following each instruction!
Equipment You’ll Need:
- A very large stockpot (20-30 quart capacity) or a food-grade brining bag/bucket large enough to comfortably hold your turkey and the brine.
- A medium saucepan for dissolving salt.
- A sturdy whisk.
- Accurate measuring cups and spoons.
- Plenty of paper towels for drying the turkey.
Instructions for a Perfect Wet Brine:
- Prepare Your Brining Vessel: Begin by ensuring your thawed whole turkey is clean (neck and giblets removed from the cavity). Place it into your chosen brining container. If using a large stockpot, ensure it’s spotless and capable of holding the turkey plus several gallons of liquid without overflowing. Alternatively, a heavy-duty brining bag placed inside a cooler or another large container works wonderfully and helps manage refrigerator space.
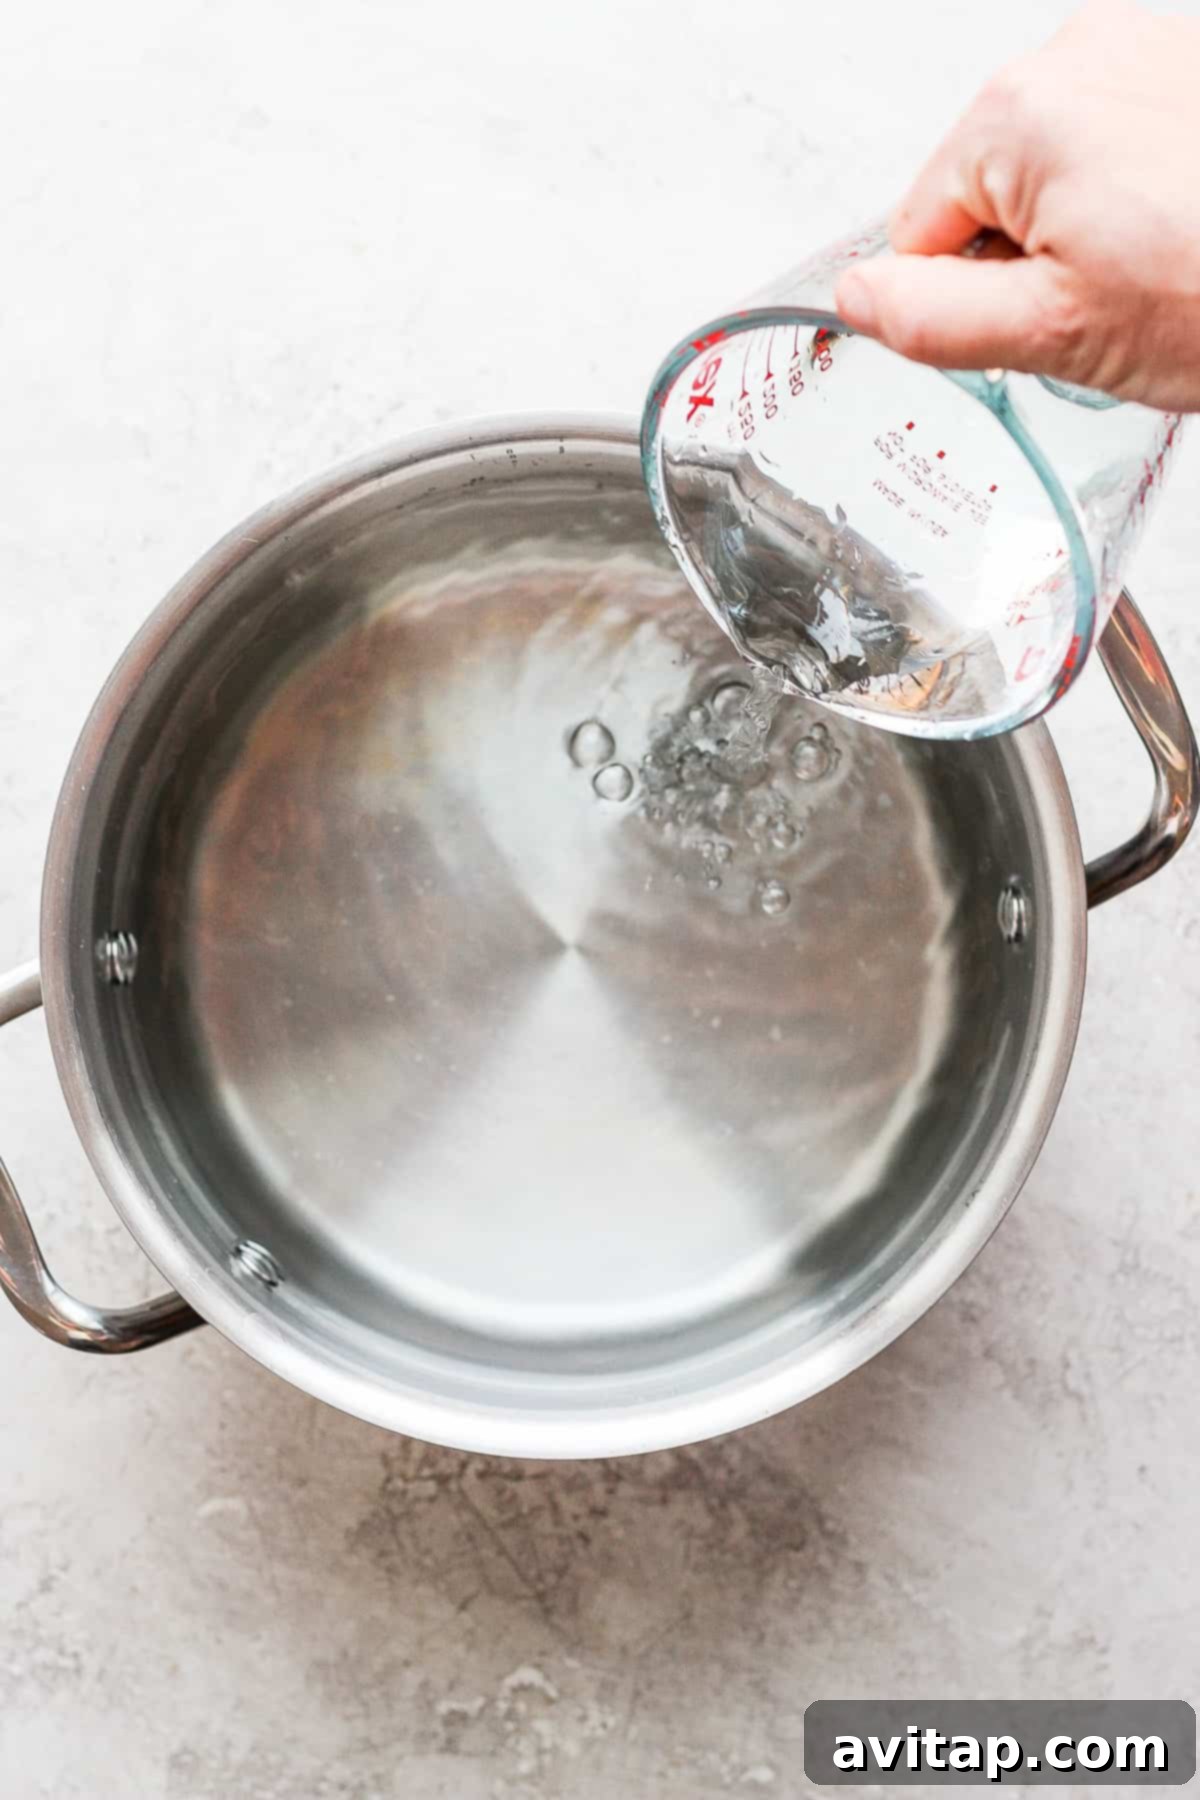
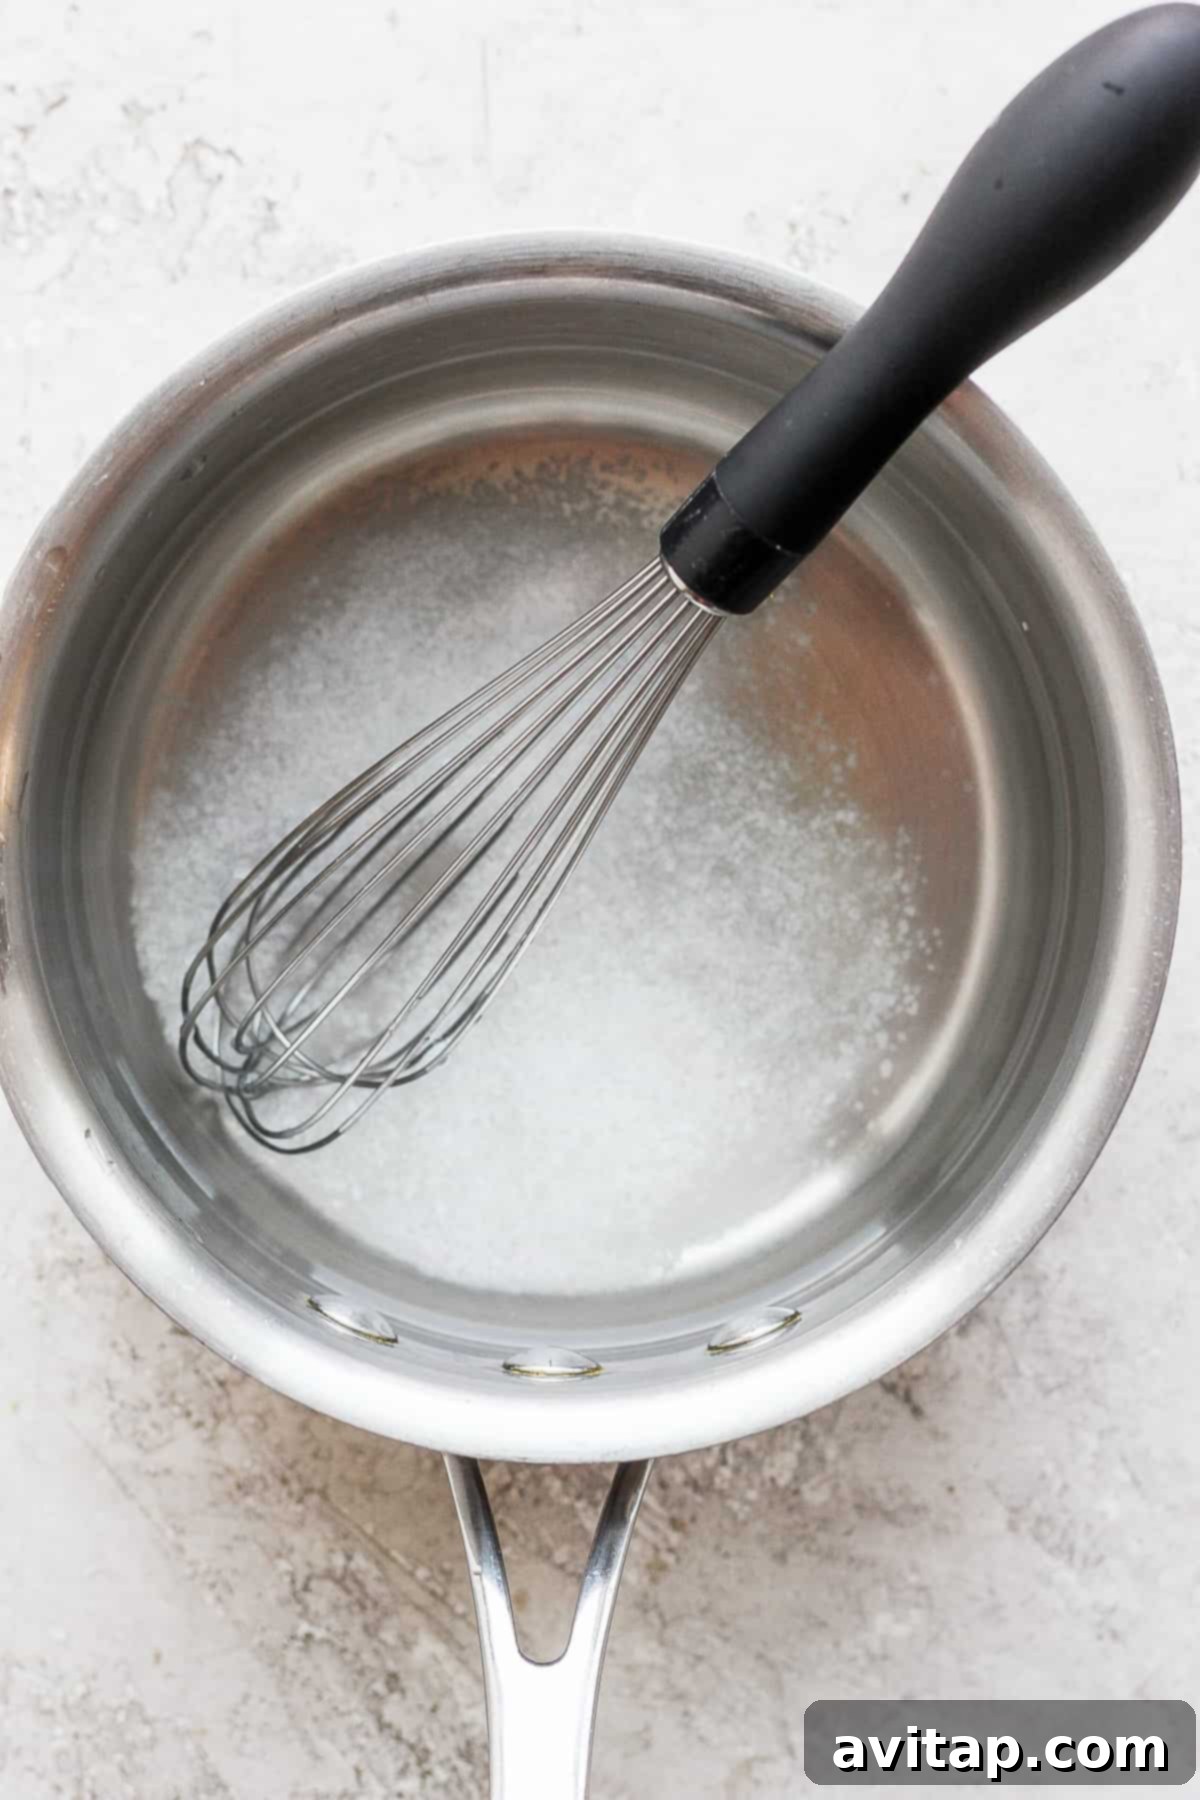
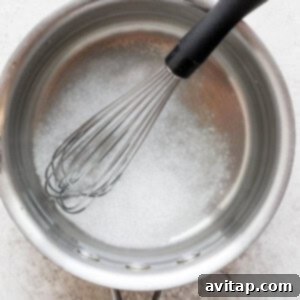
- Create the Salt Solution: In a separate medium saucepan, combine 2 cups of water with the 1.5 cups of kosher salt. Heat this mixture over medium heat, whisking continuously until the salt has completely dissolved. It’s important not to bring this solution to a rolling boil; gentle heat is sufficient to aid dissolution. Once the salt is fully dissolved, immediately remove the saucepan from the heat.
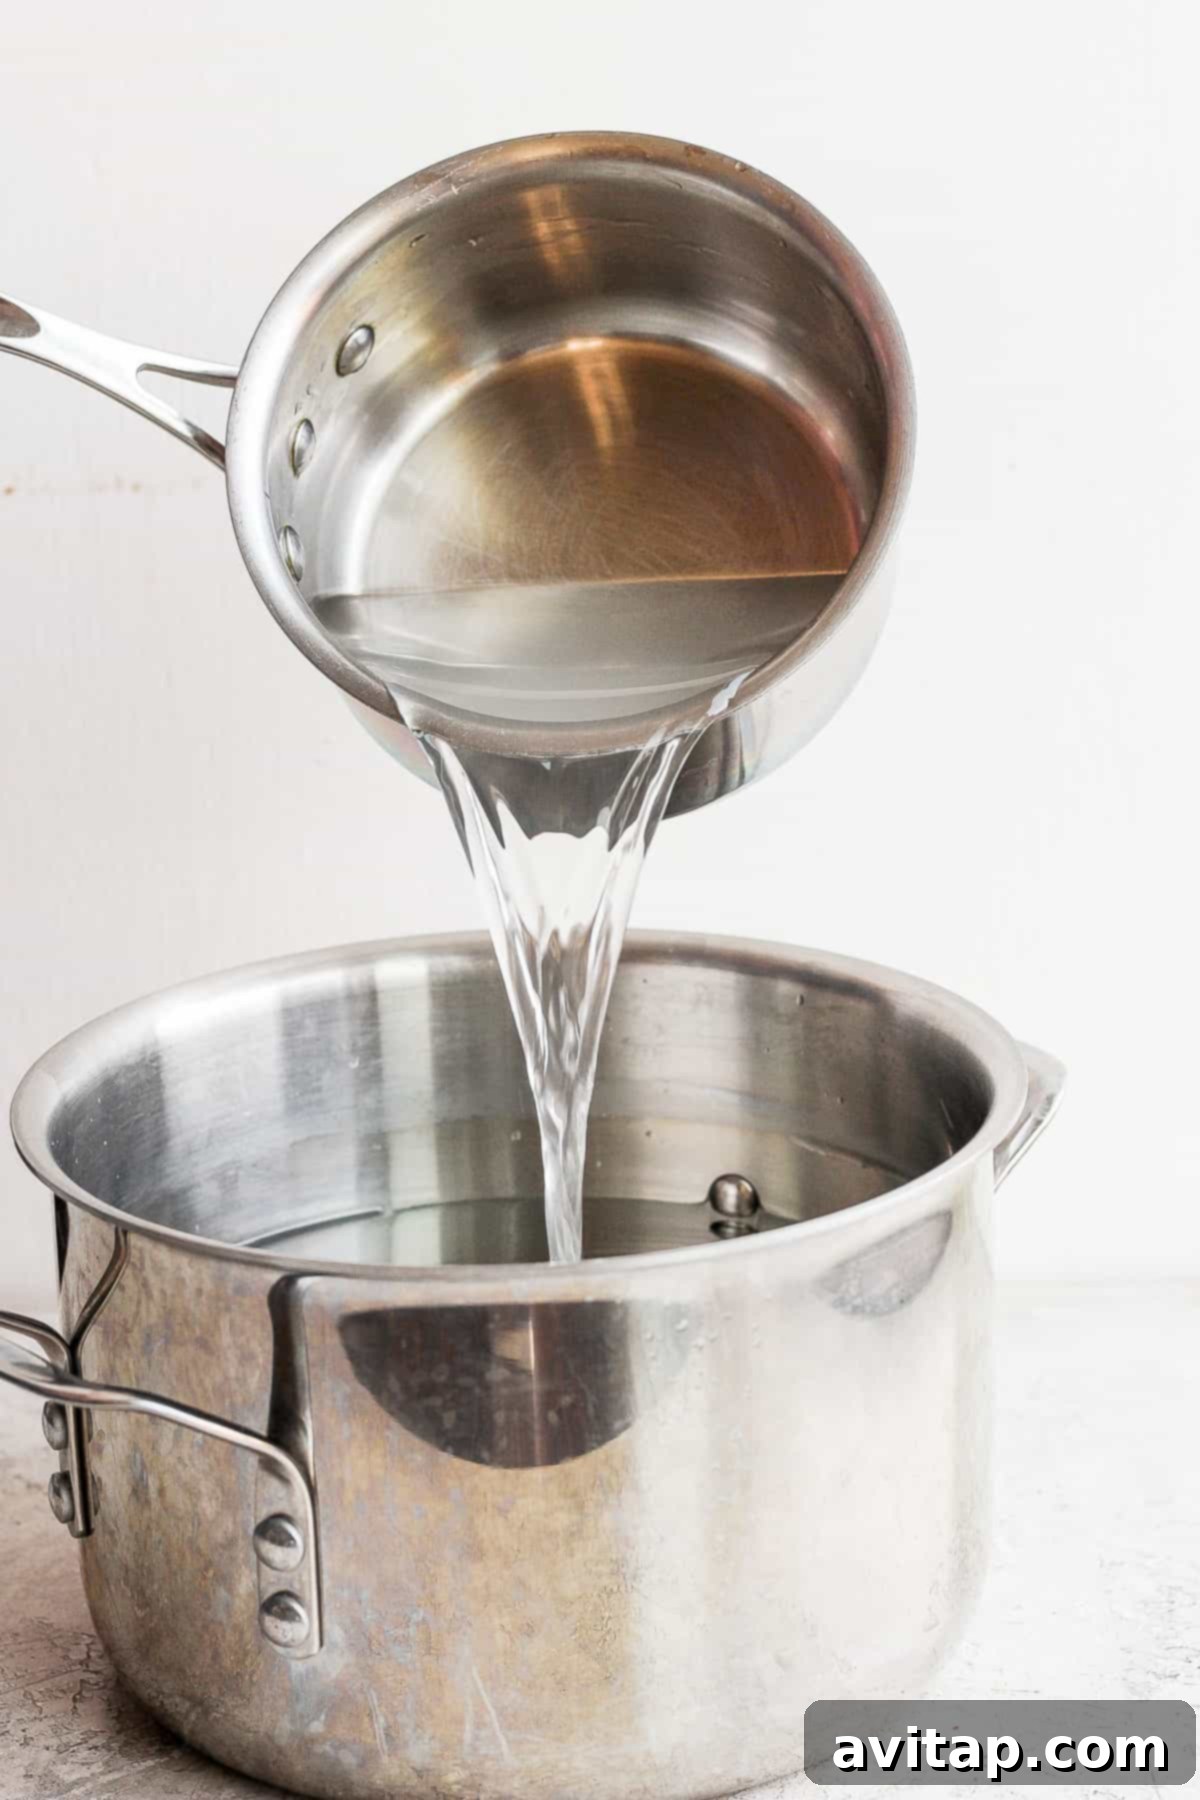
- Cool the Brine Base Thoroughly: Pour the hot, concentrated salted water from the saucepan back into the large pot or brining bag with the remaining 2 gallons of water. Whisk thoroughly to ensure it’s well combined. It is absolutely CRUCIAL that this entire brine solution is completely cooled to room temperature, or preferably chilled, before you add the turkey. Adding a turkey to warm liquid is a significant food safety hazard. You can speed up cooling by placing the pot in an ice bath or by adding a few handfuls of ice directly to the brine (just ensure you account for this in your total liquid volume).
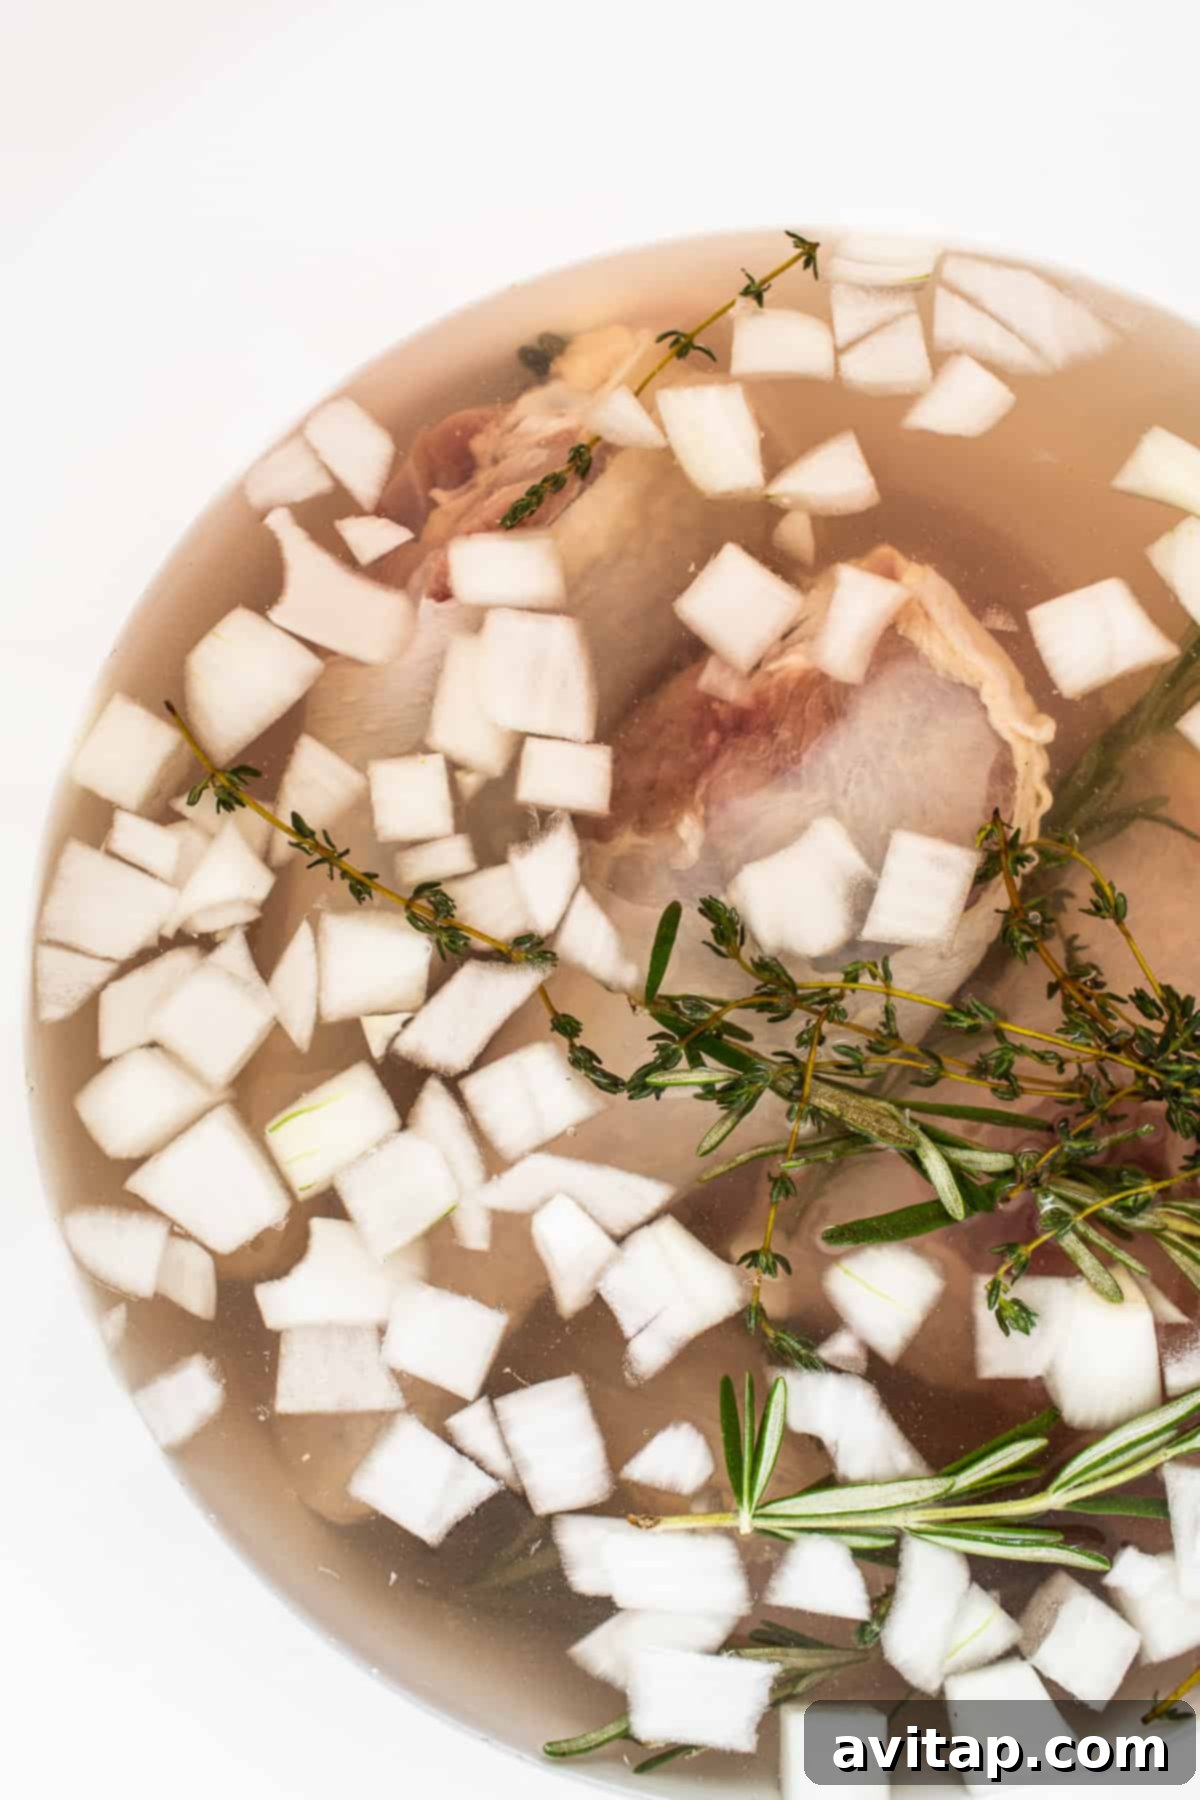
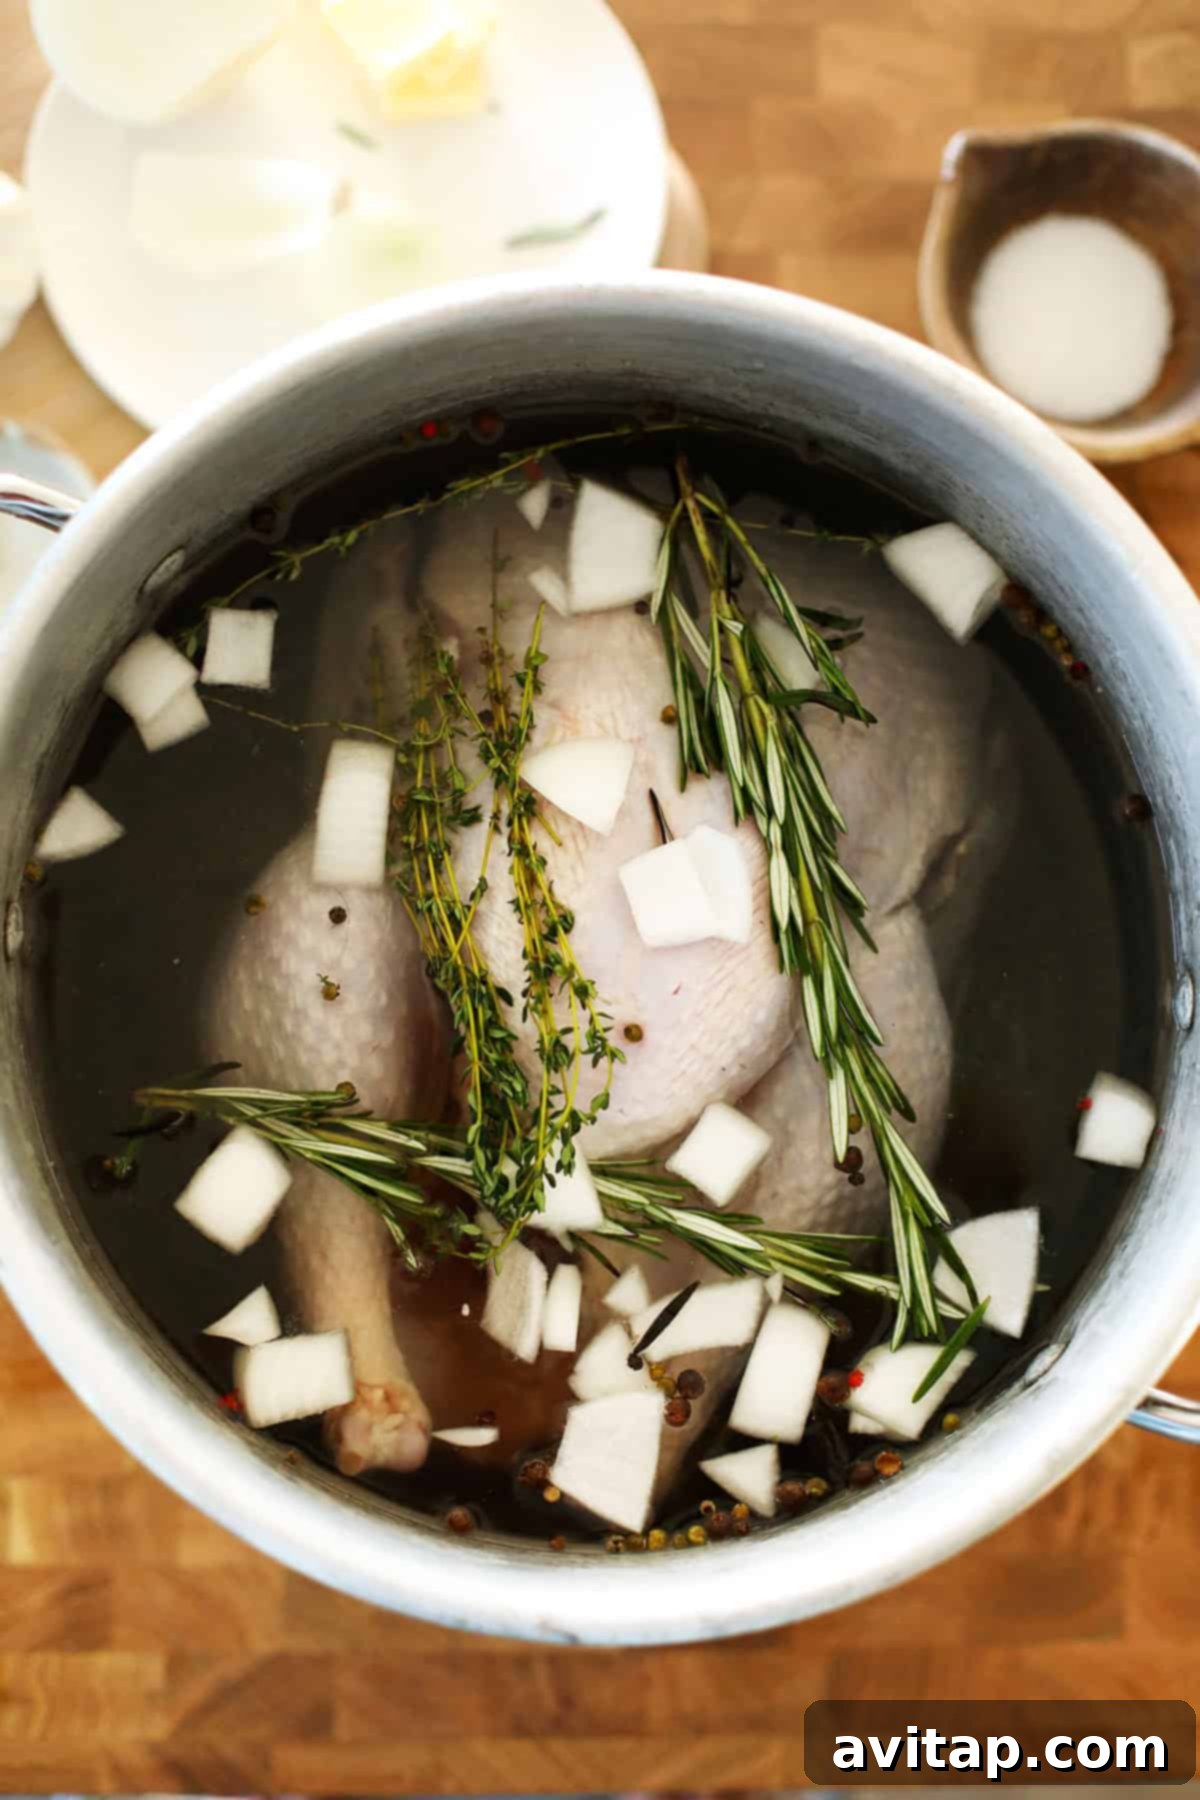
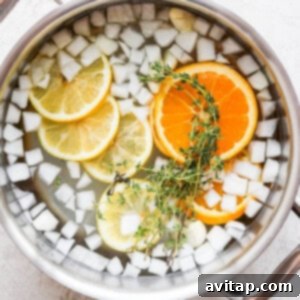
- Infuse with Aromatics: Once the brine is fully cooled, add your flavorful aromatics: sliced oranges, sliced lemons, smashed garlic cloves, chopped white onion, and fresh thyme sprigs (or your chosen herbs). Gently stir them into the brine, allowing their essences to begin infusing the liquid. These ingredients will impart a wonderful depth and brightness to your turkey, building layers of flavor.
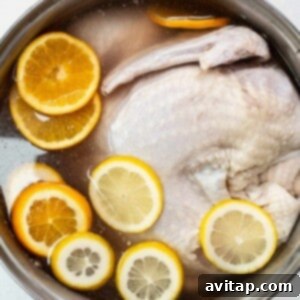
- Submerge the Turkey Completely: Carefully place your whole turkey into the prepared brine. It’s often recommended to place it breast-side down if possible to ensure even moisture distribution, as the breast meat tends to dry out faster. Make absolutely certain the turkey is entirely submerged in the liquid. If parts of the turkey are exposed, they won’t brine properly. You may need to use a clean plate or another heavy, food-safe object to weigh down the turkey and keep it fully immersed.
- Refrigerate and Rest: Cover the pot securely with a lid or seal the brining bag tightly. Place the entire container in the coldest part of your refrigerator for 12 to 24 hours. For a 10-13 lb turkey, 12 hours (overnight) is typically sufficient. For larger birds, you might extend this to 18-24 hours. Ensure your refrigerator maintains a consistent temperature at or below 40°F (4°C) for food safety. Avoid brining for much longer than 24 hours, as the meat can start to break down too much, leading to a mushy or “hammy” texture.
- Rinse and Dry (The Most Crucial Post-Brine Step!): After the brining time is complete, remove the turkey from the brine and discard the liquid and all aromatics. Transfer the turkey to a clean sink and rinse it thoroughly, both inside and out, under cold running water for several minutes to remove any excess surface salt. This step is absolutely vital to prevent an overly salty final product. After rinsing, pat the turkey exceptionally dry with paper towels, especially the skin. A meticulously dry skin is essential for achieving that desirable crispy, golden-brown crust during roasting.
Your turkey is now perfectly prepared and infused with flavor and moisture, ready for your preferred cooking method—whether it’s roasting, smoking, or frying. With the hard work of brining done, you’re on your way to serving an unforgettable, show-stopping meal that will be the talk of the table!
Discover More Delicious Turkey Recipes
Easy Oven-Roasted Turkey Tenderloin
Vibrant Egg Roll in a Bowl
Italian Grinder Sliders
Egg and Croissant Breakfast Casserole
High-Protein Cottage Cheese Wraps
FAQs: Your Top Questions About Brining a Turkey Answered
For most whole turkeys (typically 10-15 lbs), we recommend brining for 12 to 24 hours. Brining overnight (around 12 hours) is often perfect for a standard-sized bird, allowing enough time for the flavors to penetrate and moisture to be absorbed without making the meat too salty. For larger turkeys, you can extend this to 18-24 hours. It’s important to be cautious not to over-brine; leaving the turkey in the solution for too long (e.g., more than 24-30 hours) can begin to break down the muscle fibers excessively, resulting in a slightly “hammy” or mushy texture. Always adhere to food safety guidelines and keep the turkey refrigerated during the entire brining process.
Brining offers three primary benefits that elevate your turkey to a new level of deliciousness. First, it significantly enhances moisture retention, ensuring your turkey remains incredibly juicy and succulent even after roasting. This is particularly beneficial for lean turkey breast. Second, the salt and aromatics in the brine infuse the meat with deep, rich flavor from the inside out, providing seasoning that goes beyond the surface. Third, the brine helps tenderize the meat by gently breaking down tough muscle fibers, resulting in a wonderfully tender and succulent texture that’s a pleasure to eat. It truly is the secret to preventing dry, bland turkey.
No, when done correctly and following the recommended proportions, brining will not make your finished turkey taste excessively salty. The primary purpose of the salt in the brine is not just to flavor, but more importantly, to facilitate osmosis and gently break down muscle proteins. This allows the meat to absorb moisture and flavor without becoming oversalted, creating a balanced taste. The crucial step to prevent an overly salty result is to thoroughly rinse the turkey under cold running water after removing it from the brine. This washes away any residual surface salt, leaving you with a perfectly seasoned, juicy bird. Always ensure you’re using the correct salt-to-water ratio as specified in the recipe.
Yes, rinsing your turkey thoroughly after brining is an absolutely crucial step that should never be skipped! After removing the turkey from the brine, transfer it to a clean sink and rinse it well under cold running water, both inside and out. This process effectively removes any residual surface salt, which is essential to prevent your cooked turkey from tasting overly salty. After rinsing, remember to pat the turkey completely and meticulously dry with paper towels. A dry surface is vital for achieving that desirable crispy, golden-brown skin during roasting, so take your time with this step!
Storage Tips: Keeping Your Brined Turkey Safe and Fresh
Proper storage is paramount when brining a turkey to ensure both food safety and the quality of your finished bird. Always keep your turkey fully submerged in the brine solution in the refrigerator. The ideal temperature for your refrigerator should be maintained at or below 40°F (4°C) to prevent any potential bacterial growth. Ensure your brining container is covered tightly with a lid or plastic wrap to avoid cross-contamination with other foods in your fridge. If you’re using a brining bag, it’s wise to place it in a large pan, tray, or cooler to contain any potential leaks and add an extra layer of food safety. Once the turkey has completed its brining time, it should be removed from the brine, rinsed, patted dry, and then cooked within 24 hours for optimal safety and quality. Any leftover cooked turkey should be refrigerated promptly within two hours of cooking and consumed within 3-4 days.
Explore More of Our Favorite…
Delicious Brine Recipes for Every Occasion
If you’ve discovered the magic of brining, you’ll be delighted to know it works wonders for other proteins too! Expand your culinary skills with these additional brine recipes:
- Smoked Turkey Brine: Specifically formulated for turkeys destined for the smoker, promising a deep, smoky flavor and incredible moisture.
- Pork Chop Brine: Transform dry pork chops into juicy, tender, and flavorful delights with this easy brine.
- Chicken Brine Recipe: A simple brine that ensures your chicken, whether roasted, grilled, or fried, is always succulent.
- How to Dry Brine a Turkey: For those seeking crispy skin and a more hands-off approach, explore the benefits of dry brining your turkey.
Classic Wet Turkey Brine Recipe
Prep Time: 30 minutes
Brine Time: 12-24 hours
Print Recipe
Want to save this recipe for later? You can bookmark this page or print the recipe card above. For weekly doses of recipe inspiration, sign up for our newsletter!
Ingredients
- 2 gallons water, separated (approx. 8 liters)
- 1.5 cups kosher salt
- 2 medium citrus fruits (e.g., oranges, lemons), sliced
- 1 whole turkey, 10-13 lbs, thawed
Optional Aromatics for Enhanced Flavor:
- ½ large white onion, diced
- 4-6 garlic cloves, peeled and smashed
- 5-6 sprigs fresh herbs (e.g., thyme, rosemary, sage)
- ¼ cup brown sugar or maple syrup (optional, for added sweetness and browning)
- 1 tbsp whole black peppercorns (optional)
Instructions
-
1. Prepare Brining Solution: In a large, clean 20-30 quart pot (or suitable brining container), add 2 gallons of water. Remove 2 cups of this water and transfer it to a saucepan. Add 1.5 cups of kosher salt to the saucepan. Heat over medium heat, whisking constantly until the salt is completely dissolved. Do not boil. Remove from heat.

-
2. Cool the Brine: Pour the warm, salted water from the saucepan back into the large pot with the remaining water. Whisk well to combine. It is CRUCIAL that the entire brine solution cools completely to room temperature or is chilled before adding the turkey. You can add a few handfuls of ice to speed up cooling (ensure total liquid volume remains consistent if doing so).
-
3. Add Aromatics: Once the brine is fully cooled, add the sliced citrus (oranges and lemons), smashed garlic cloves, chopped white onion, and fresh herb sprigs (like thyme, rosemary, or sage) to the pot. Stir gently to distribute the aromatics.
-
4. Submerge Turkey: Carefully place the thawed whole turkey into the pot with the cooled brine. Ensure the turkey is completely submerged in the liquid. If necessary, place a clean plate or heavy, food-safe object on top of the turkey to keep it fully immersed.
-
5. Refrigerate: Cover the pot securely and place it in the refrigerator for 12-24 hours. For a 10-13 lb turkey, 12 hours (overnight) is typically sufficient. Ensure your refrigerator maintains a consistent temperature below 40°F (4°C) throughout the brining period.
-
6. Rinse and Pat Dry: After brining, remove the turkey from the brine and discard the liquid and all aromatics. Rinse the turkey thoroughly under cold running water, inside and out, to remove excess salt. Pat the entire turkey, especially the skin, meticulously dry with paper towels. This step is crucial for achieving crispy skin. Your turkey is now ready for your preferred cooking method!
Watch Our Turkey Brining Guide
Nutrition
Carbohydrates: 1 g,
Protein: 0.2 g,
Fat: 0.02 g,
Fiber: 0.2 g,
Sugar: 0.3 g
Please note: Nutrition information is automatically calculated and should be used as an approximation. Exact values may vary based on ingredients and preparation methods.
Loved this recipe? Share your experience below!
Don’t forget to tag your culinary creations on social media with the hashtag #fitfoodiefinds – we can’t wait to see your perfectly brined turkeys!