
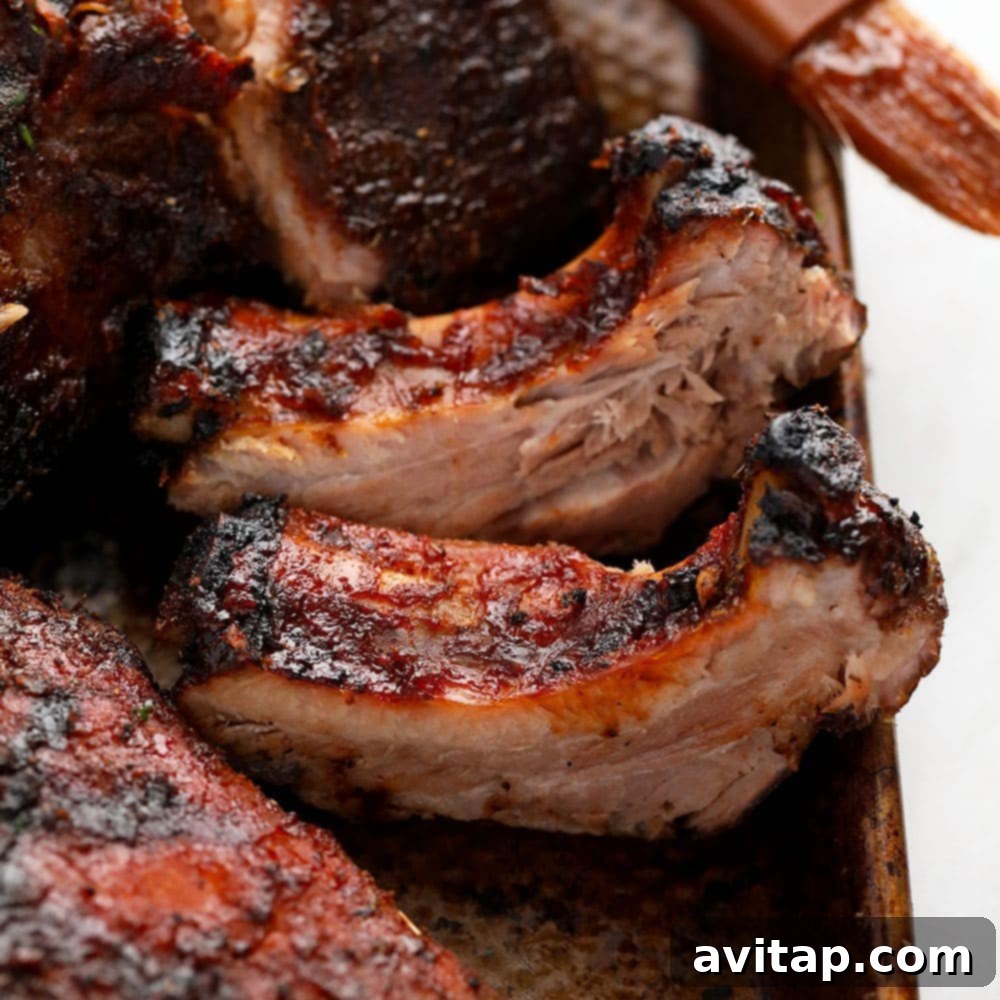
Embark on a culinary journey to create the most exquisite, fall-off-the-bone ribs you’ve ever tasted. Our signature 24-hour sous vide ribs recipe is a time-tested favorite, consistently delivering unparalleled tenderness and rich flavor that impresses every guest. This method, originally perfected by my husband Mark, has become a staple for gatherings, guaranteeing rave reviews and a memorable dining experience.
The magic begins with a savory, smoky dry rub that infuses the pork ribs over an extended period in a precisely controlled sous vide water bath. After 24 hours of gentle cooking, these ultra-tender ribs are then slathered with your favorite BBQ sauce and finished on a hot grill to achieve that irresistible caramelized crust.
Glowing Review
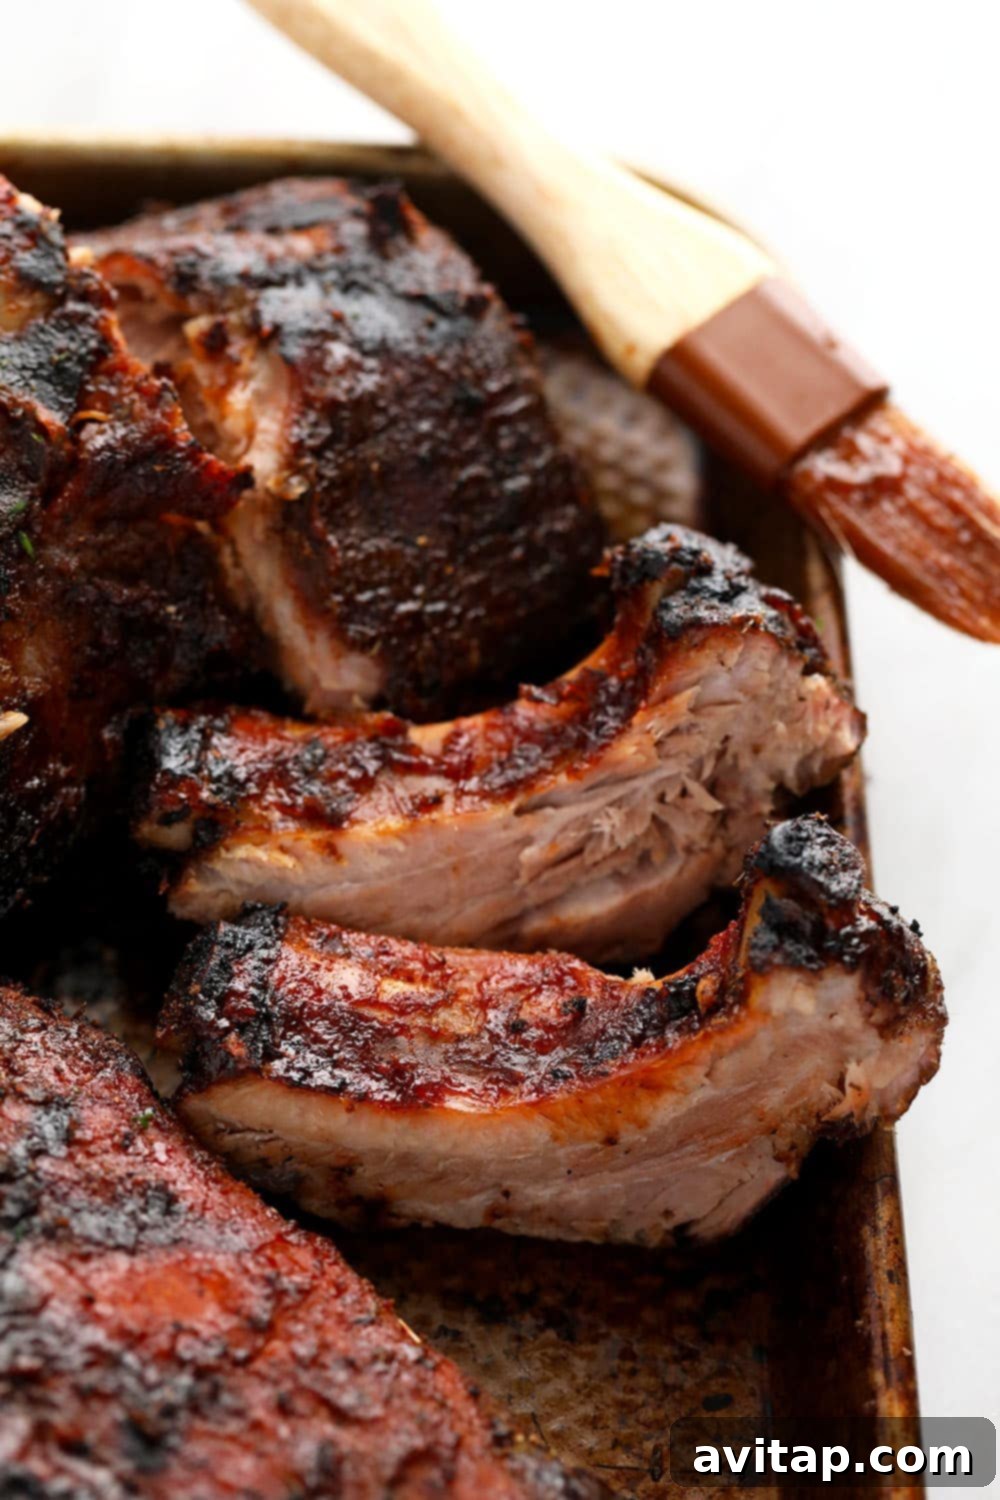
“I don’t think I’ve ever left a comment on a cooking website before, but after making these ribs, I felt obligated because they were so incredibly delicious. I followed the recipe exactly, opting to broil them in the oven instead of grilling, and the meat literally fell right off the bone. My very particular partner is already asking when I’ll make them again. Thank you for sharing this fantastic recipe!” – John A
Crafting the Ultimate Fall-Off-The-Bone Ribs
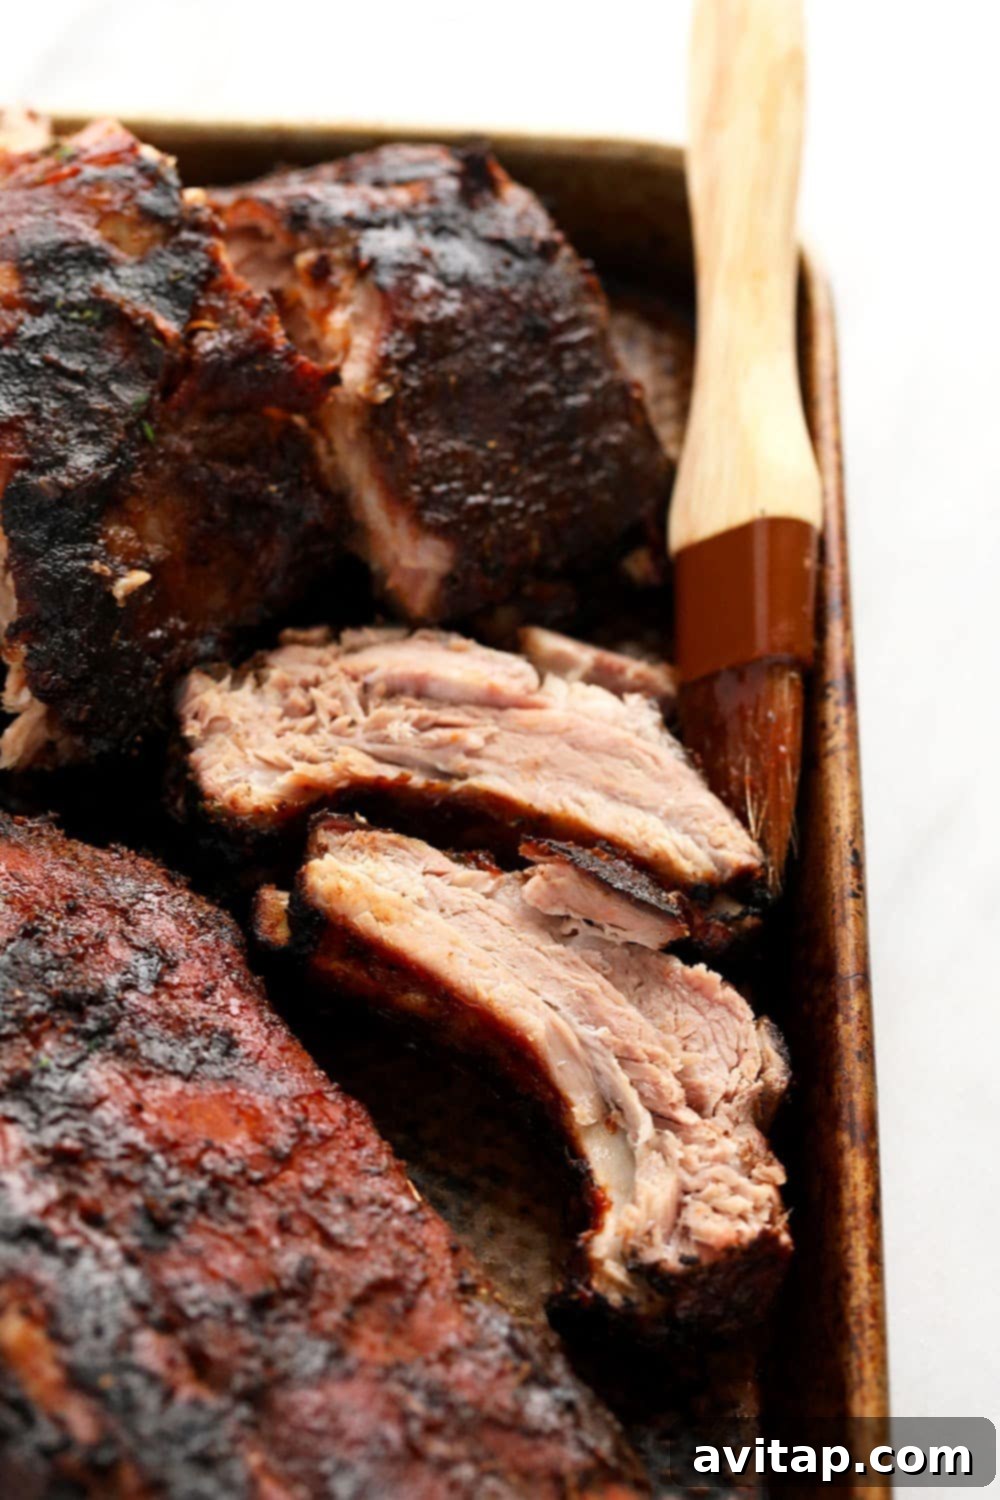
Few dishes bring as much joy and anticipation to our table as a perfectly cooked rack of ribs. But when it’s sous vide ribs night, it’s an extraordinary occasion. We’re talking about pork ribs that are so tender, so flavorful, and so utterly delicious that they truly earn the description “fall-off-the-bone.” You’ll find that the meat effortlessly detaches from the bone, making for a truly enjoyable and mess-free eating experience.
While there’s an ongoing debate among pitmasters and home cooks about the ideal way to prepare baby back ribs—whether smoked, grilled, or baked—we firmly believe that the sous vide method, particularly a 24-hour sous vide cook, stands above the rest. It’s the secret to achieving consistent perfection every single time.
Why 24-Hour Sous Vide Ribs? The Secret to Unmatched Tenderness
You read that correctly – this recipe instructs you to cook your ribs for a full 24 hours using the sous vide technique. But why such a long cooking time? The answer lies in the unique benefits of the sous vide method and its ability to transform tough cuts into culinary masterpieces. Cooking your rack of ribs in a precisely heated water bath for an entire day ensures several key outcomes:
- Perfectly Cooked, Every Time: With sous vide, concerns about over or undercooking are virtually eliminated. The consistent temperature of the water bath ensures your ribs reach a perfect medium doneness throughout, from edge to edge.
- Unbelievable Fall-Off-The-Bone Tenderness: This extended, low-temperature cooking period meticulously breaks down the connective tissues in the ribs. The result is an unparalleled tenderness where the meat almost melts in your mouth, far beyond what traditional methods typically achieve. Say goodbye to chewy ribs forever!
For truly exceptional sous vide ribs, the process hinges on three critical elements: infusing the meat with rich flavor, the precise sous vide cooking duration, and a final searing step on the grill or under the broiler to create a beautifully caramelized BBQ sauce. Let’s explore these steps in detail.
Essential Kitchen Tools for Sous Vide Ribs
Before diving into this transformative cooking process, ensure you have the necessary equipment. These tools will make your sous vide rib journey smooth and successful:
- Sous Vide Immersion Circulator: This is the heart of the operation. We highly recommend an Anova Precision Cooker for its reliability and precision.
- Sous Vide Container or Large Cooler: You’ll need a vessel large enough to fully submerge an entire rack of ribs in water. A large stockpot works, but for multiple racks or longer cooks, an insulated cooler is ideal as it helps maintain temperature and reduce water evaporation.
- Vacuum Sealer (Food Saver): While not strictly mandatory, investing in a food sealer is highly recommended if you plan to regularly use your sous vide. It ensures an airtight seal, crucial for long cooks and preventing water from entering the bag.
- Vacuum Sealer Bags: Make sure to choose bags that are long enough to comfortably fit a whole rack of ribs.

Step-by-Step Guide: How to Make Sous Vide Ribs
Step 1: Prepare the Ribs and Remove the Membrane
The first crucial step in achieving truly tender ribs is proper preparation. Begin by removing your rack of pork ribs from its packaging and placing it on a clean cutting board or baking sheet. Locate the thin, white membrane on the bone-side of the ribs. Using a sharp knife or the tip of a spoon, gently lift a corner of the membrane. Once you have a good grip, you can often peel it off in one satisfying pull. Removing this membrane is vital as it prevents the ribs from becoming tough and makes them much easier to enjoy. A useful tip: you can often ask your butcher to remove the membrane for you, saving you a bit of time and effort.
Step 2: Season Ribs with a Flavorful Dry Rub
Next, it’s time to infuse your ribs with incredible flavor using a savory spice rub. We utilize our preferred dry rub for pork, which offers a perfect balance of savory notes and subtle sweetness. If you prefer an even smokier profile, consider adding a touch more paprika to your rub mixture.
Why Apply a Dry Rub Before Sous Vide Cooking?
- Intense Flavor Infusion: A robust spice rub adds layers of deep, complex flavor to the meat that permeates during the long sous vide cooking process.
- Enhanced Tenderness: The salt and sugar components present in a good dry rub actively work to tenderize the meat, further contributing to that desired fall-off-the-bone texture during the low-and-slow sous vide cook.
For this recipe, we apply the dry rub in two stages: generously before sous vide cooking, and then again right before the final grilling step. Be sure to reserve approximately 1/4 cup of your dry rub for that finishing touch!
Pro Tip for Dry Rub Application
To maximize the flavor impact of your dry rub, ensure you completely cover the entire rack of ribs, both front and back. Don’t be shy; use your hands to massage the rub deeply into the meat, ensuring every crevice is seasoned.
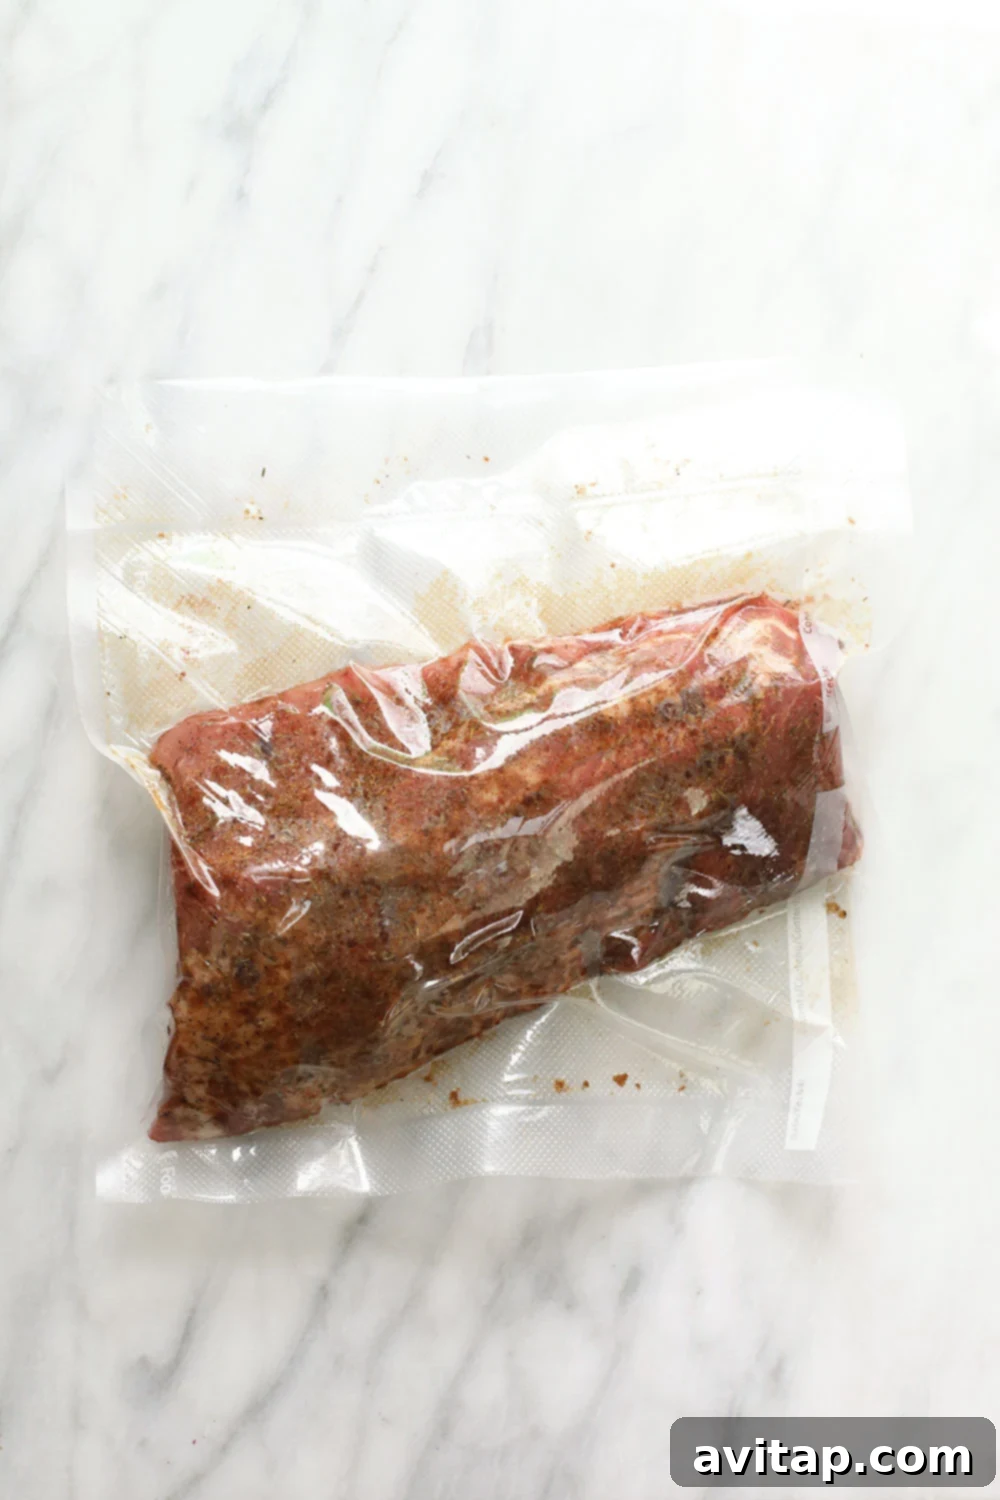
Step 3: Securely Package and Seal the Ribs
Once your ribs are thoroughly seasoned with the dry rub, the next critical step is to seal them in an airtight bag before they enter their 24-hour water bath. Given that the ribs will be submerged for an extended period, creating a perfect seal is paramount to prevent any water from reaching the meat or flavors from escaping.
We primarily use a Food Saver bag and a corresponding Food Saver Machine for optimal results. This vacuum sealing method removes all air, creating an ideal environment for sous vide cooking.
However, if you don’t own a vacuum sealer, don’t worry! Heavy-duty Ziploc bags can work effectively. Simply place the ribs into the bag, then slowly lower the bag into a pot of water (leaving the top opening above the water line). The water pressure will push the air out of the bag. Once most of the air is expelled, carefully seal the Ziploc bag.
Another excellent alternative for sous vide is a large Stasher bag. Depending on the size of your rack, you might need to cut it into two or three pieces to ensure it fits comfortably and can be fully submerged.
Extra Security Tip
If you’re new to sous vide or simply want extra peace of mind, feel free to double-bag your ribs. It’s always better to be safe than sorry, especially for such a long cooking cycle.
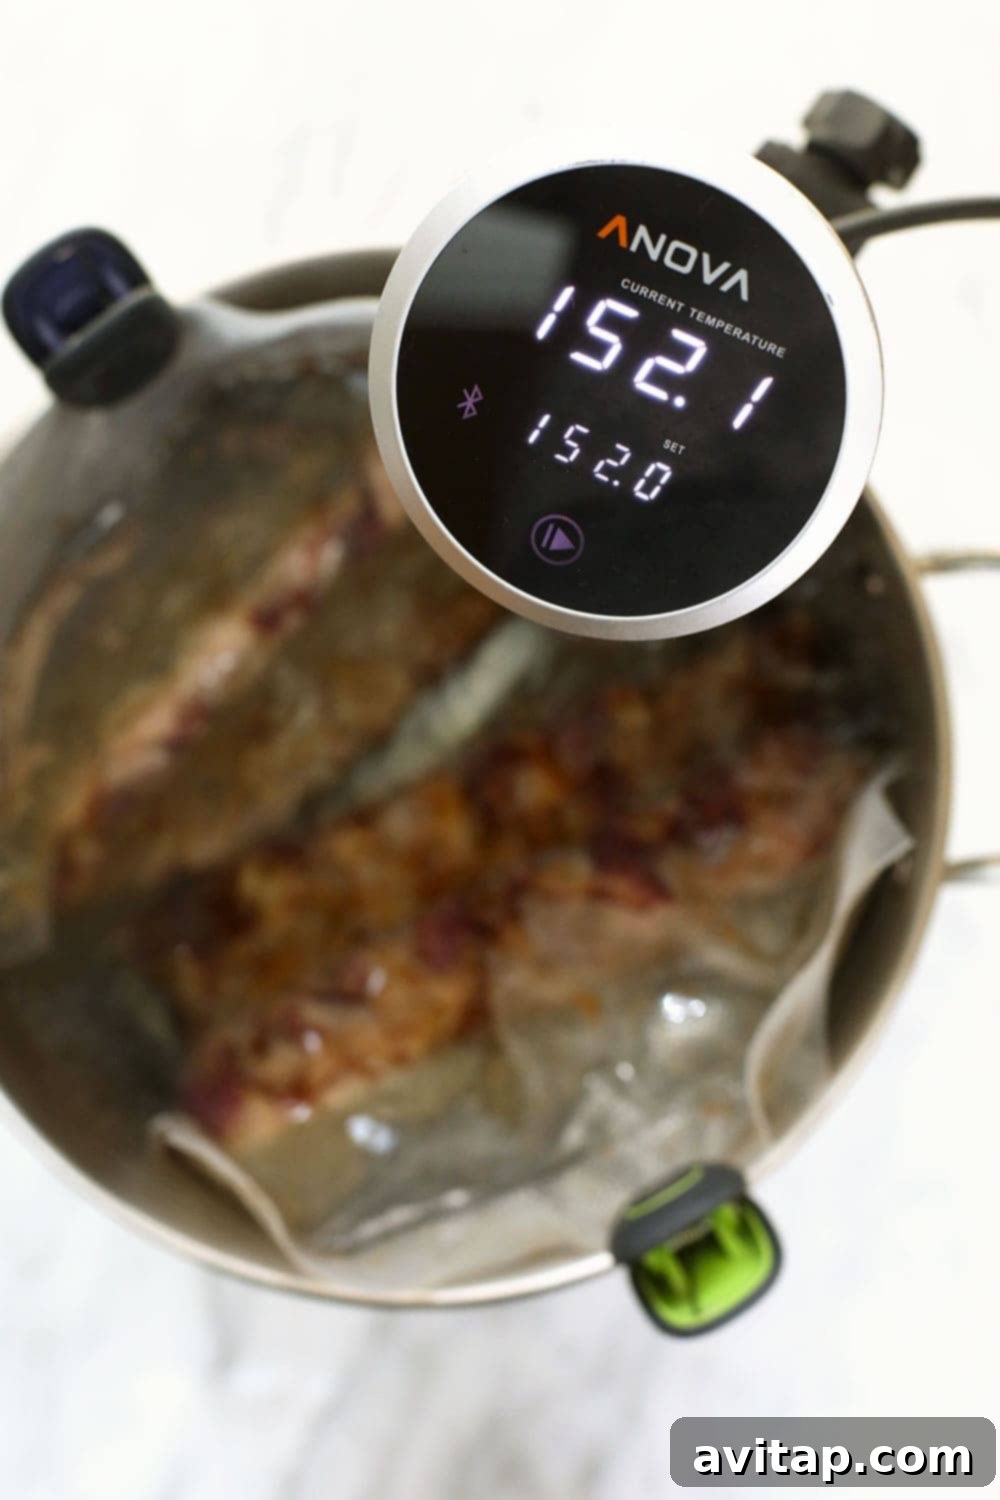
Step 4: Set the Water Bath Temperature and Cook for 24 Hours
With the ribs securely sealed, it’s time for their extended, tenderizing swim in the sous vide water bath! We’ve meticulously tested and found that the optimal temperature for our sous vide ribs is 152ºF (66.7ºC). While ribs are technically safe to eat once they reach an internal temperature of 145ºF (63ºC) according to USDA guidelines, increasing the temperature slightly to 152ºF allows for better breakdown of connective tissues, resulting in superior tenderness.
Simply place your sealed rib packages into the preheated water bath, ensuring they are fully submerged. Set your sous vide immersion circulator timer for a full 24 hours, and let the magic happen!
Important Tips During the 24-Hour Cook
- Prevent Evaporation with Foil: To maintain the water level over such a long cooking period, cover your pot or container with aluminum foil. This simple trick significantly reduces evaporation, which is crucial for a 24-hour cook.
- Monitor Water Levels: Even with foil, it’s wise to check on your water bath every 6-12 hours. If you notice the water level dropping, simply add more hot water to ensure your ribs remain completely submerged for the entire 24-hour duration.
- Keep Ribs Submerged with Clips: Use bag clips or clothespins to secure the sealed rib bags to the side of your pot or container. This prevents them from floating and ensures even cooking.
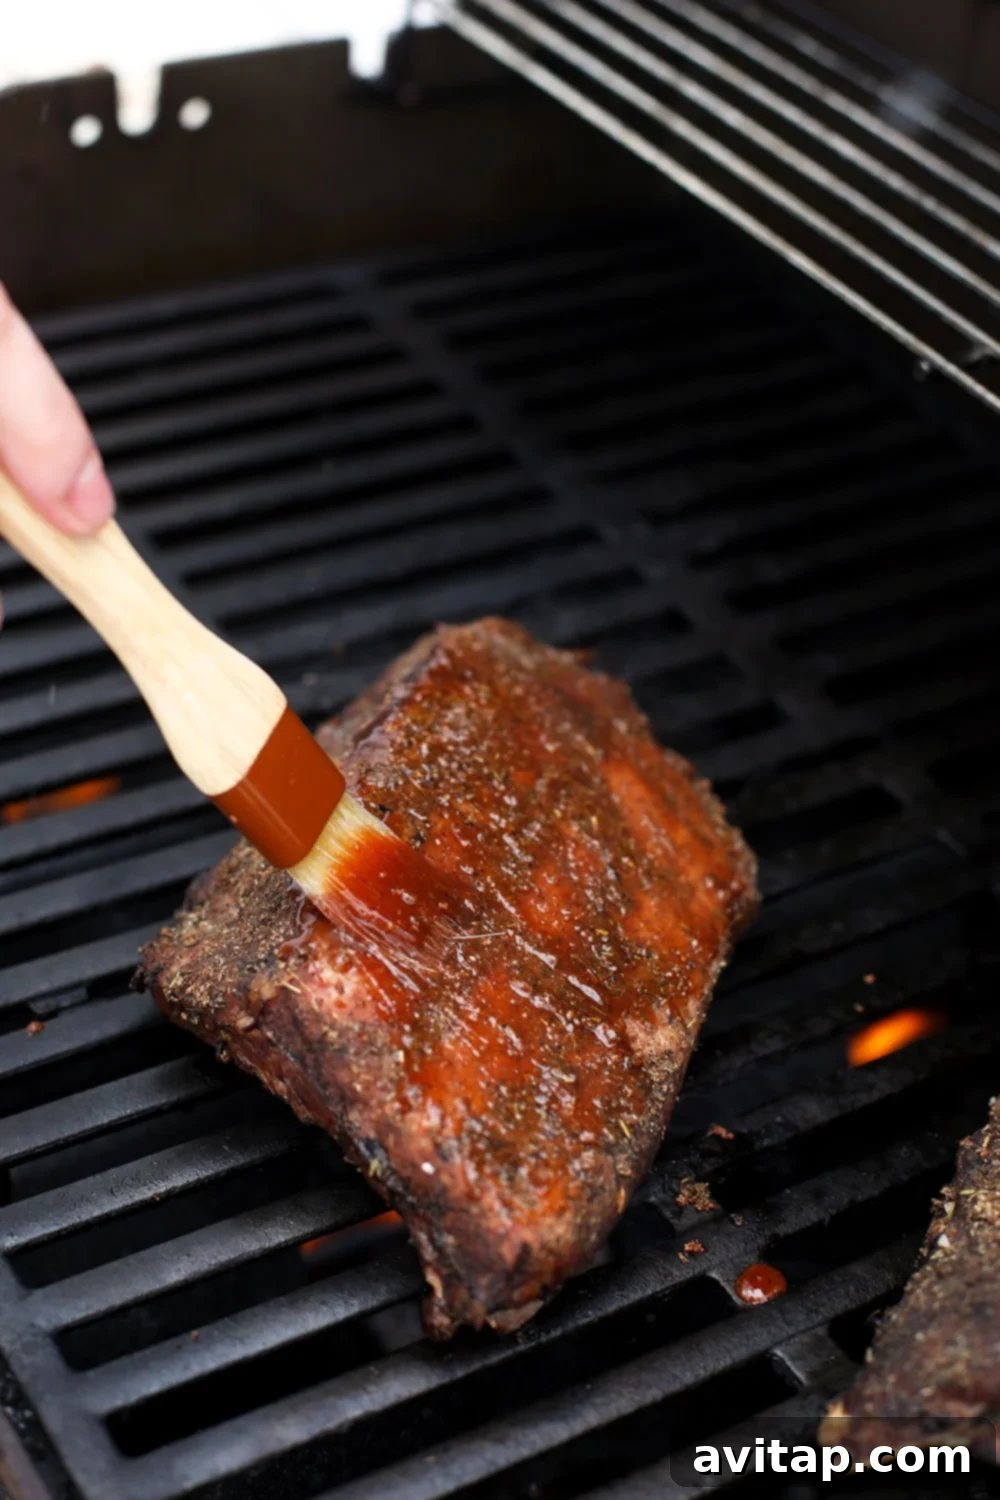
Step 5: Grill to Perfection and Sauce
You’re almost there! After 24 hours of precision sous vide cooking, your ribs are incredibly tender and flavorful. The final step is to achieve that desirable crispy exterior and caramelize the BBQ sauce.
- Preheat Your Grill: Set your grill to a high temperature, around 450ºF (232ºC). A super-hot grill is key for a quick sear, preventing the ribs from overcooking while developing a beautiful crust.
- Prepare Ribs for Grilling: Carefully remove the ribs from the sous vide water bath and open their bags. Discard any accumulated juices. Place the ribs on a baking sheet lined with paper towels and gently blot away any excess moisture. This step is crucial for achieving a crispy exterior. Now, apply the remaining 1/4 cup of your dry rub and generously brush your favorite BBQ sauce over both sides of the ribs.
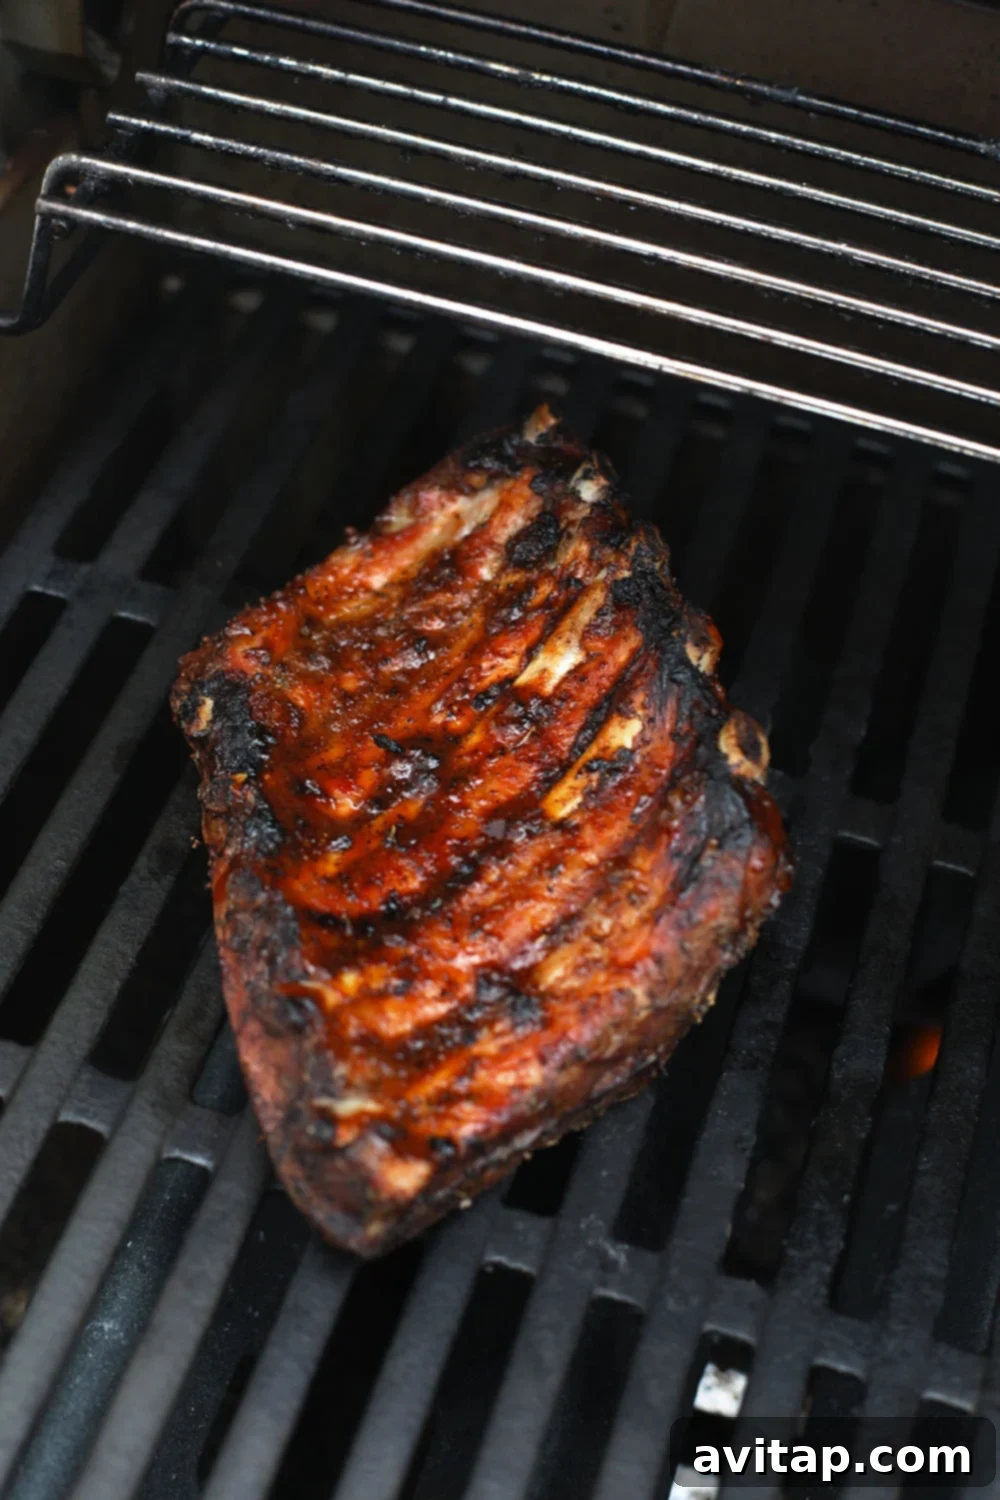
- Sear on the Grill: Transfer the sauced ribs to the preheated grill. Sear each side for approximately 5 minutes, or until you see attractive char marks and the BBQ sauce has caramelized beautifully.
Important Note: At this stage, your ribs are already fully cooked and safe to eat, having reached and maintained the USDA-approved temperature. The grilling step is solely for adding texture, depth of flavor, and that classic caramelized BBQ glaze.
Our Favorite BBQ Sauce Recommendations
- Sweet Baby Ray’s
- Stubb’s
- Wee Willy’s
- Or your personal homemade favorite!
Frequently Asked Questions About Sous Vide Ribs
How long should I sous vide ribs for optimal tenderness? For truly tender, juicy, and fall-off-the-bone ribs, we highly recommend cooking them in the sous vide for a full 24 hours. This extended period allows the connective tissues to break down thoroughly.
What is the best temperature for sous vide ribs? The ideal temperature to sous vide ribs is 152ºF (66.7ºC). While the USDA states that pork is safely cooked at an internal temperature of 145ºF (63ºC), increasing the temperature slightly to 152ºF for an extended period yields a significantly more tender result without drying out the meat.
How do I prevent the sous vide water bath from evaporating over 24 hours? The simplest and most effective way to prevent water evaporation during a long sous vide cook is to cover your pot or container. We suggest using aluminum foil, as it’s inexpensive and creates a good seal, minimizing heat and moisture loss. Alternatively, if you don’t have foil, a layer of ping pong balls covering the water’s surface can also be surprisingly effective at reducing evaporation.
Discover More of Our Favorite…
Irresistible Sous Vide Recipes
- Mongolian Steak Sous Vide Flank Steak
- Crispy Sous Vide Chicken Thighs
- Sous Vide Salmon
- Perfect Sous Vide Chicken Breast
24 Hour Sous Vide Ribs Recipe
These BBQ ribs are prepared with a smoky dry rub, cooked to perfection in a sous vide water bath for 24 hours, then generously slathered with BBQ sauce and grilled to a beautiful caramelized finish.
By: Lee Funke
- Prep Time: 20 minutes
- Cook Time: 1 day
- Total Time: 1 day 20 minutes
- Servings: 4
- Rating: 4.91 from 11 votes
Ingredients
- 1 rack of baby back pork ribs (St. Louis-style also works well)
- 1/2 tablespoon olive oil
- 3/4 cup pork dry rub* (divided)
- 1/2 cup BBQ sauce (or more, to taste)
Instructions
- Begin by filling a large pot or insulated container with water – ensure it’s large enough to fully submerge your ribs. Attach your sous vide immersion circulator to the side of the container and preheat the water bath to 152ºF (66.7ºC).
- In a medium bowl, combine all the spices for your pork dry rub and set aside.
- Remove the rack of ribs from its packaging and place it on a large baking sheet. Using a sharp knife, cut the rack in half if needed for easier handling or to fit your sous vide bag. Flip the ribs over and carefully remove the thin white membrane from the bone side by peeling it back and discarding it.
- Generously season the ribs with about 1/2 cup of your prepared dry rub at this stage, reserving the remaining 1/4 cup for later. Use your hands to thoroughly massage the rub into both the front and back of the ribs.
- Transfer each half rack of seasoned ribs into separate vacuum sealer bags. Remove as much air as possible using your vacuum sealer, then seal tightly. Submerge the sealed bags into the preheated sous vide water bath. Use two clips to secure the bags to the side of the pot, preventing them from floating. Cover the pot with a piece of aluminum foil, leaving a small opening for the sous vide circulator. This helps prevent water evaporation over the long cooking period.
- Set your sous vide timer for 24 hours. Periodically check the water level every 6-12 hours to ensure it hasn’t evaporated significantly. If the water level drops, carefully add more hot water to keep the ribs fully submerged.
- Once the 24 hours are complete, remove the bags from the water bath. Carefully cut open the bags and discard any juices. Remove the ribs and place them on paper towels, blotting away any excess moisture from their surface. This is key for a crispy finish.
- Evenly apply the remaining 1/4 cup of dry rub to the front and back of the ribs. Then, use a brush to generously coat the ribs with your preferred BBQ sauce. Adjust the amount of sauce to your liking.
- Preheat your grill to 450ºF (232ºC). Lightly rub the grill grates with olive oil or spray with a nonstick cooking spray. Place the sauced ribs on the hot grill and sear each side for 5-6 minutes, or until you achieve delicious charred edges and the BBQ sauce is caramelized.
- Allow the ribs to rest for 5-10 minutes before slicing and serving. This resting period helps the juices redistribute, ensuring maximum tenderness and flavor.
Tips & Notes
- If your ribs are cool when you begin the grilling process, we recommend preheating your grill to about 350ºF (175ºC) and heating the rack for 10 minutes before applying the sauce and increasing the heat to 450ºF (232ºC) for searing.
- This recipe yields fantastic results with both baby back pork ribs and St. Louis-style pork ribs.
- Tin Foil: Always cover your sous vide pot with tin foil to significantly prevent water evaporation, especially during long cooks. It truly works!
- Clips: Utilize bag clips or clothespins to secure your sealed rib bags to the side of the pot. This ensures the meat remains fully submerged for even cooking.
- Check Water: Routinely check your water bath every 6-12 hours. If the water level has decreased, add more hot water to ensure the ribs remain submerged throughout the entire 24-hour cooking time.
Nutrition
Calories: 360 kcal, Carbohydrates: 31 g, Protein: 51 g, Fat: 17 g, Fiber: 2 g, Sugar: 14 g
Nutrition information is automatically calculated, so should only be used as an approximation.
Love this recipe? Leave a comment below!
Don’t forget to share your creations on social media with the hashtag #fitfoodiefinds. We’d love to see your delicious results!
Deep Dive into Precision Cooking!
Your Comprehensive Guide to Sous Vide Cooking
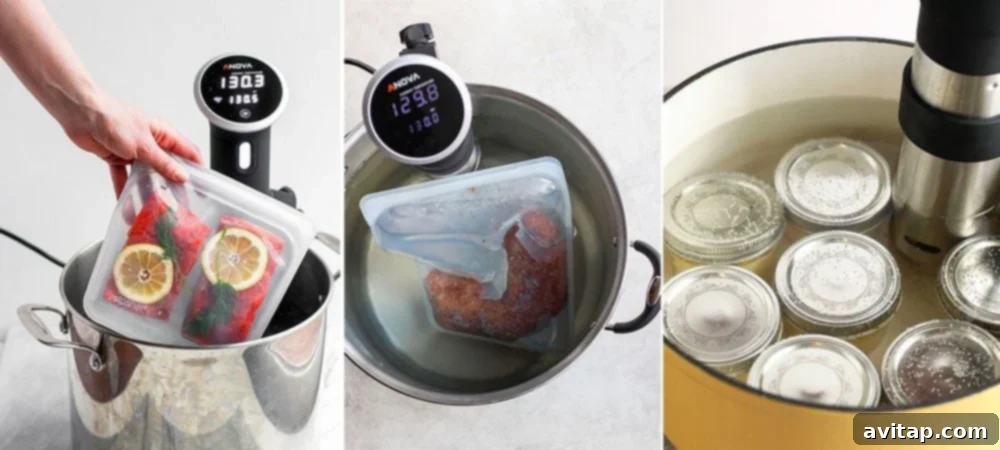
Curious to learn more about the art and science of sous vide cooking? Explore our extensive Guide to Sous Vide, where we share everything you need to know about this revolutionary precision cooking technique.