
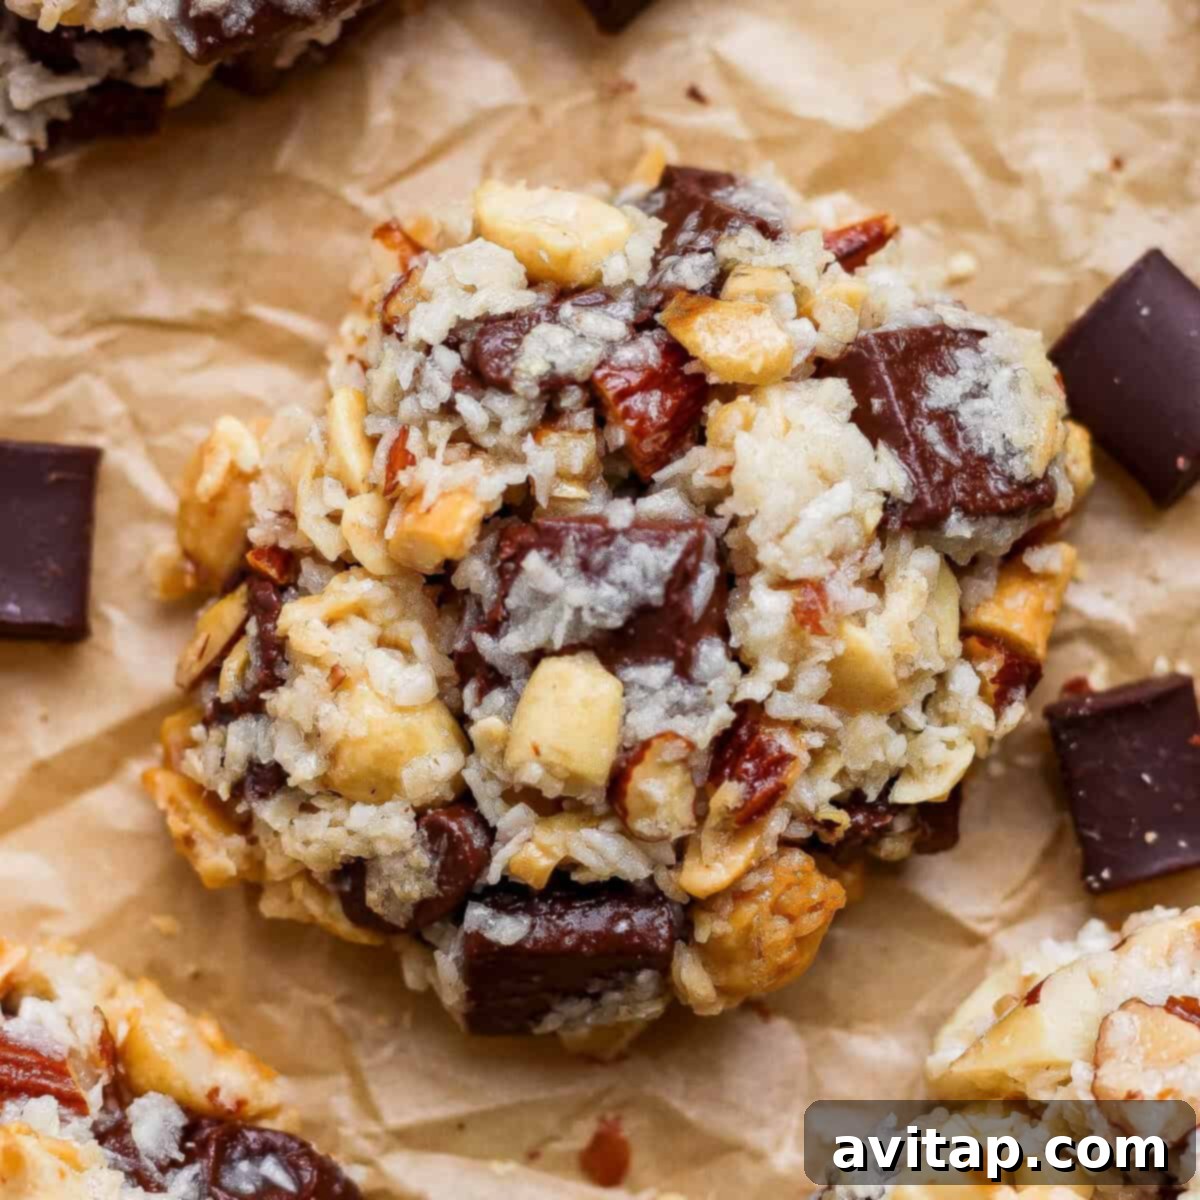
Magic Cookie Recipe: A Delicious Twist on a Classic
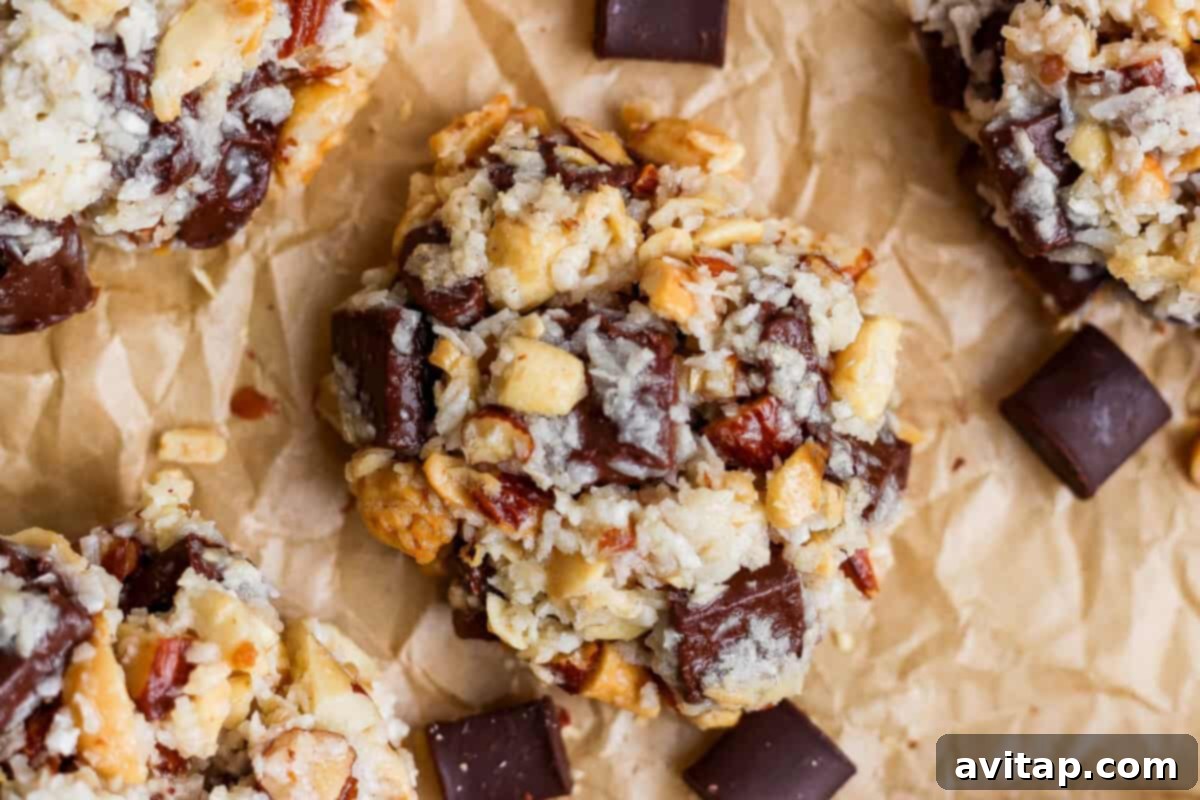
Indulge in the delightful world of my magic cookies! These aren’t just any cookies; they’re a soft, chewy, and utterly irresistible take on the classic dessert bars we all know and love. What makes them truly magical? They’re incredibly easy to whip up (requiring only four key ingredients!), endlessly customizable to your personal tastes, and absolutely perfect for any holiday gathering. Forget the usual Christmas cookies – these are a delightful surprise that will have everyone asking for the recipe!
Why This Magic Cookie Recipe is Great
- “Magical” Flavor, Inspired by Classic Cookie Bars: Remember those incredible magic bars your grandma used to make? These cookies bring back all those wonderful memories! They’re wonderfully chewy, incredibly yummy, and so nostalgic, you won’t be able to stop at just one.
- Freezer-Friendly for Easy Enjoyment: Planning ahead for the holidays? These magic cookies freeze beautifully! Make a large batch for Thanksgiving, then pop the extras into the freezer. You’ll have a delicious homemade treat ready to go for Christmas or any other special occasion.
- Perfect for Holiday Gifting and Sharing: Looking for the ideal holiday treat? These cookies are a fantastic choice. They’re perfect for cookie swaps, make thoughtful hostess gifts, and are sure to brighten anyone’s day when added to a festive cookie tin. Share the magic with friends and family!
Key Ingredients for Magic Cookies
Let’s talk about what makes these cookies so special. Here’s a breakdown of the key ingredients and some helpful tips:
- Chocolate Chunks: While chocolate chips work just fine, I absolutely adore the look of semi-sweet chocolate chunks in these cookies. They add a rustic, decadent touch. But don’t let me limit you! Feel free to experiment with different types of chocolate – milk chocolate, dark chocolate, or even white chocolate chips would all be delicious. Choose your own chocolate adventure!
- Unsweetened Coconut: This is crucial! Be sure to use unsweetened coconut flakes. Using sweetened coconut will result in cookies that are overwhelmingly sweet. The unsweetened coconut provides a subtle, nutty flavor and adds a pleasant chewiness to the overall texture.
- Chopped Nuts: The beauty of this recipe lies in its versatility. Any kind of roughly chopped nuts will work wonders. I personally love using a mixed nut blend for a complex flavor profile and varied textures. Pecans, walnuts, almonds, macadamia nuts – the possibilities are endless! However, you can certainly stick to one type of nut, such as cashews or peanuts, if you prefer.
- Sweetened Condensed Milk: This is the magic ingredient that binds everything together and creates that signature chewy texture. I’ve tested this recipe with both regular sweetened condensed milk and sweetened condensed coconut milk, and both work exceptionally well. Sweetened condensed coconut milk can sometimes be tricky to find in major US grocery stores, so I’ve included instructions on how to easily make your own (see the instructions below!).
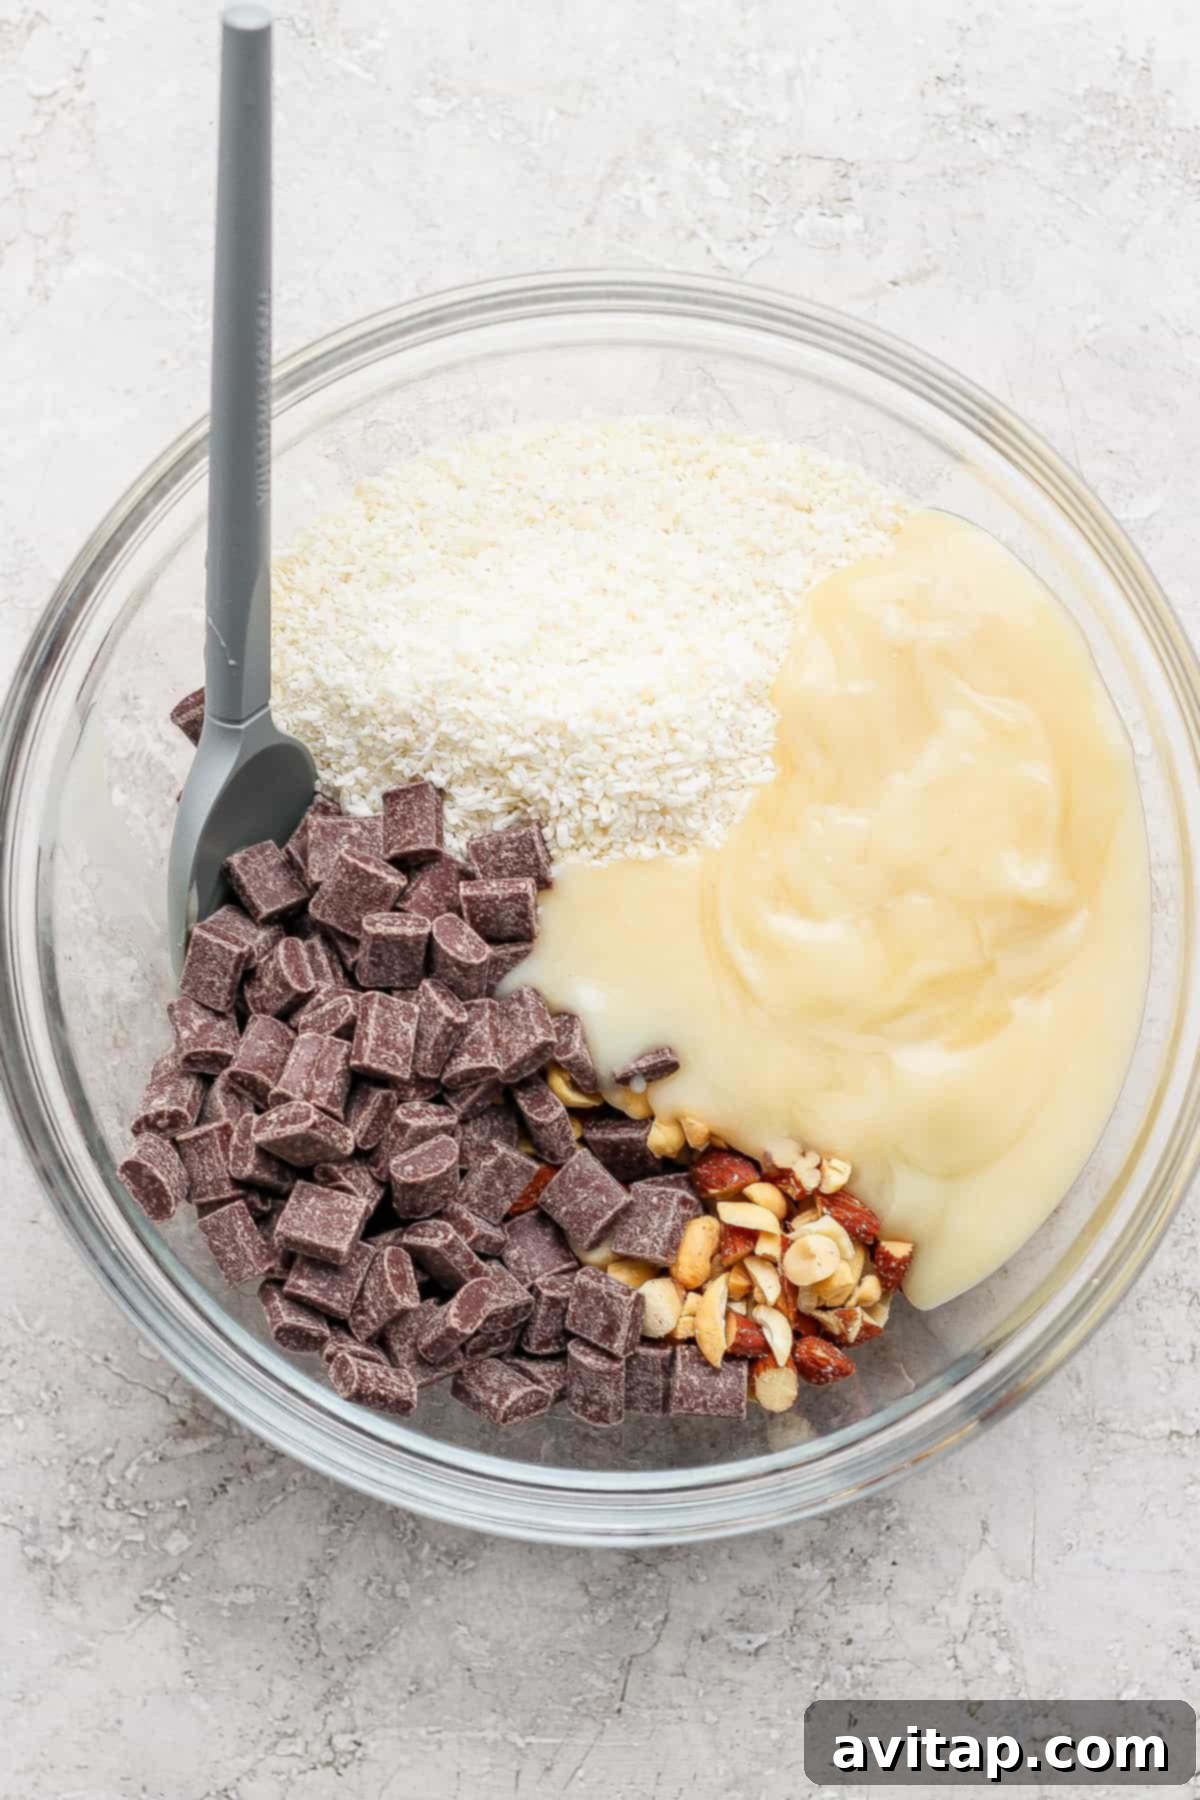
Visual Guide: Preparing Your Magic Cookie Ingredients
Step-by-Step: Making Your Magic Cookies
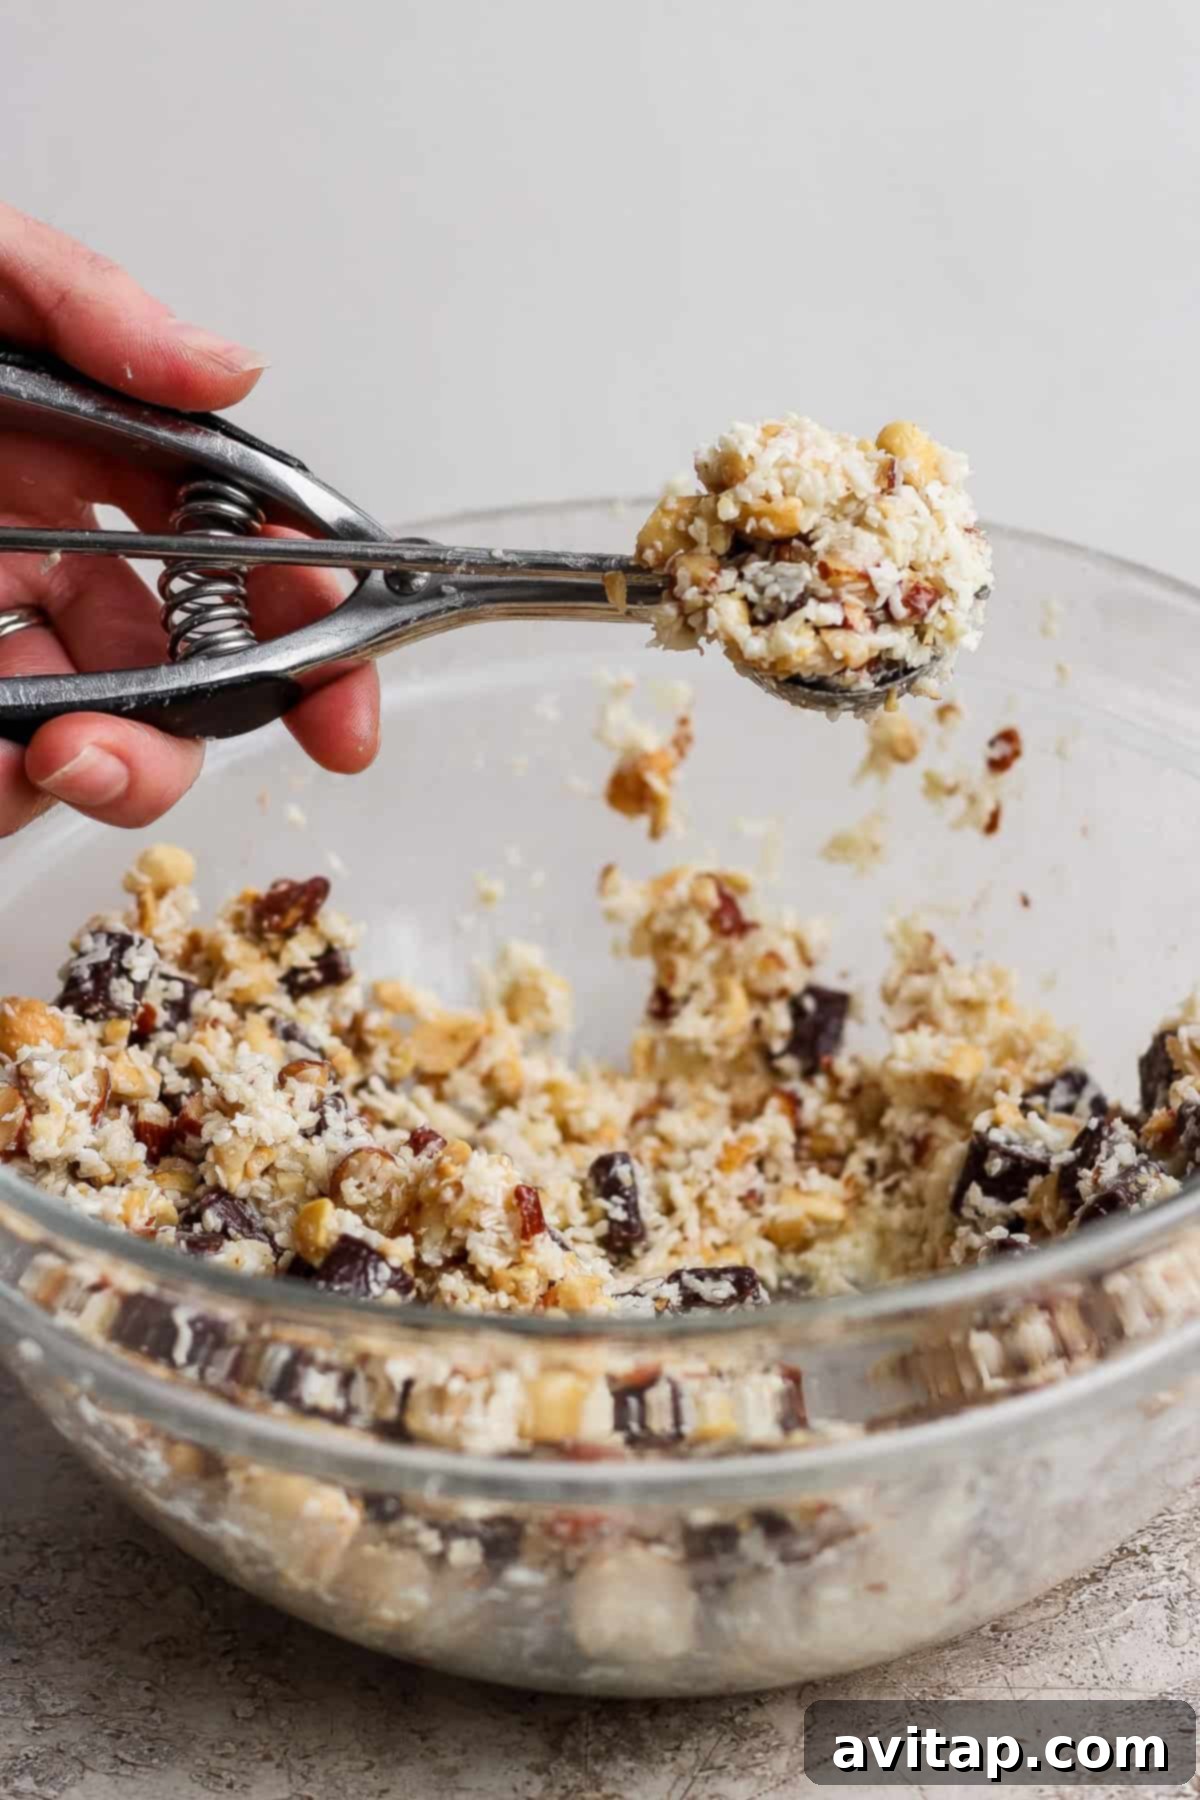
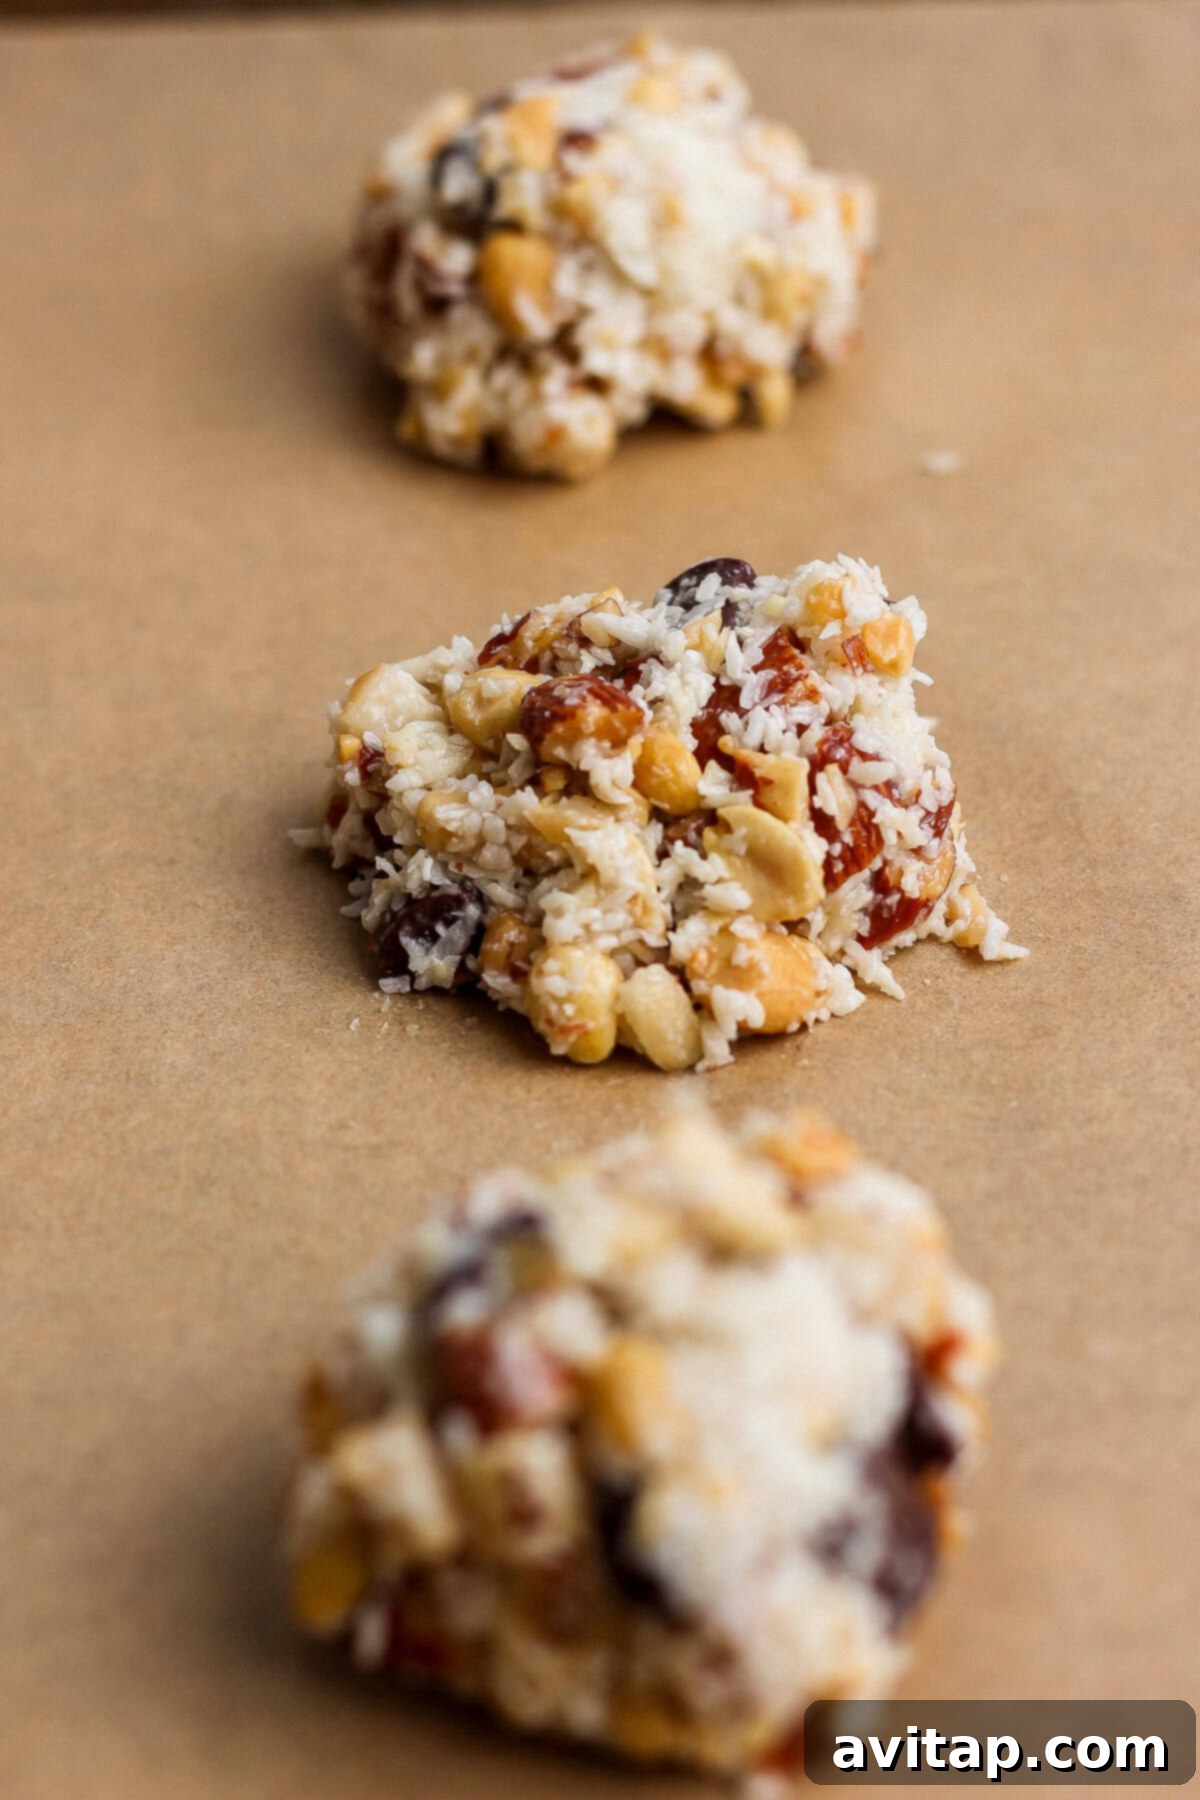
How to Make Magic Cookies: The Process
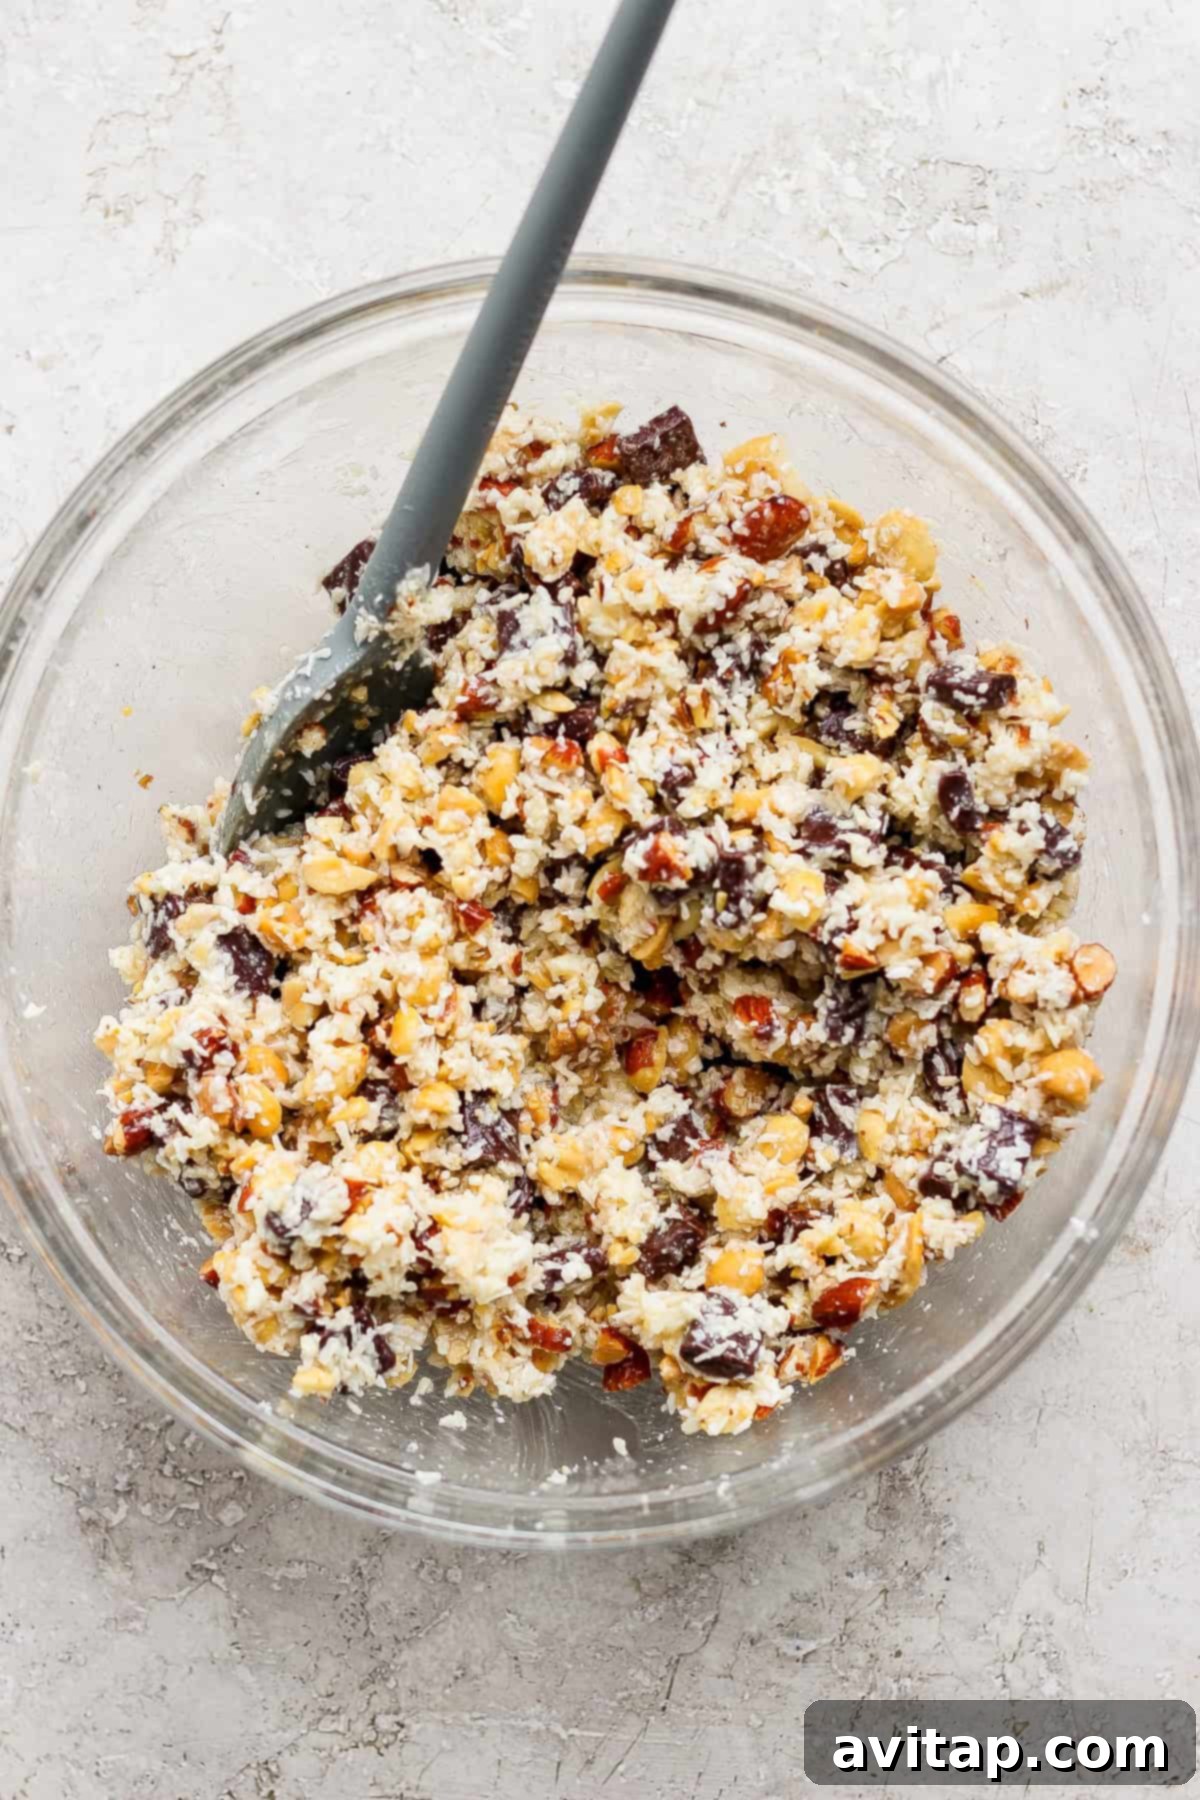
- Combine the Ingredients: In a large mixing bowl, simply add all of your chosen ingredients. Then, gently stir everything together until all the dry ingredients are nicely coated in the sweetened condensed milk. Don’t be afraid to give it a little taste test – quality control is important, after all! 😋
- Scoop the Cookie Dough: Using a 2-tablespoon cookie scoop (or a regular spoon, if you don’t have a scoop), portion out the dough into approximately 12 cookies onto your prepared baking sheet. Gently press down on each cookie with your fingers to flatten them slightly.
- Bake to Golden Perfection: Place the baking sheet in a preheated oven at 350℉ (175℃). Bake for approximately 10-12 minutes, or until the tops of the cookies turn a beautiful golden brown. Keep a close eye on them to prevent burning!
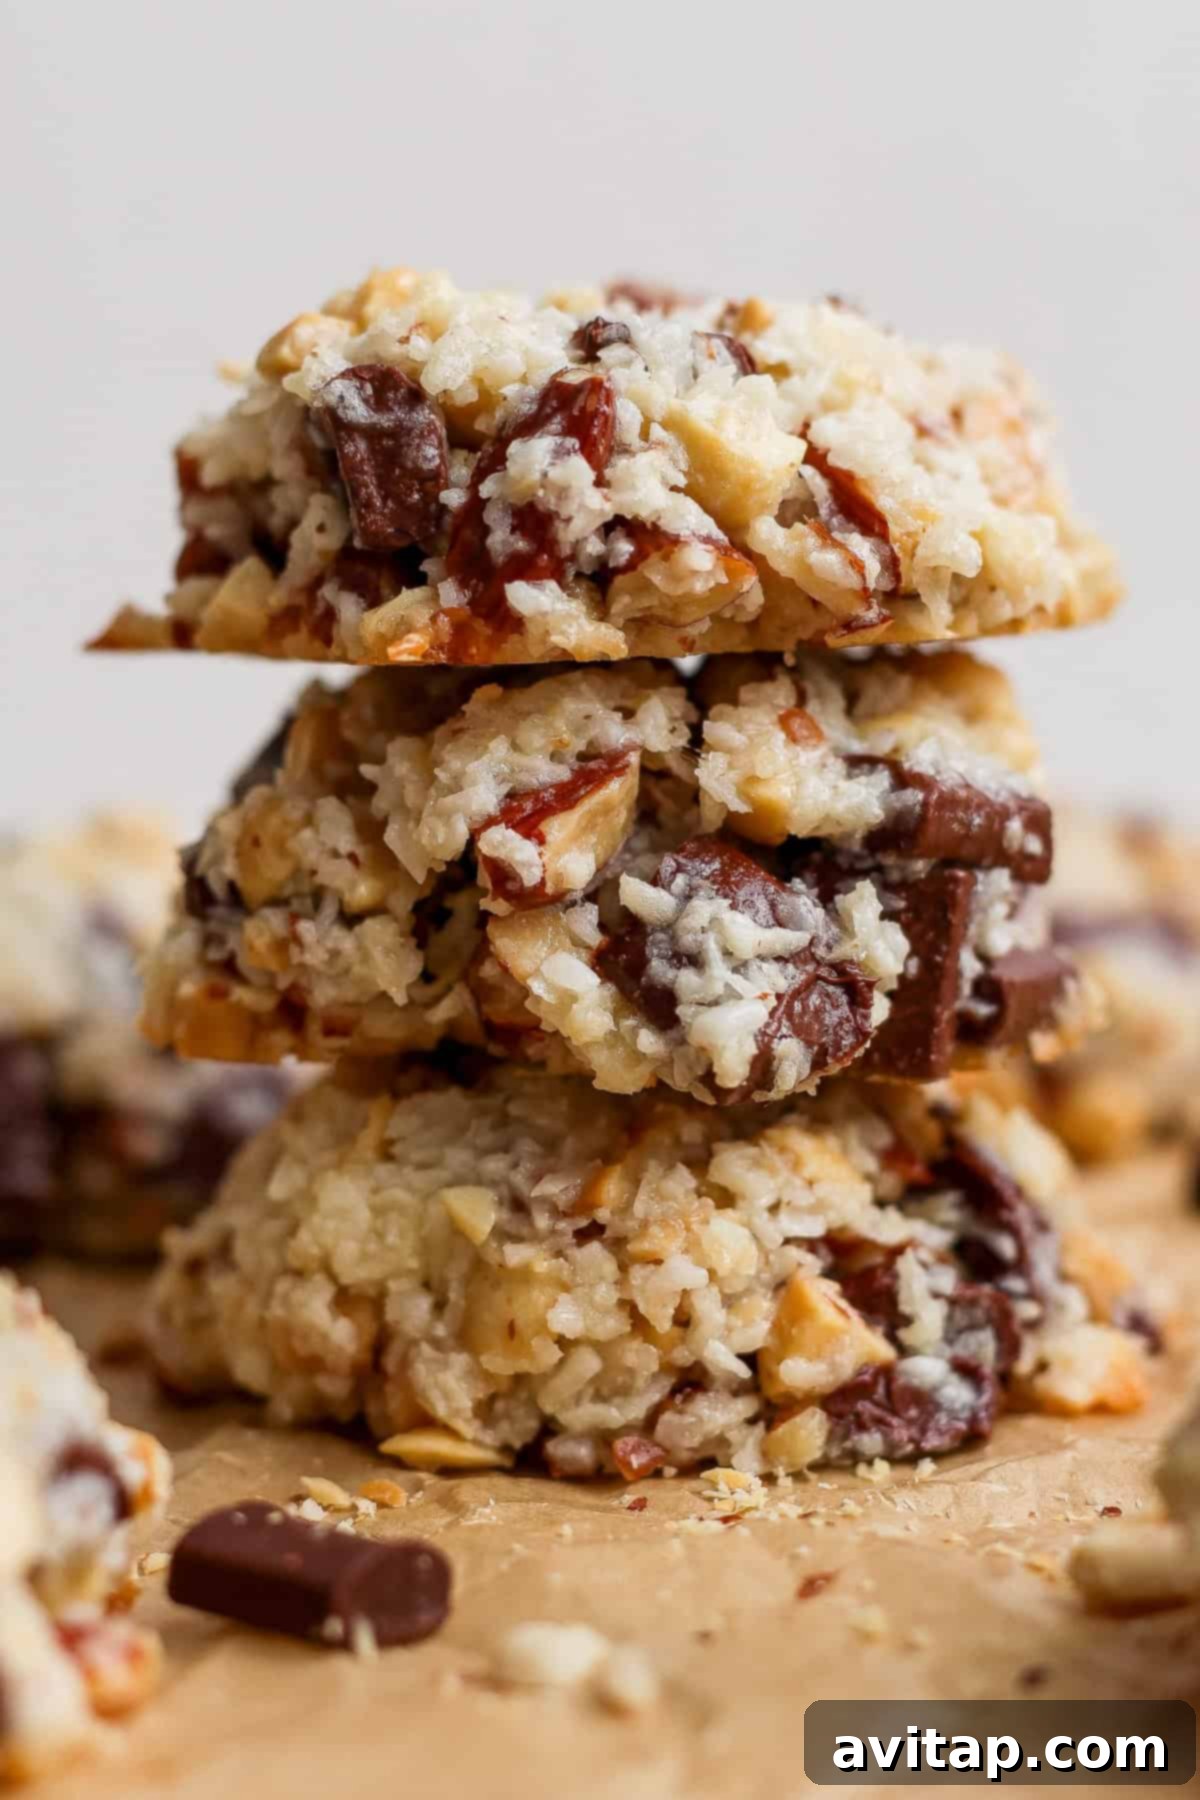
- Cool Completely for Best Results: This is the most crucial step! It’s vital to let the cookies cool completely on the baking sheet before attempting to transfer them. As they cool, they will set and harden, making them easier to handle. If you try to move them while they’re still warm, you risk them falling apart. Patience is key!
- Serve and Enjoy the Magic!: Once the cookies have cooled completely, they’re ready to be enjoyed! Serve them as a sweet snack, bring them to your next gathering, or share them with family and friends. The possibilities are endless!
How to Make Sweetened Condensed Coconut Milk (Optional)
If you’re having trouble finding sweetened condensed coconut milk, or if you simply prefer to make your own, it’s surprisingly easy!
In a saucepan, whisk together one 13.5 oz can of full-fat coconut milk with 3 tablespoons of maple syrup. Place the saucepan over high heat and bring the mixture to a boil. Once boiling, reduce the heat to a gentle simmer and continue to simmer for approximately 30 minutes, or until the liquid has reduced by about half. The mixture should thicken considerably.
Remove the saucepan from the heat and allow the condensed coconut milk to cool completely. Once cooled, it’s ready to use in your magic cookie recipe!
When to Serve These Delicious Cookies
- With a Cup of Coffee or Hot Cocoa: These cookies pair perfectly with a warm beverage on a chilly day.
- For a Sweet Treat Any Time During the Holidays: The holidays are the perfect time to indulge in these festive treats.
- Leave Them Out for Santa: Give Santa a special treat this year – he’ll appreciate the unique and delicious flavor of these magic cookies!
Storage Tips for Magic Cookies
To keep your magic cookies fresh and delicious, store them in an airtight container at room temperature for up to 5 days. For longer storage, you can freeze them in an airtight container for up to 3 months. Simply thaw them at room temperature before serving.
More Holiday Cookie Inspiration
Looking for more delicious cookie recipes to add to your baking repertoire? Check out these favorites:
- Hot Cocoa Cookies
- Raspberry Thumbprint Cookies
- Snickerdoodles
- White Chocolate Cranberry Oatmeal Cookies
- Wreath Sugar Cookies
- Snowball Cookies
- Eggnog Cookies
- ALLMy Cookie Recipes
Frequently Asked Questions (FAQs)
Are magic cookies gluten-free?
Yes, in their most basic form! This magic cookie recipe uses just four ingredients, all of which are naturally gluten-free. However, if you’re using a seasoned variety of mixed nuts, it’s essential to double-check the label to ensure they are indeed gluten-free.
What should I do if the cookie dough is too sticky?
This cookie dough is inherently sticky due to the presence of sweetened condensed milk. That’s why I strongly recommend using a cookie scoop to portion the dough onto the baking sheet. If your hands become excessively sticky during the process, simply rinse them with cold water between scooping each cookie ball. This will make handling the dough much easier.
Is there a nut-free substitution, or can I simply omit the nuts?
Absolutely! If you have a nut allergy or simply prefer not to use nuts, you can easily substitute them with seeds like pumpkin seeds or sunflower seeds. These seeds provide a similar texture and a subtle nutty flavor. Another fantastic option is to replace the nuts with pretzel chunks, which would add a delightful salty-sweet crunch to the cookies!
Magic Cookie Recipe
The full recipe details are listed below:
Ingredients
- 4 oz. coconut condensed milk, or sweetened condensed milk*
- 1 cup semi-sweet chocolate chunks
- 1.5 cups shredded unsweetened coconut
- 2 cups chopped mixed nuts, I used pecans, walnuts, and almonds
Instructions
- Preheat the oven to 350℉. Line a baking sheet with parchment paper. Set aside.
- Add all the ingredients to a large mixing bowl and stir to coat them in the sweetened condensed milk.
- Using a 2-tablespoon scoop, scoop 12 cookies onto the lined baking sheet. Lightly press down with fingers.
- Bake for 10 minutes at 350℉ or until the tops are golden brown.
- Let cool for 30 minutes before transferring to a wire rack to cool completely.
- Store in an airtight container.
Tips & Notes
- Coconut condensed milk options: I tested this recipe with sweetened condensed milk and coconut sweetened condensed milk. Coconut sweetened condensed milk can be harder to find at major grocers, so feel free to make your own (below) or replace with sweetened condensed milk. HERE is the coconut condensed milk brand we prefer!
- To make your own sweetened coconut condensed milk, whisk together 13.5 oz. can of coconut milk and 3 tablespoons of maple syrup to a saucepan. Place over high heat and bring to a boil. Reduce the heat to a simmer and simmer for 30 minutes or until the liquid has reduced by half. Cool the liquid and then follow the steps above.
Photography by: The Wooden Skillet