
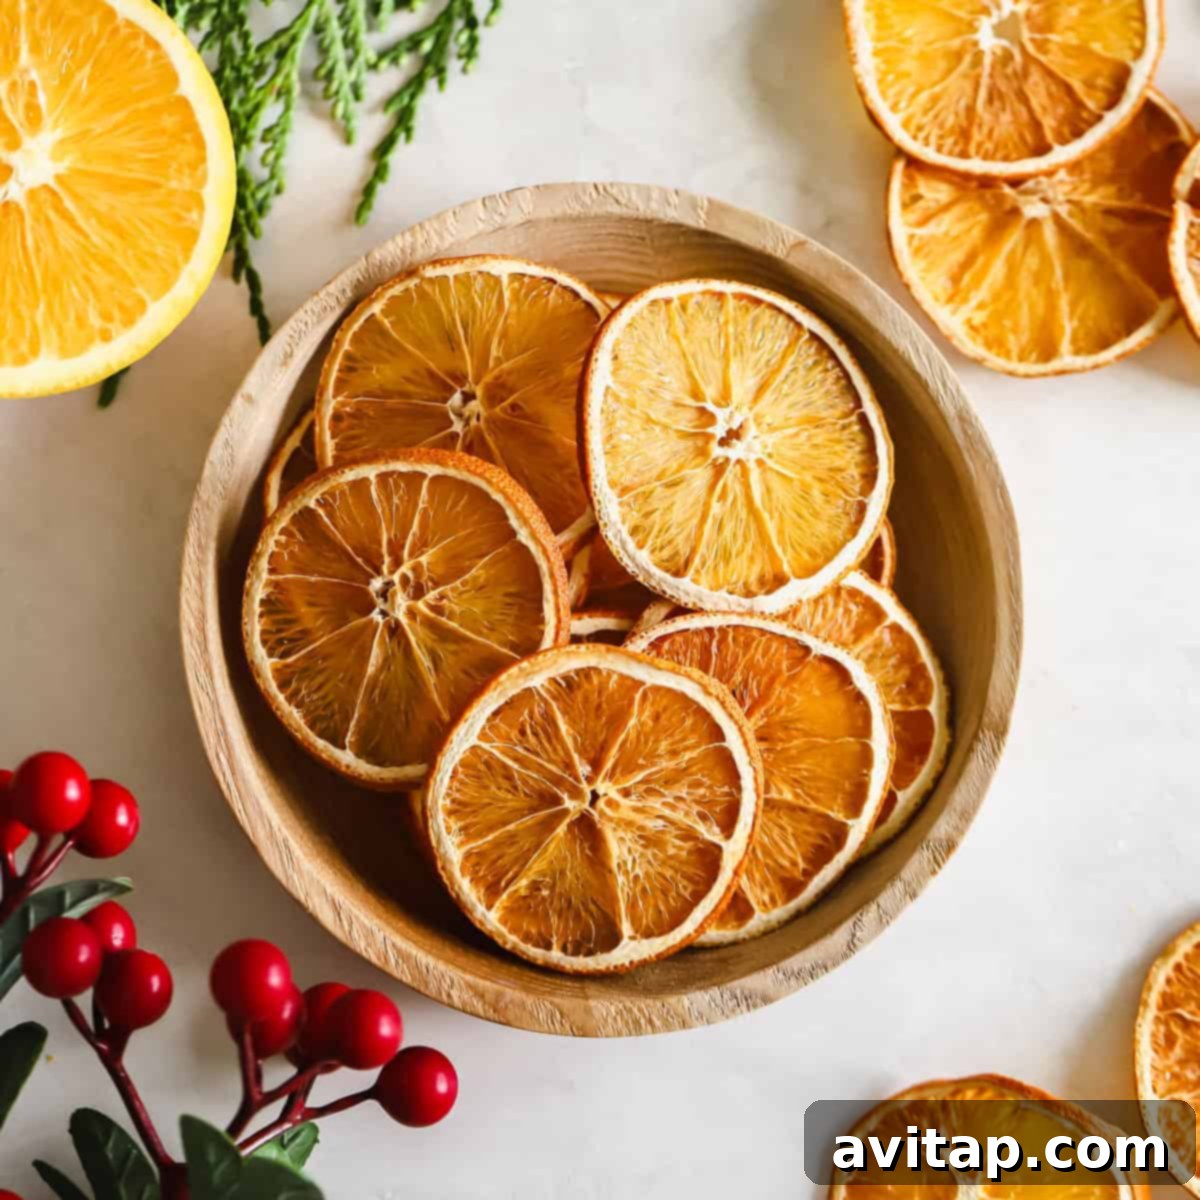
There’s something uniquely charming about homemade holiday decorations, and a dried orange garland stands out as a truly magical addition to any festive setting. Requiring just one simple ingredient – oranges – this DIY project is not only incredibly easy but also fills your home with a delightful, natural citrus aroma. Imagine vibrant, translucent orange slices strung together, catching the light and adding a rustic, elegant touch to your Christmas tree, mantelpiece, or gift wrap. This guide will walk you through every step to create your own beautiful, long-lasting dried orange garlands, making your holiday season brighter and more fragrant.
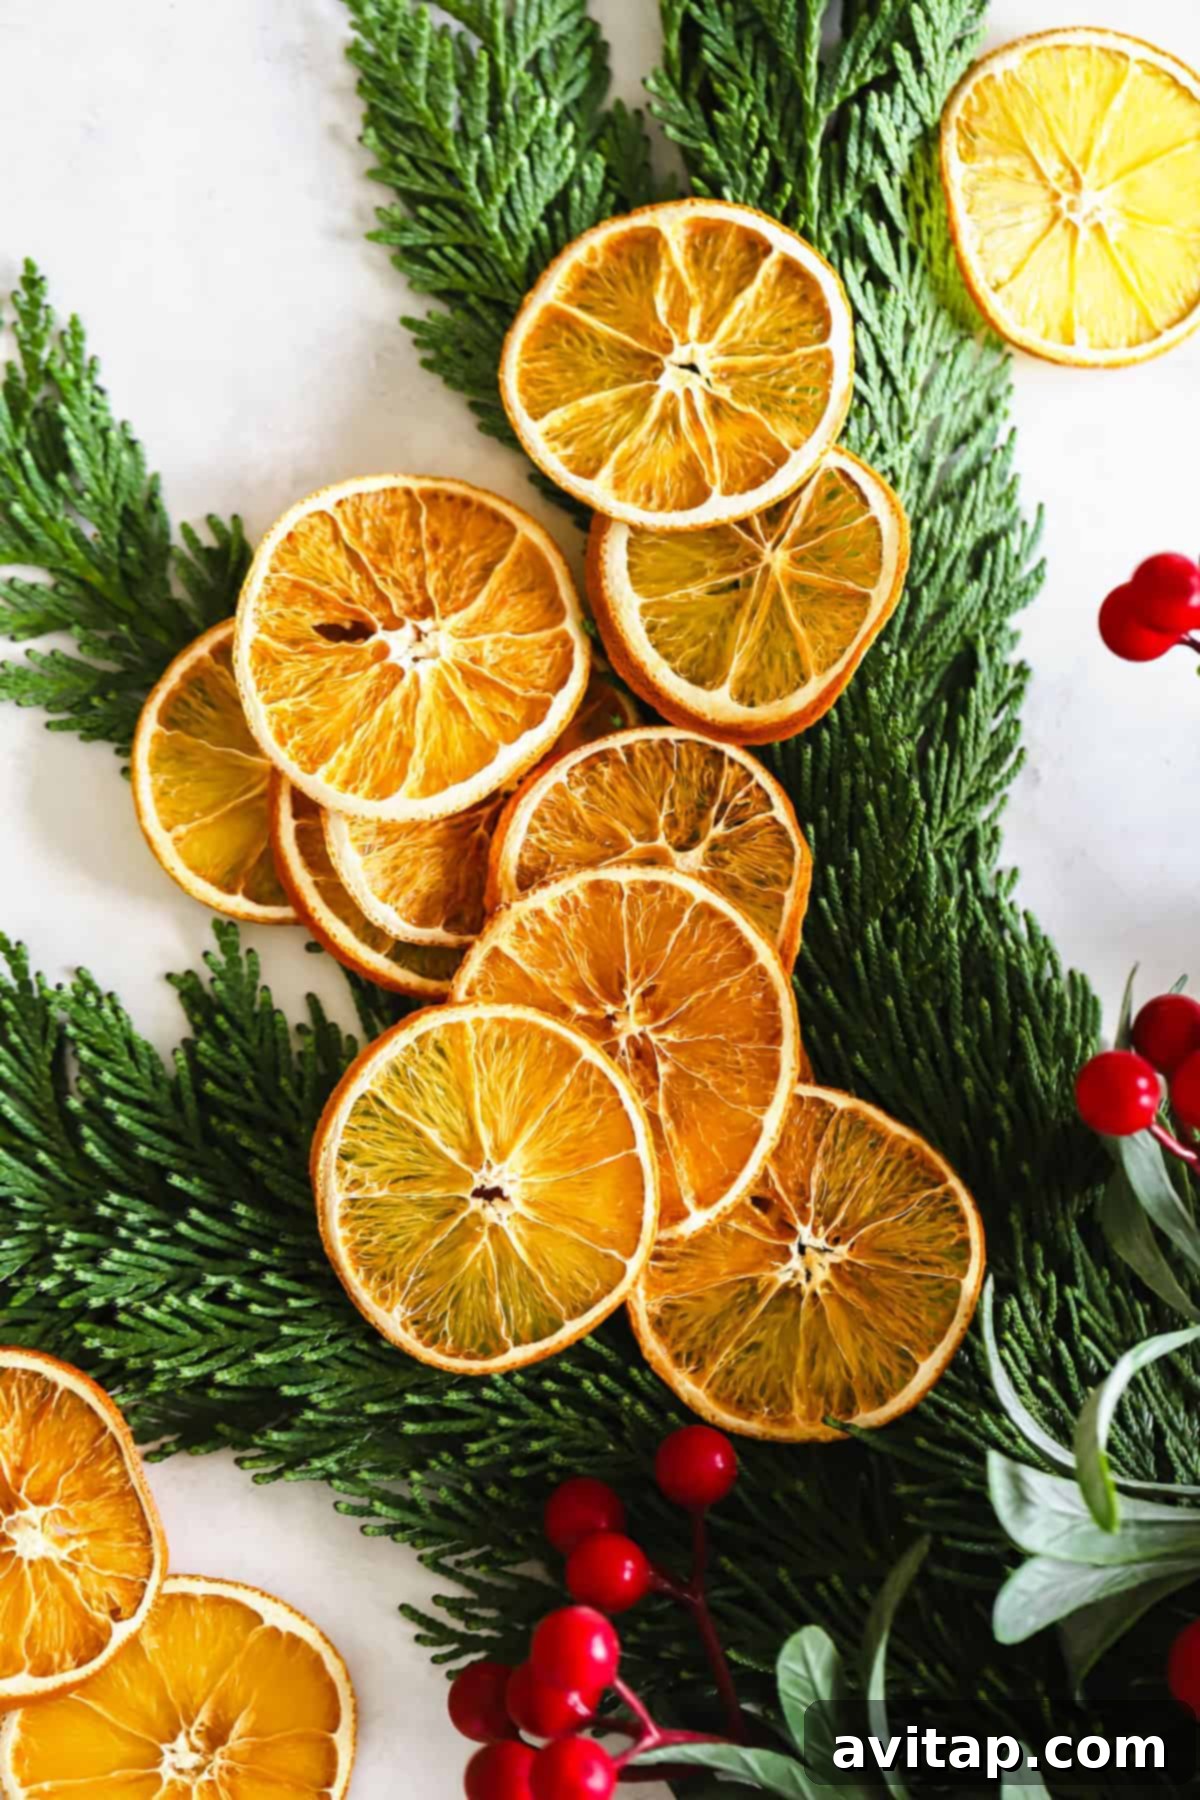
We are thrilled to share this easy-to-follow tutorial for creating a gorgeous dried orange garland. It’s a project that brings a unique holiday charm to any space without requiring complicated tools or techniques. Whether you’re draping them elegantly over your Christmas tree, enhancing a traditional holiday wreath, or adding a thoughtful, natural accent to your beautifully wrapped gifts, these dried orange slices are incredibly versatile. The best part? You don’t need a fancy food dehydrator. Your standard oven is all you need to transform fresh oranges into stunning, long-lasting decorations. In fact, many people find that their homemade orange garlands last for years when stored correctly, becoming a cherished part of their annual holiday traditions.
The Irresistible Allure of Natural Holiday Decorations
In a world of mass-produced ornaments, handmade decorations like dried orange garlands offer a touch of authenticity and warmth. They embody a rustic elegance that complements various interior styles, from farmhouse chic to minimalist modern. Beyond their visual appeal, the subtle, sweet citrus scent they release as they dry and throughout the holiday season is truly captivating, creating an inviting and festive atmosphere in your home. This project is not just about crafting; it’s about embracing sustainability, adding a personal touch to your decor, and creating lasting memories through a simple, enjoyable process. It’s a fantastic way to involve family members, turning decoration preparation into a cherished holiday activity.
Essential Supplies for Your Dried Orange Garland Project
Gathering your supplies for this project is straightforward, as you only need a few key items to get started on your beautiful dried orange garland. Here’s what you’ll need:
The Star Ingredient: Oranges (and Other Citrus)
The primary and arguably the only ingredient you absolutely need is oranges. For a standard garland that yields about two baking sheets worth of slices, approximately 1 pound of navel oranges is a good starting point. Navel oranges are often preferred due to their relatively thick skin, which holds up well during drying, and their vibrant color. However, don’t limit yourself! Any kind of citrus fruit can be dried using this method, offering you a spectrum of colors and delightful aromas. Consider:
- Grapefruit: For larger, bolder slices with a pinkish hue.
- Lemon: Adds bright yellow accents and a refreshing scent.
- Blood Oranges: Offers stunning red and orange patterns for a dramatic look.
- Lime: Provides smaller, vivid green slices for contrast.
- Clementines or “Cuties”: Perfect for mini garlands or delicate accents due to their smaller size.
Experimenting with different citrus types can add wonderful variety and visual interest to your garlands and other holiday crafts.
The Key Tool: A Mandoline Slicer
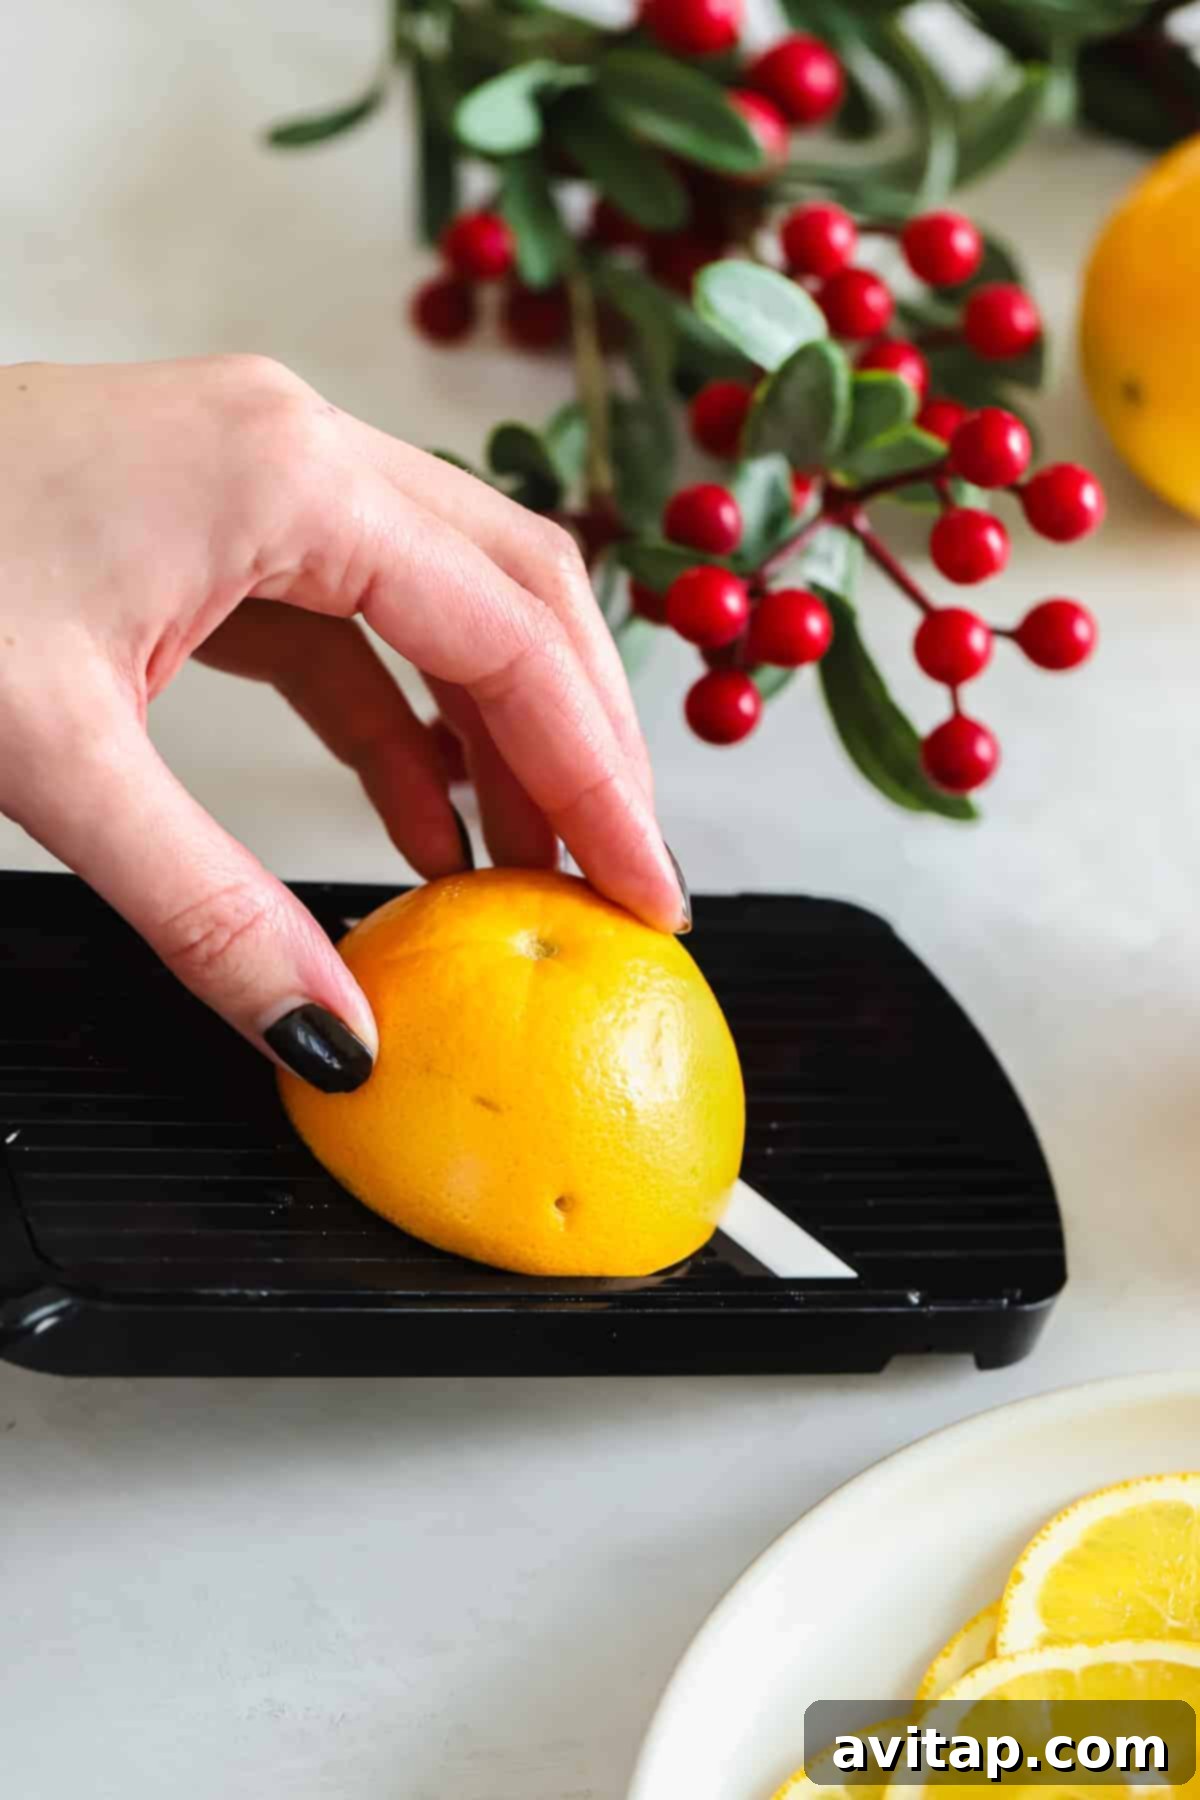
While an oven is essential for drying, the secret weapon for achieving perfect, consistently dried orange slices isn’t a high-tech dehydrator; it’s a simple mandoline slicer. A mandoline allows you to create uniform slices, typically between 1/8 and 1/4 inch thick. This consistency is crucial because it ensures that all your orange slices dry evenly and at the same rate, preventing some from burning while others remain moist. We often use an affordable, basic mandoline that delivers perfectly even cuts every time.
If you don’t own a mandoline, a very sharp knife can certainly work. However, be prepared that achieving perfectly even slices will require more patience and skill, and your drying times may vary significantly for each slice. Aim for the thinnest, most consistent slices you can manage to ensure the best results.
Basic Kitchen Gear
In addition to your oranges and slicer, you’ll need standard kitchen items:
- Baking Sheets: Two large baking sheets are ideal for drying a good batch of oranges simultaneously.
- Parchment Paper: Absolutely essential for preventing sticking and making cleanup a breeze. Do not use aluminum foil, as the oranges will stick.
- Oven: Your trusty kitchen oven set to a low temperature.
- Twine or Thread: For stringing your dried orange slices into garlands or attaching them to other decorations.
- Needle or Skewer: For poking holes in the dried slices.
Step-by-Step Guide: How to Make Dried Orange Slices in Your Oven for the Holidays
Creating dried orange slices is a straightforward process that yields beautiful results. Follow these simple steps for a perfect batch:
Step 1: Prepare Your Workspace (Oven & Trays)
Begin by preheating your oven to a low temperature of 170°F (approximately 75°C). This low heat is crucial for slowly dehydrating the oranges rather than cooking or burning them. While the oven preheats, line two large baking sheets with parchment paper. This non-stick surface will prevent the orange slices from sticking to the trays as they dry and caramelize slightly, making them easy to remove once finished. Set these prepared baking sheets aside.
Step 2: Precision Slicing Your Oranges
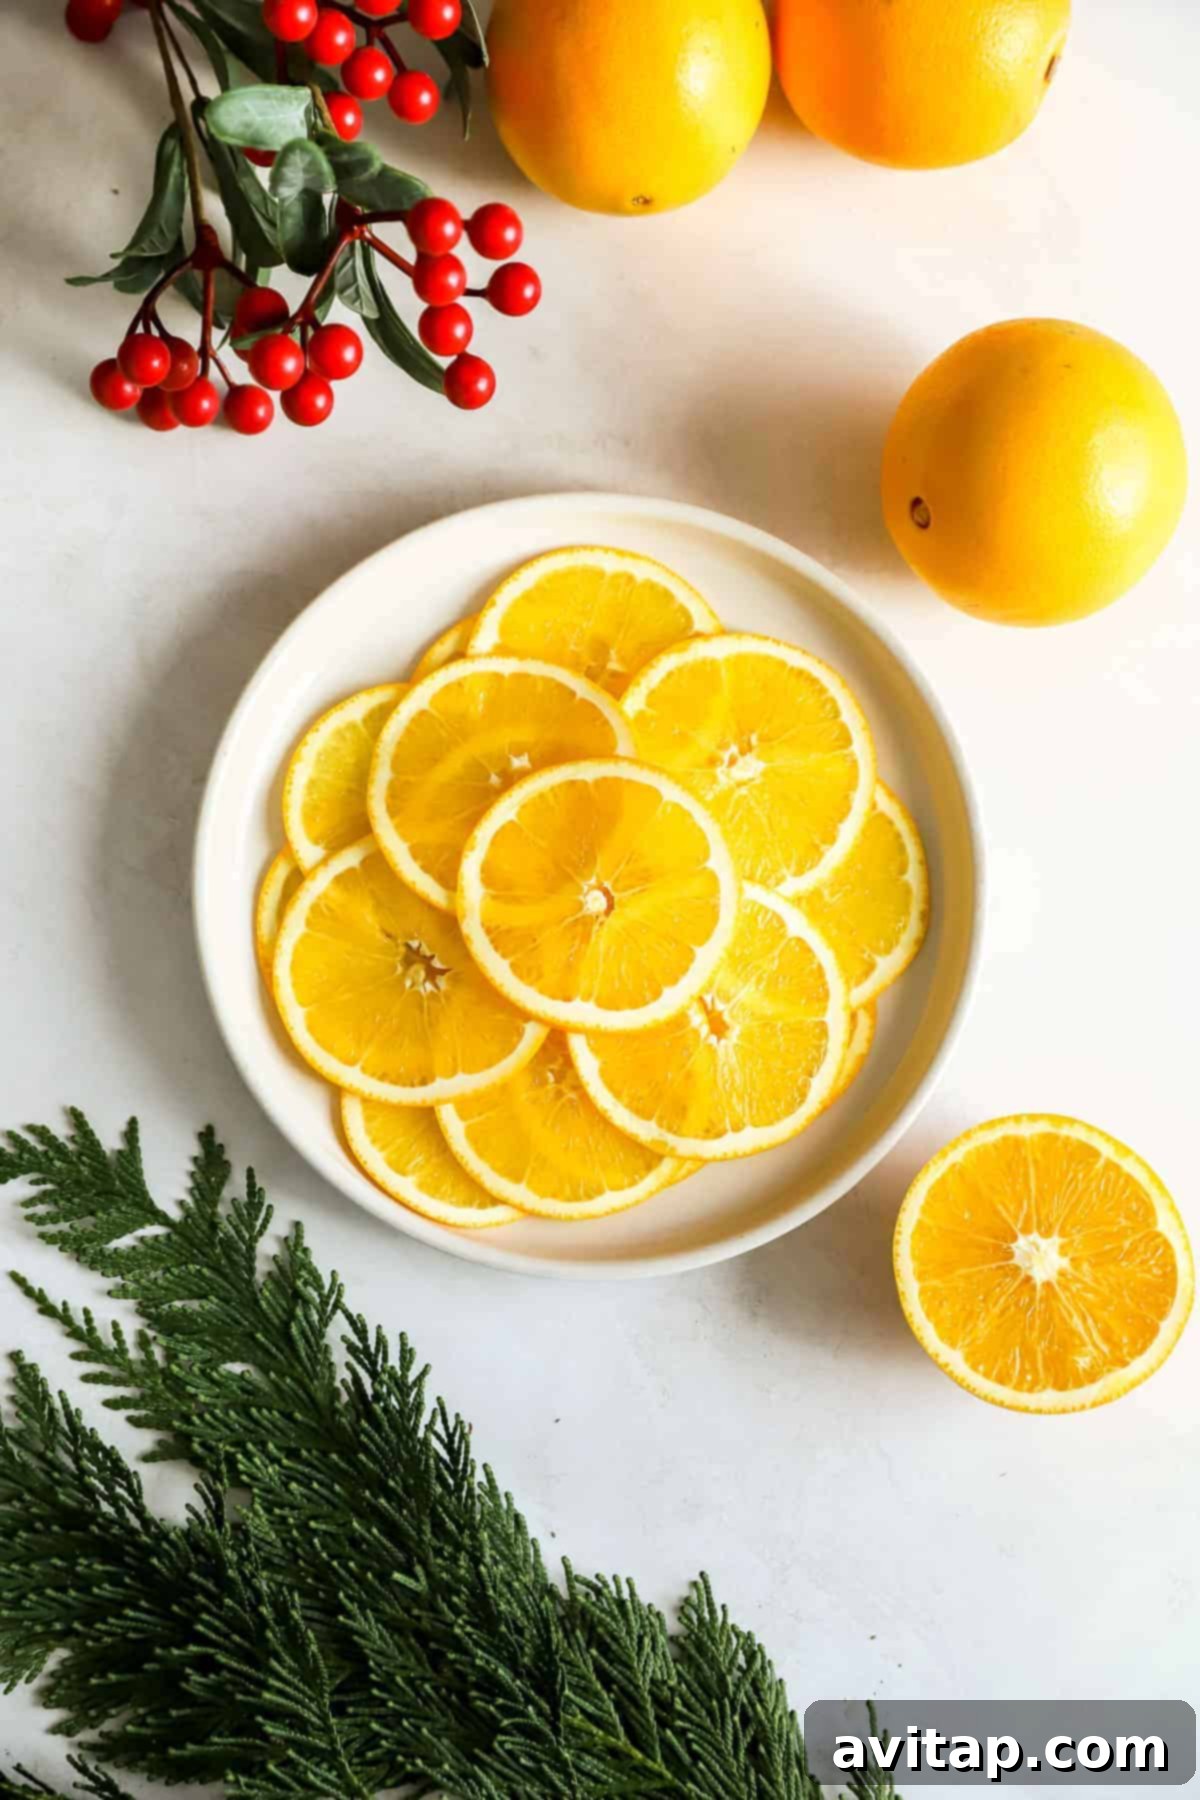
Wash your oranges thoroughly and then, using a mandoline slicer, carefully slice them into thin, even rounds. The ideal thickness is between 1/8 and 1/4 of an inch (about 3-6mm). Thinner slices will dry faster and become more translucent, while slightly thicker slices will retain more color and take a little longer. If you’re using a very sharp knife, take your time to ensure each slice is as uniform as possible. Remove any visible seeds as you slice.
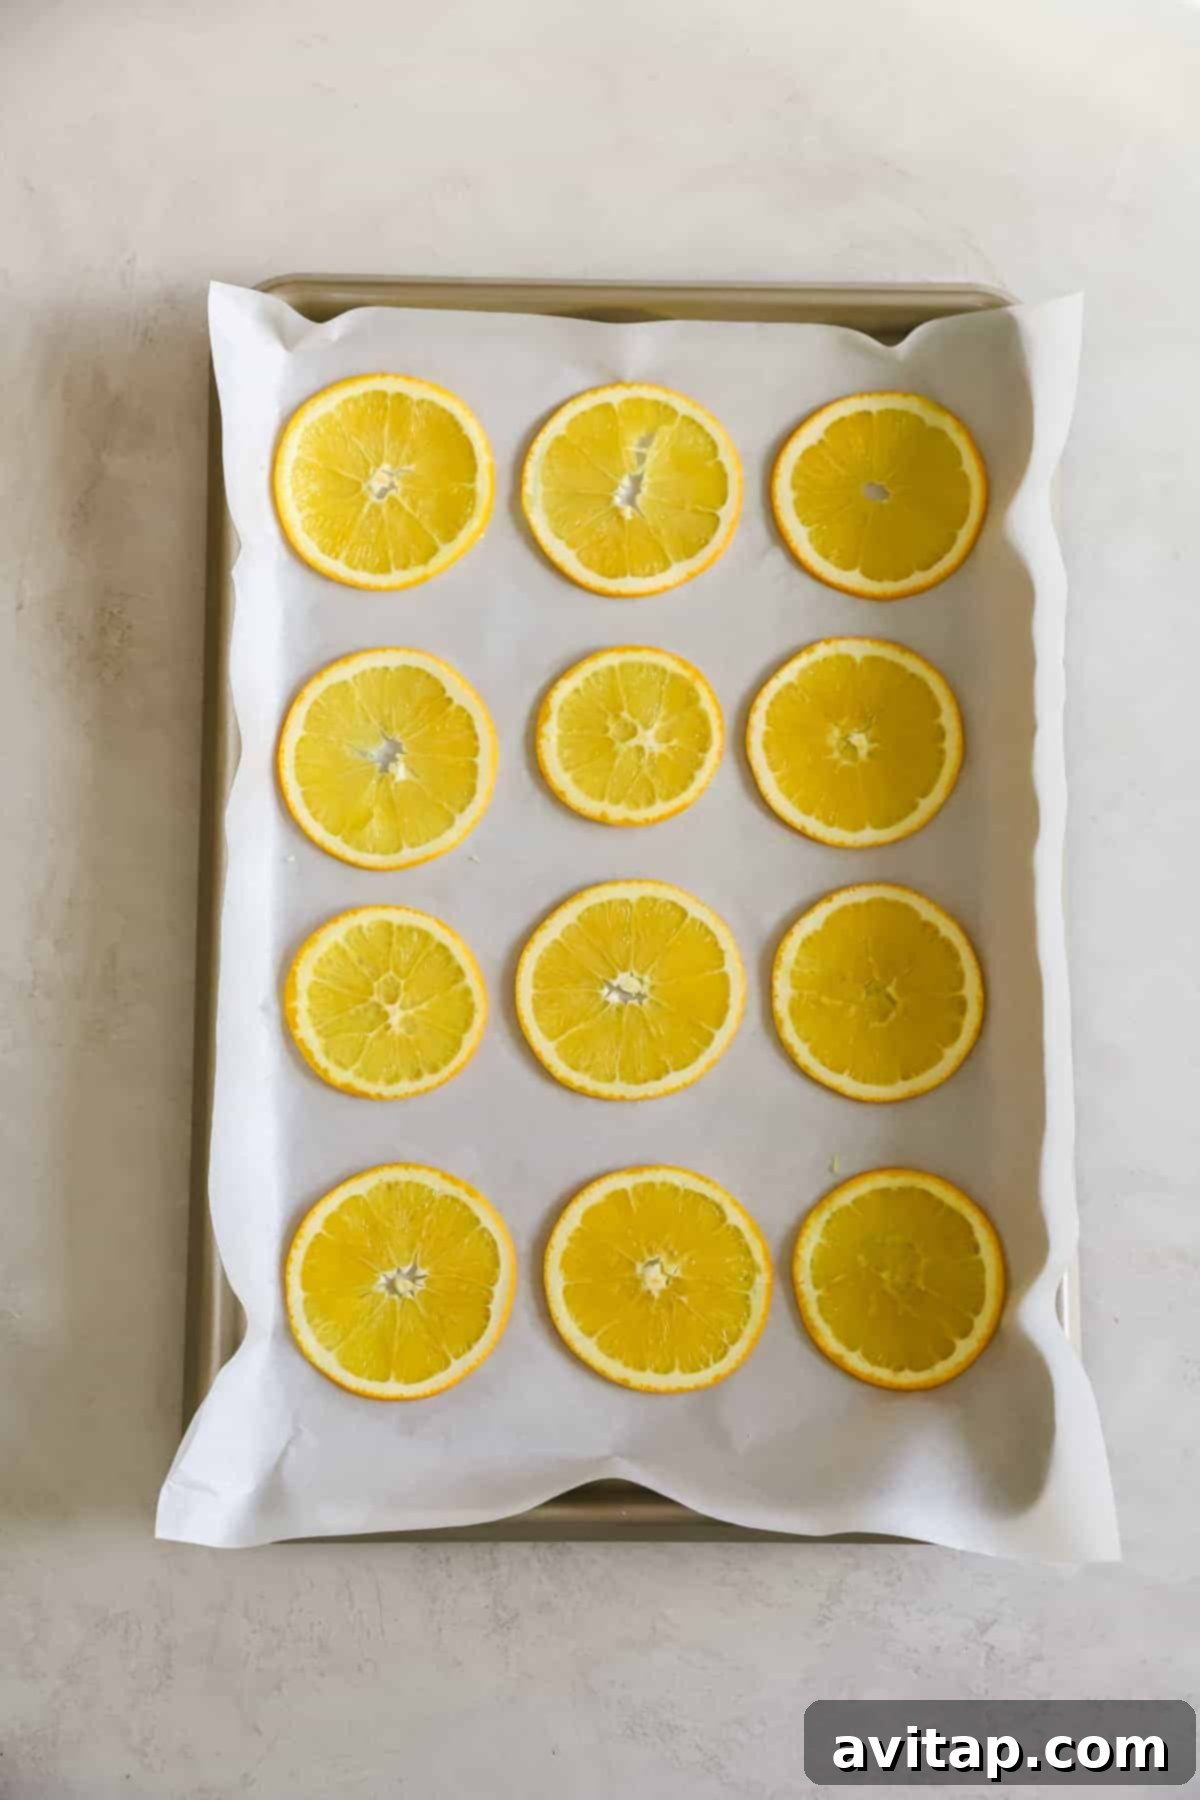
Step 3: Arrange for Optimal Drying
Once sliced, arrange the orange rounds on your parchment-lined baking sheets. You can place them relatively close together, as they will shrink significantly during the drying process. However, ensure they are not overlapping. Overlapping slices will hinder air circulation and lead to uneven drying, potentially leaving some slices moist and prone to mold. Maximize the space on your baking sheets without crowding to ensure every slice dries efficiently.
Step 4: The Drying Process: Baking to Perfection
Place the baking sheets into your preheated oven. Bake the oranges at 170°F for 1.5 hours. After this initial baking period, carefully remove the trays from the oven and use tongs or a spatula to flip each orange slice over. This ensures even drying on both sides. Return the trays to the oven and continue baking for another 1 to 1.5 hours, or until the oranges are firm to the touch, shrunken, and have a translucent, leathery appearance. The exact time may vary depending on your oven and the thickness of your slices. Keep an eye on them, especially during the last hour, to prevent burning. Once dried, remove the baking sheets from the oven and allow the orange slices to cool completely on the trays. They will crisp up further as they cool.
Creative Ways to Use Your Beautiful Dried Orange Slices
Now that you have a beautiful batch of oven-dried orange slices, it’s time to get creative with your holiday decor! Their natural beauty, vibrant color, and subtle fragrance make them incredibly versatile.
Stunning Garlands
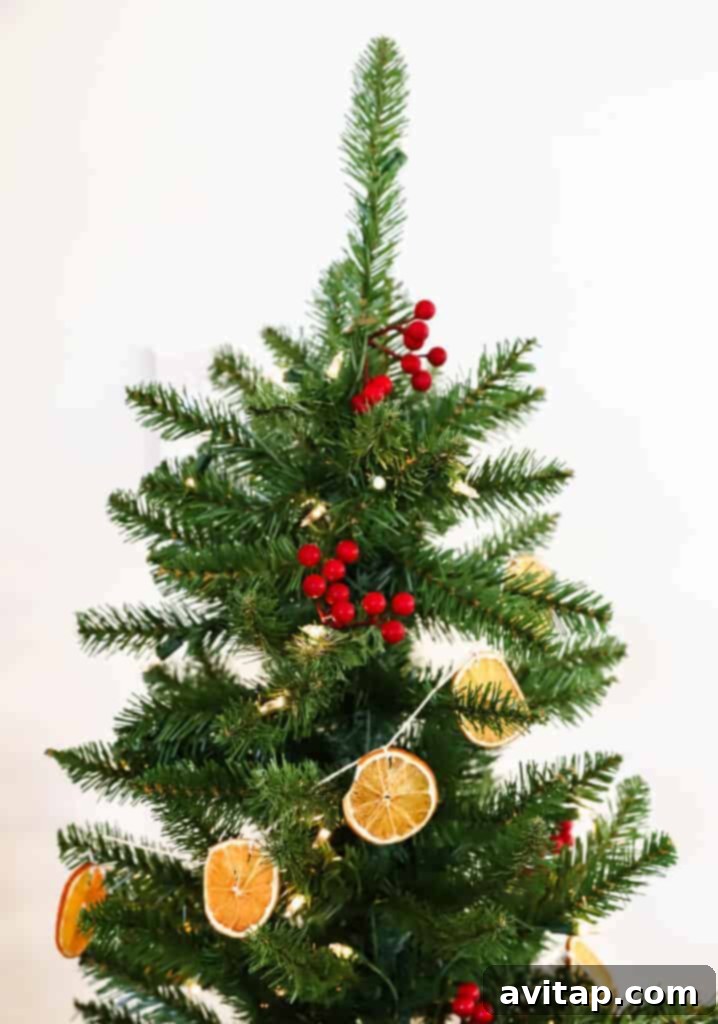
This is their most classic use. To create a garland, carefully poke small holes through the top of each dried orange slice using a needle or a thin skewer. Then, string a sturdy piece of twine, fishing line, or decorative ribbon through the holes, connecting the slices. Vary the spacing between oranges, or intersperse them with other natural elements like cinnamon sticks, star anise, bay leaves, cranberries, or wooden beads for added texture and fragrance. Hang these garlands on your Christmas tree, along a mantelpiece, across windows, or around doorframes for a truly enchanting look.
Festive Wreath Enhancements
Give your holiday wreath an instant upgrade by attaching dried orange slices. Use short pieces of floral wire or twine to secure them artfully among evergreen branches, pinecones, and other embellishments. You can also create a stunning all-citrus wreath by gluing or wiring the slices onto a wreath form.
Elegant Gift Toppers
Add a personalized, rustic touch to your holiday gifts. Instead of a traditional bow, tie a dried orange slice onto your wrapped presents with a piece of twine or ribbon. This simple detail elevates your gift presentation and makes it feel extra special and thoughtful.
Aromatic Potpourri & Bowl Fillers
Combine dried orange slices with other fragrant elements like cinnamon sticks, cloves, pinecones, and star anise in decorative bowls or sachets to create beautiful and natural potpourri. Place them around your home to infuse the air with a delightful holiday scent.
Unique Cocktail & Beverage Garnishes
While primarily for decor, dried orange slices make exquisite garnishes for holiday cocktails, mulled wine, or even a festive glass of sparkling water. Their elegant appearance and subtle citrus flavor will impress your guests.
DIY Ornaments & Tree Decorations
Beyond garlands, individual dried orange slices can be easily transformed into charming tree ornaments. Simply thread a loop of ribbon through a single slice and hang it directly on your tree. They add a lovely pop of natural color and texture.
Table Centerpieces
Arrange dried orange slices creatively as part of your holiday table centerpiece. Scatter them around candles, place them in clear vases with other natural elements, or use them to adorn place settings for an inviting look.
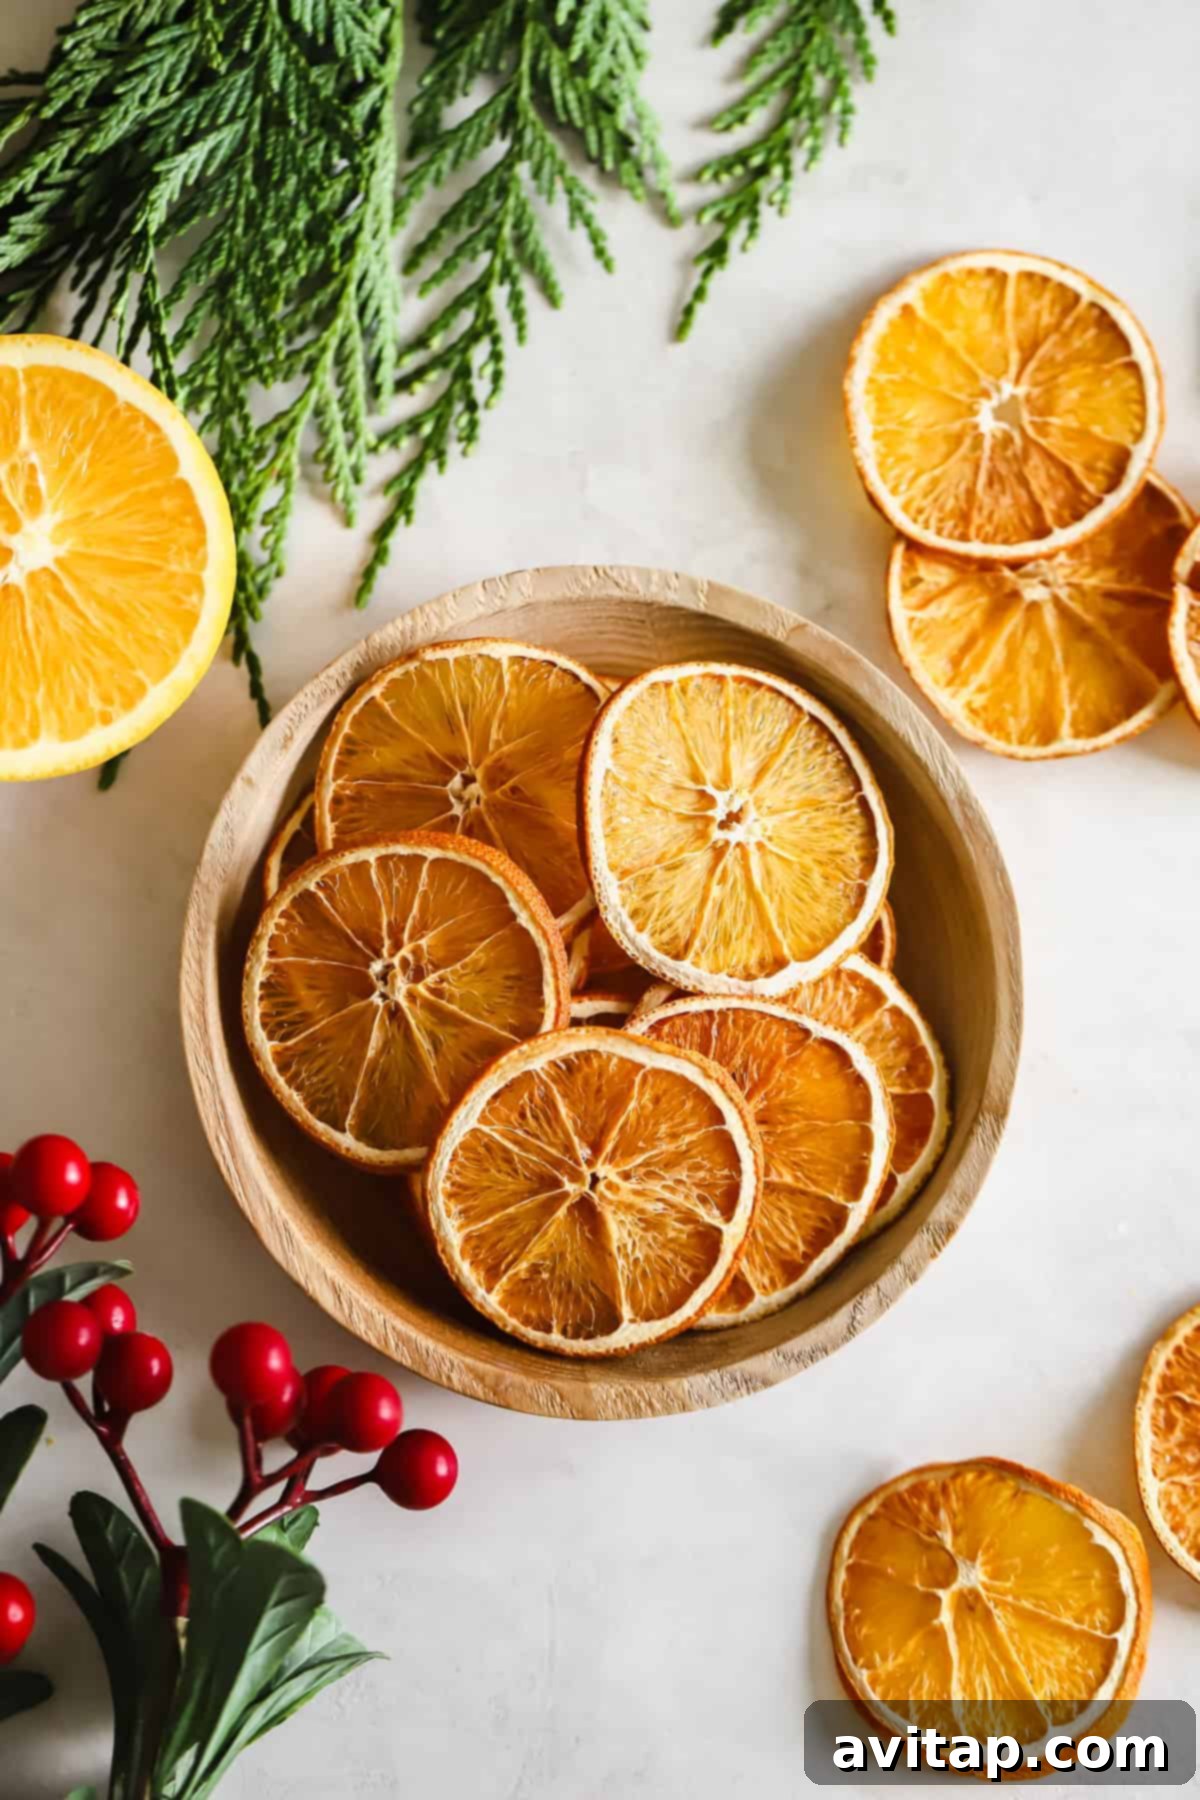
Frequently Asked Questions About Dried Orange Garlands
Here are answers to some common questions about making and using dried orange garlands:
How Long Do Dried Orange Garlands Last?
The longevity of your dried orange garland largely depends on how thoroughly you dehydrate the oranges. When dried completely, meaning there is no residual moisture left (they should feel firm and brittle, not bendy), these garlands can last for up to two years, and sometimes even longer! The key is absolute dryness. If any moisture remains, the slices are susceptible to mold, significantly shortening their lifespan. Proper storage also plays a crucial role.
Are Dried Orange Slices Edible?
Yes, dried orange slices are absolutely edible! They have a concentrated citrus flavor and can be quite delicious, though their texture changes significantly. While many people use them purely for holiday decor, you can certainly enjoy them in teas, as garnishes for drinks, or even as a chewy snack if you prefer. Just be sure not to use any oranges that have been treated with non-food-safe chemicals if you plan to consume them.
Can I Use a Food Dehydrator Instead of an Oven?
Certainly! A food dehydrator is an excellent alternative to an oven for drying orange slices. While we primarily focus on the oven method for its accessibility, a dehydrator can often provide a more controlled environment for even drying. If using a dehydrator, follow the manufacturer’s instructions for drying fruit, typically setting it to a low temperature (around 135°F / 57°C) for several hours, flipping the slices periodically until completely dry.
Can I Use a Different Kind of Citrus?
Absolutely! This drying method works beautifully for virtually any type of citrus fruit. Incorporating different varieties can add a wonderful range of colors, sizes, and subtle scent variations to your decor. As mentioned earlier, consider using:
- Grapefruit
- Lemon
- Blood oranges
- Lime
- Clementines (often called Cuties)
Just be mindful that thicker-skinned or larger fruits might require a slightly longer drying time, so adjust your baking duration as needed.
Proper Storage for Reusing Your Garland
If you’re planning to reuse your beautiful dried orange garland for future holiday seasons, proper storage is essential. We recommend storing your completely dried garlands in a cool, dark, and dry place. An airtight container or a sealed plastic bag works well to protect them from moisture and dust. Ensuring they are fully dehydrated before storage is paramount to prevent mold growth. Despite their potential for longevity, many people, ourselves included, enjoy making a fresh batch of dried oranges every year. It’s a simple, enjoyable tradition that not only ensures the freshest look for your decorations but also makes your home smell absolutely divine during the preparation process!
Dried Orange Garland (Oven Method)
Make Dried Orange Garland this holiday season for an easy at-home DIY holiday decoration! String them around your tree or elevate your holiday wreath.
By: Lee Funke
Cook Time: 3 hrs | Total Time: 3 hrs
Ingredients
- 1 lb. navel oranges, or any orange of your choice
Instructions
- Preheat the oven to 170ºF (approximately 75°C) and line 2 large baking sheets with parchment paper. Set aside.
- Next, slice the oranges into thin rounds (about 1/8-1/4-inch thick). Do this with a very sharp knife or a kitchen mandoline for the most consistent rounds. Remove any visible seeds.
- Place the orange rounds on the lined baking sheet. The oranges will shrink, so they can be pretty close together, but ensure they are not overlapping.
- Place the baking sheets in the oven and bake the orange rounds for 1.5 hours. Then, flip the oranges over and bake for another 1 to 1.5 hours, or until the middle of the oranges are dried out and firm to the touch.
- Remove the baking sheets from the oven and let the oranges cool completely before using them in crafts or as garnishes.
Watch It
For a visual guide, check out this video tutorial:
Nutrition (Approximate)
Calories: 0 kcal, Carbohydrates: 0 g, Protein: 0 g, Fat: 0 g, Fiber: 0 g, Sugar: 0 g
Nutrition information is automatically calculated, so should only be used as an approximation.
Love This? Leave a Comment Below!
Don’t forget to tag your beautiful creations on social media with the hashtag #fitfoodiefinds – we’d absolutely love to see what you’re up to this holiday season!